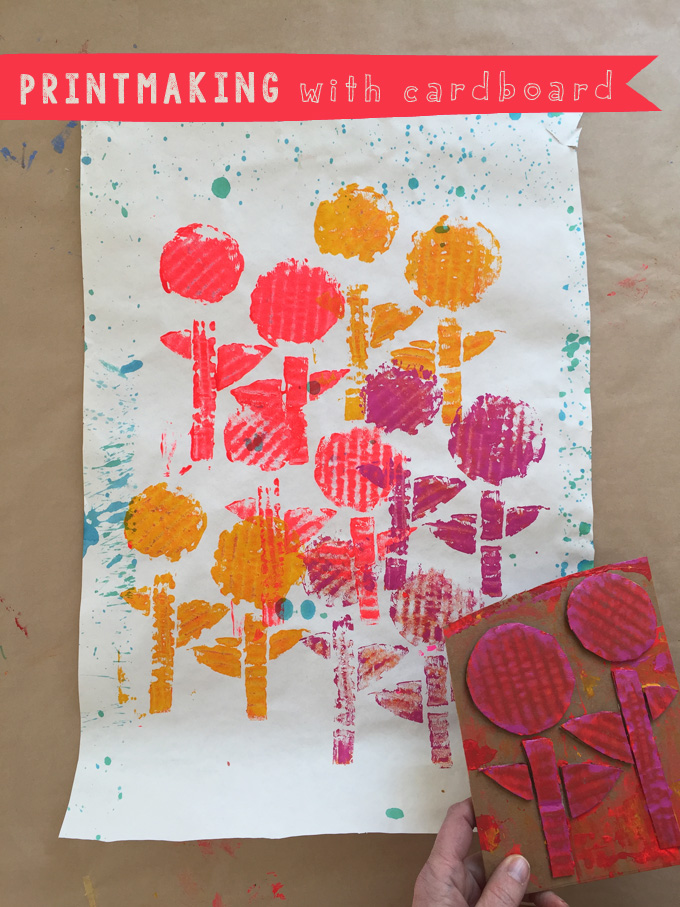
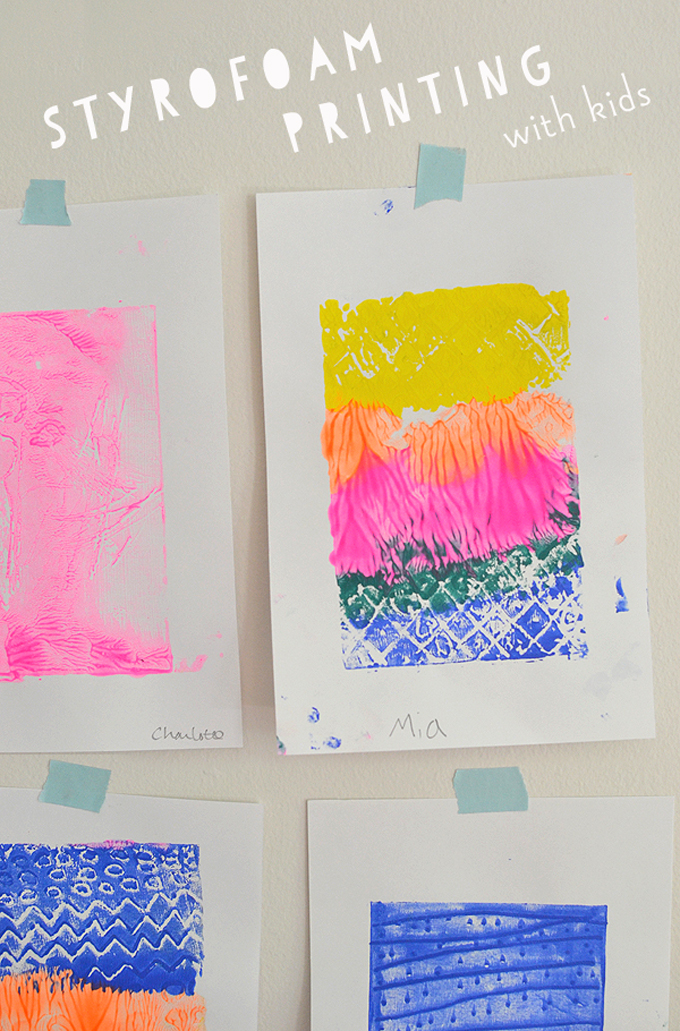
Printmaking with cardboard introduces children to the magic of “pulling prints” and creating mirror images. Also called collagraphy, it’s a basic a method of printmaking where collage material is glued onto a board to create a relief surface. As with any form of printing, kids stay engaged because they are producing images which is unlike any other form of art. These images can be manipulated through adding more collage material, changing the colors, or creating a repeat pattern. Their design muscles are challenged as they self-critique their prints and make changes to better their outcome.
On this day, I encouraged my students to create repeat patterns, like a wallpaper. I have been obsessed with repeat patterns ever since college where I studied textile design. But alas, nobody was into my pattern idea. They all really wanted to make “pictures”. As with any class that is learning about a printing technique for the first time, their frame of reference is small and they often think of a print as a drawing. It takes many introductions of printmaking before they understand that they need to think in terms of shape rather than line.

[ I am a participant in the Amazon Services LLC Associates Program, an affiliate advertising program designed to provide a means for us to earn small fees at no cost to you by linking to Amazon.com and affiliated sites. ]
Printmaking with Cardboard supply list:
~ Cardboard “plate” – a rectangular piece, a little smaller than the paper
~ Cardboard pieces – some can be pre-cut, other pieces can be bigger so kids can cut themselves
~ Good scissors – cardboard is hard to cut, so younger kids might need some help (ave them draw what they want and a grown-up can cut)
~ Paper (we use sulphite paper)
~ Tempera or acrylic pants (tempera is washable so better for littles, acrylics are thicker so they cover the cardboard better – we used acrylics – but won’t come out when dried on clothes)
~ Trays
~ Rollers
Printmaking with Cardboard step by step:
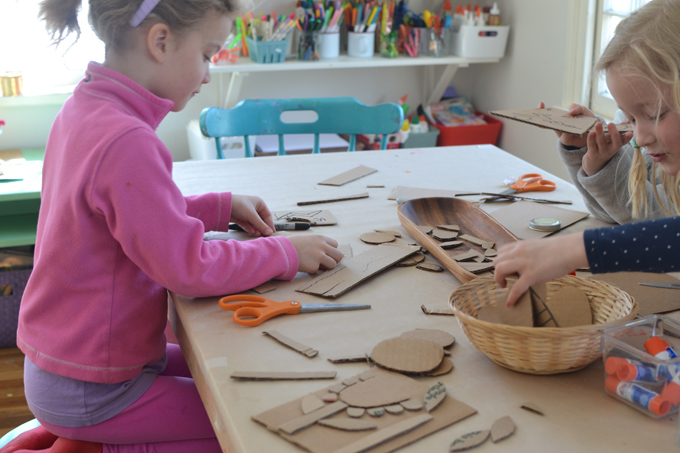
1. Cut up the cardboard into “plates” (this is what the board is called, it doesn’t matter the shape), and then cut a bunch of small cardboard pieces. Lay everything out on the table, giving them each a glue stick and a pair of scissors.
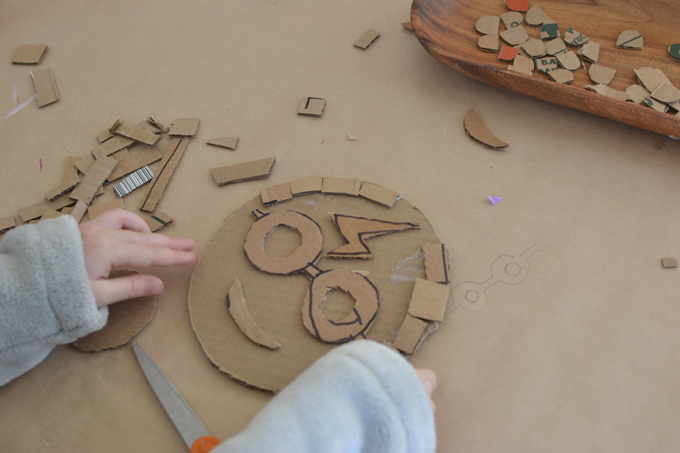
2. I usually encourage the kids to create something abstract, it’s just an easier way to begin. But these kids had representational ideas in their heads, so I let them explore their concepts. The Harry Potter face was challenging in several ways. First, the artist drew out the face with eyes and hair. I had to explain that the paint will pick up bumps, but not lines. Understandably, this was hard to envision. It took making a print for her to see what I meant, and then she added some pieces around the bottom of the face so that it popped out more when printed.

This type of problem solving is so important, and I love watching their brains working and correcting their mistakes, without judgement.
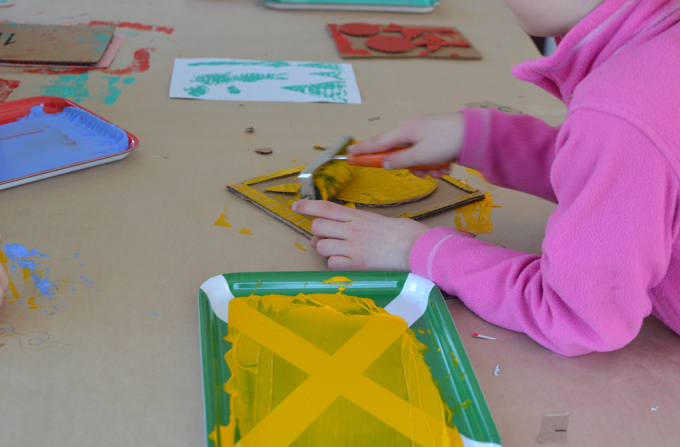
3. After they are done with their collage, you can bring out the trays and paint. Squeeze a little paint at the top of the tray and then use a roller to spread it out. The kids can roll paint over their collage, but remind them that paint dries so move quickly!
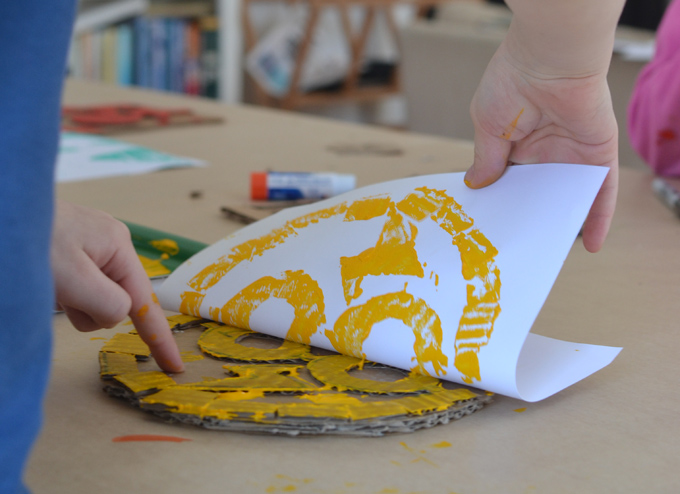
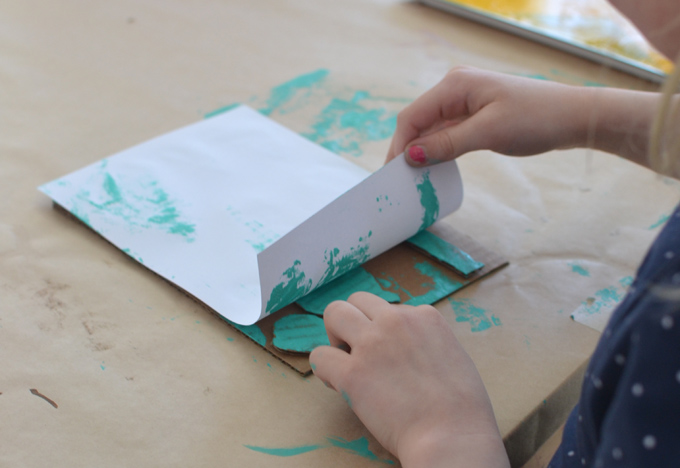
4. Place the paper down on the table and turn the plate over on top of the paper. Or alternatively, lay the paper on top of the plate. Either way works! The children can then gently pull their print from their plate.
5. I usually have a rolling station and a clean station (see this post) but for collagraphy, the raised image creates a space so the paint has a harder time reaching the tabletop. It can still be messy, but not as much. So I let them all stay in one place.
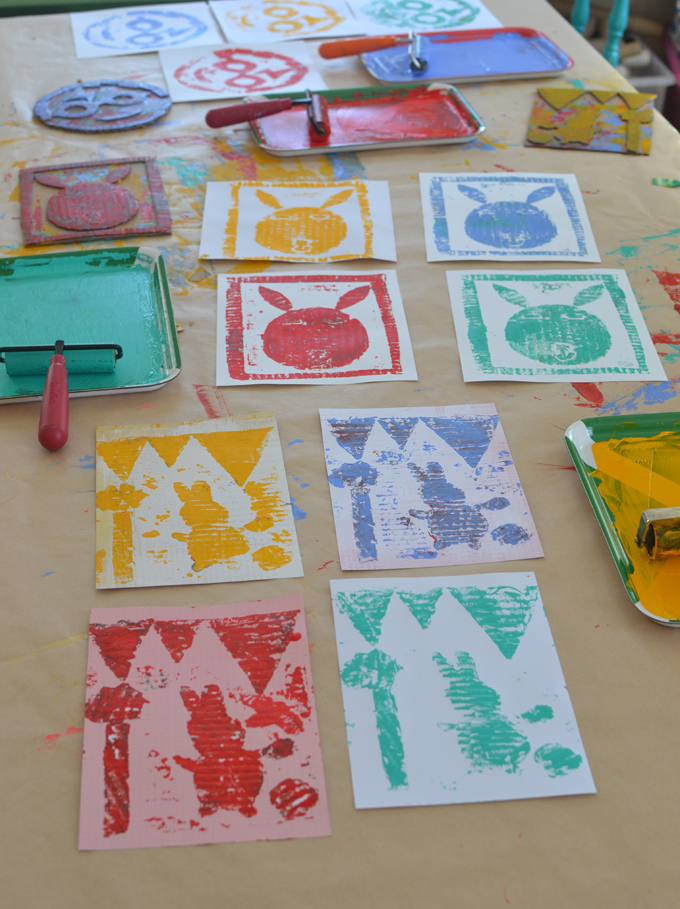
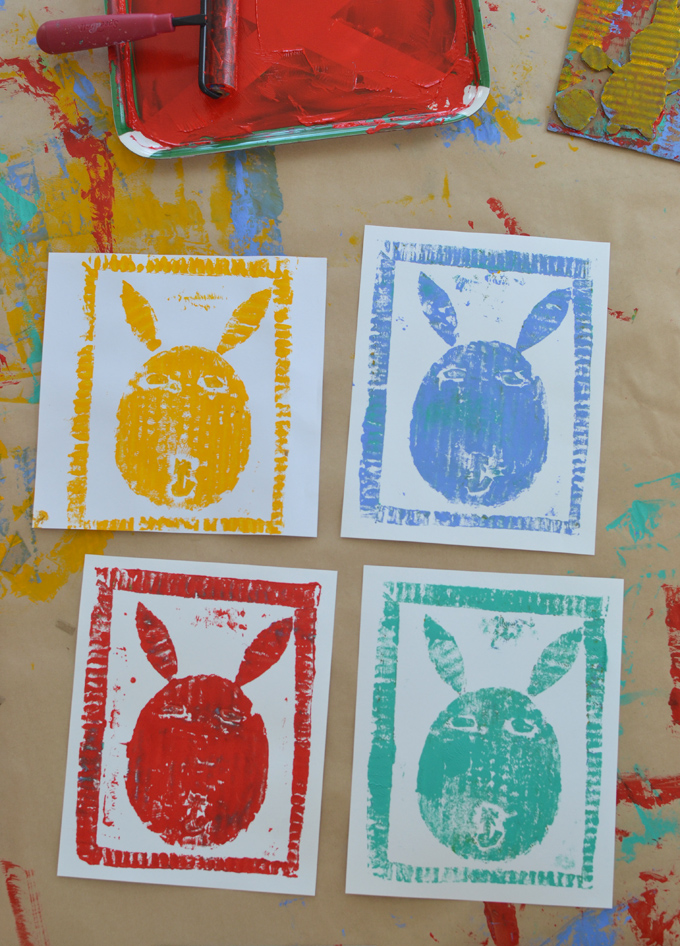
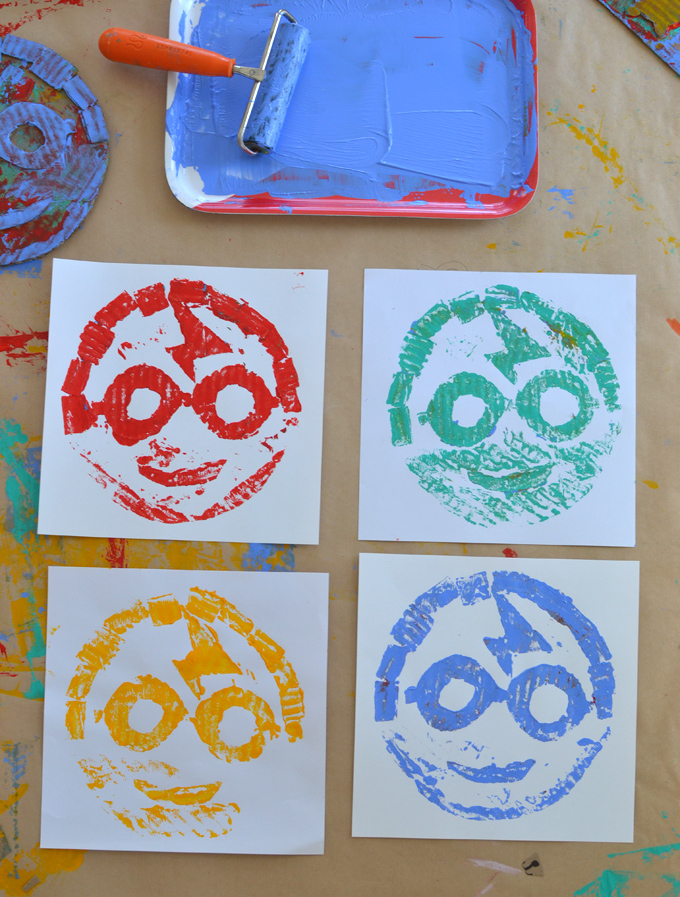
I’m just loving the pop-art feel of these bunny and Harry Potter prints!

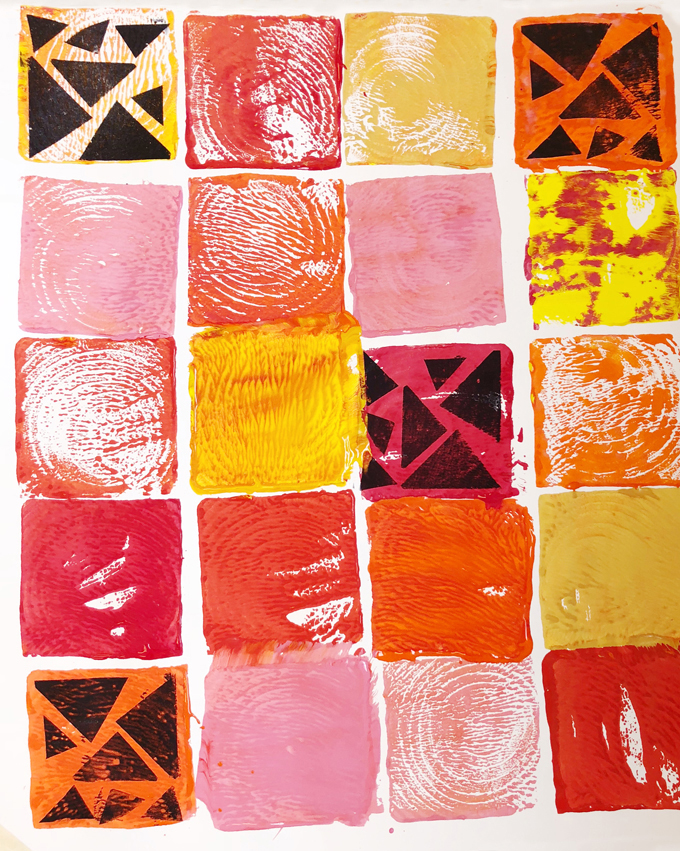
After my students left, I decided to use the sample plate I made with flowers and create a repeat pattern. Printmaking is just such a fun way to explore!
My friend Jennifer from Big Hands Small Art wrote a post on this blog last year about how she made collagraph prints using blocks, so definitely check that out.
xo Bar
– – – – – – – – – – – – – – – – – – – –


[…] 1) Printmaking with Cardboard […]