Bending wire is one of those things that all kids love, so I’m always trying to think of new ways to work with this versatile and pliable material. The inspiration for these beaded wire maze sculptures were really twofold…

Our first inspiration was Alexander Calder, and all his work with wire, especially his circus series. We actually called these sculptured ‘roller coasters’ as we were making them! Our second inspiration came from those baby toys with the beads that you always find in doctor’s offices. We thought that they might be called mazes, but we still liked roller coasters better 🙂
[ I am a participant in the Amazon Services LLC Associates Program, an affiliate advertising program designed to provide a means for us to earn small fees at no cost to you by linking to Amazon.com and affiliated sites. ]
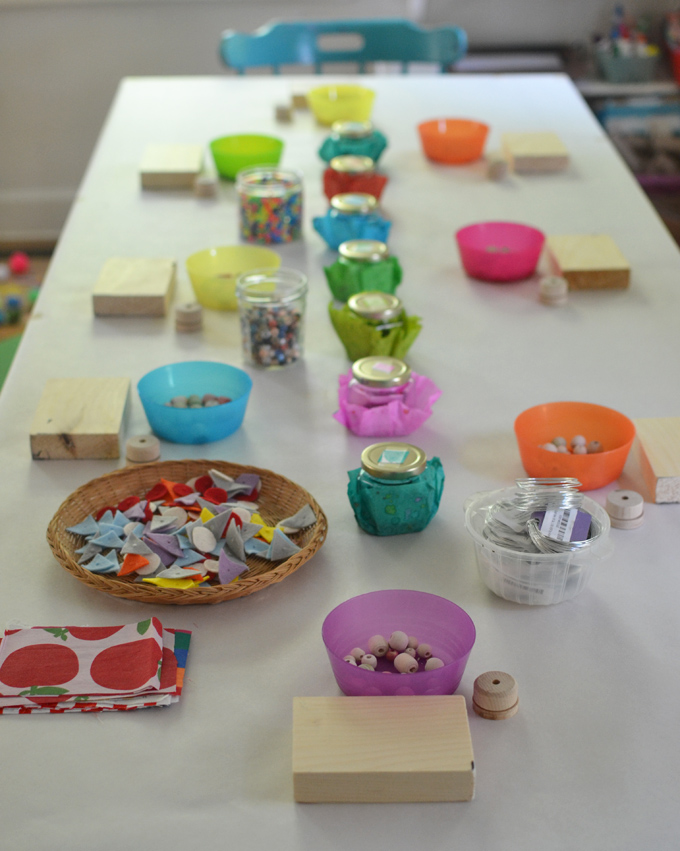
Supplies needed for Beaded Wire Maze Sculptures:
~ Craft wire (we used 18 gauge which is great for bending but the beads got a little heavy so I would recommend trying a slightly thicker, 16 gauge – this brand has lots of colors)
~ Felt pieces with holes punched in (I use this hole punch)
~ You can use any small things with holes, like straw pieces, spools, buttons, etc.
~ Wooden base (I went to Home Depot for these and they cut them for me)
~ Fabric scraps, cut to same size as wood
~ Elmer’s glue
~ Wooden wheel parts to glue wire into (we get ours from Casey’s)
Setting up the Beaded Wire Maze Sculptures:
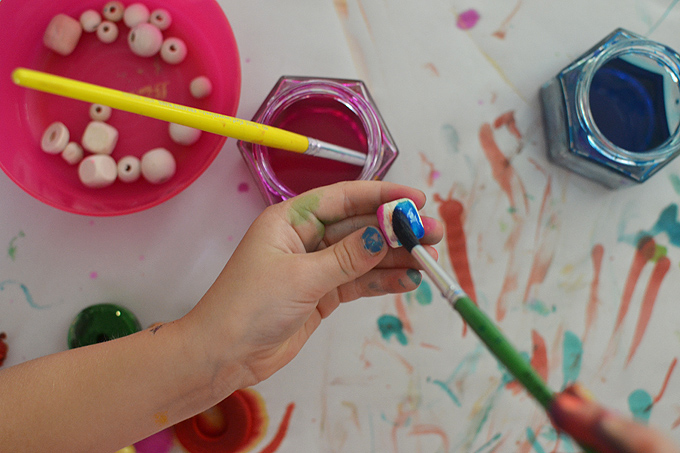
1. First, have the kids glue their fabric piece onto the base with regular Elmer’s glue.
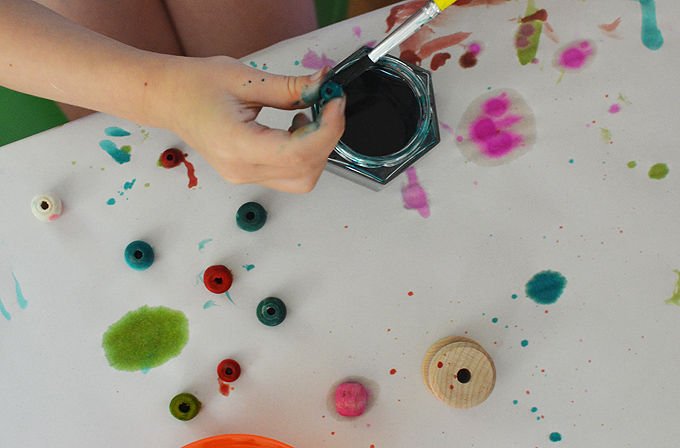
2. Next, let them paint their beads. I gave each child a bowl of beads. They can leave them on the paper to dry, and then they can collect them back in the bowl. They dry quickly. Oh, and have them paint the wooden wheels, too.
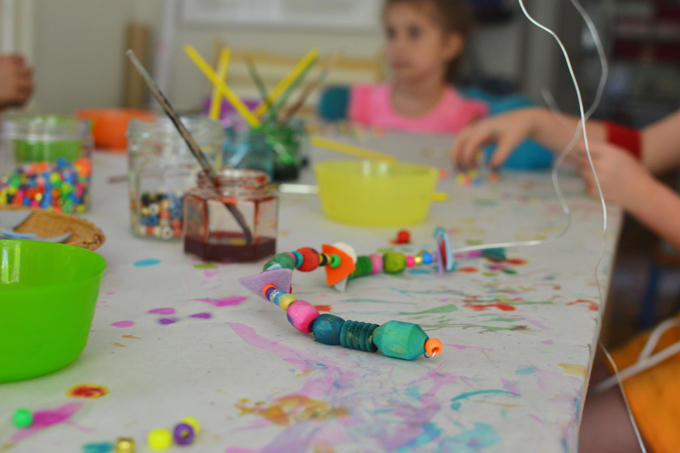
3. Cut a long piece of wire (like 36″ or so) and put a stopper at the end.
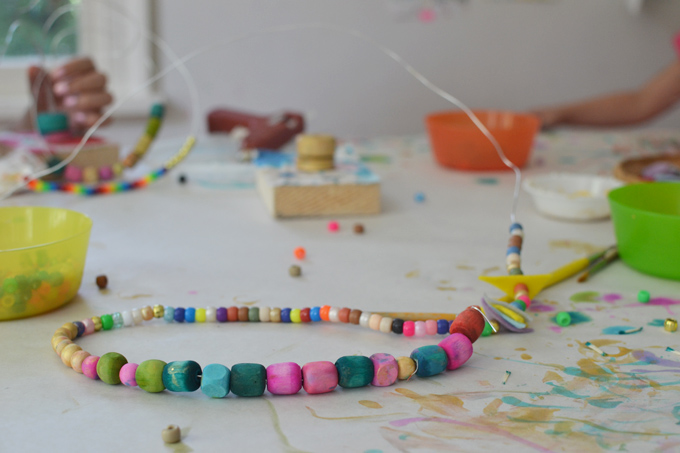
4. The kids can now bead their wires. Tell them to bead about half of the wire and then stop.
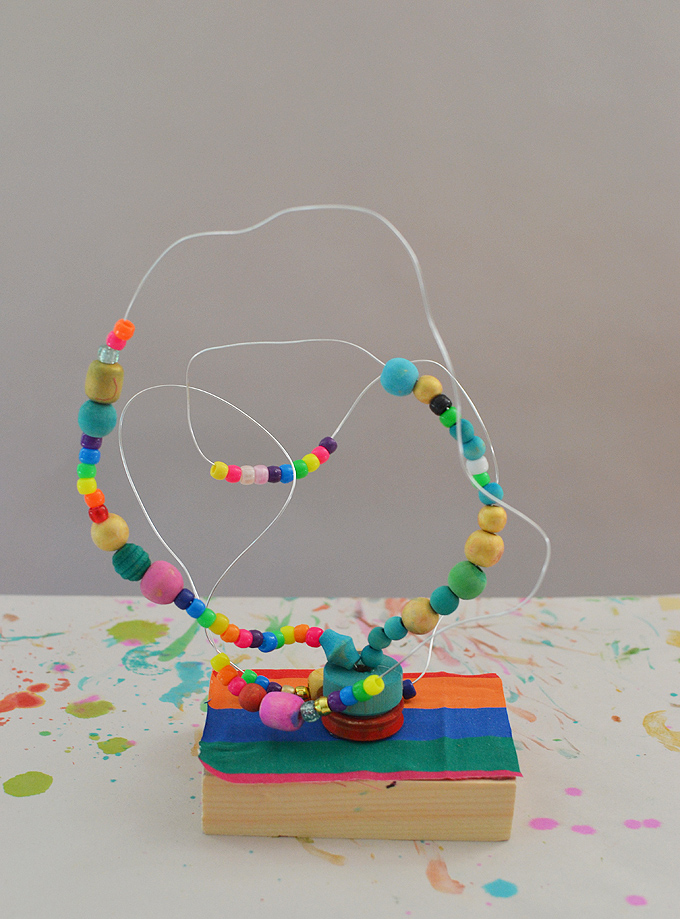
5. I do not have photos of the last steps, but while the kids were beading, I used the glue gun to glue on the wheels in the middle.
6. When the kids had finished beading, we stuck one end into the wheel with some hot glue. Then I held it down while they twisted the wire in circles, and then stuck the other end into the gluey hole. Then I added even more hot glue.
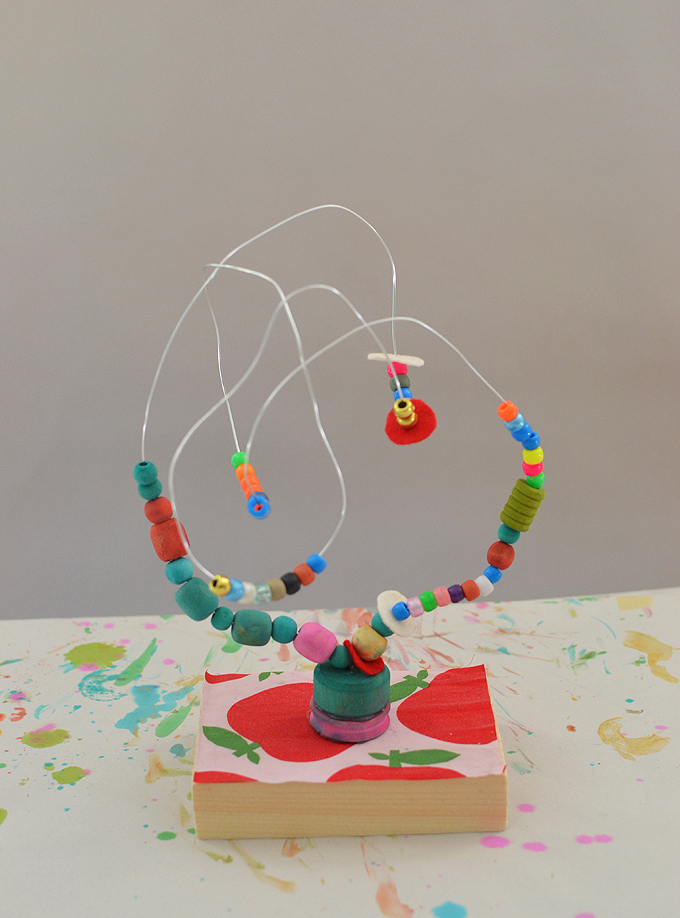
Now it’s read to play with! The wire got a little droopy because it was a little too light. If I did this again, I would use thicker wire (see supplies above). But they loved playing with their new roller coaster mazes, and were VERY proud to show them to their moms!
My friend Ana from Babble Dabble Do does a really cool (and more functional) version of this. Hers looks very professional, and she uses garden wire.
And look at THESE ones from Small Hands Big Art. So cool I can’t stand it!
xx, Bar
– – – – – – – – – – – – – – – – – – – –
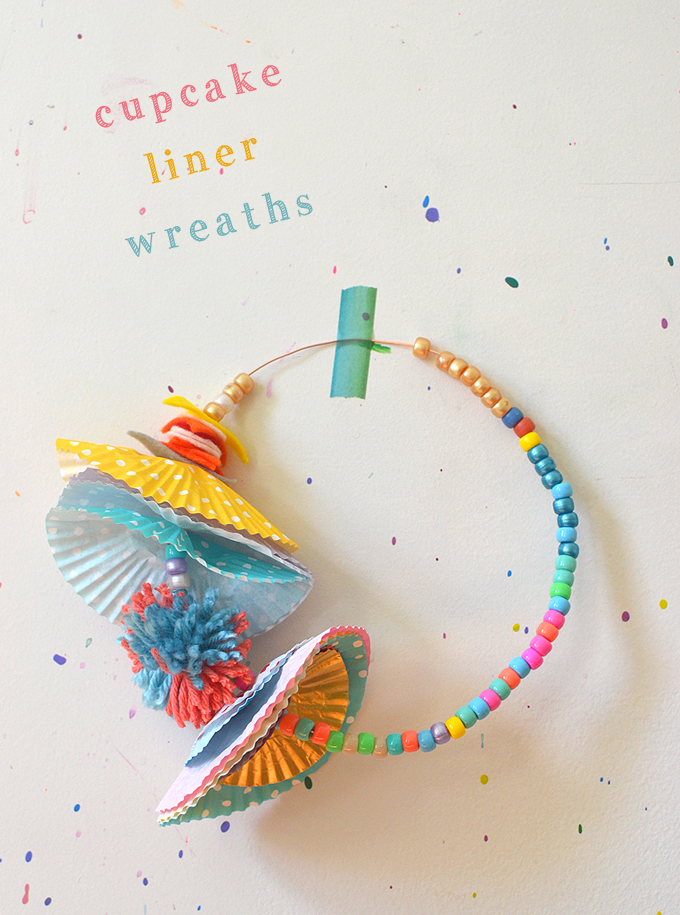
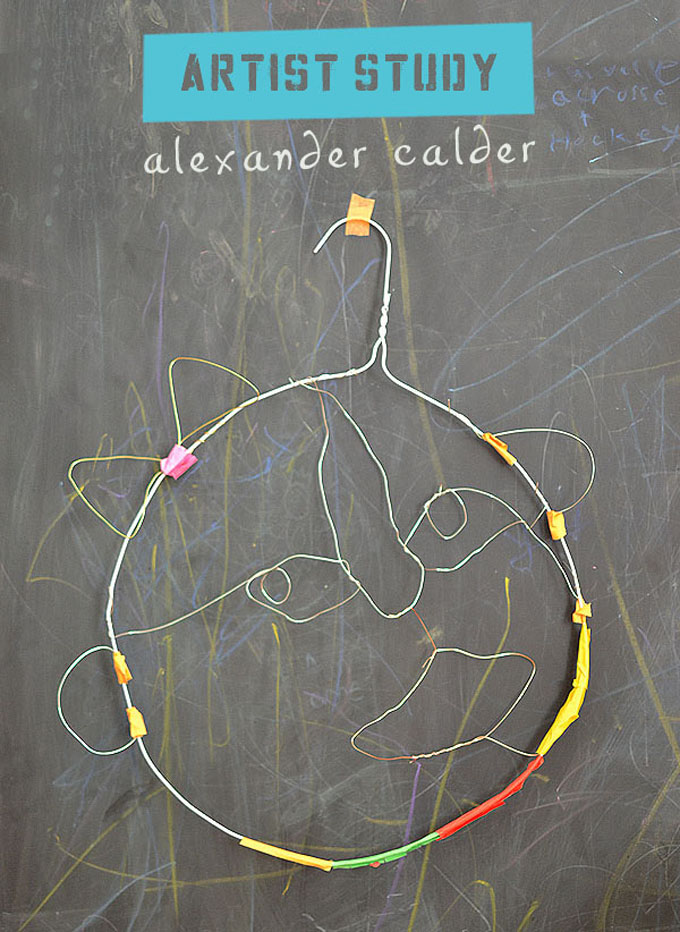
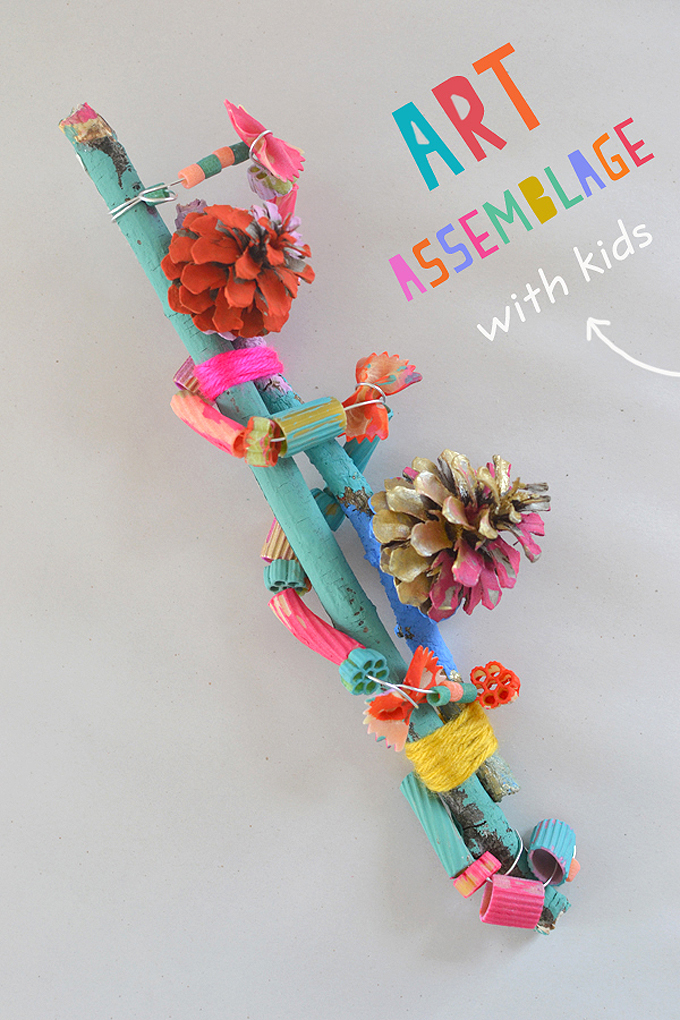


We did something similar in my class of four year olds. But we covered our sculpture with a pair of pantyhose. They were so fun and cute. I know some mothers that still have them and that was about 5 years ago.