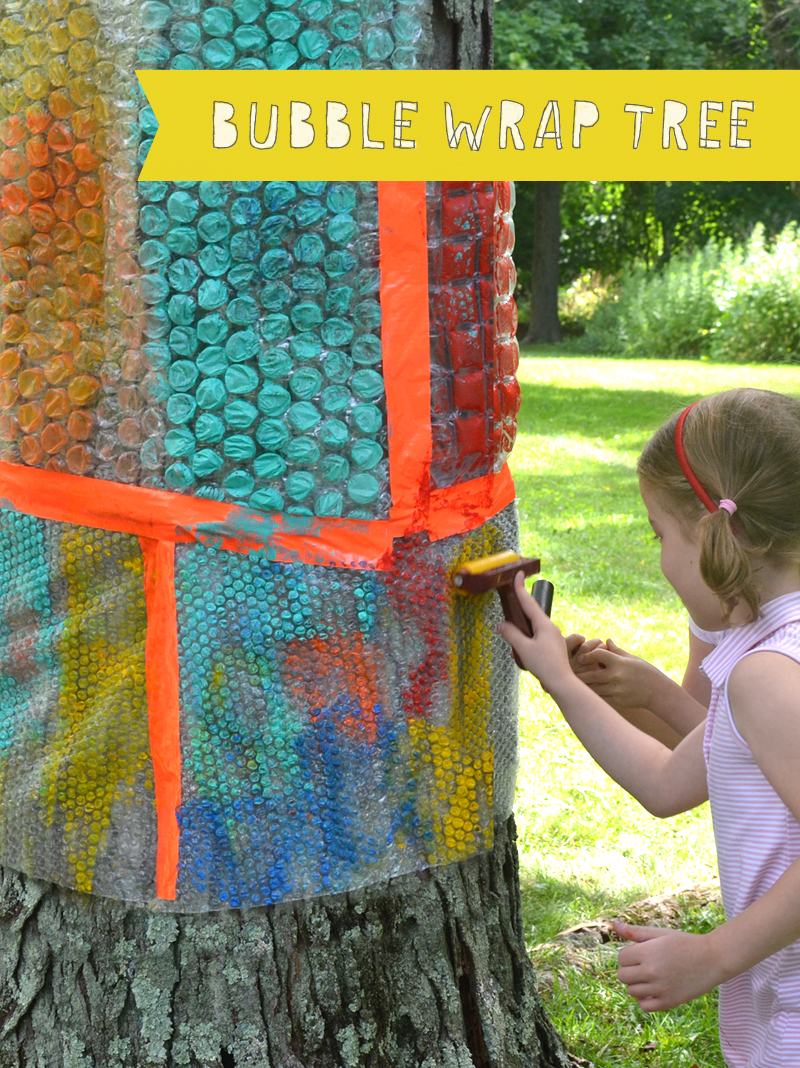
Are you ready for a really simple idea that guarantees hours of artistic exploration, where the mess is contained outside, and you’ll have the coolest art to hang on your wall, and your children will learn about color, shape, size, printmaking, taking turns, and you can use supplies you already have on hand? Then let me introduce you to the bubble wrap tree!
This post contains affiliate links. Thank you for your support!
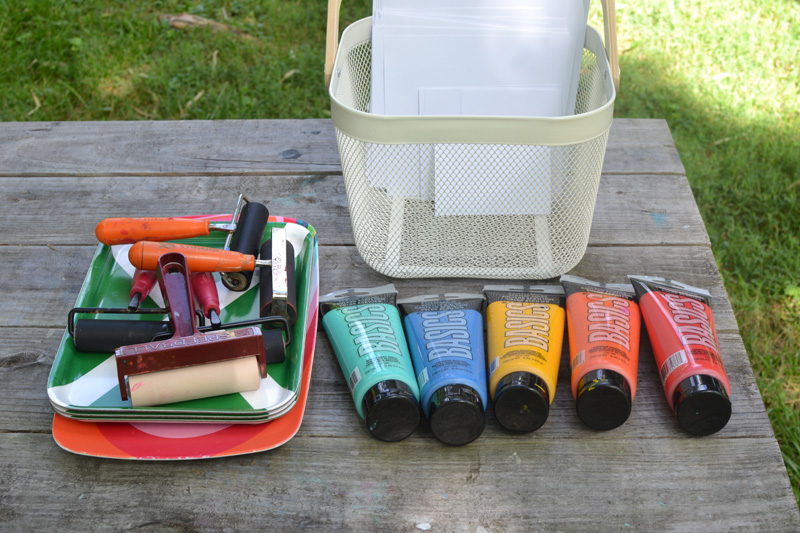
Supplies:
~ Bubble wrap (save from packages)
~ Small nails
~ Acrylic paints (which do not come out of clothes so replace these with tempera paints for younger kids)
~ Trays (mine are from Ikea)
~ Rollers or brayers (4-inch is fine)
~ Paper (I cut mine into smaller pieces)
Process:
~ This was actually a very simple set-up. I nailed the different pieces of bubble wrap to the tree (just a little nail in the corners). Then I used the duct tape to connect the seams.
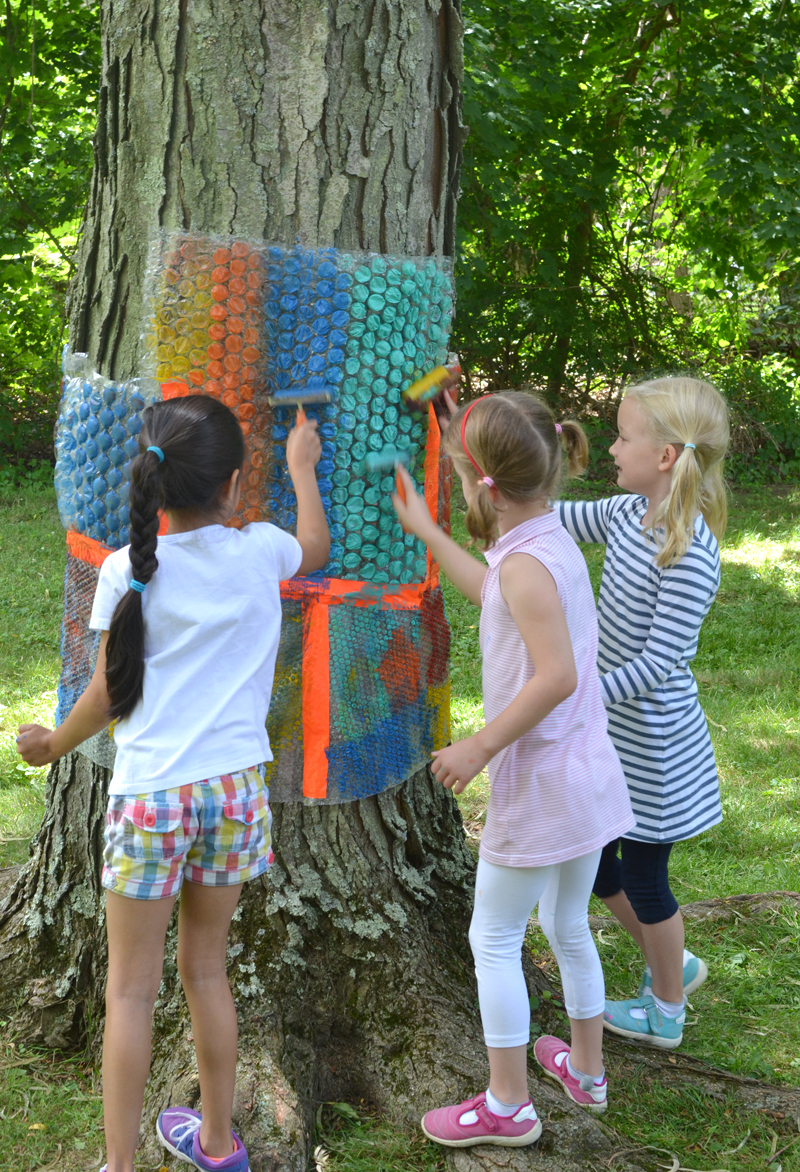
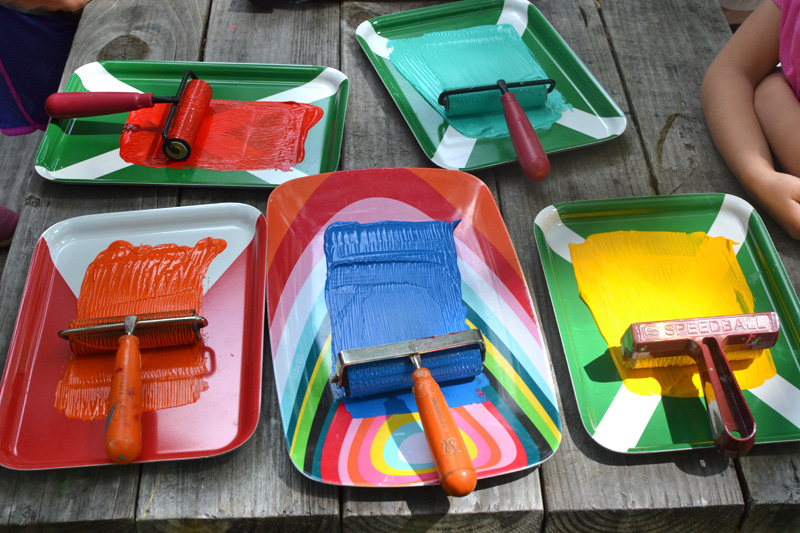
~ We rolled out some paint on the trays.
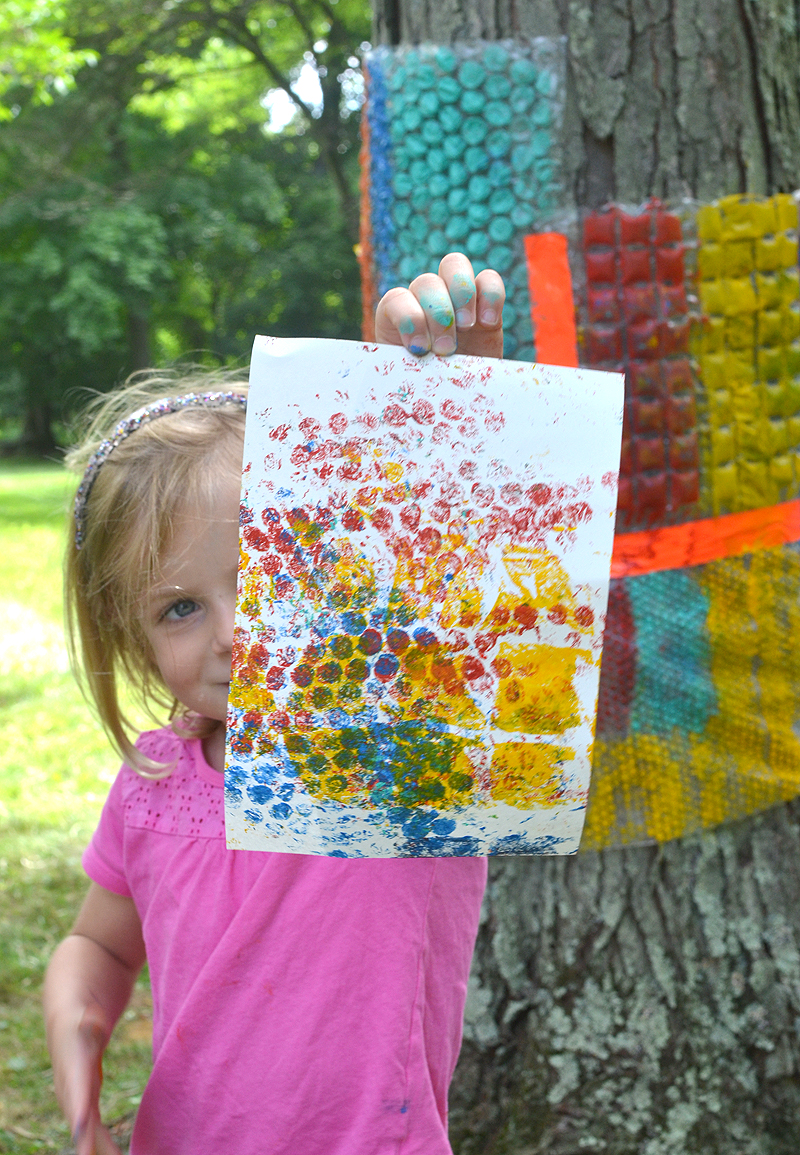
~ The children rolled paint, then ran to the tree and rolled on the bubble wrap. Then they ran back (yes, they ran every time! it’s called being excited), grabbed a piece of paper (my daughter helped out and wrote their names quickly as they wrapped), went to the tree, pressed down, went back and got a different colored roller or borrowed one from a friend, then pressed their paper down again.
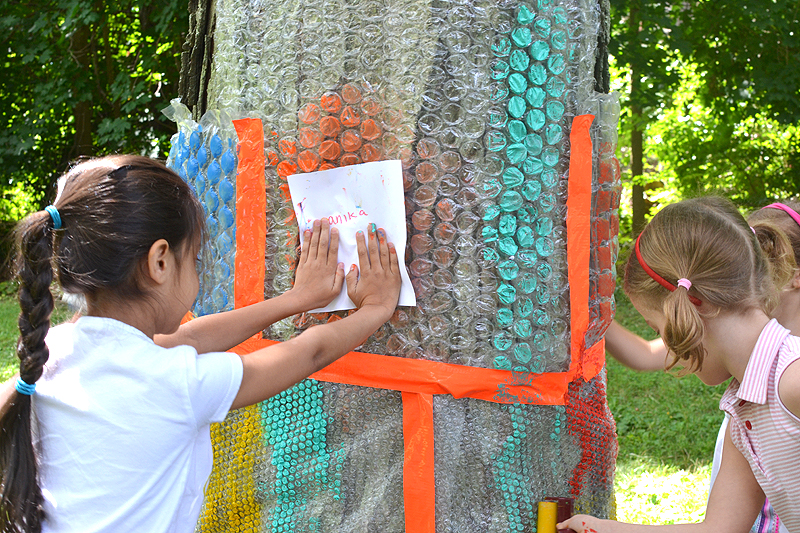
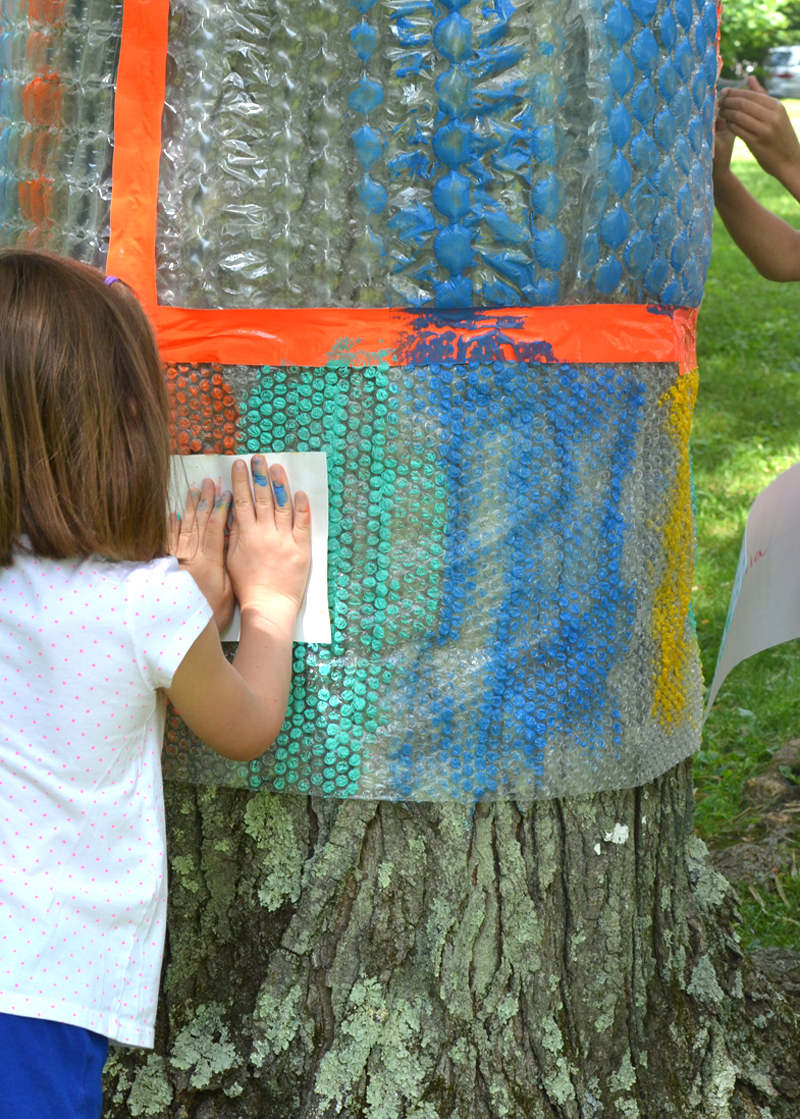
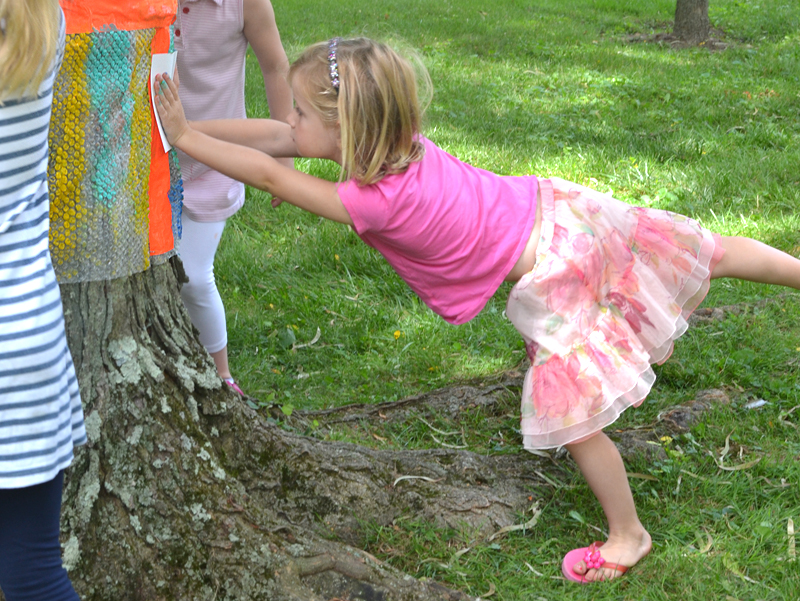
~ The pressing was just as fun as the rolling. They began to understand that these monoprints would be richer and deeper in color the harder they pressed, so they muscled up and pressed that tree.
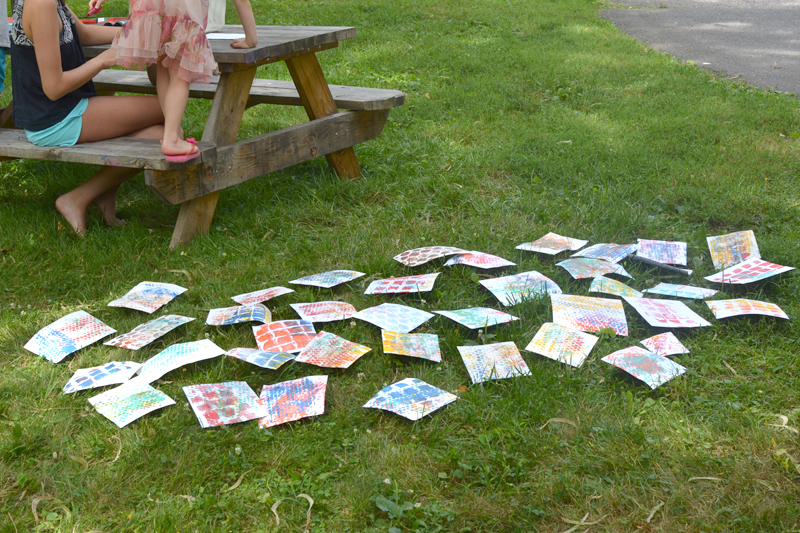
~ This photo is of all the prints on the ground, and my daughter writing the last name on the last piece of paper (which they fought over). I had to run inside and cut a whole new batch of paper because they didn’t want to stop!
~ I finally told them we had to be done. Parents were coming soon and we had to bring the prints inside and clean up. They were all sad that it was over. I mean, how awesome that we did this for 75 minutes and they still were not read to stop!
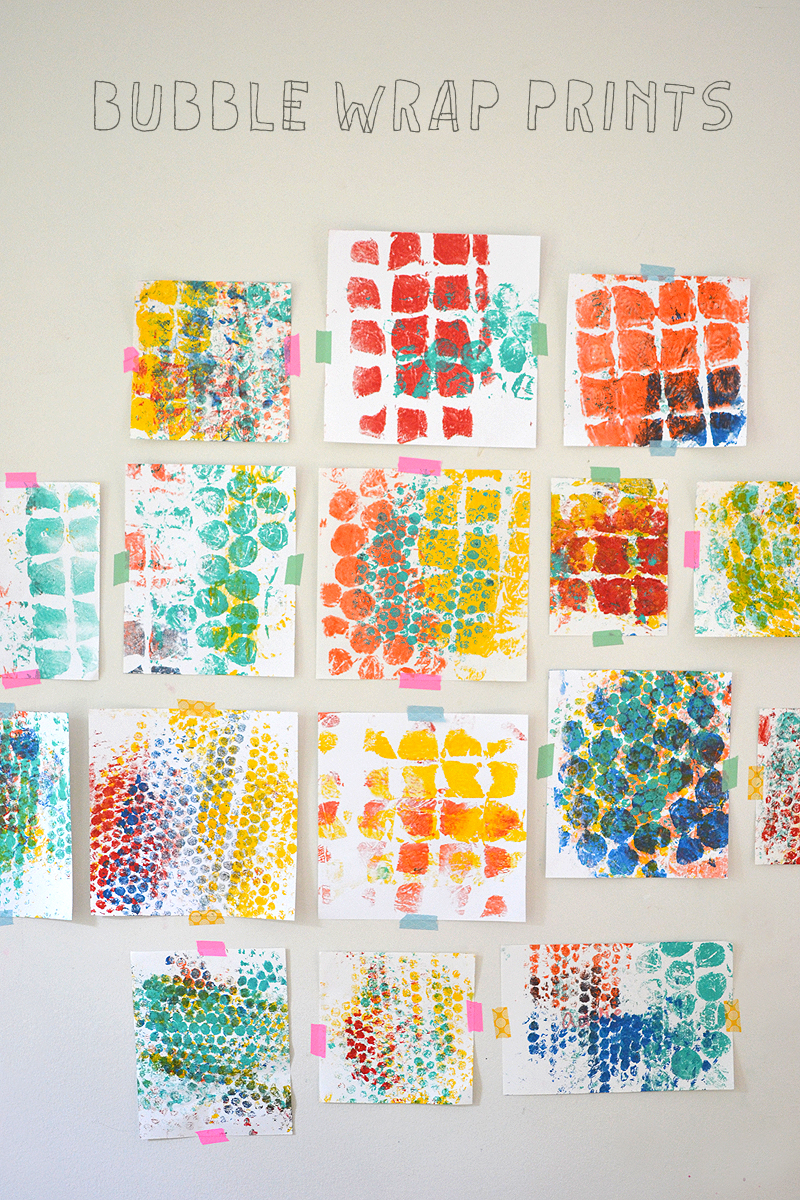
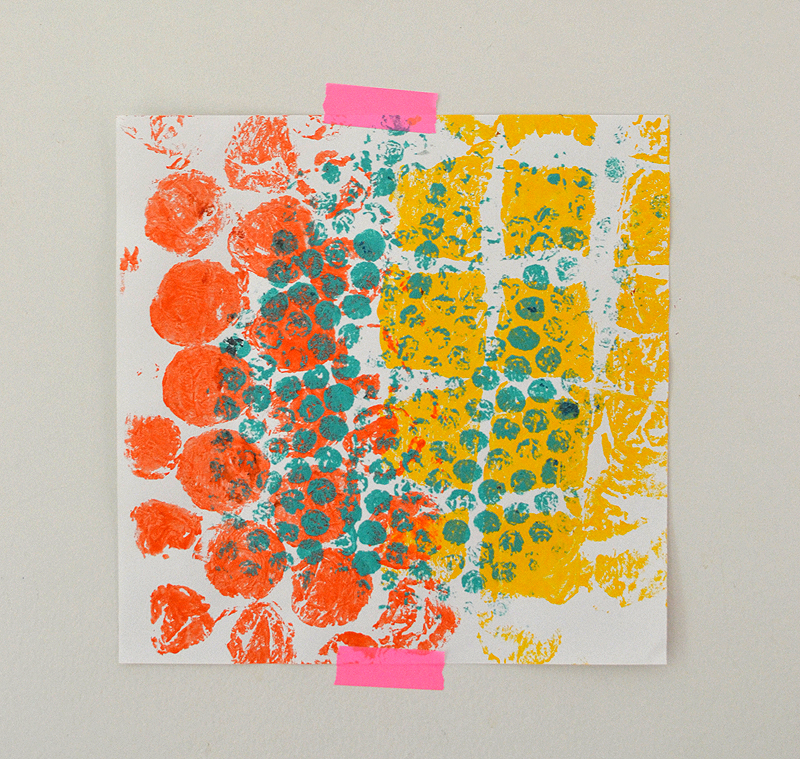
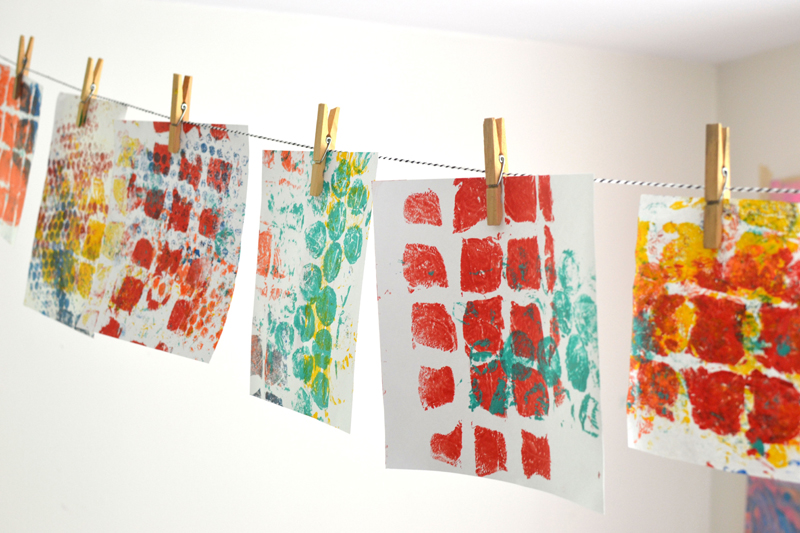
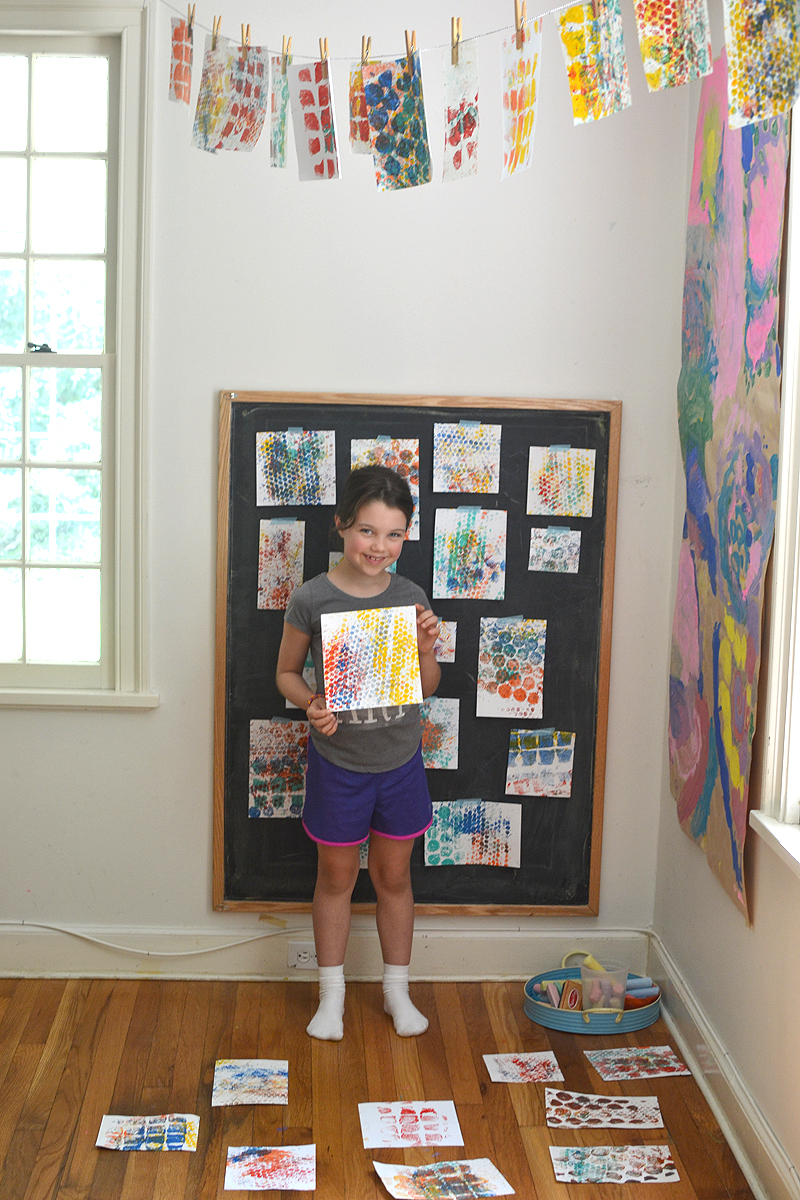
What I noticed after I hung them on the wall all together was that they resembled tire tread marks and shoe treads almost more than bubble wrap. I loved the contrast of all the different sizes and shapes, and the fact that no two were the same. Like snowflakes, they were all originals. And they made a fabulous statement up on that wall!
My friend Amber from Wee Warhols (a totally awesome art studio in Austin, Texas) was inspired by a photo I posted on Instagram the day we did this bubble wrap tree, and she took it one step further and created this totally awesome bubble wrap wall. You have to see it! Her blog is full of fantastic STEAM ideas, and I constantly shake my head at her elaborate and genius concoctions on Instagram and Facebook.
Oh, and my other friend Samara (who runs an art studio in LA called Purple Twig and who I interviewed last year) did bubble wrap prints on a table, so if you don’t have a tree you can totally do it inside on a flat surface.
I do hope you try these with your kiddos!!
xo, Bar
– – – – – – – – – – – – – – – –
PS: To foster creativity in your home, add these Beginner Art Supplies, and Favorite Craft Supplies to your art shelves.
PSS: Follow me on Instagram to see what I’m up to at the moment, and Facebook for tons more creative and artsy ideas.


Too cool! Love your cool title font too. Thanks for the mention, Amber
What kind of brayers?! Soft or hard? I’ve never used one.
hi Erica, the hard ones that are used for printmaking. There is a link in the post, but here is a link to a good one: https://amzn.to/2pLpd4W
Love this! I’ve tried on tablea ans walls, but the trees takes it to another level! I’m doing an outdoor festival on a beautiful wooded property in Washingon CT later this month and would love to add this idea to our project list. As always, thank you for the inspiration.