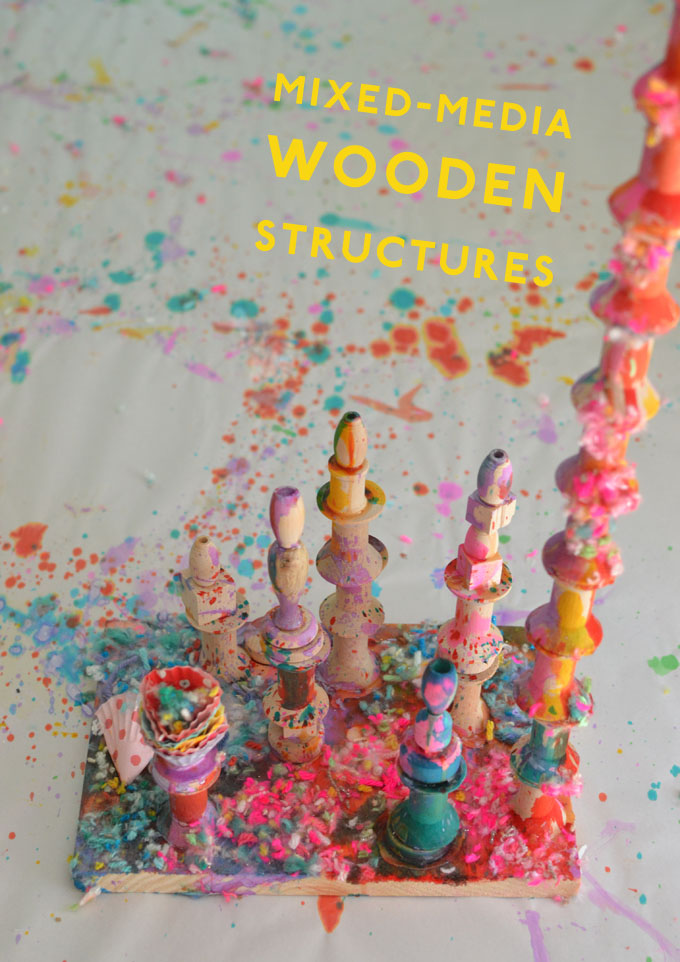
I remember the day my art students made these mixed-media wooden structures two summers ago. My husband came home from work and saw them all on the table (reference the last photo in this post) and said, “Are these Game of Thrones inspired?” and I was like WAIT A MINUTE!!! No, but now that you mention it OMG I want them to be, YESSS!!! We were in the middle of watching all the seasons and kind of in a very obsessed GOT phase.
I really wanted to call this post Game of Thrones Inspired Wooden Structures, but I went with the more “SEO friendly” title (bor-ring).
I do love when an outsider comes in and sees something that I didn’t see. I can always thank my husband for that perspective.
Read on to find out the simple supplies and technique we used to make them!
[ I am a participant in the Amazon Services LLC Associates Program, an affiliate advertising program designed to provide a means for us to earn small fees at no cost to you by linking to Amazon.com and affiliated sites. ]
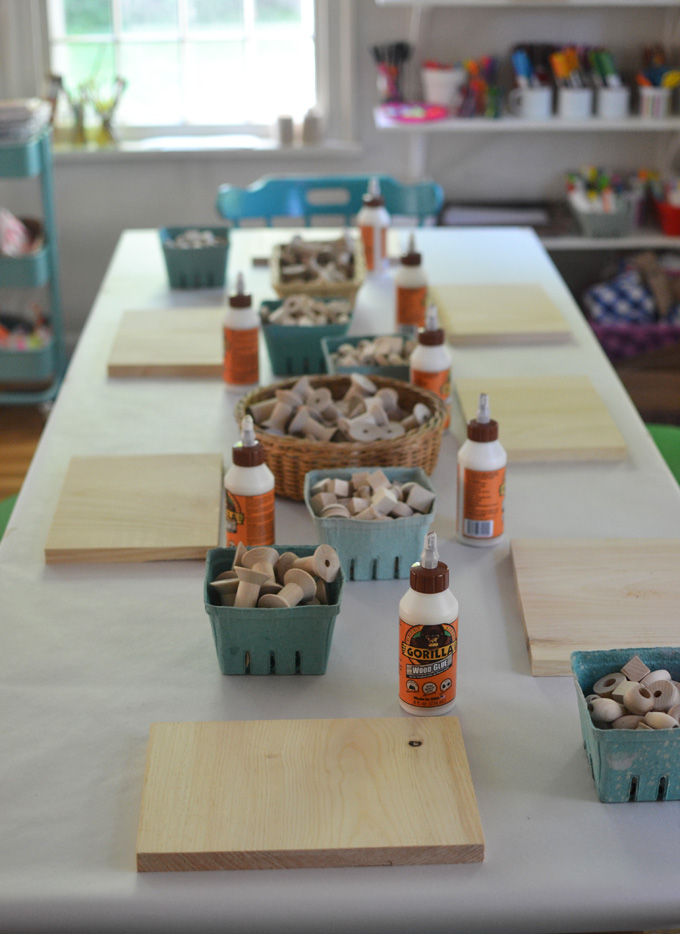
Supplies needed for Mixed-Media Wooden Structures:
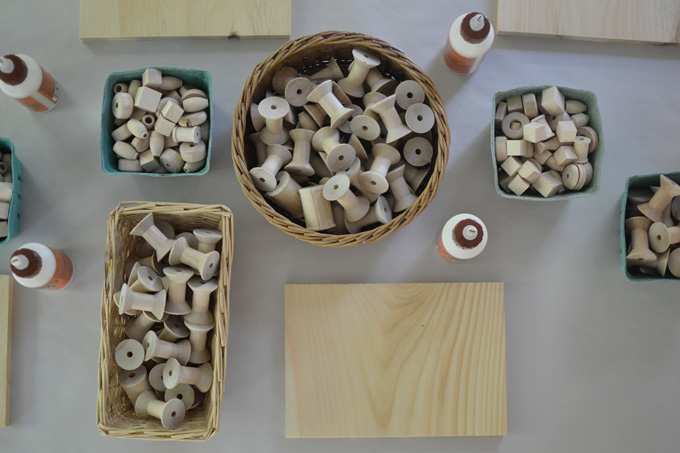
~ Wooden pieces (spools, cubes, etc.)
~ Wood base (I got mine at Home Depot, I had them cut a long board, but I’ve also had luck at our high school’s wood shop where I pick up scraps for free)
~ Yarn scraps (ours were collected from pom-pom trimmings)
~ Cupcake liners (cut in half and rolled together and staples to make cones)
~ Elmer’s glue (we put our in a bowl with a brush for easy spreading)
How to make Mixed-Media Wooden Structures:
1. On the first day, I set the table up with the wooden pieces, the wooden base, and the wood glue. I told them they could build anything they wanted.
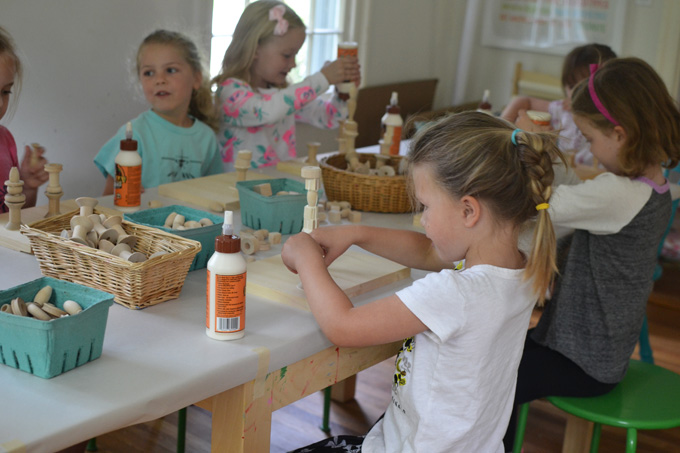
2. Everyone tackled this project in a different way. Some wanted to fill the base first, then stack. Some wanted to stack just one tower right away. My only encouragement was for those who were working on just one tower to think about adding more to the base. Other than that, I let them chat and squeeze and build.
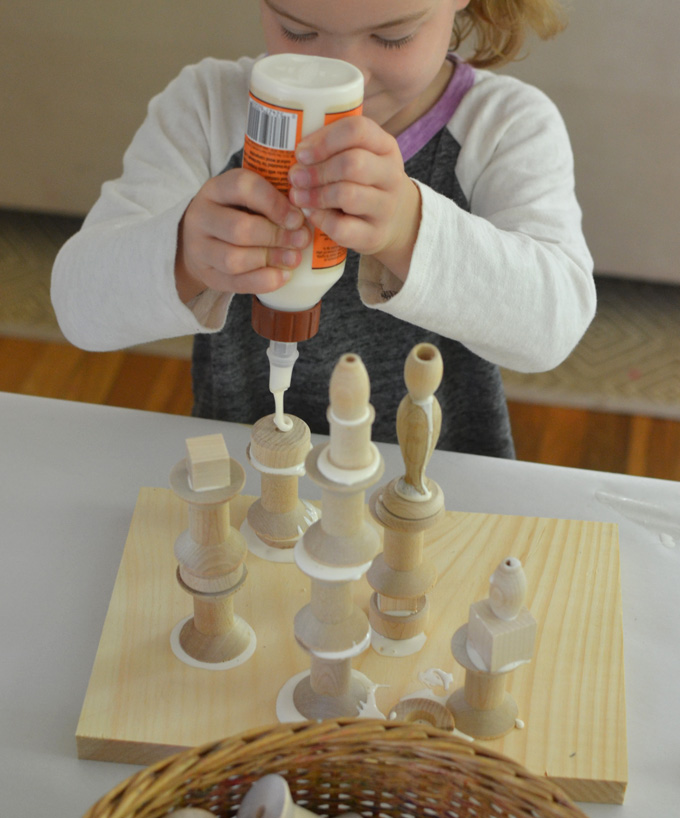
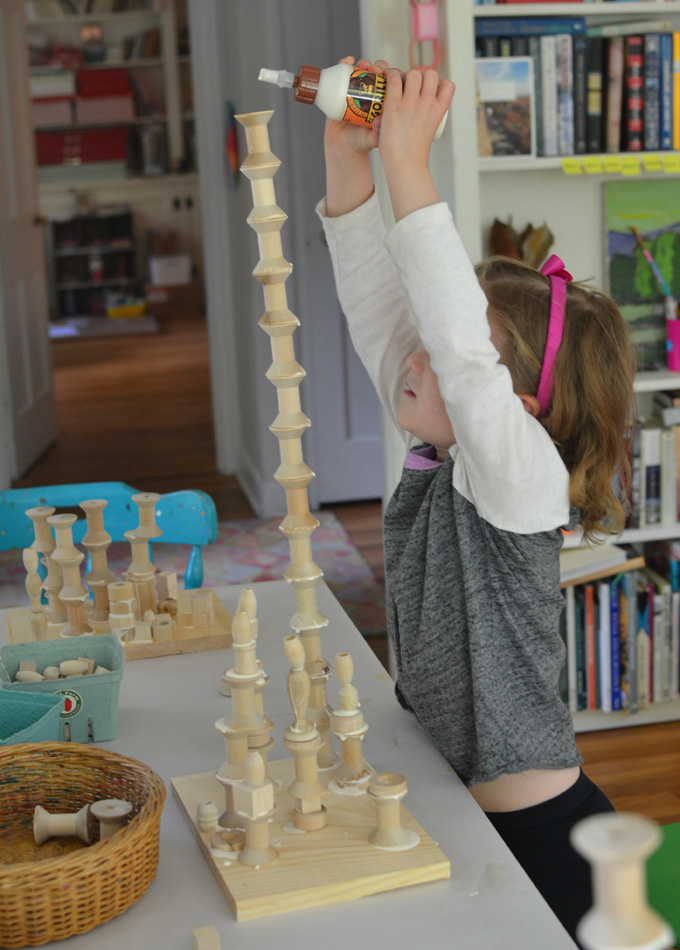
3. Two children went as tall as they could. They found it so exciting to see how high they could stack their wooden pieces. They did ask me if they could stand on the chair and continue, but I nixed that idea for two reasons. I didn’t want them to topple off the stool while trying to reach up high, and I also thought it would be hard to carry home if it got too tall. So they went as high as their arms could reach, standing on tippy toes.
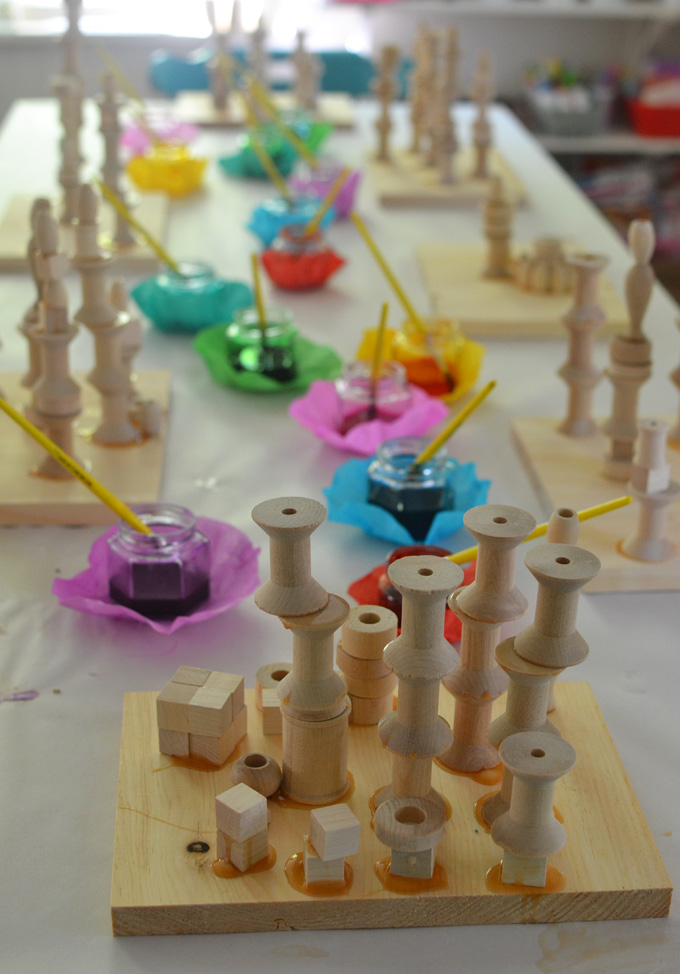
4. The next day, I set out their dried structures with some liquid watercolors and let them paint.
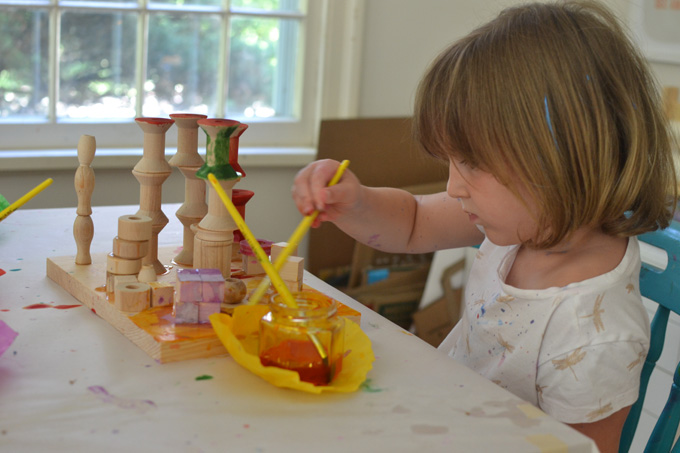
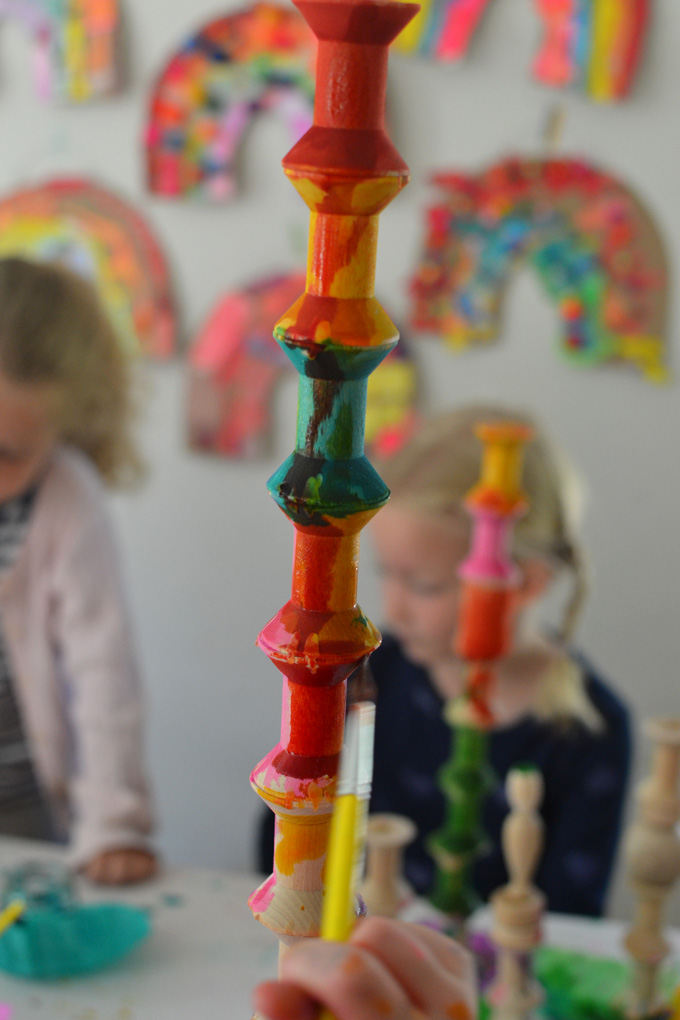
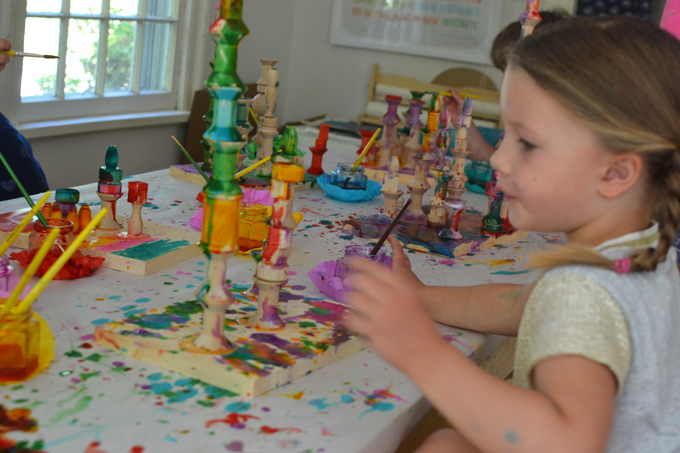
6. They painted carefully at first, but then started splatter painting (which happens pretty much every time I bring out the liquid watercolors).
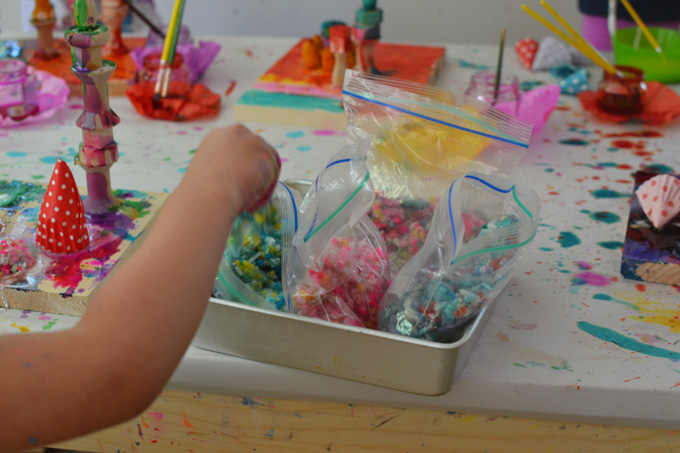
7. As kids were finishing kind of quickly, I ran to my office to grab some more supplies… anything to keep extend this project. I had another half hour to fill (I know you know how that goes)! I grabbed bags of yarn clippings that I had been saving for something (I guess this was it!), and some little hats I had made from cupcake liners that I was going to use in a puppet-making project.
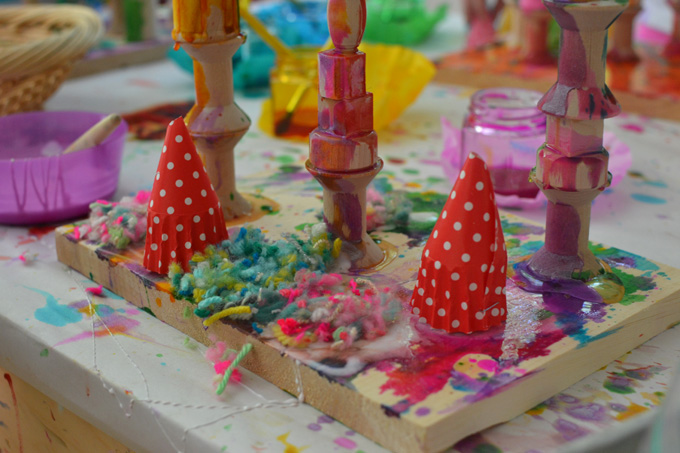
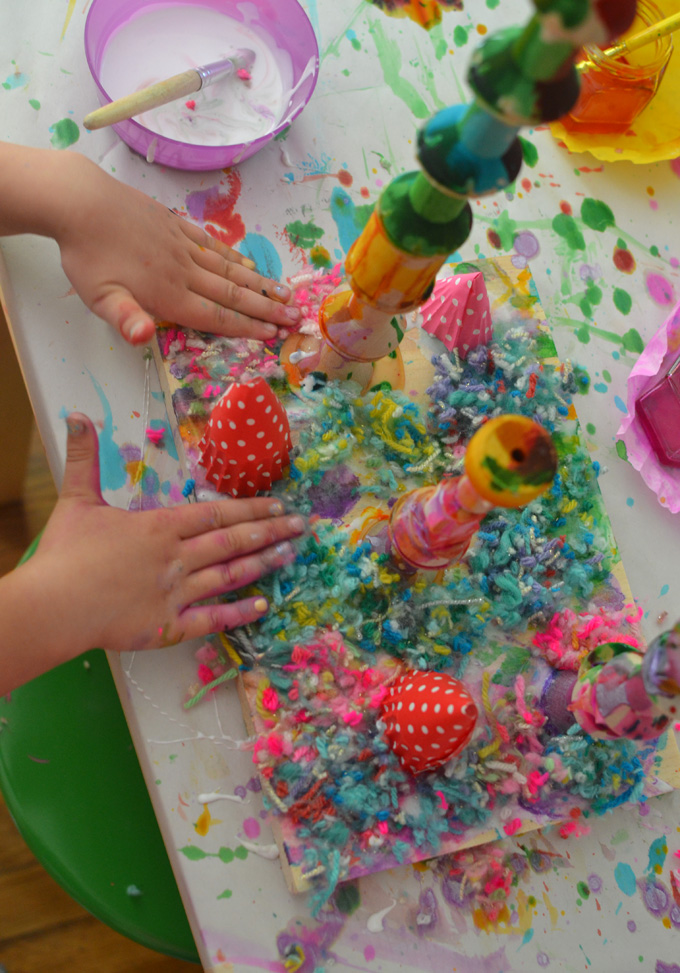
8. I absolutely LOVE the contrast between the hard wood and soft, fuzzy yarn. They just have such a textural feeling to them now. And the little polk-dot cones added yet another fun and colorful element.
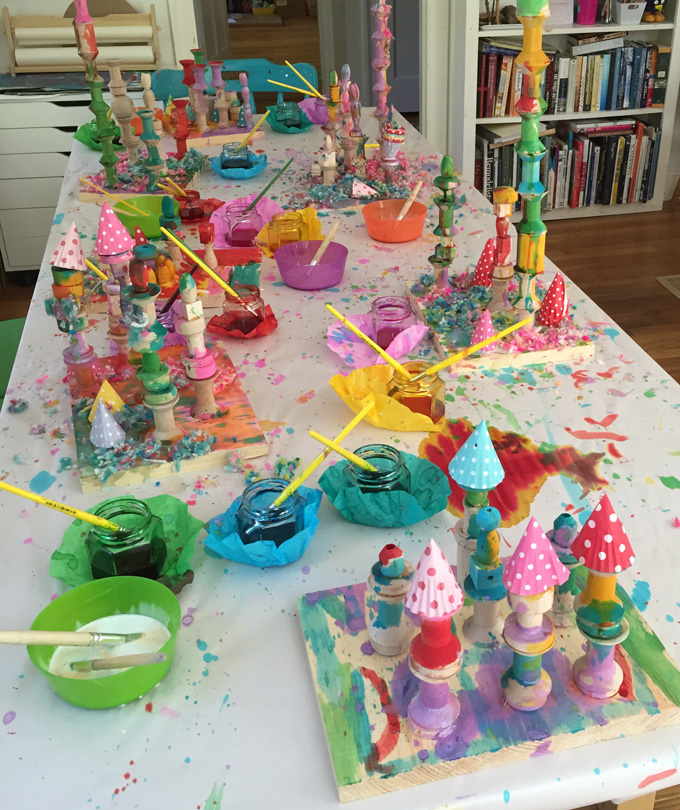
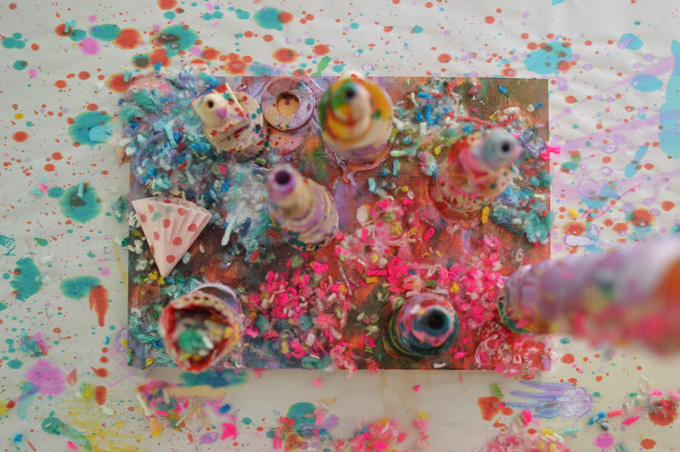
9. I am obsessed with the way they look from above, too.
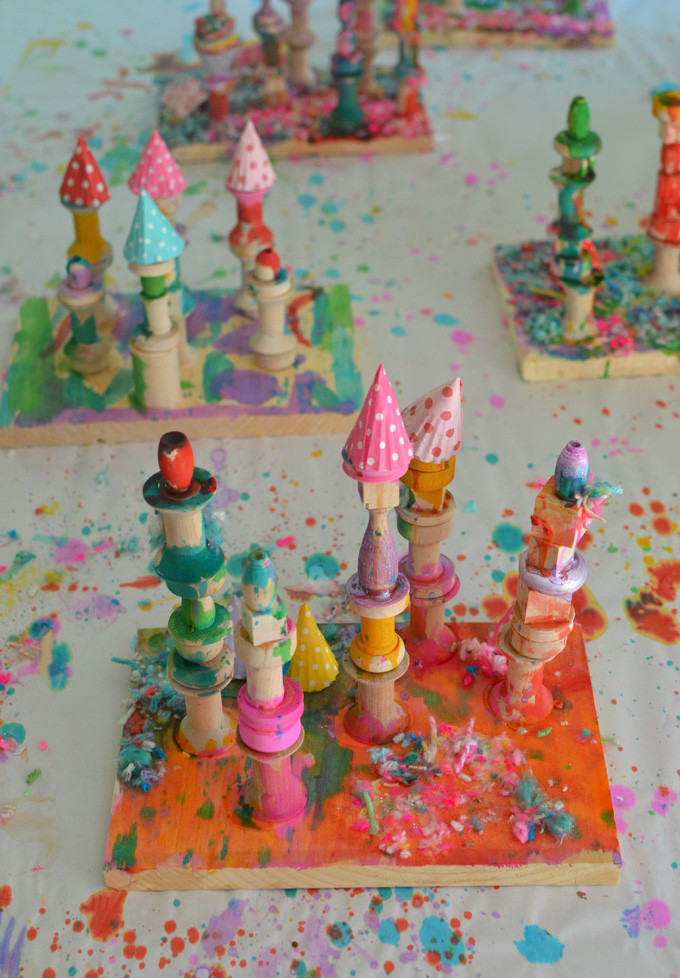
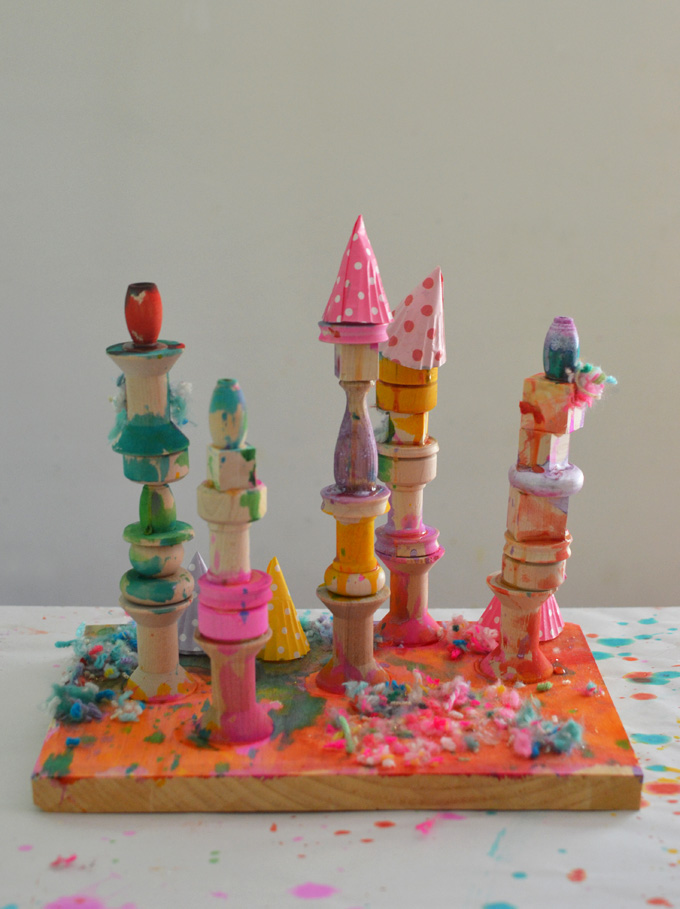

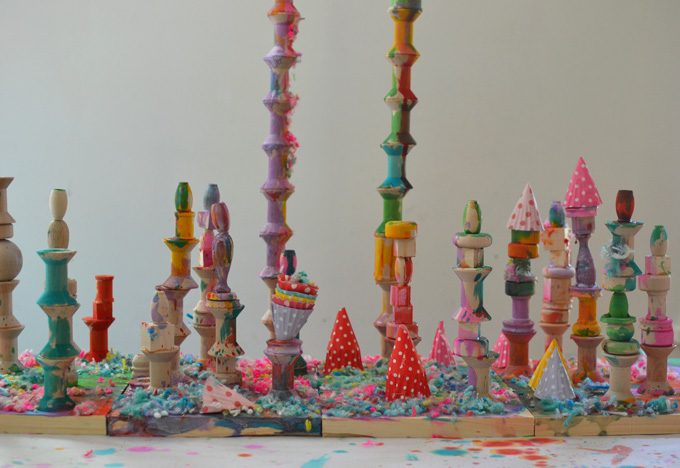
Here is the way the structures looked when my husband came home from work. They DO look like the Game of Thrones intro where the castles are rising from the earth!!
Another fantastic idea for creating mixed-media wooden sculptures is to use colored rice, buttons, and puzzle pieces, like Purple Twig did! You should click over and see these, they’re pretty great.
xo, Bar
– – – – – – – – – – – – – – – – – – – –


Leave a Reply