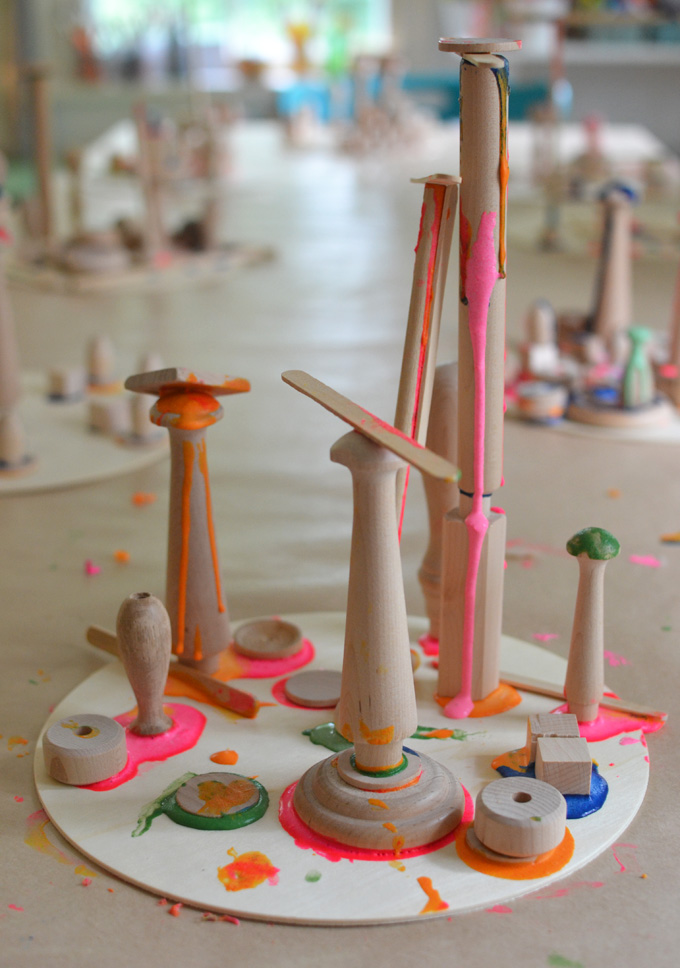
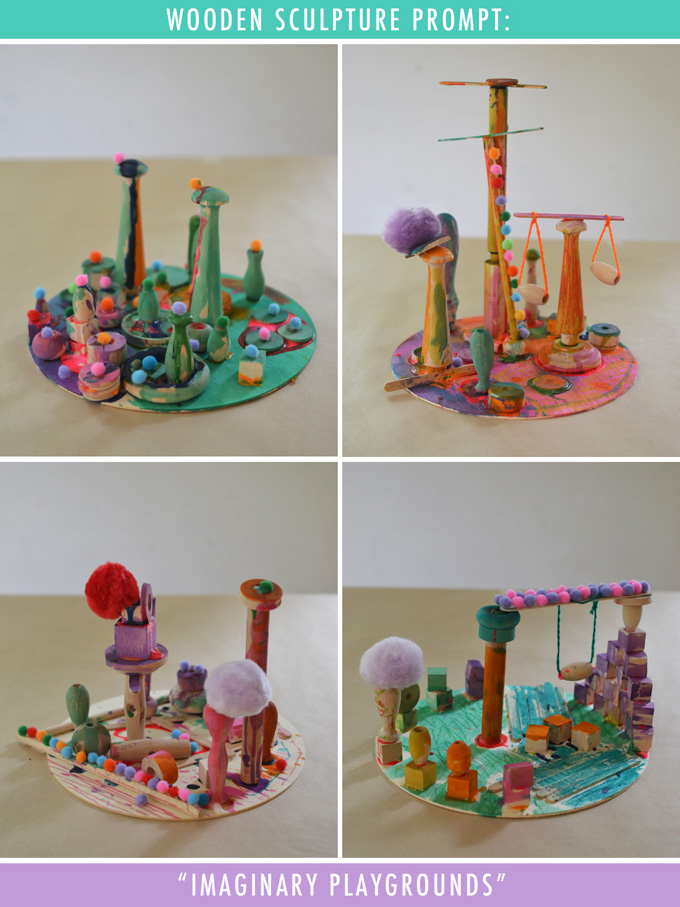
One of my favorite process art experiences for my art students is setting out wooden pieces and letting them make sculptures. On this day, I gave them the prompt to make imaginary playgrounds. I love what they created so much! How cool would these be if they were life-sized? I think all playgrounds should be designed by children.
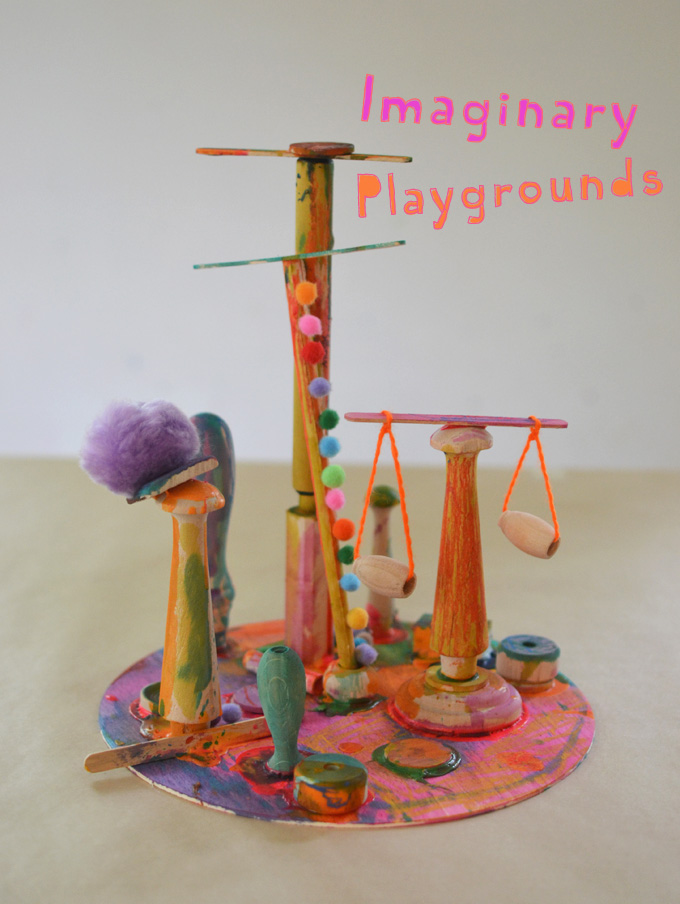
I especially love the different design elements going on in these playgrounds: Shape, color, texture, form, balance. Not to mention working on small motor skills, and patience. For all these reasons, this is in all-around fantastic art project for children, and one that you can do over and over again with different variations.
[ I am a participant in the Amazon Services LLC Associates Program, an affiliate advertising program designed to provide a means for us to earn small fees at no cost to you by linking to Amazon.com and affiliated sites. ]
Supplies needed to make Imaginary Playgrounds:
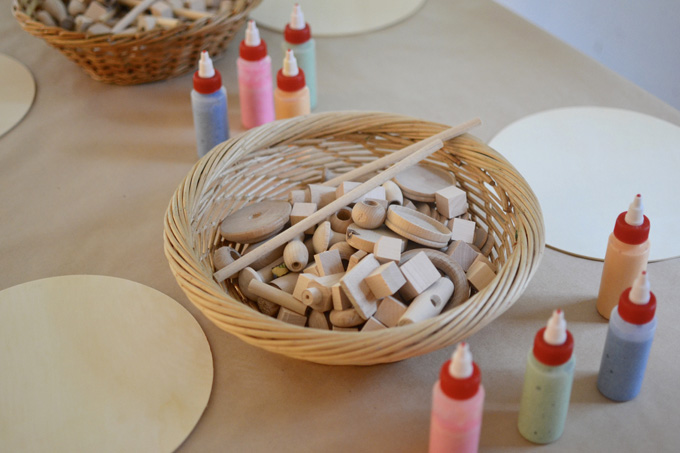
~ Wooden base (we used these round ones)
~ Wooden bits (beads, rings, cubes, parts, craft sticks, dowels)
~ Colored glue (white glue mixed with tempera paints)
~ Oil pastels
~ Pom-poms
~ Yarn
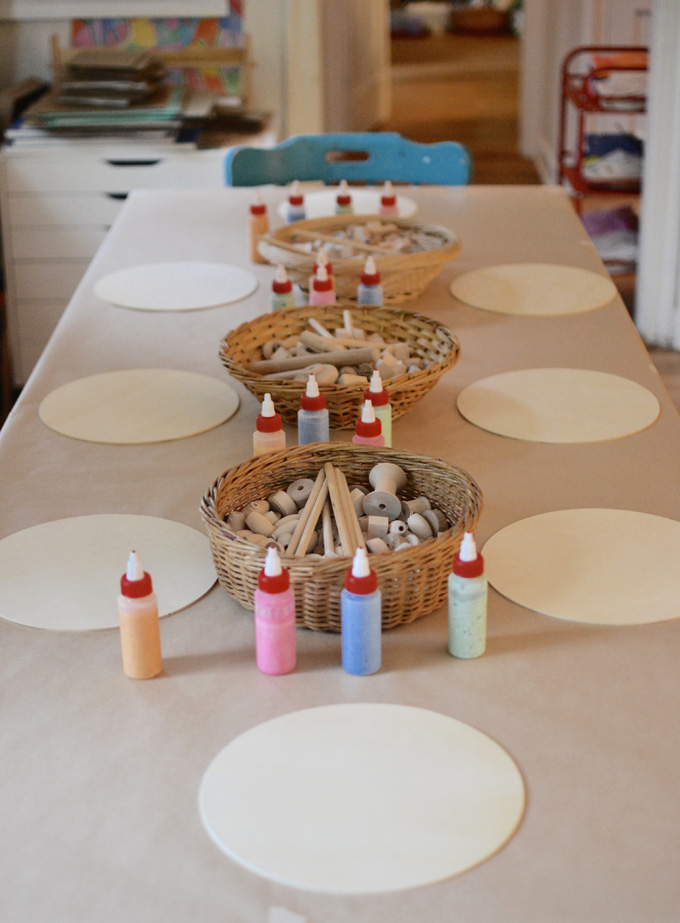
Steps to making Imaginary Playgrounds:
1. Set out the wooden bases, wooden pieces, and colored glue. To make the colored glue, I mixed white glue with tempera paint, about half and half. But you can also just add a few drops of food coloring to the glue.
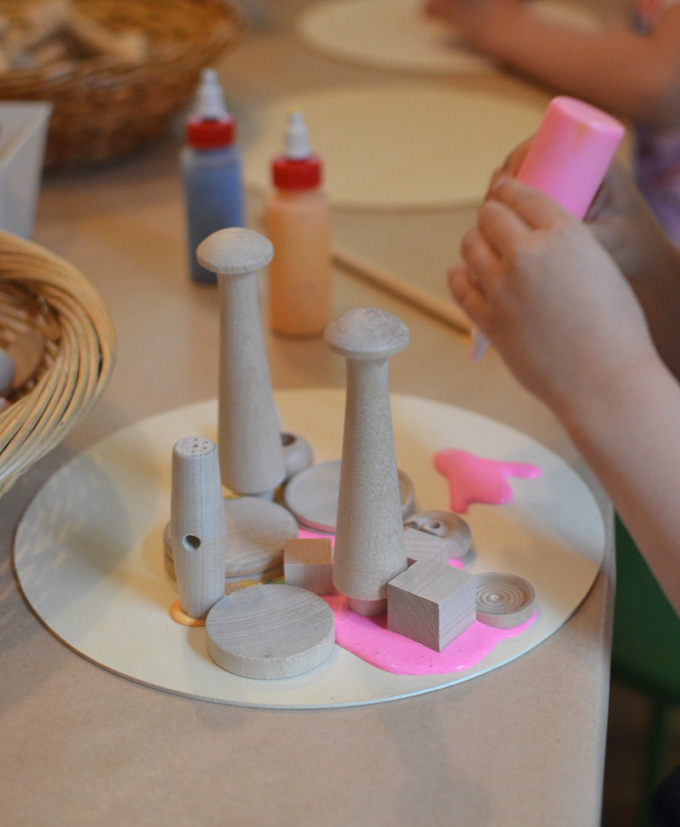
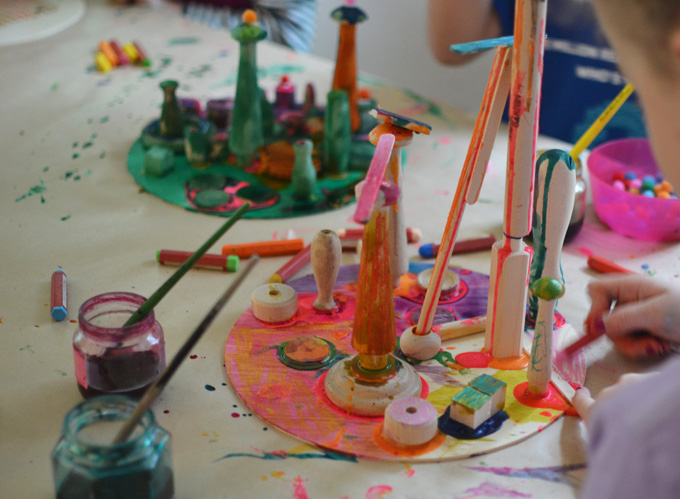
2. The children start gluing their pieces, figuring out how to design their playground and balance the wooden pieces.
3. This is the one time I actually encouraged the kids to use more glue than needed. The dripping glue adds a really cool element to the design.

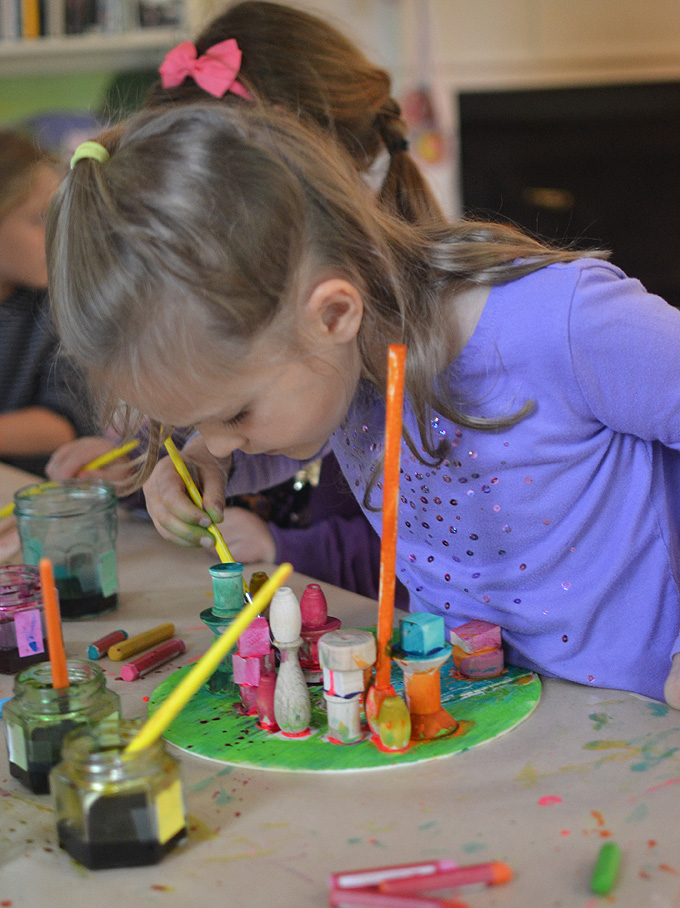
4. Once the pieces have dried overnight, set them back out on the table with liquid watercolors and oil pastels.
5. I let my students fully finish coloring their playgrounds before I brought out the pom-poms and yarn. Bringing materials out in stages extends the project and keeps everyone working at the same pace.
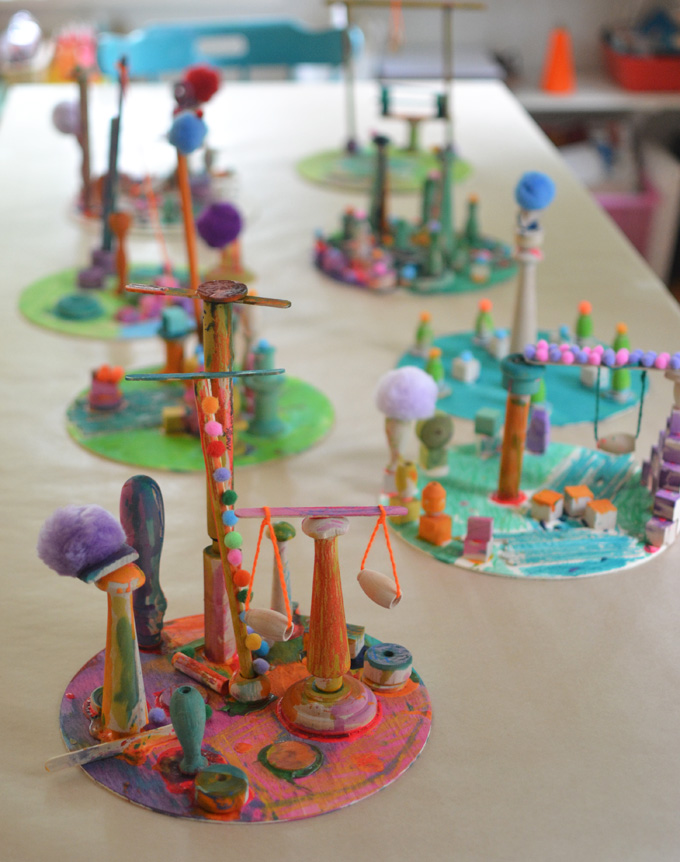
6. The finished pieces just blew me away! So colorful and artsy and creative.
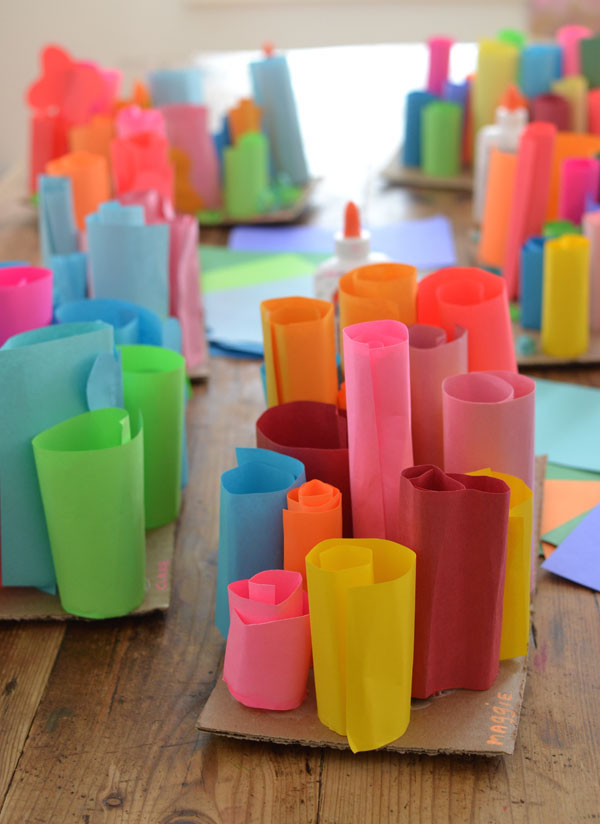
I love how my friends, Kim from Beehive Art, Jennifer from Small Hands Big Art, and Samara from Purple Twig, use wood with their art students. The possibilities are endless!
xo, Bar
– – – – – – – – – – – – – – – – – – – –
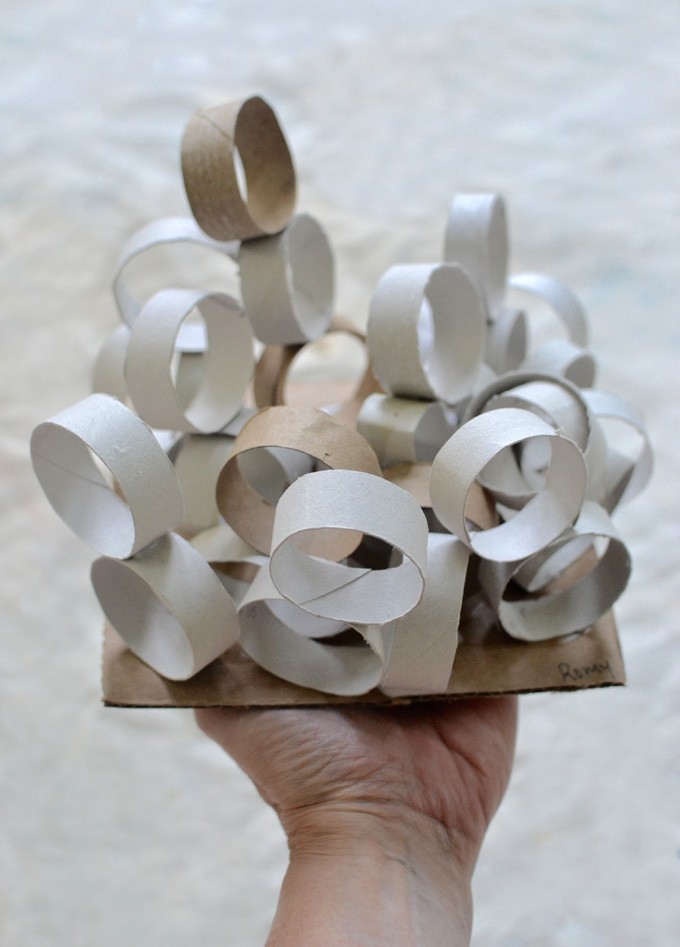
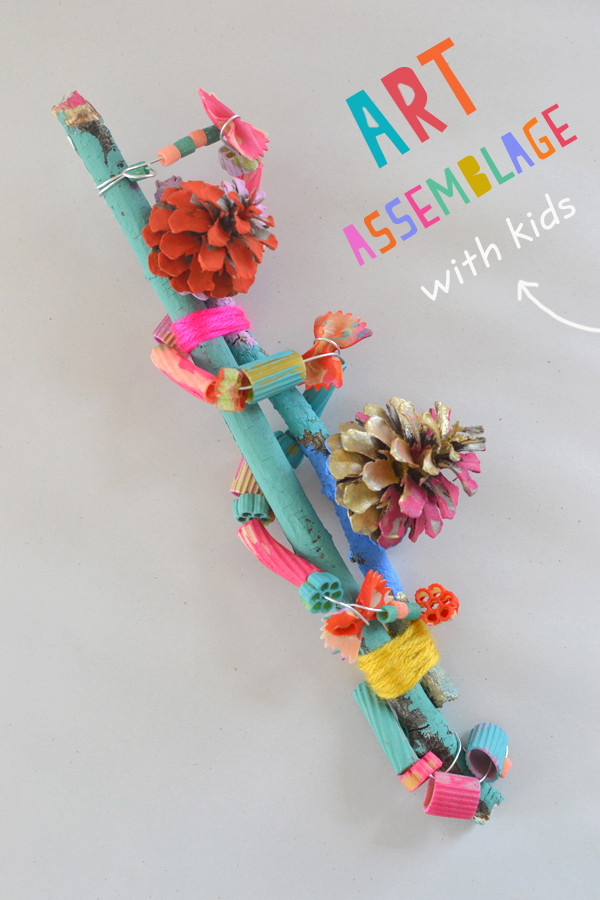
Did you like this post? Here are more sculpture ideas for kids:


I can’t wait to try it! Thanks for the great list of materials.
This is so perfect for a STEAM classroom! I really appreciate the paint/glue mixture tip!!
yay! so glad this will work for your classroom 🙂 xo Bar
Hello! I love these sculptures and would like to try them with my elementary students, but I’m concerned that the glue will not hold. Did you have any issues with the pieces breaking off once the children began adding details on day two?
Thank you for the wonderful idea!
hi Leah, no I didn’t have any issues with the glue not holding. They used A LOT of glue, so when it dried it was very sturdy! we also used Wood Glue I believe, which made it sturdier. Good luck!!! xx Bar
Hello! This looks like an exciting project. Is there any recommended age for this? Can 3 year olds do this?
Hi, yes 3-yr olds can do this! They would love using the glue and adding paint and other materials. It may not look the same, but they would be learning new skills and enjoying the process! ~ Bar