We make sun prints in art camp every year. I was scrolling back through photos recently and wondered why I have never written about this very cool and exciting process on my blog? I think it’s because this is not a new thing and I never have done anything cool with the prints, like my friend Samara from Purple Twig does with her kids’ prints (here, here and here). But still… I at least need to share this project with you on the off-chance you’ve never done it before. So here I am, telling you to DO IT!! Your kids will not believe their eyes.

[ I am a participant in the Amazon Services LLC Associates Program, an affiliate advertising program designed to provide a means for us to earn small fees at no cost to you by linking to Amazon.com and affiliated sites. ]
Supplies needed to make Sun Prints with Kids:
~ A tray or piece of cardboard bigger than the paper
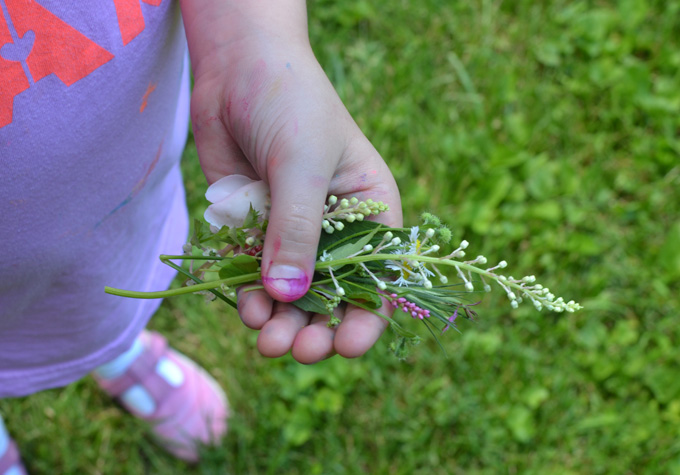
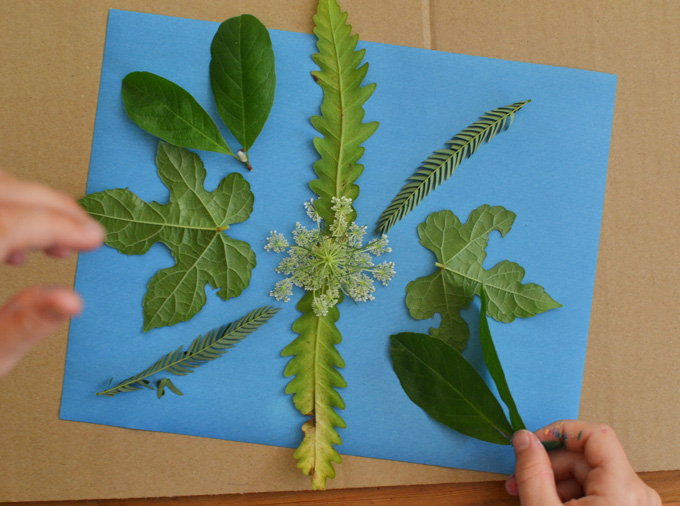
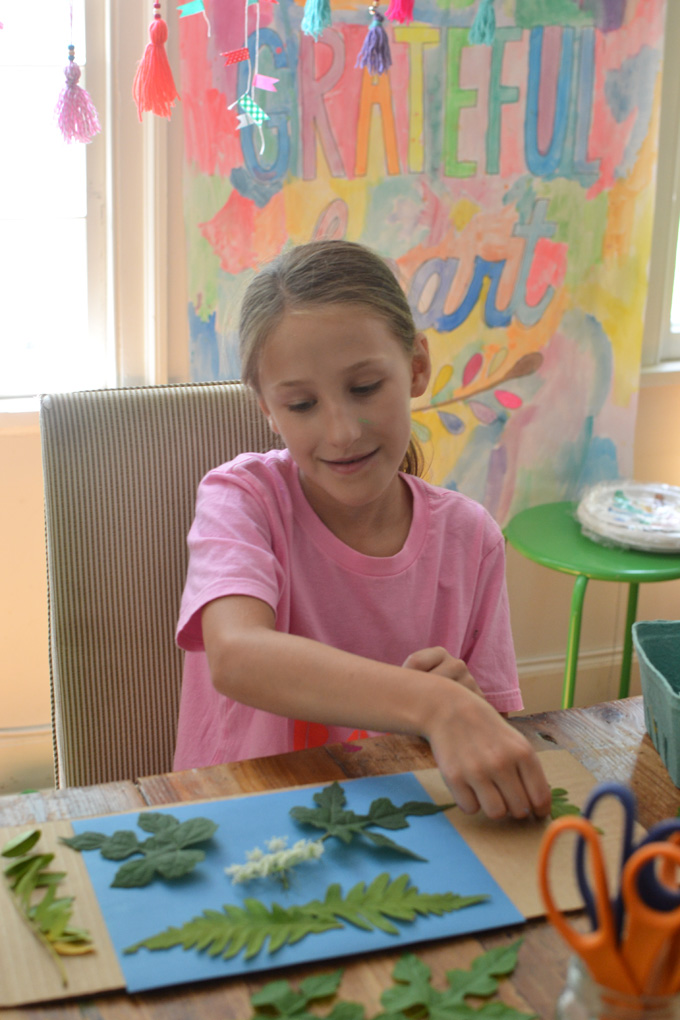
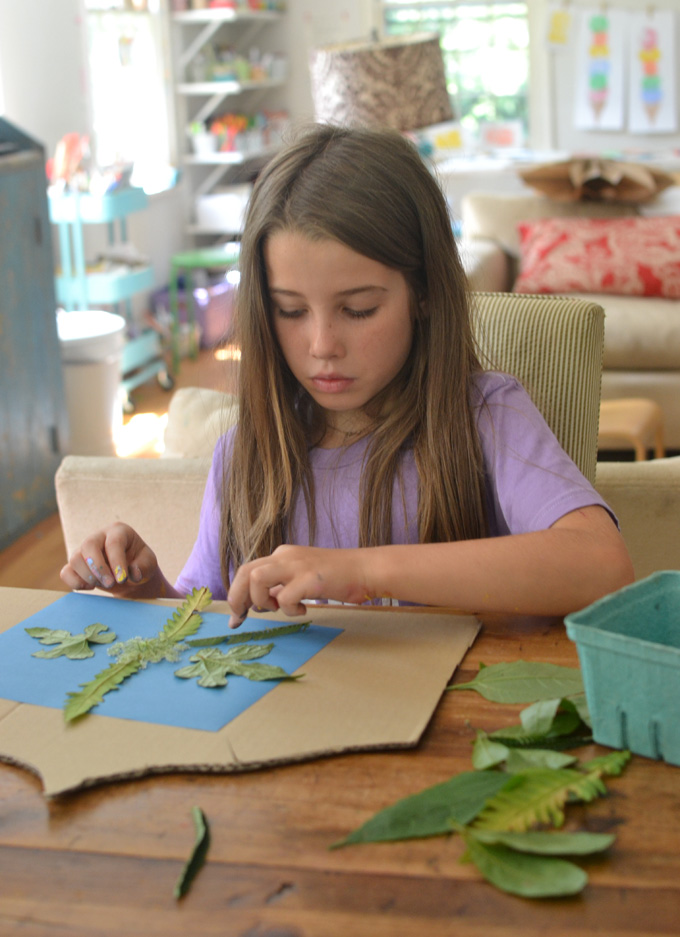
~ Collected nature specimens from outside, or small found objects
~ Piece of glass plexiglass to lay on top of specimens (optional)
Step-by-step instructions to make Sun Prints:
1. The paper comes out a medium blue color. It is light sensitive so the minute you take it out of it’s package it starts to expose. We did not go into a dark room, but if you really want to take your time with your layout, you might want to do that. Put the paper on top of a tray or piece of cardboard. Then lay out your design.
2. We usually do this without putting a piece of glass or plexiglass on top. We just walk really slowly outside. The one time I did buy plexiglass sheets, it didn’t even work that well. The plexiglass is static-y so when you lay it on top it shifts the pieces which is frustrating. I’m sure there is a better way to lay it on top, but I like not using a cover with kids. Obviously you’ll want to do this on a day with no wind!
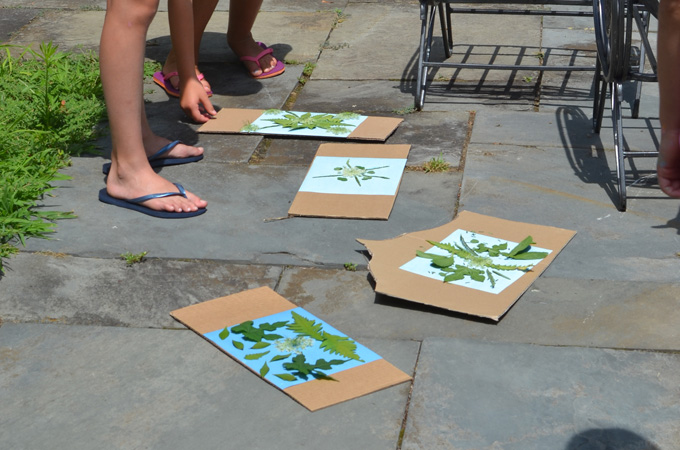
3. Be very careful when putting it down on the ground that nothing shifts. If you are in bright sun, the paper will start to expose and turn very quickly, so if leaves move then the image becomes blurry.
4. Time exposure is really fast in the sun. It took only about 5 minutes. You will see the paper turn white. Underneath the leaves the paper stays dark. If you are doing this on an overcast day, it could take up to half an hour. You want the paper to be as close to white as possible.
5. Bring the paper inside and immediately run it under water. This will wash off the chemicals and miraculously, the white paper will turn dark blue and the leaf shapes will turn white. It’s bonkers how cool (and addictive) this is.
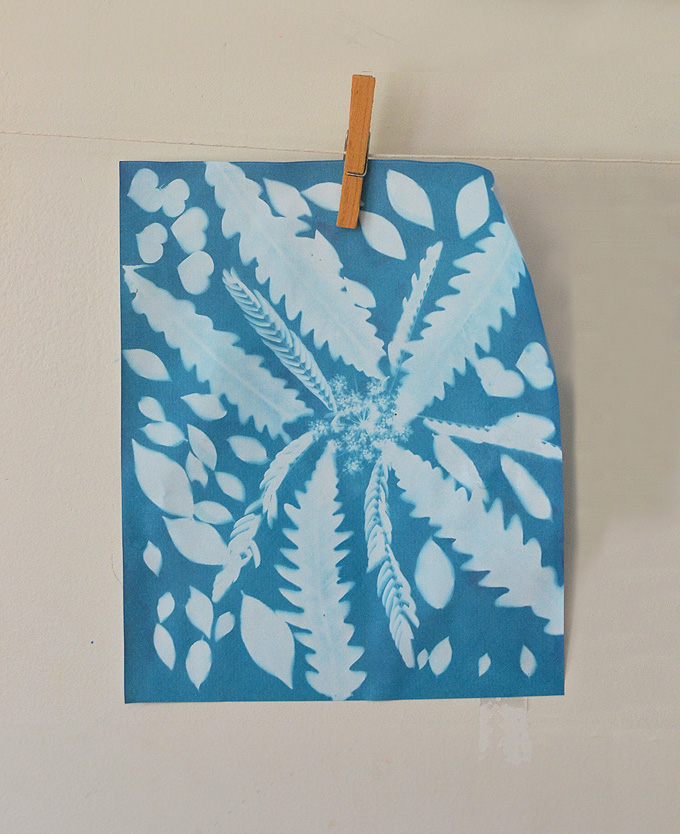
Hang up to dry and then you can frame it! I love the look of a whole bunch of these on a wall.
Here are some more brilliant Sun Print projects for you.
Some to do with your kids, and some just for YOU. It’s ok, you can do all of them yourself if you want 😉
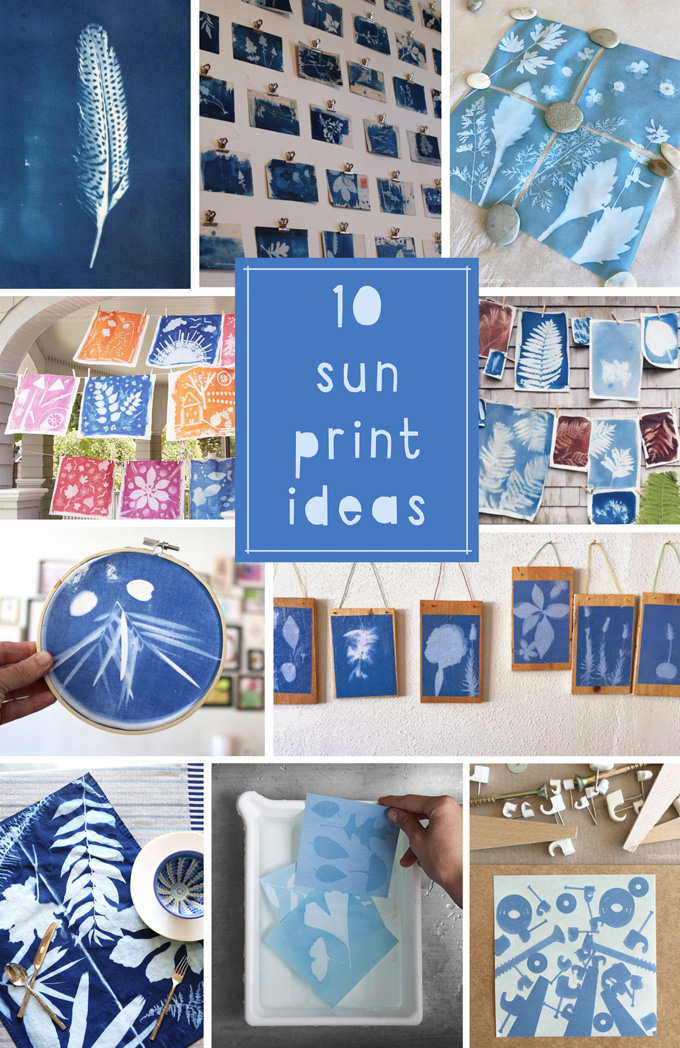
Clockwise from top left:
1. Use feathers. I love this lone feather, it’s so artsy.
2. Artist Hanna Lamb makes cyanotypes of weeds of old postcards. Very inspiring.
3. Natalie from schaeresteipapier has got these sun prints all figured out. I love how these four pieces all flow into each other.
4. Martha Stewart uses light-sensitive solution on thick paper. Gorgeous! Love the browns.
5. Samara from Purple Twig uses mod podge and mounts her sun prints on wood. A lovely keepsake.
6. Natalie from schaeresteipapier does some more sun prints, and this time uses found objects. I love when she hangs the geometric and organic ones together. So satisfying.
7. Great idea from Design Sponge to cut the paper into smaller pieces and use them as place cards.
8. Did you know you can order cyanotype tea towels? Already covered with light-sensitive solution. These from Jungalow are gorgeous.
9. Purple Twig does it again, this time in the round.
10. These fabric wall hangings from Parents uses a special Inkodye that comes in different colors!
Enjoy! I hope you get to do some of these. I know I will.
xo Bar
– – – – – – – – – – – – – – – – – – – –


Really fun post! So many things you can create with the sun!
bonjour j’ai fait ça il y a 20 ans mais les peintures en france ont ete supprimees !!!!please je voudrai des addresses et des marque ou sites ou je pourrai commander ;merci pour vos belles realisations !
hi Nicole, the supply list in the post should have all the links you need. good luck! xx Bar
Very nice All the work with kids!! The only thing I wouldn’t suggest is painting the marshmallows, It’s not good for kids to do that with food. There áre many kids that do not have food.,AND they have to appreciate it.
Thanks for all the creativity!!
hi Vilma, as I stated in the post, marshmallows are not food. they are just sugar and chemicals, so I’m ok using them in art. otherwise I agree that it’s best to not waste food in art projects. xx Bar
Hi Barbara,
Thanks for the post. So, my question is twofold…firstly, the area in which we will be arranging our designs on the sunprint paper will have some natural light; not direct sunlight, but definitely natural light. Is this a problem? Also, we live in Ireland – although the weather is glorious right now, generally we cannot not rely on the weather in Ireland. So, I f I was to place the finished designs at the inside of a window, for exposure, then would that we be enough to get a significant result? Keep in mind many days are overcast. Does the sunprint paper need direct bright sunshine? Perhaps, this is a silly question but I’d be interested in hearing your reply.
Thank you!
hi Julie, ok so to answer your questions. it’s fine if you work in natural light, not a problem at all. you have to work fairly quickly, meaning maybe make layout choices before you take the paper out. once you bring it outside, direct sunlight is best, but you don’t need it. you will have to leave it out a little longer on an overcast day, maybe more like 10 minutes rather than 5. and as for leaving it by a window, I think as long as the window is open and there is direct light that should work, too. good luck and have fun!! xx Bar
Is that a special paper? Or i can use any blue color papar?
No it’s special paper, there is a link in the post. It has to be treated with a chemical so that it can be exposed to the light and change color.