Have you tried Shibori yet? We have done it many times, and it is always such a hit. We did lots of Shibori dying with multi-age groups of kids in Art Bar Camp, and they LOVED it!! I did it again when my son was in high school and asked for a tie-dye hoodie. Little did he realize how VERY EXCITED I was by this request. Like, too excited, lol. He said, “Mom, calm down,” like a true teen. Let me show you all of my photos and our tried-and-true techniques for getting the best patterns with this incredible indigo dye technique.

Shibori is a Japanese tie-dying technique. There are an infinite number of ways one can bind, stitch, fold, twist, or compress cloth for Shibori, and each way results in very different patterns. No matter how you tie it, the patterns are always SO COOL! I think it’s having just the one deep, blue color that contrasts with the white that makes every piece pop. It’s definitely addictive, and every time we make a batch, we run around the house finding more things to dye.
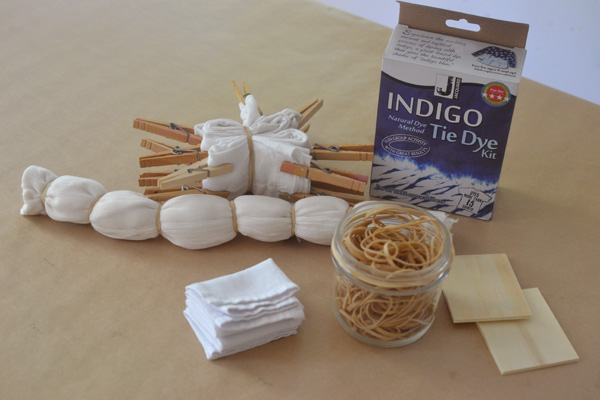
[ I am a participant in the Amazon Services LLC Associates Program, an affiliate advertising program designed to provide a means for us to earn small fees at no cost to you by linking to Amazon.com and affiliated sites. ]
Supply list for Shibori dying with kids:
~ White 100% cotton t-shirt (or napkins or any white fabric)
~ Wooden blocks, clothespins
~ Large bucket or pot for fresh water
~ Large 5 gallon bucket
~ Stick for stirring
~ Tarp for drying
~ Scissors for cutting off the rubber bands
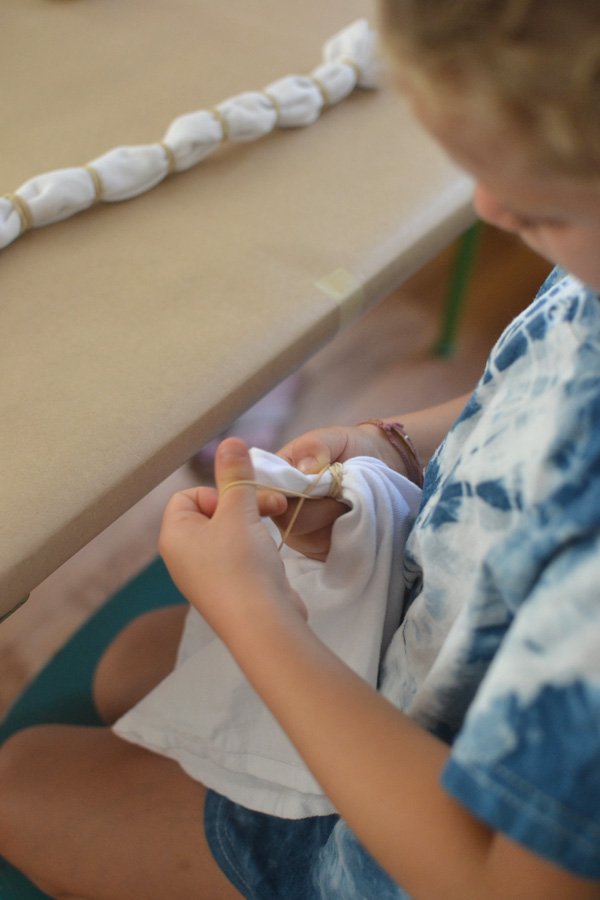
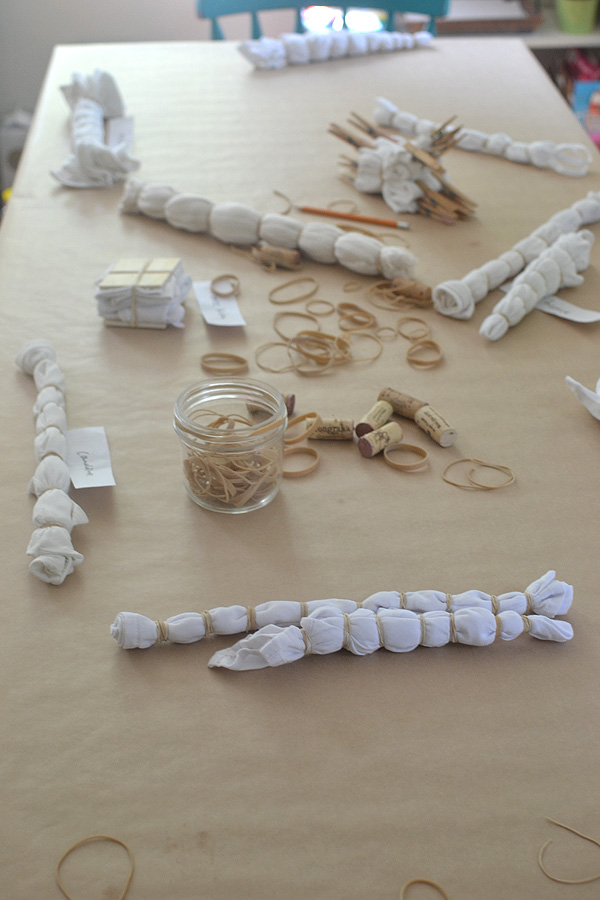
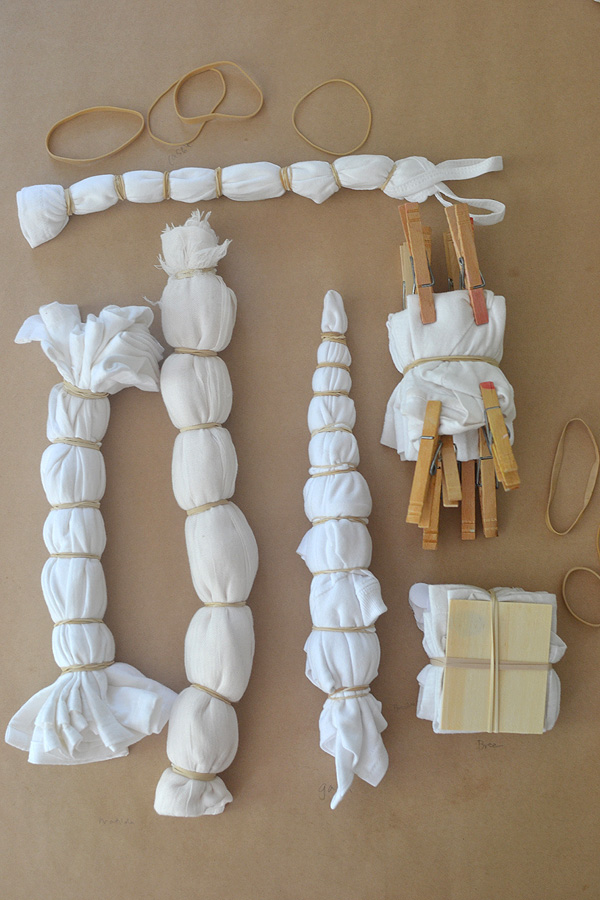
Shibori dying technique with kids:
1. There were five blogs that I looked at before I tried shibori: Honestly, WTF, In Color Order, Park and Cube, and Design Sponge. You will find everything you need in these four posts (plus there are instructions inside the box of dye), but I will add some of my own insights that could help you when doing this with kids.
2. Little fingers have a hard time with rubber bands. It all depends on a child’s determination. But at the very least, you and your child can do it together. You can guide their hands, or do every other. The easiest technique for kids would be to accordion fold their t-shirt or fabric, then add a block on each side and tie just a couple of rubber bands.
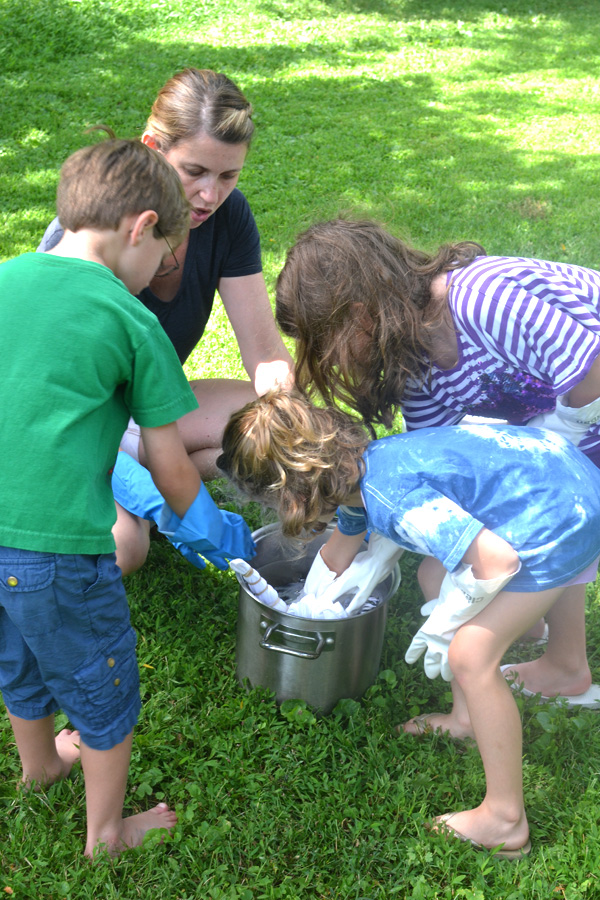
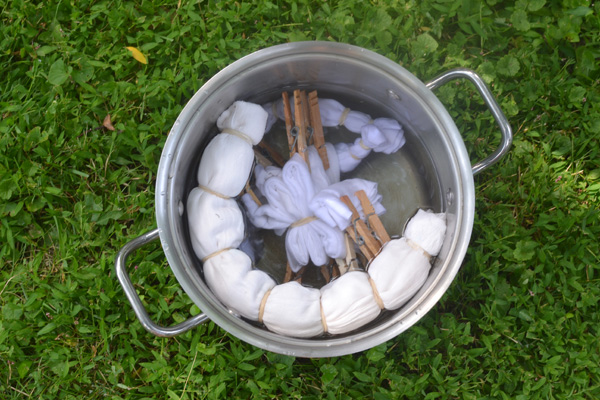
3. After tying up your t-shirts, soak them in some water first. But before heading over to the buckets, I gave each kid a pair of rubber gloves so their hands wouldn’t be completely blue afterwards.
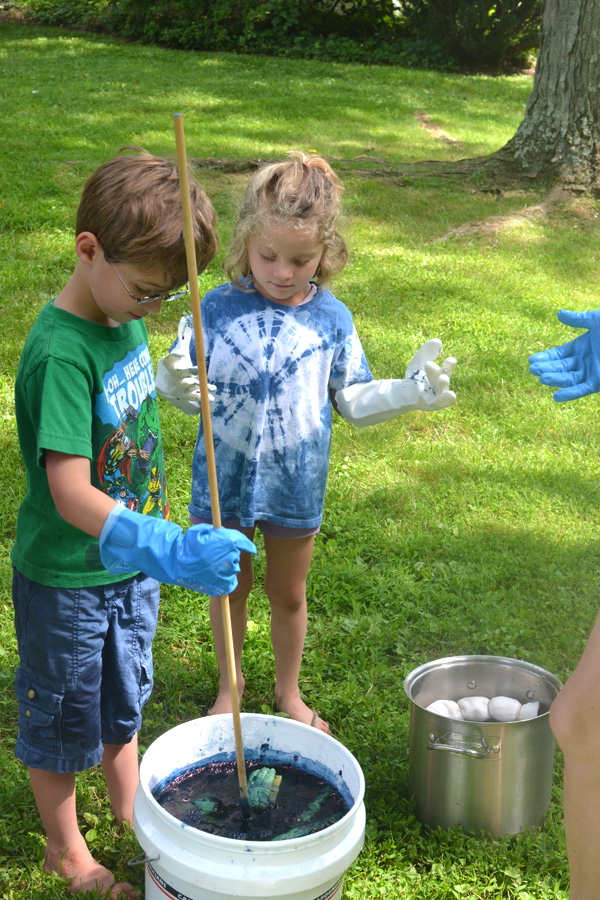
4. After the fabric is nice and wet, squeeze it out a little before gently placing it in the dye bucket. Once in the dye, the kids had fun pushing down and swirling around their fabric. They did this for about 10 minutes.
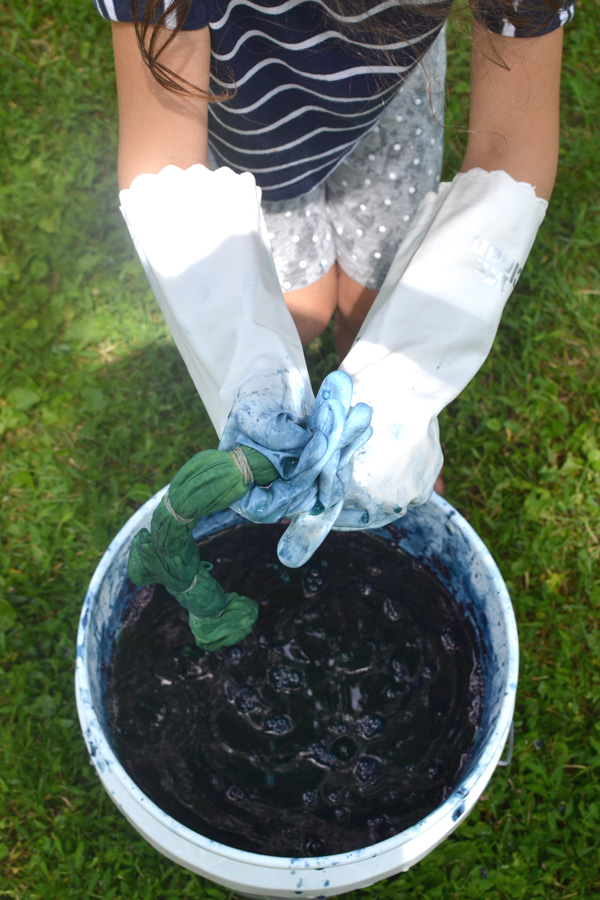
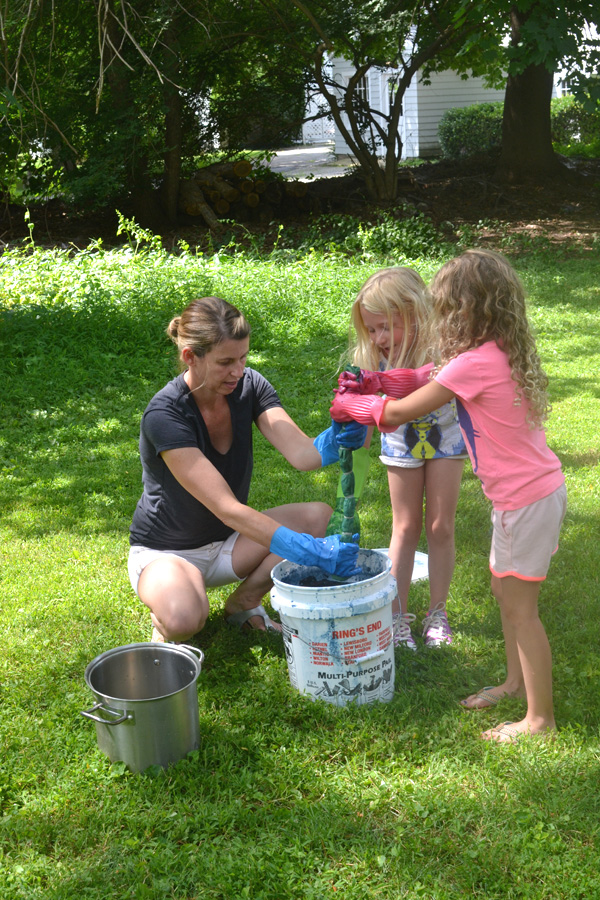
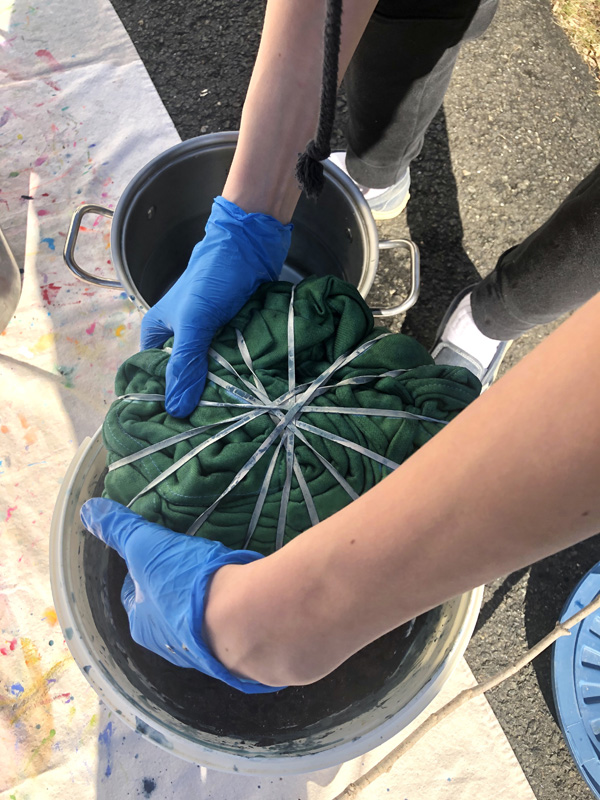
5. Then it’s time to pull it out of the dye, squeezing out as much indigo as possible. It’s really cool because the color at first is a bright green. The indigo reacts to the oxygen in the air and turns blue within a few minutes. That part was really fun to watch.
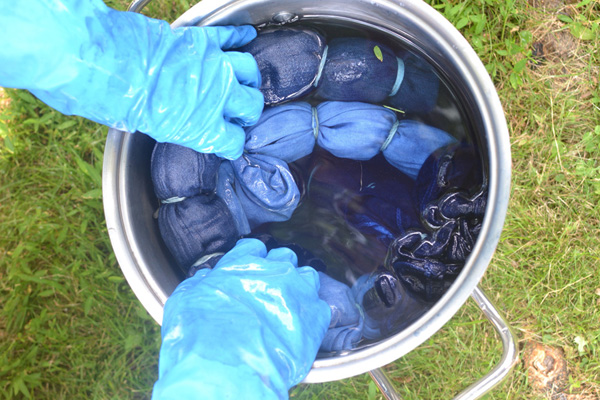
6. Rinse the fabric a few times in fresh water until no more dye runs out (or almost no more).
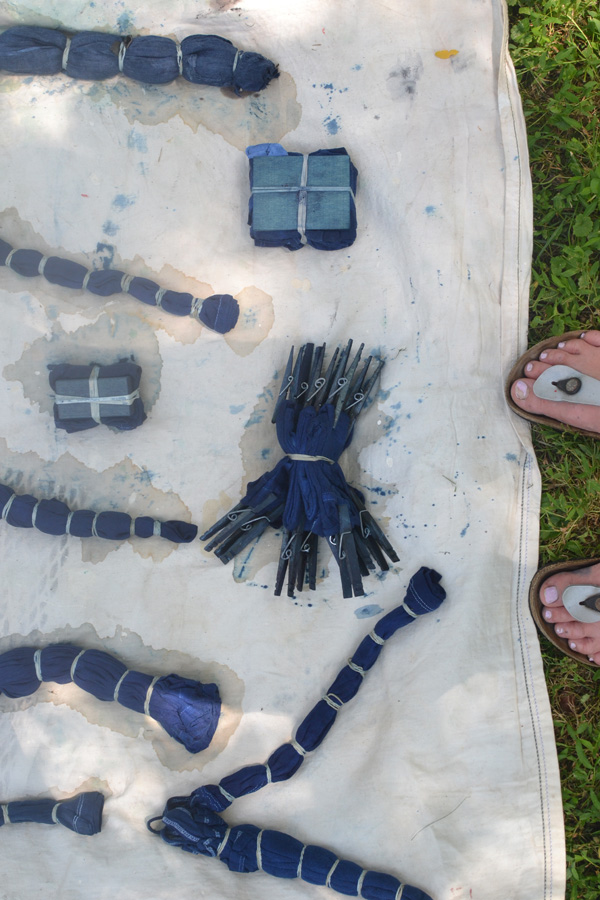
7. We dried ours for a bit on a tarp. Then, after everyone had dyed their piece of fabric, I cut off all of the elastics with scissors while the kids played with the hose.
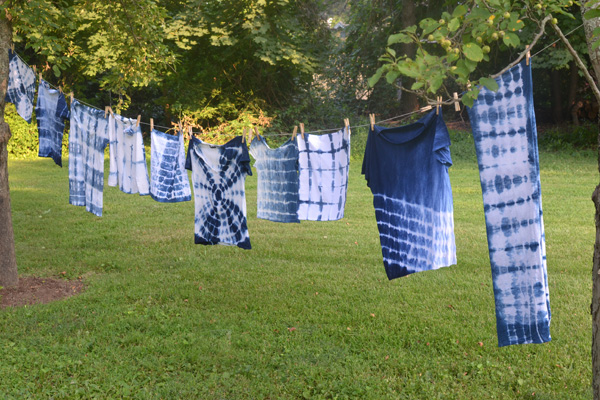
8. Here are all of the wet pieces hanging out to dry. Once air-dried, I threw them in the washer on cold with some detergent, then in the dryer.
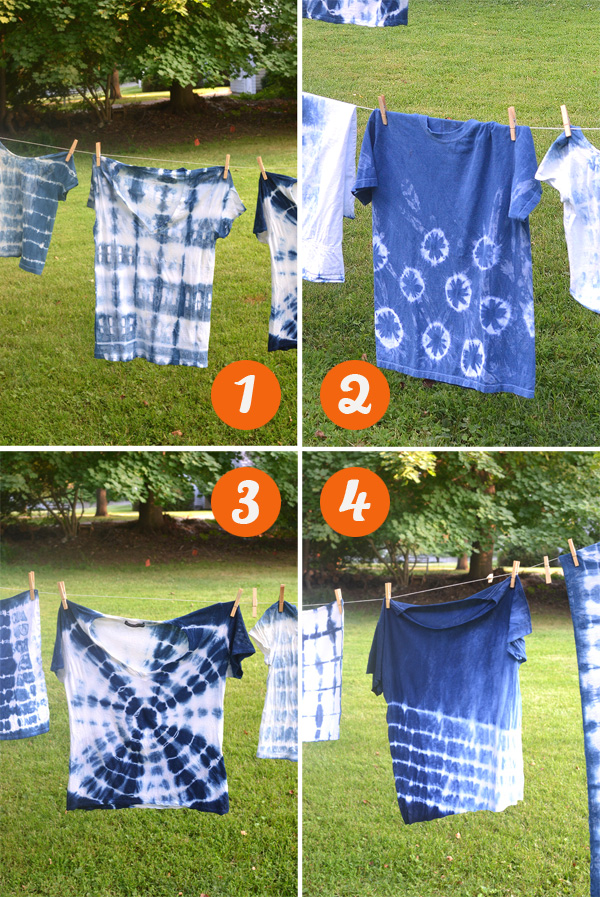
Some Shibori tying techniques we tried:
1. Accordion folding (starting at the bottom of the shirt and moving up, and then sideways to make it a small square), tie in the middle with rubber bands, and add clothespins.
2. Corks (I cut them in half first; you could also use marbles) with rubber bands to create “Fireworks”.
3. Sunburst with evenly spaced rubber bands (pull shirt from the middle and tie).
4. Rolling on a diagonal with rubber bands only on the bottom half (roll the t-shirt from one corner all the way into a “snake”, then tie with rubber bands halfway down the shirt).
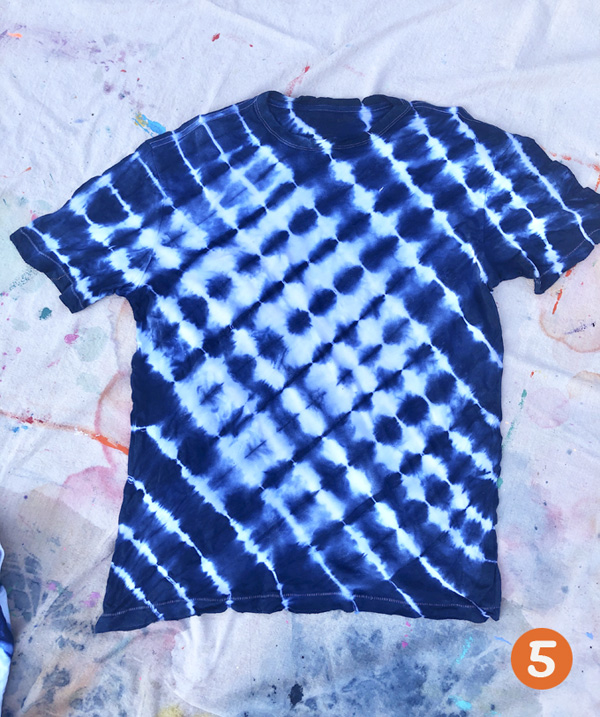
5. Accordion fold diagonally into a “snake”, then tie evenly with rubber bands.
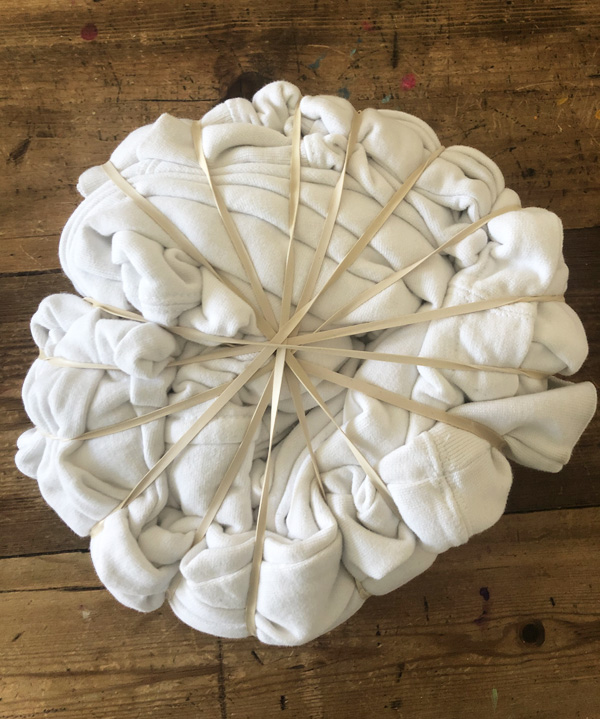
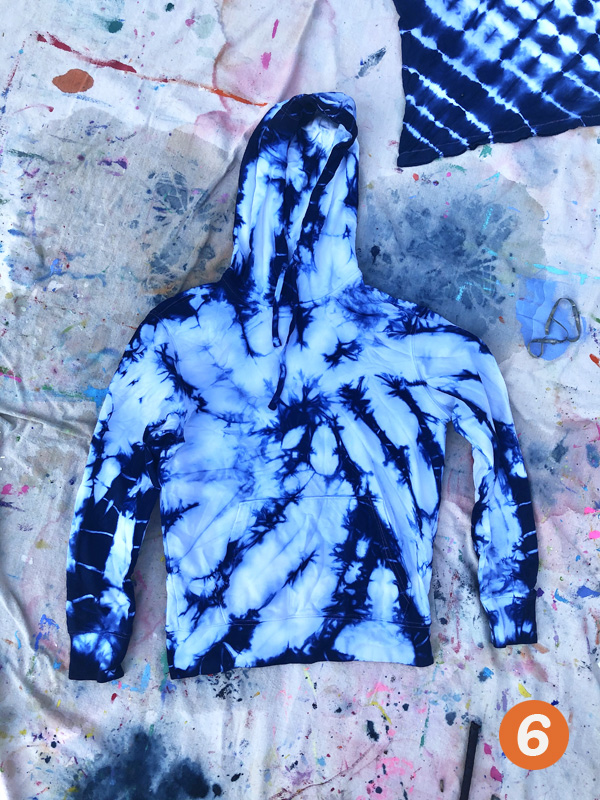
We also tried a traditional tie-dye swirl design:
6. We used a white hoodie and did a swirl technique whereby you pinch the middle, keep turning it in a spiral, tucking all the fabric around, and then tying it securely with rubber bands. We watched this tutorial to learn how.
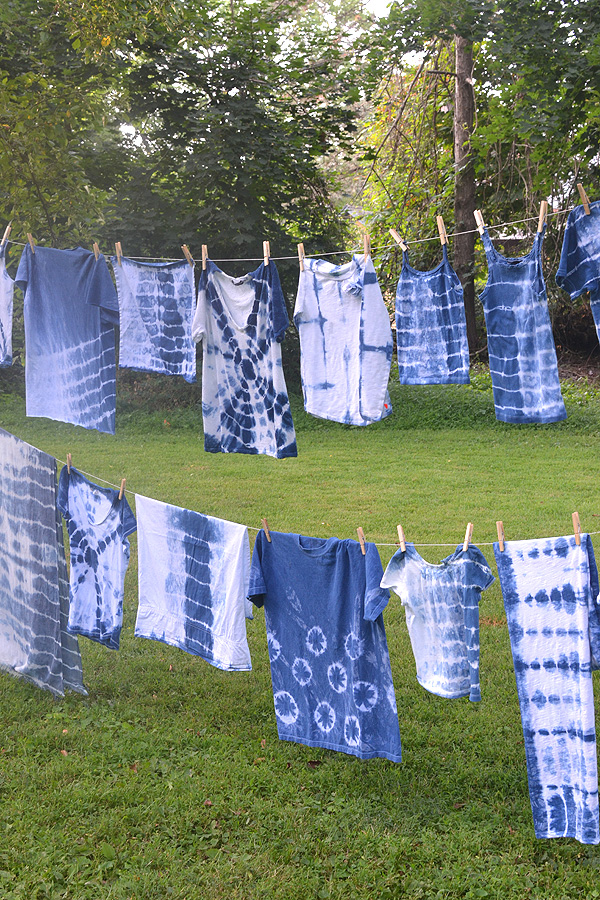
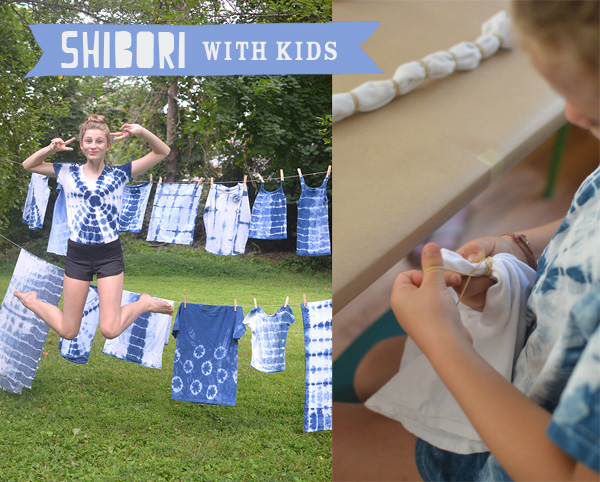
I just LOVE the way the indigo dye turned out. And the best part was that it didn’t fade too much in the laundry. The wet and dry pieces looked very similar. The kids (and the moms) were SO impressed – maybe the moms more so. In fact, I think I’m going to do a shibori craft night next summer!!
Shibori folding and dying TIPS:
I did make a few rookie mistakes, which I will share with you:
1. It really does help to double-dye your fabric. I was being quick and lazy during camp, but when I tried again the next day, I double-dyed (dipped it back in after squeezing it out and letting it turn blue), and the colors stayed stronger in the wash.
2. It’s better to accordion fold your t-shirt and tie than roll and tie. When rolling, the fabric on the very inside doesn’t get any dye at all, so when you unroll, one side of your shirt will be white. It does give it a cool ombre effect, but I personally liked it better when the dye was evenly distributed. So, accordion folding will create a more even distribution from side to side.
3. If you do roll (rather than accordion fold), then make sure the front of the t-shirt is on the outside. It will get the heaviest amount of dye.
4. If you are doing the traditional tie-dye (big circle) and you have a really thick t-shirt, you may want to tie the front and the back separately, rather than at the same time. This will give you a strong circle on both the front and the back. Also, if you look below at the pink t-shirts, you can see that I also tied the sleeves with three rubber bands. This is kind of cute, too, when doing the traditional circle.
Have fun!!
xx Bar
– – – – – – – – – – – – – – – – – – – –
Did you like this post? Here are some more DIY ideas:


These turned out amazing! I can’t wait to show them to my older kids when they get home from school- there are so many inspiring patterns and techniques. We tried basic tie dye this summer and look forward to expanding our explorations with your directions next summer. As always, we enjoy your work/ collaborations with kids!
thank you Bonnie!! i so appreciate that you took the time to leave a comment, and that my post has inspired you! please let me know how it goes with your kids and if you have any other questions. you will love the blue dye!! xo bar
Hello! Scuse me my english… I know to use salt and cold water to the colors live a long time in the clothes.
Sorry, i am to canary islad and speak spanish 😉
It’s very beautifull your chilldren’s work
Bye!
thank you, Alba! your english is better than my spanish 😉 thank you for your compliments! xo bar
Great pix and info…will try this bucket method soon.
My daughter and a friend did some tye dying over the summer. I researched a lot before buying my kit using squirt bottles and the extra supplies below. The tips I learned:
*ALWAYS use 100% cotton (anything other than cotton and the dye won’t set well)
*Use soda ash (mixed in appropriate ratio) to soak the items in prior to dying them. They need to soak for at least 10-20 mins. in the soda ash/water bath. Then wring them out so they are damp and start the dying process.
*Use Urea (Organic Nitrogen) mixed in with the dye (again appropriate ratio) which will help to “set” the dye.
*Package advised to let sit (at minimum 24 hours) in sealed ziplock bags before rinsing out with cool water till water runs dry and then wash by itself on smallest load setting with a tiny bit of detergent and tumble dry low. We ended up letting the shirts sit for 48 hours all the way up to 1 week later (because we tye dyed so many shirts). The longer they stayed in the sealed bag while the dye set, the brighter the shirt was after washing.
Anyhow, hope this info helps 🙂
wow, thank you Julie for all of the info!!! this is very helpful. i am always in such a rush so i never let it sit in a sealed bag. but i am sure that helps with the color. thanks for leaving all of these details! xo bar
Always wash new items before dying. New clothes have sizing in them to keep them crisp in the store. One wash gets it out. After tying them, soak for 20 min or so in water with soda ash mixed in (to get it cheaper, look in pool care supplies) Also, my experience with Ritt dyes is that the colors just aren’t as vibrant. Check Dharma trading for their dyes. Loads of colors to choose from. Happy dying!
OOhh, great tips Mimi, thank you!! I’m actually headed into a new dying project so I am immediately buying soda ash and checking out the Dharma trading dyes. Thank you!! xo Bar
The air oxidizes the indigo and that’s what changes it from green to blue! Just FYI – not the sunshine 🙂
oh wow, thanks for that piece on information! I’ll make the changes 🙂 xo Bar
I was looking for a fun colourful experience with the outdoors in mind
Your sharing this project and all the tips from readers has inspired me to try this with my seniors group
Thank you….FYI love your emails
Hey- so where do you find the tie dye paints/ coloring? I did this before at my friends house but it’s sooo much fun I want to do it again!!
And yes the color fades ☹️ After 2 or 3 washes but I made mine into a pillow case and it turned out perfectly
Fine!
Thanks,
Maddie
hi Maddie, so the dye is a kit – I think the link is in the post, but here it is again: https://amzn.to/2JkkhLf. Ours never really faded that much – make sure you keep it in the dye for a while. and have fun!! xo Bar
Ah ok thank you sooo much! I love your craft ideas! Can you maybe can make a new slime idea
oh sure! I’ll ask my slime guru (my 15yr old daughter) what the latest trend is and we’ll make one at the end of the summer. good idea! xo Bar
Belíssimos trabalhos. Já fiz algumas tinturas em tecidos a titulo de curiosidade e
gostei muito. Como faço pequenos trabalhos artesanais em tecidos vou me aprofundar mais,
As orientações foram de grande proveito. Agradecida e parabéns pelas postagens.
thank you, I’m glad my post has helped you! xx Bar
Looking forward to trying this with my girls next week. Thanks for all the tips.
THis looks so much fun! We’re adding this to the craft bucket list for sure. Thank you for sharing your ideas!
Me encanta lo que haces y tu filosofía de la infancia, quiero seguirte.
Piedad
I want to dye a white t shirt indigo and just have white stripes. How would I fold that?
Hi Monica, You would have to fold it in an accordion fold, depending on which way you want the striped to be. I hope this helps! ~ Bar