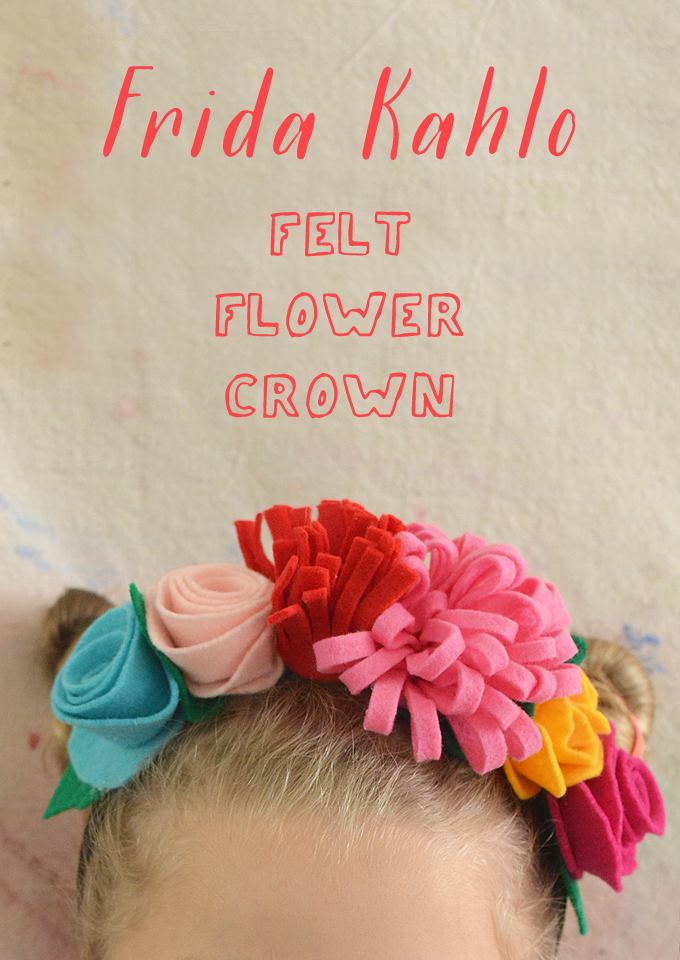
Last summer we made Frida Kahlo felt flower crowns in art camp, and I love the way they turned out! These crowns can be made for the dress-up box, or for a Halloween costume. So colorful and comfortable to wear, my art campers wore them all week. This is a DIY that has step-by-step instructions, so scroll down for all of the details.
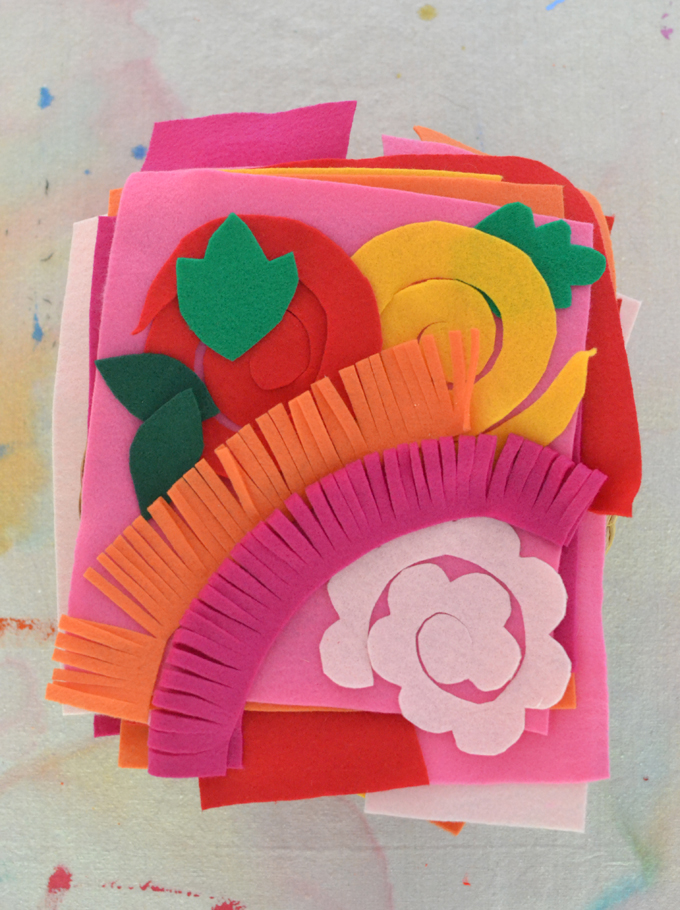
I did pre-cut one of each flower and leaf for my art campers as a starting point. Some used those as templates to cut more. Some of them freehand cut their own flowers, too. We experimented a lot. But the younger kids weren’t as into it as the older ones, which is typical since they aren’t as good yet as cutting so it can get frustrating. I don’t usually do such challenging crafts for 5yr olds, but this was a group with 8yr olds and even one 10yr old, so sometimes I’ll do something more advanced and just see how the little ones do. We did all of the flower-making together with the ones that I cut for them, and all of the kids were successful. After that, they could experiment or just go to the coloring table. There was not a lot of pressure and the little ones felt very proud of themselves that they made their own flowers.
[ I am a participant in the Amazon Services LLC Associates Program, an affiliate advertising program designed to provide a means for us to earn small fees at no cost to you by linking to Amazon.com and affiliated sites. ]
Supplies for Frida Kahlo felt flower crowns:
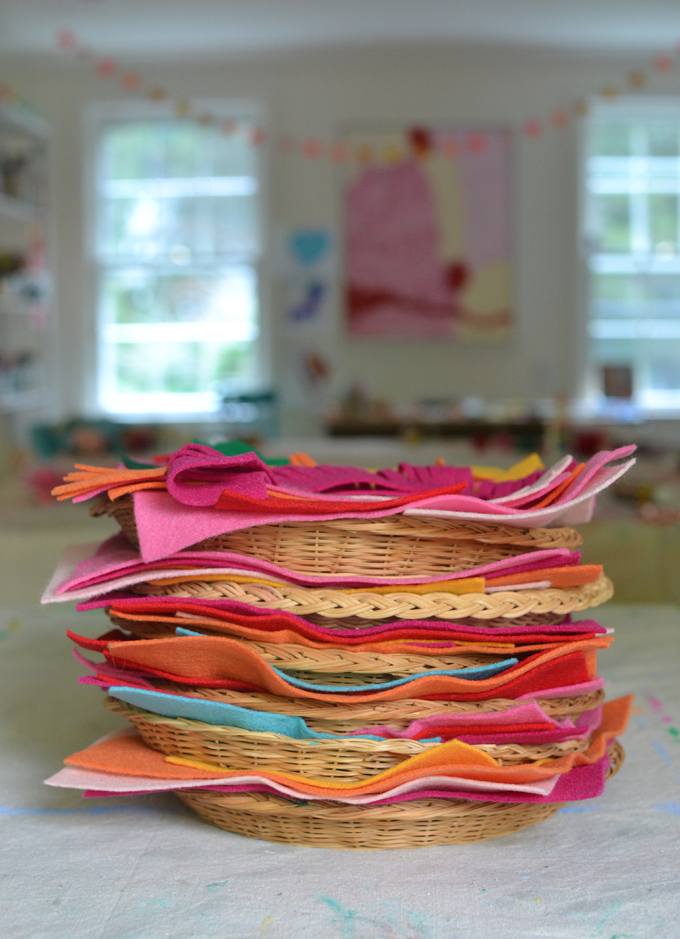
~ Felt in different colors (I got mine at our local craft store so I could pick out specific colors, but you can get this assorted pack on Amazon that is fairly cheap. Make sure to get a softer, more pliable felt – not stiff and thick.)
~ Scissors
~ Paper to make templates
~ Black headband (these satin covered headbands were soft just the right width to glue on the felt flowers)
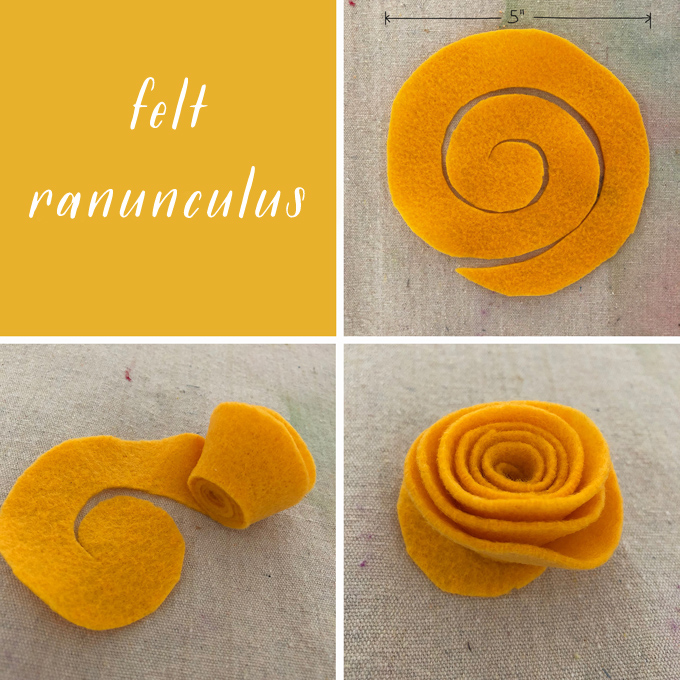
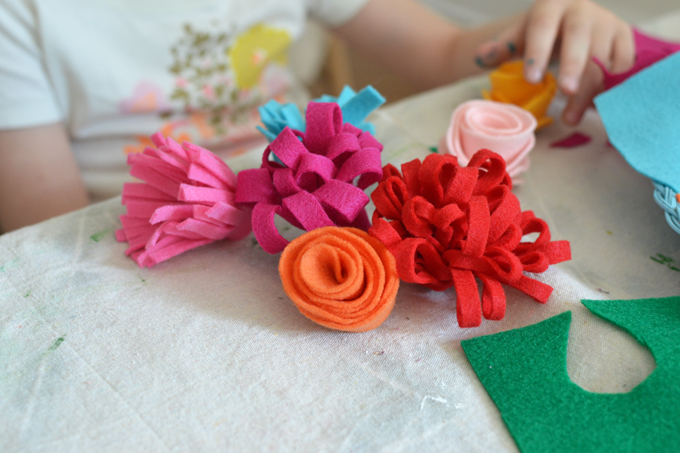
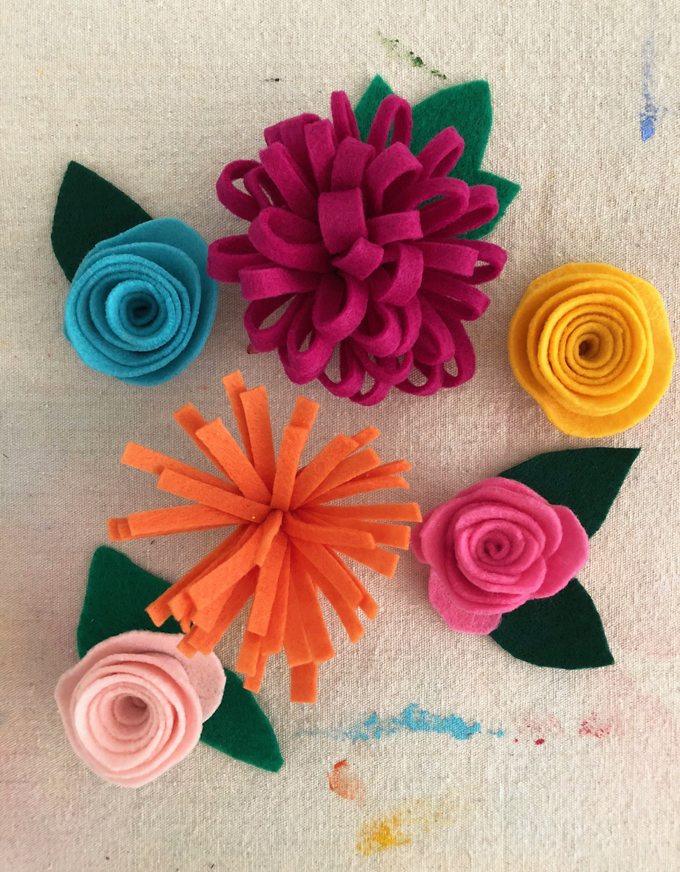
Felt Ranunculus
1. Cut out a 5-inch circle from paper, then use that as your template to cut a felt circle.
2. Cut into the circle at any point, about an inch, then start cutting a spiral, keeping the width about an inch.
3. Trim the beginning of the spiral at the outer edge so that it blends into more of a point.
4. Starting on the outer edge, roll the spiral until you get to the end.
5. Use a hot glue gun to glue the flower onto the very end piece of the spiral, so that it creates a flat surface.
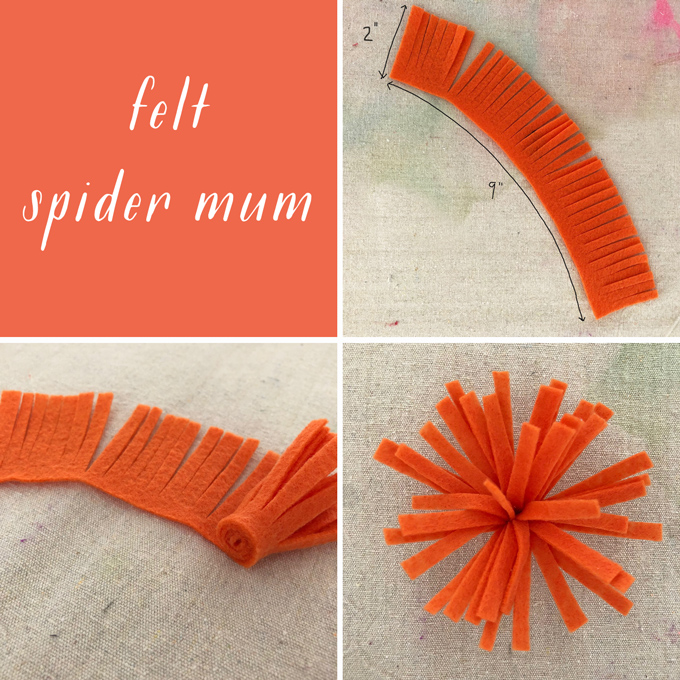
Felt Spider Mum
1. Cut a 9-inch strip of paper that is 2 inches wide, then use that as your template to cut a felt strip.
2. Make cuts across the strip, creating a fringe. Cut close, but just shy of the other side.
3. Roll from one end to another, using a small dots of Elmer’s glue as you roll. At the end, use hot glue to secure.
4. Fan out the fringe to create your spider mum.
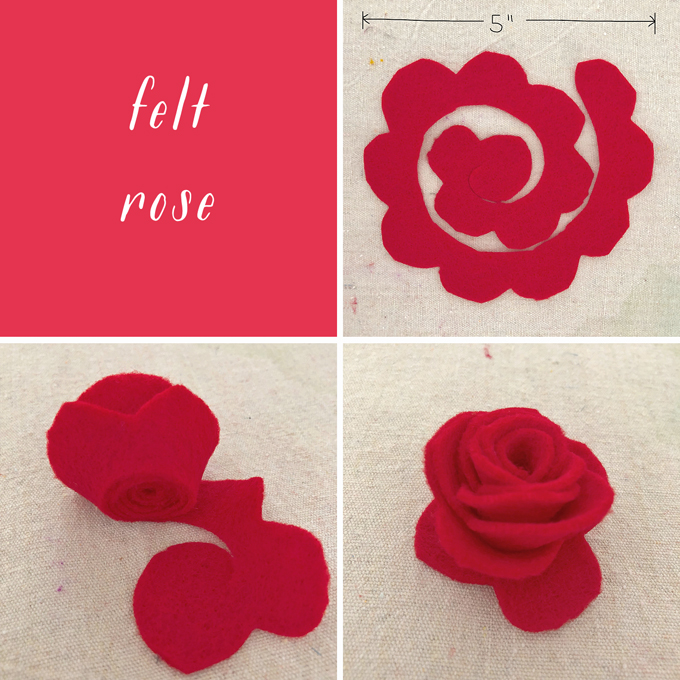
Felt Rose
(These instructions are the same as the ranunculus, except for creating the scalloped petals.)
1. Cut out a 5-inch circle from paper, then use that as your template to cut a felt circle.
2. Cut into the circle at any point, about an inch, then start cutting a spiral, keeping the width about an inch.
3. Go back to the beginning and create a scallop along the top side of the spiral, and make sure to round the beginning of the spiral.
4. Starting on the outer edge, roll the spiral until you get to the end.
5. Use a hot glue gun to glue the flower onto the very end piece of the spiral, so that it creates a flat surface.

Felt Chrysanthemum
(These instructions are very similar to the spider mum, except double the width and folded over.)
1. Cut a 10-inch strip of paper that is 3.5 inches wide, then use that as your template to cut a felt strip.
2. Fold the felt strip over lengthwise, then make cuts across the strip, creating a fringe. Cut close, but just shy of the other side.
3. Roll from one end to another, using a small dots of Elmer’s glue as you roll. At the end, use hot glue to secure.
4. Fan out the petals to create your chrysanthemum.
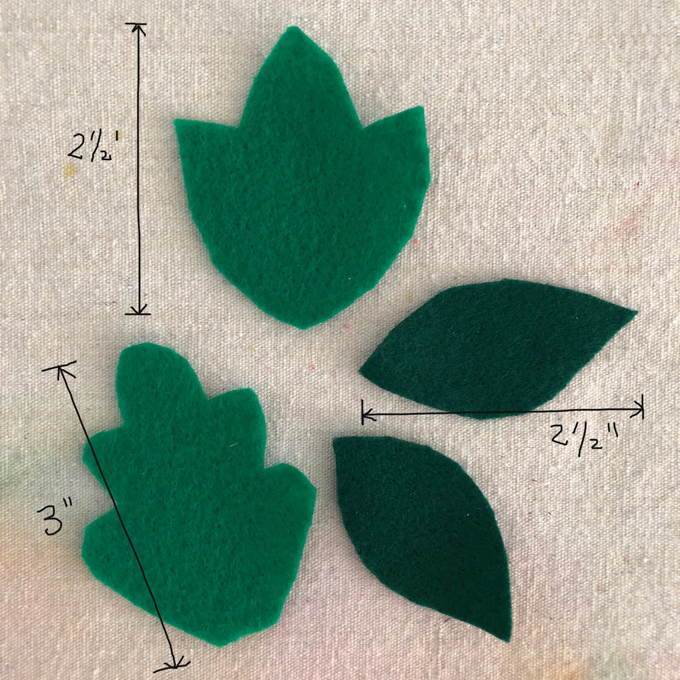
Felt Leaves
1. You can freehand these while you are cutting, or you can cut them first out of paper. Once you have one good felt leaf, then that becomes your template because it’s easier to lay felt on top of felt.
Process of how campers made their Frida Kahlo felt flower crowns:
1. When students arrived for camp, they each got a tray with pre-cut flowers and some leaves, and then one of each color felt to experiment with. I didn’t make a sample felt flower headband because I didn’t have an extra headband, so I printed out photos of Frida Kahlo and taped them to the wall where we were working.
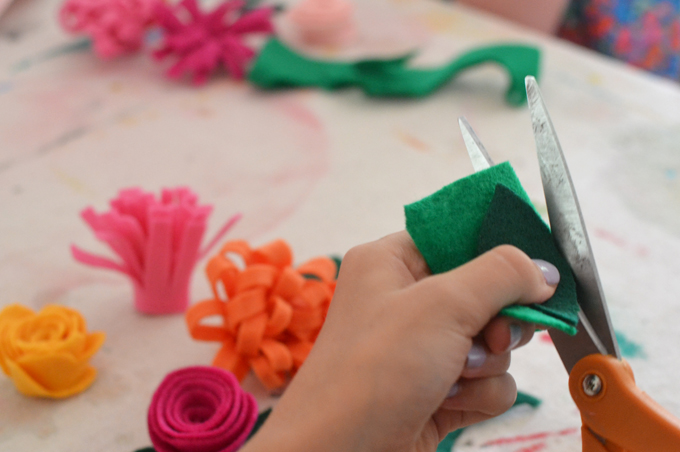
2. Students used the felt leaves as templates to make more leaves.
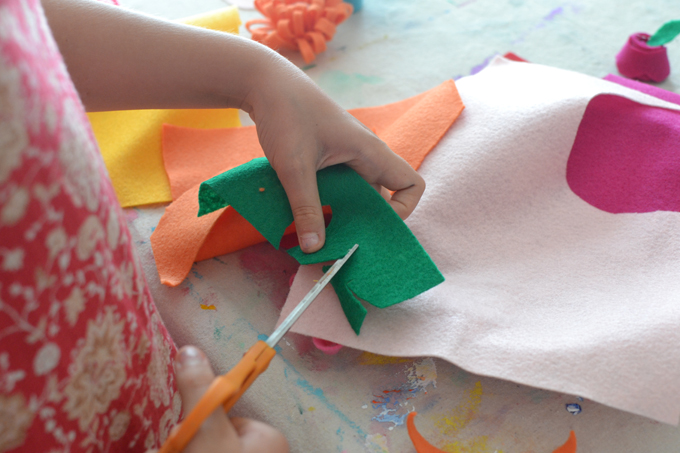
3. They also practiced cutting out their own shapes.
4. The hot glue was at a different station, not pictured. Students could use the glue gun themselves to secure the flowers, or I did it for them.
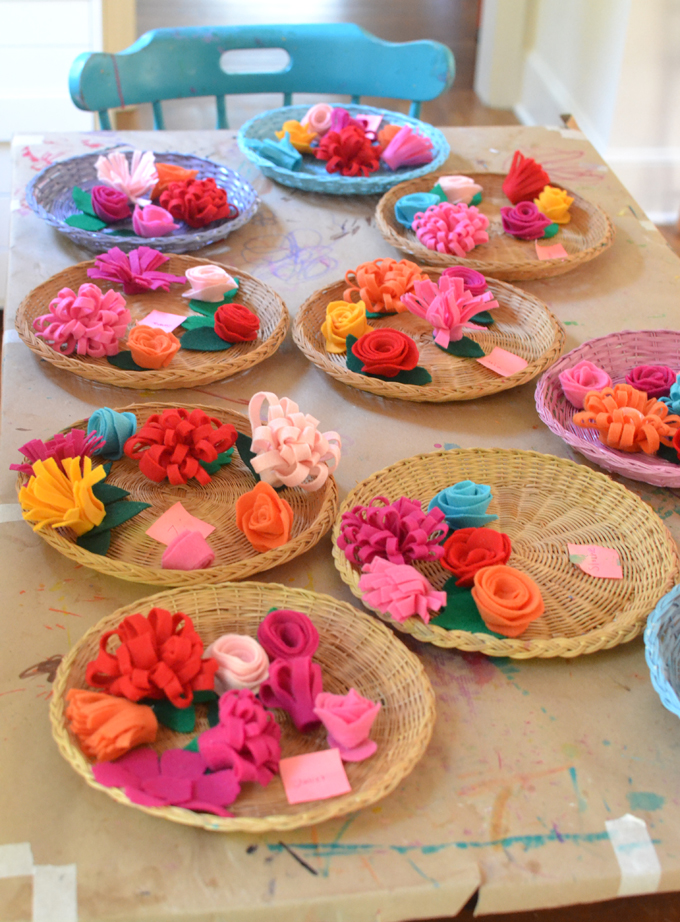
5. When finished, they each put their flowers back on their tray. I collected all the felt and put them back in my felt box. Then I sat with each student one by one and we glued the flowers to the headband together.
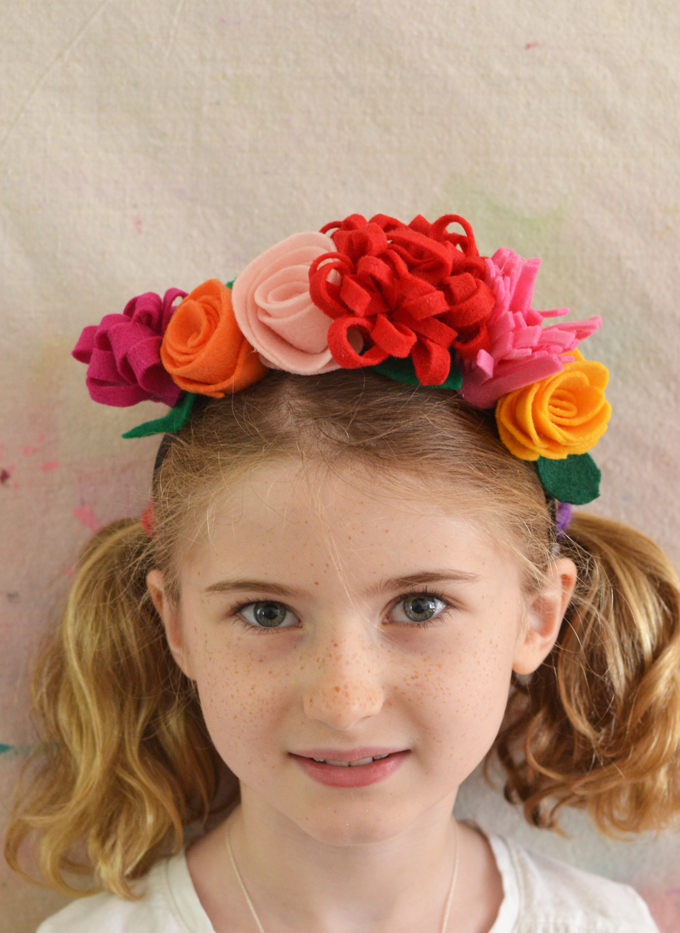
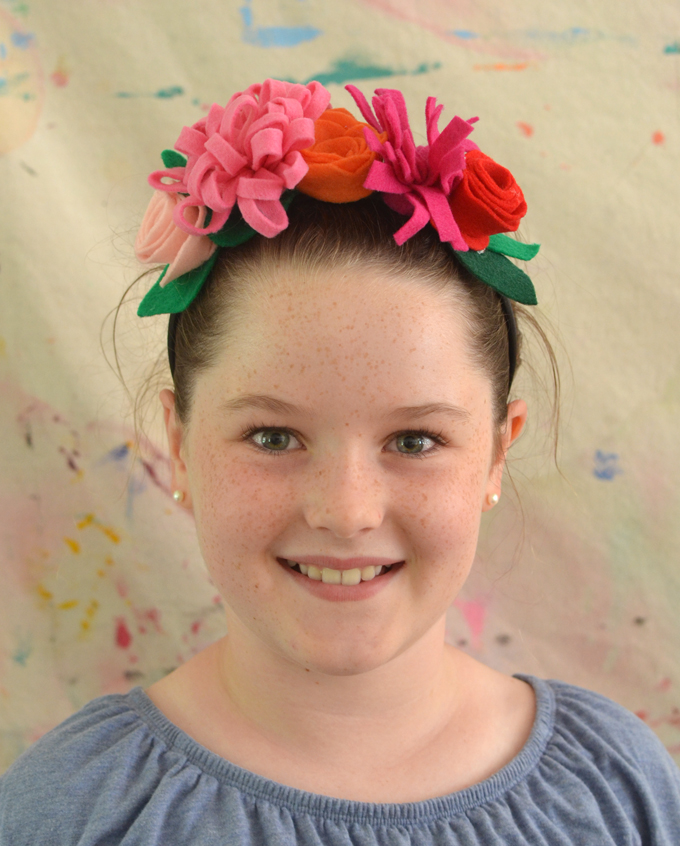
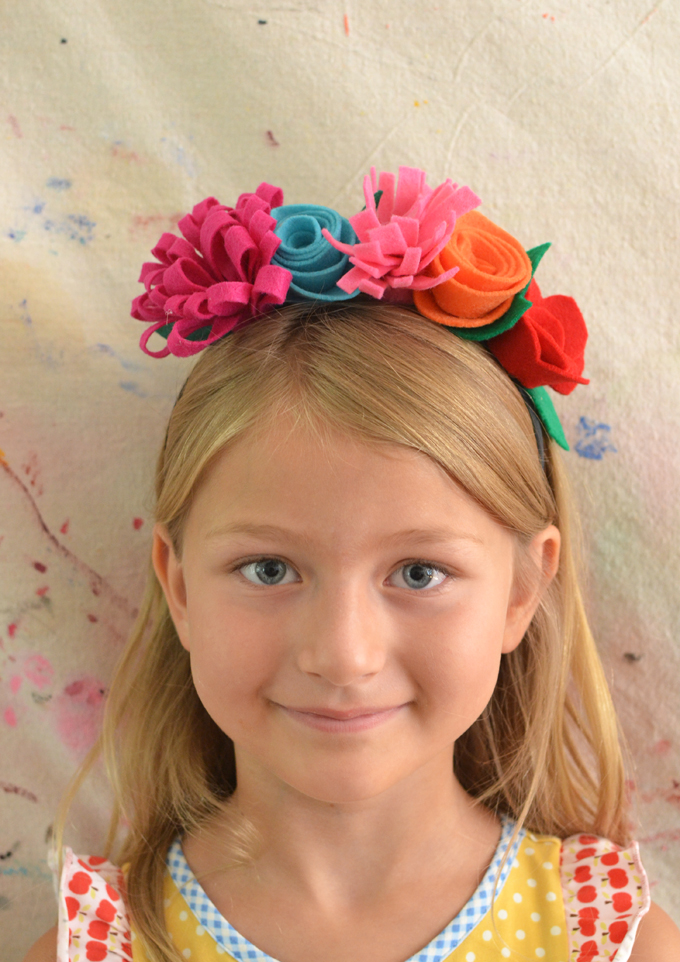
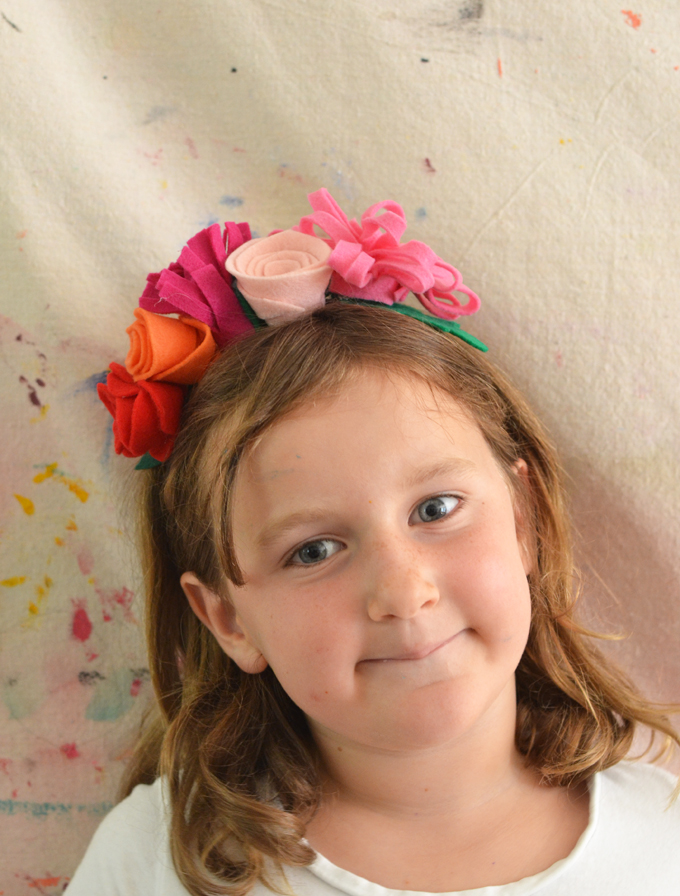
Each headband is a little different, but all are gorgeous and they were SO proud of themselves for making something that looked so beautiful and professional.
xo, Bar
– – – – – – – – – – – – – – – – – – – –
Did you like this post? Here are more Halloween ideas:


These are so awesome and beautiful! What a fun Frida Kahlo inspired project!
What a fabulous activity. I’m interested in teaching elementary and middle kids to sew on sewing machines. But scissors skills and the ability to imagine how a 1-D shape will look in the finished 3-D version is crucial to learning to sew and nurture a lifelong love of the craft. Thank you, Art Bar!
Oh wow! The children did an amazon job! Thank you for sharing your ideas, you’re such an inspiration.
We did this but hotglued to pipe cleaners and put in a vase. They are so beautiful!
great idea!!