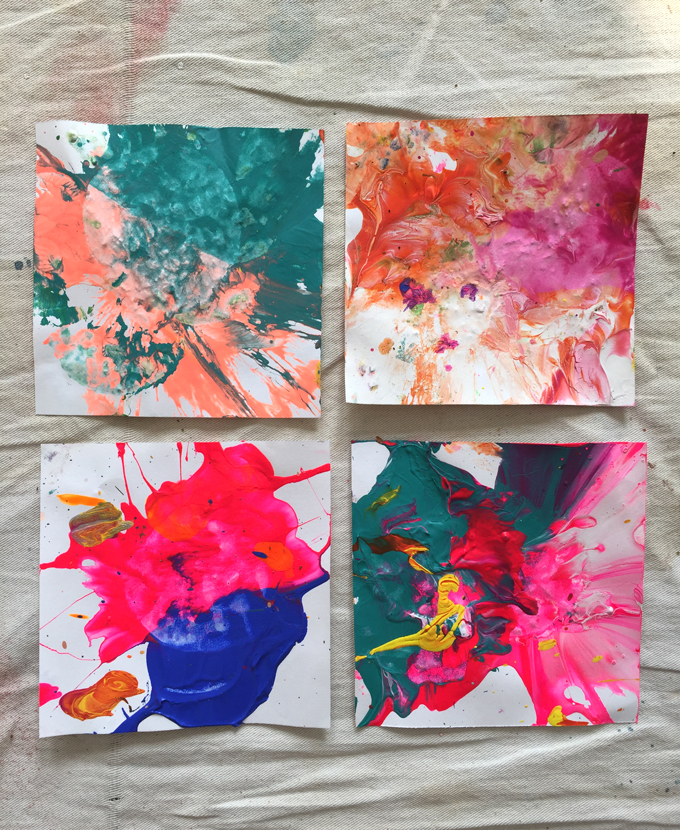
If you are looking for a really simple, exploratory, physical, colorful, messy, highly engaging, and FUN creative experience for outdoors, this smash painting is it! It will make your kids so happy that they will squeal with joy. And when all is said and done, you’ll have a collection of really cool and unique little works of art.
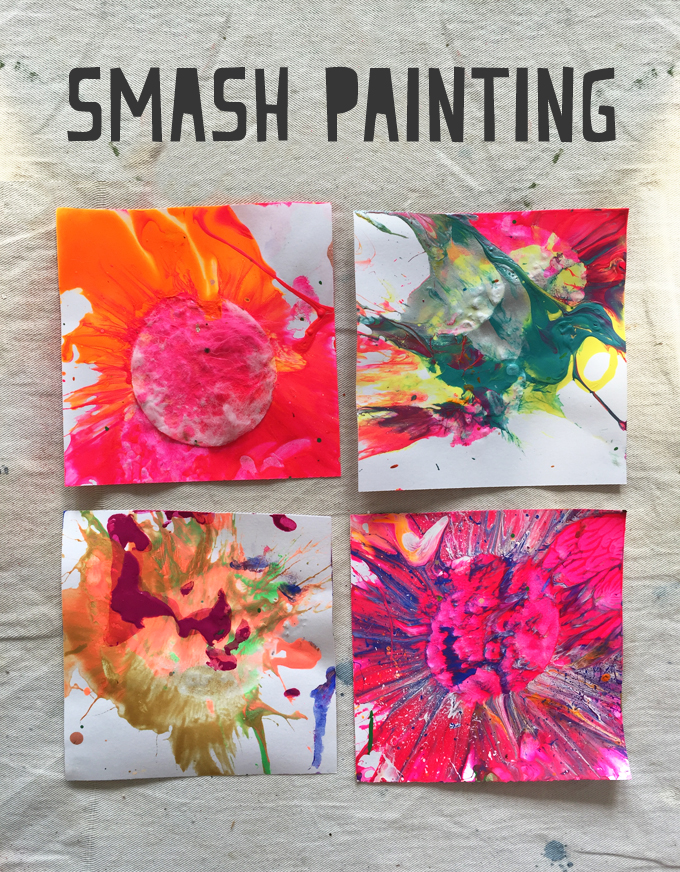
I first saw this idea on the Crafty Morning blog. It got me thinking that this would be fun to do with individual little pieces of paper. (I am always envisioning walls of little artworks for some reason!) Let me give you the supply list and tell you how we did this. You can always figure out your own way. As long as paint and mallets are involved, your kids will be ELATED!
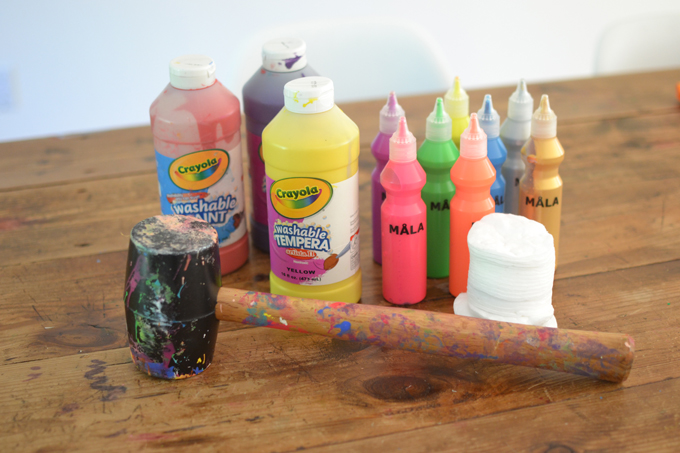
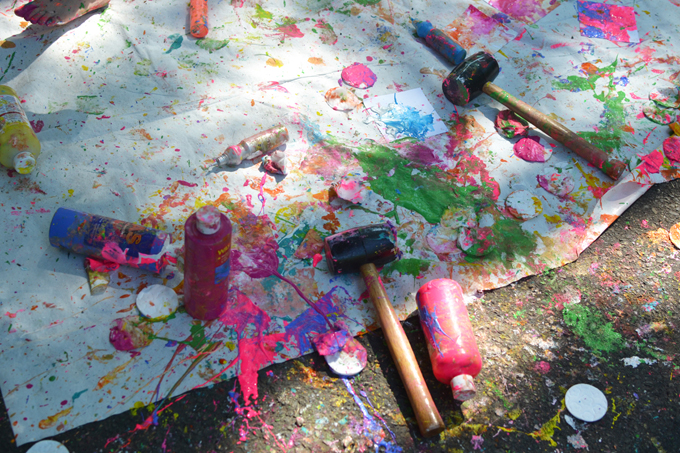
Supply list for Smash Painting
~ Tempera paint (IKEA has a great squeeze bottle set, or any inexpensive kind that kids can squeeze)
~ Mallet (or you could use a big ladle)
~ Paper cut into small 4″ or 5″ squares (I like sulfite paper, it’s a heavy construction paper)
~ Tarp
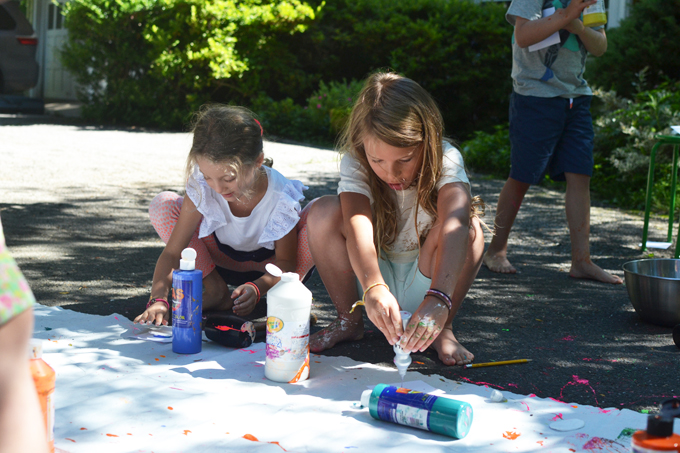
The Smash Painting process:
1. Before the kids arrived, I cut up a ton of paper squares – I figured 20 for each kid (they ran out and could have done 100 each). I picked some of my less expensive and runnier tempera paint bottles, and brought all the supplies outside to the picnic table as a staging area.
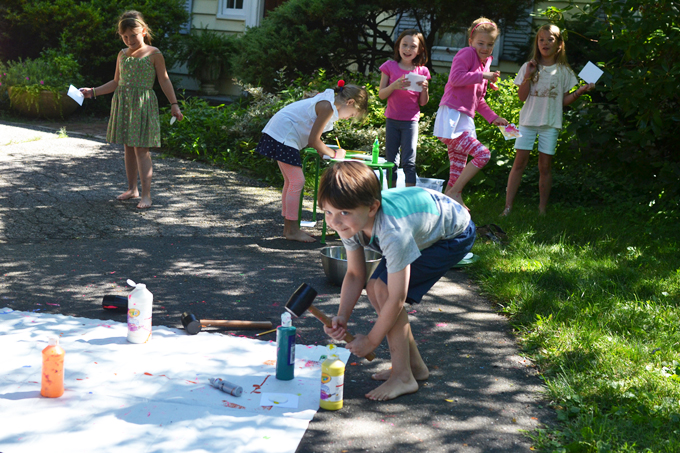
2. I set up a station right nearby the tarps with the paper and pencils. This was so that the kids could write their names on the backs of the paper before smash painting. I reminded them that the name needed to face down on the tarp so it didn’t get covered with paint.
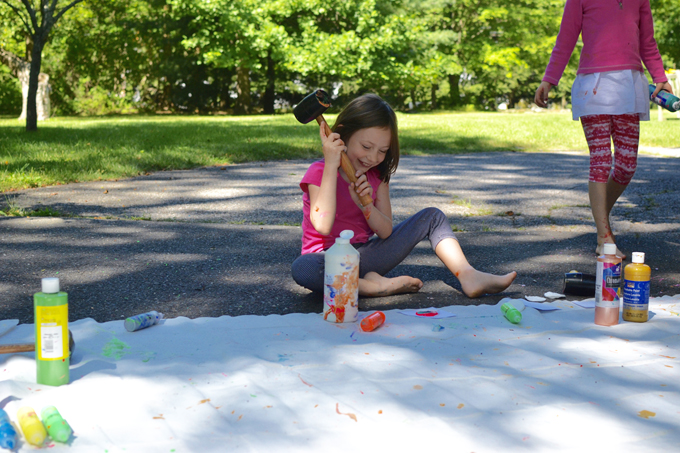
3. We decided on a system. Ours looked like this:
- grab paper
- write your name
- go to tarp and lay down paper (name face down)
- squeeze paint on the cotton round
- turn it over and place on paper
- use mallet to smash.
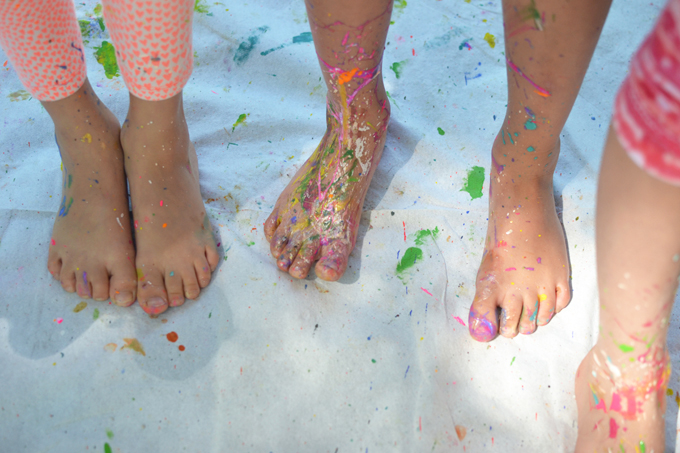
4. Soon the system changed, as often happens once you get to actually using a new system. The kids decided they would squeeze the paint on the paper and then cover it with one or more cotton rounds. This worked for me! As long as they kept everything on the tarp. Oh, and I told them they had to yell “I’m splattering!” when they were about to smash the mallet so that kids who didn’t want to get messy could move away.
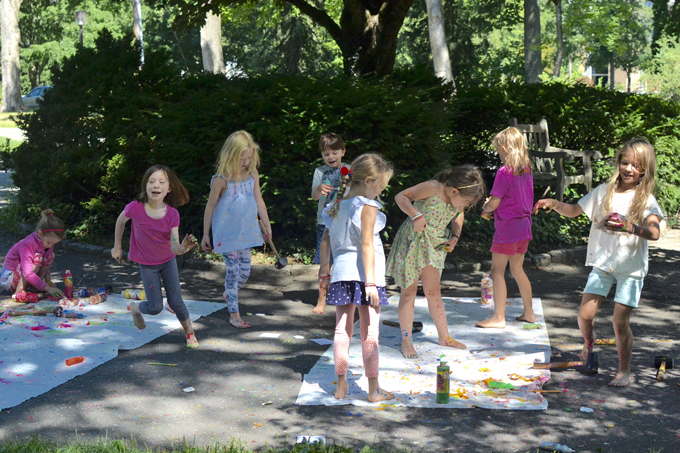
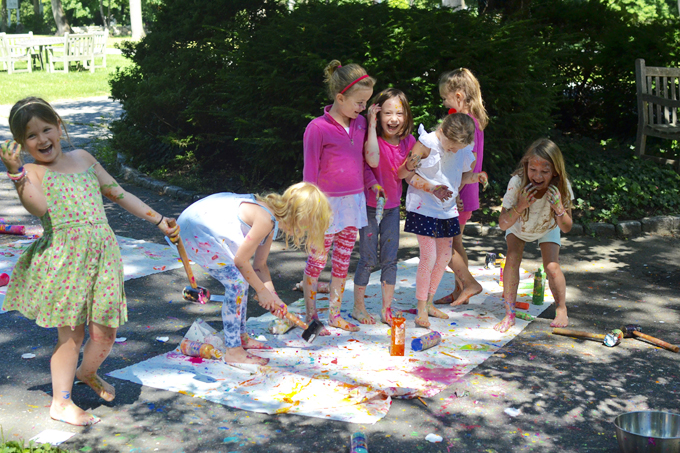
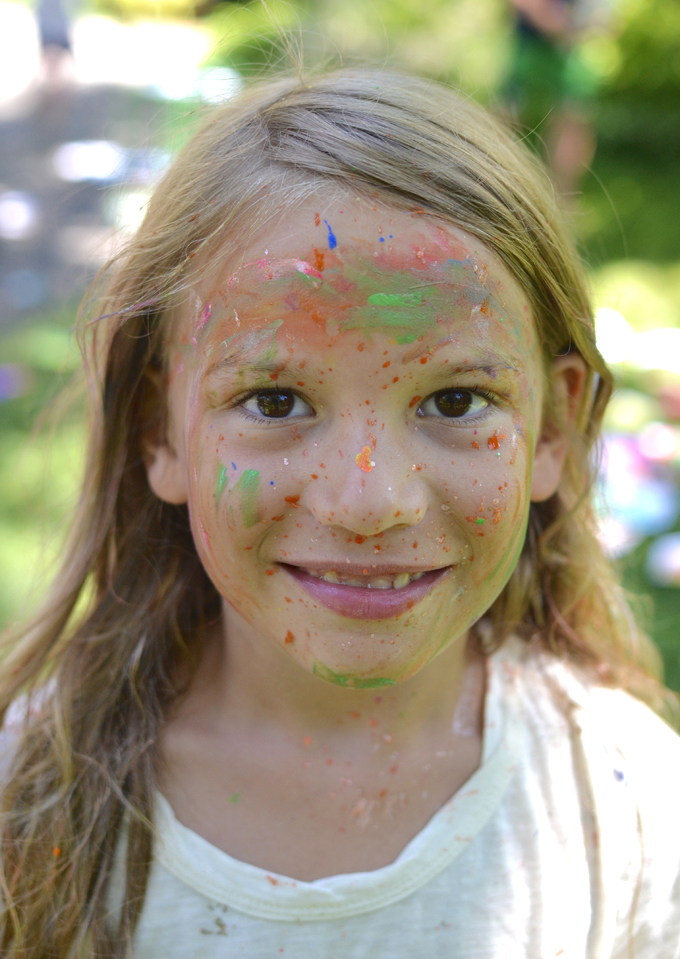
5. The kids ran around like they couldn’t get enough of this project, and they never stopped laughing. It was such pure, childlike joy I still to this day (we did this 3 years ago!) smile when I see these photos.
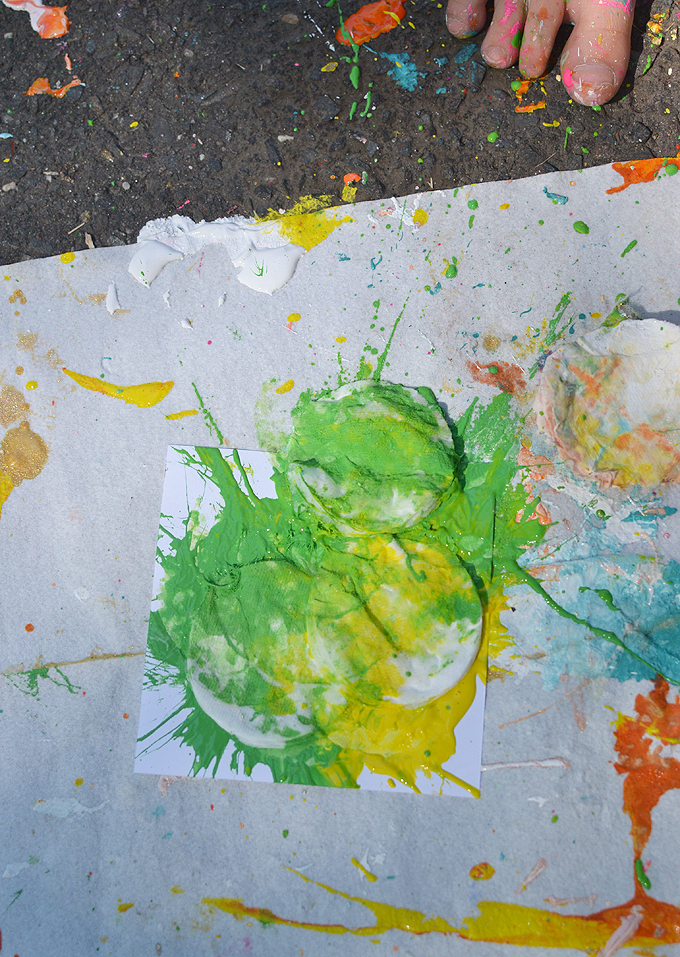
6. I realized that I needed to bring out a bin so the kids could peel off the cotton rounds and throw them away. I originally thought it would be cool to keep them on, but the peeling part was fun for them and the designs underneath were even cooler.
Watch this video of the kids in action!
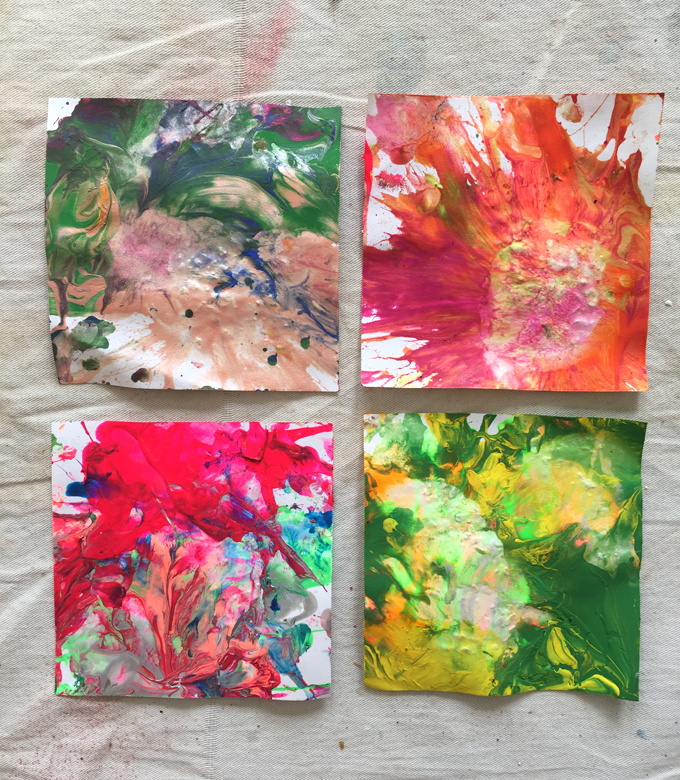
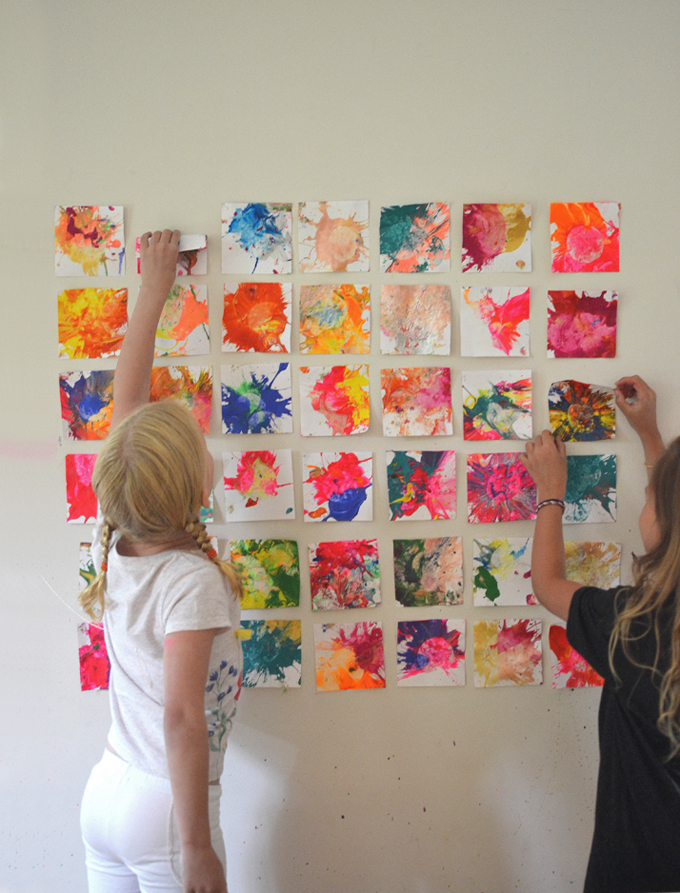
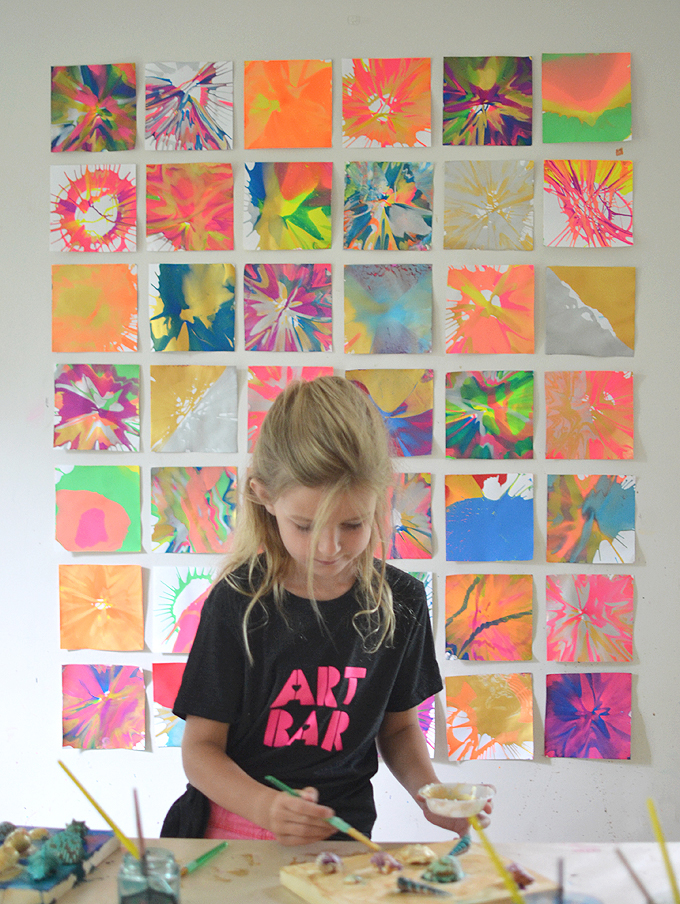
If you want a less-messier version of this wall of mini-paintings, but still something that kids LOVE, try spin art!
xo, Bar
– – – – – – – – – – – – – – – – – – – –
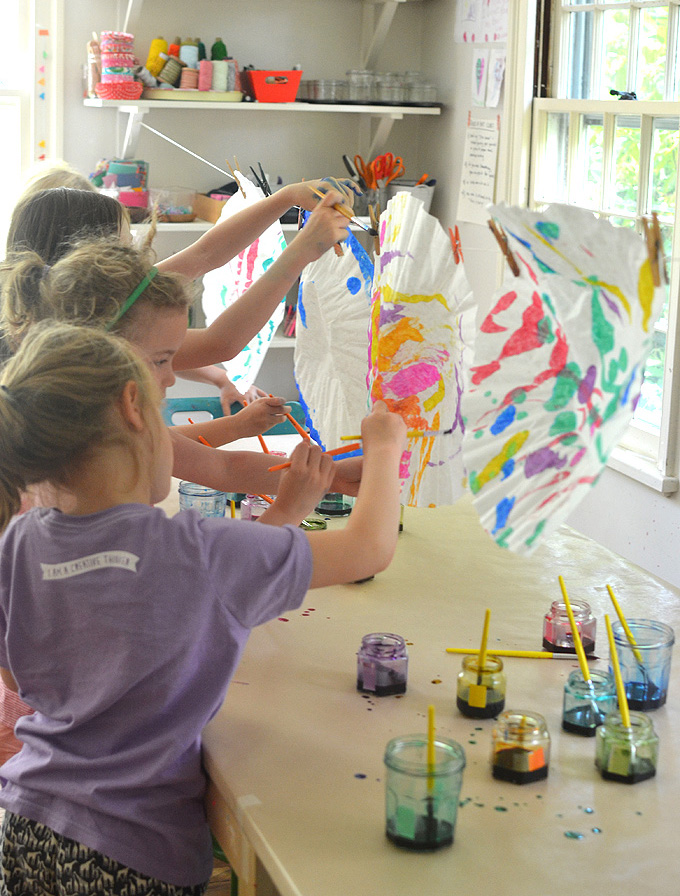
Did you like this post? Here are more process art ideas for summertime:


Thank you for sharing such fun projects with todlers. These are awsome.
I love your art ideas. I try them with my preschoolers as often as I can. I love using recycled items as well as messy art items.
Thank you for your great ideas and helping me come out of my box.
SWEET 👏🏼👏🏼👏🏼♥️♥️♥️❗️❗️❗️HOW FUN❗️❗️🥳 And I DEFINITELY WILL DO The marshmallow ONE AT MY HOUSE With The Grandkids 👍🏼👍🏼👍🏼❗️❗️🥰 Thank YOU and G-d ♥️Bless😊