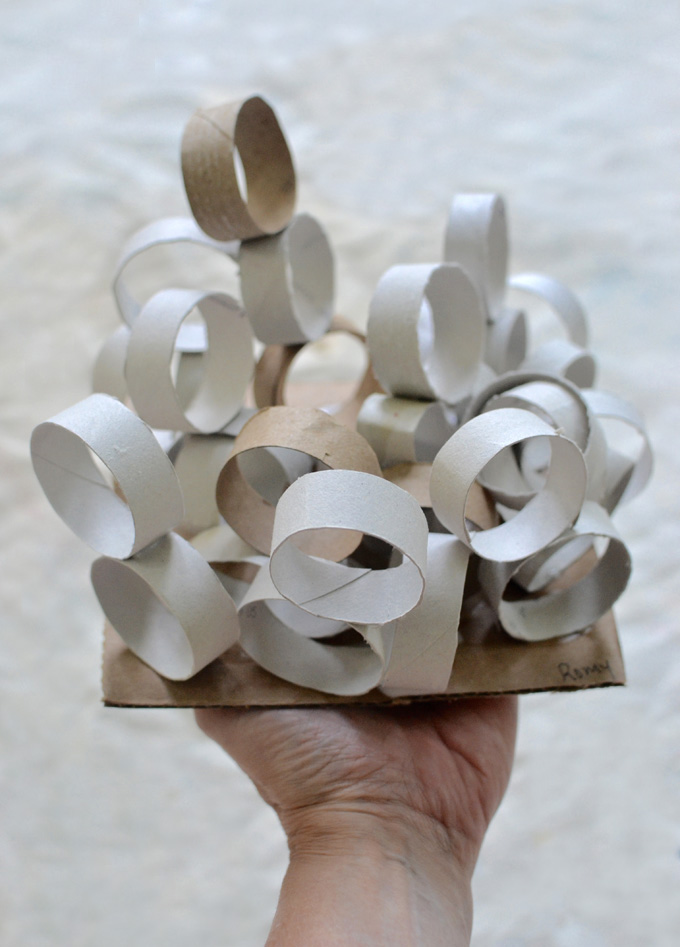
Even though I’m calling the material we used for these sculptures cardboard tubes, it’s just a euphemism. What you really need to start saving are those toilet paper rolls!
This post contains affiliate links. Thank you for your support!
The kids LOVED making these sculptures! The pieces easily stuck together with regular white glue, so it was not a frustrating kind of experience. They flew through the rings, which made me realize that I should have cut double the amount.
SUPPLIES FOR CARDBOARD TUBE SCULPTURES
~ Toilet paper rolls, cut into circles (about 5 or 6 circles can be made from each tube)
~ Exacto knife – this makes cutting the circles way easier
~ Cardboard base
~ Paints (we used fluorescent tempera cakes and pearlescent watercolors – you can use any watercolors or even tempera)
HOW TO SET UP CARDBOARD TUBE SCULPTURES
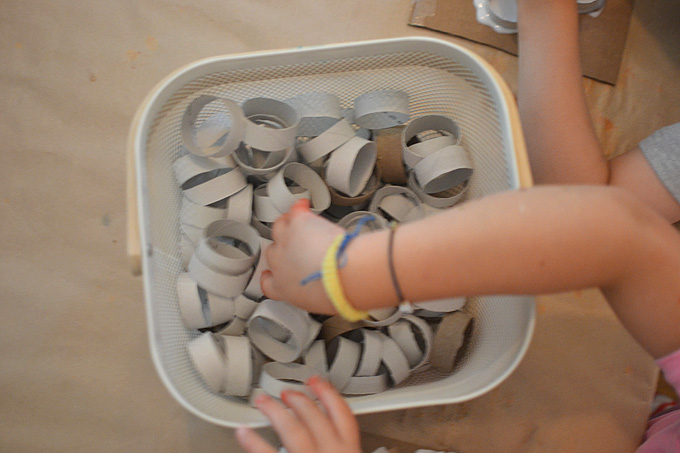
1. First step, cut the circles. I used an exacto knife, but it does take time. Do it at night while you’re watching Netflix 🙂
I can’t actually remember how many TP rolls I cut up, but I’ll guess around 40. There were around 200 circles. Only four of my campers were doing this project, and they worked until they ran out. I could have doubled or tripled the amount and they would have kept making, and building higher! It was really fun and easy.
PS: The white tubes are from Cottonelle toilet paper.
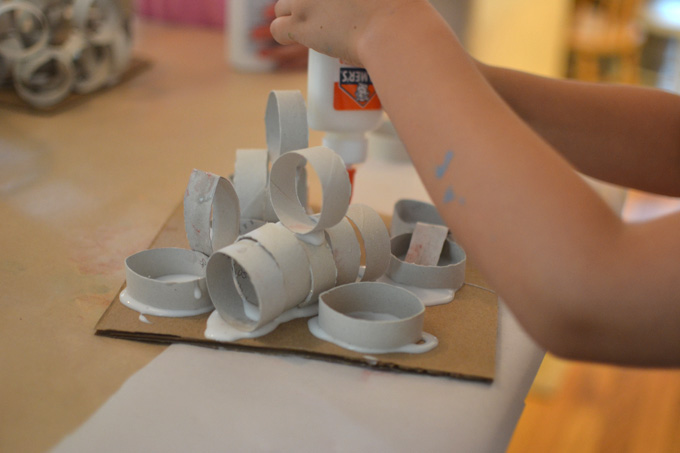
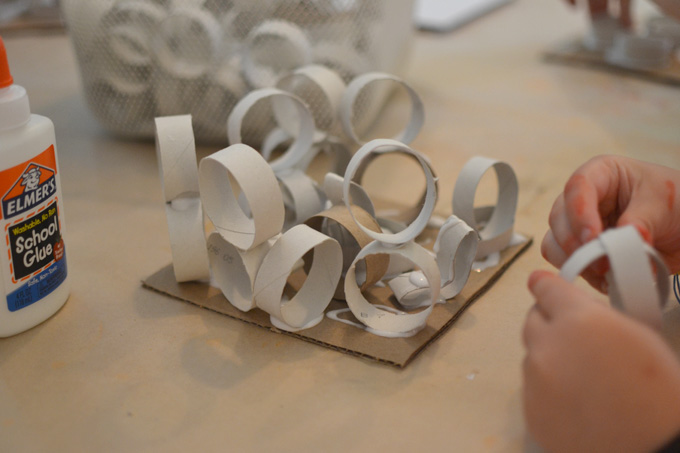
2. There are no rules, other than don’t use too much glue. One child used so much glue that even after two days of drying, it still wasn’t dry. A little dot will do it!
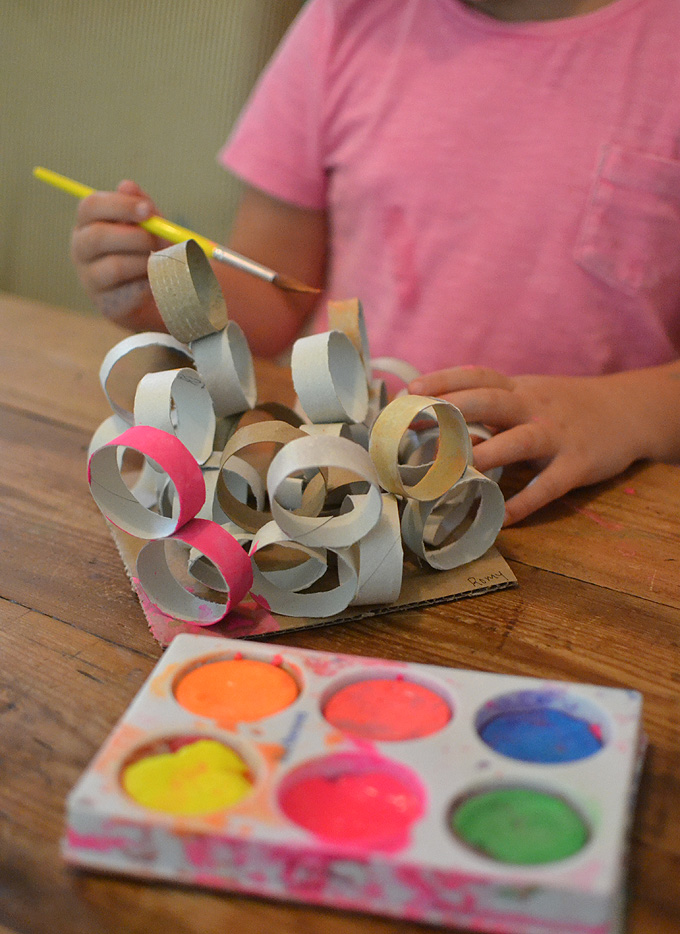
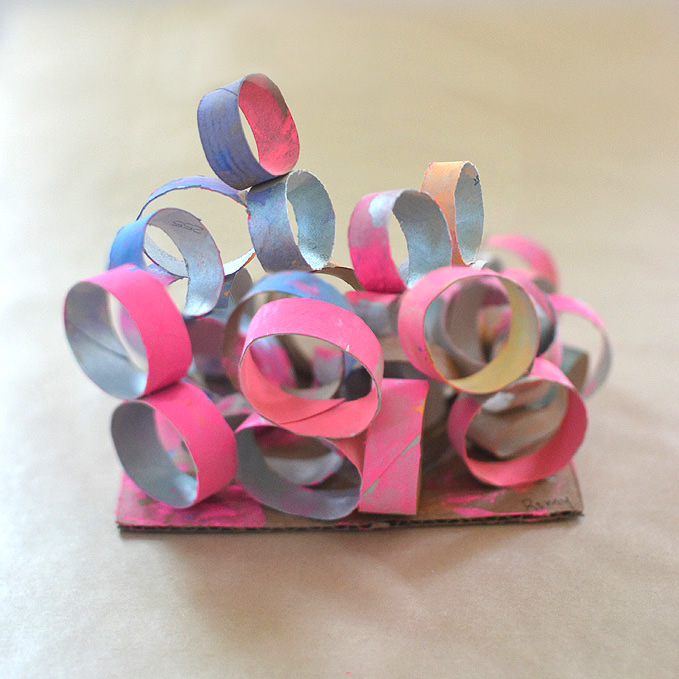
3. Let the glue dry overnight, then it’s time to paint!
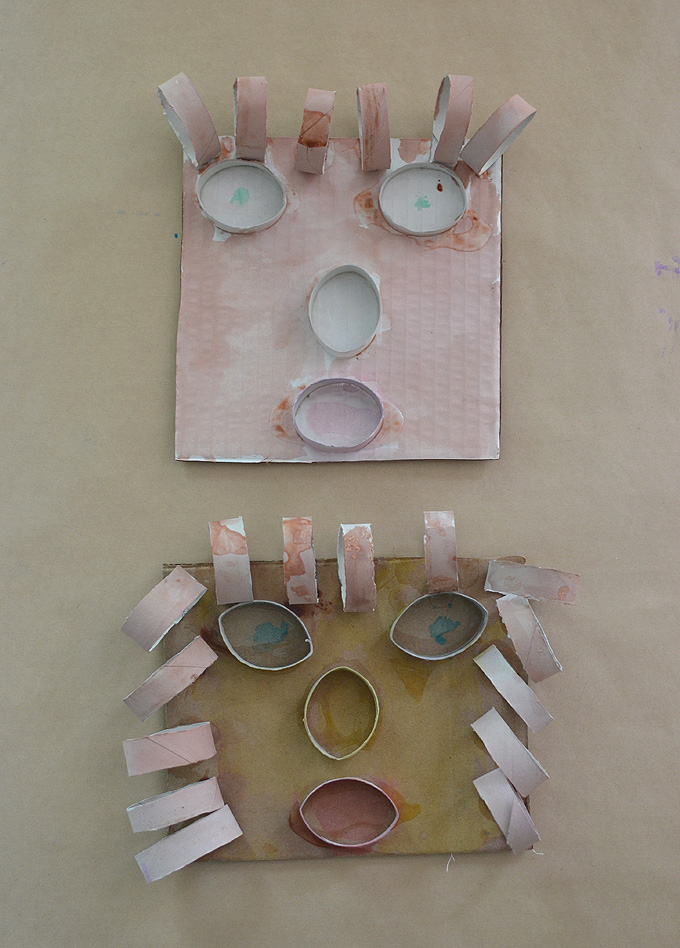
I just LOVE these faces. This young artist made a man and a woman.
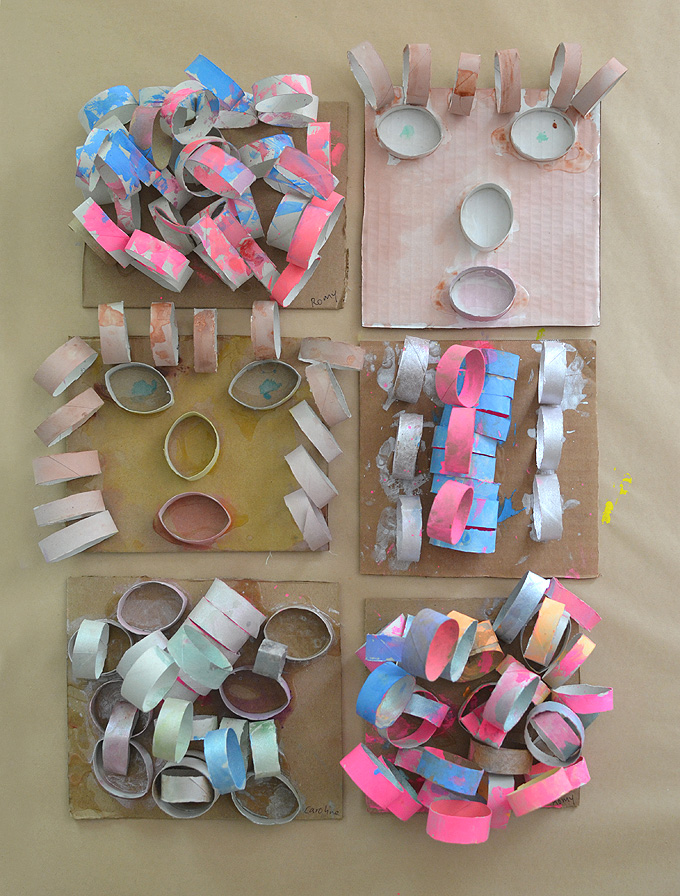
After I posted about this project on Instagram, a few of my followers were inspired enough to give it a try with their own kids. The following are some of their masterpieces that I wanted to share.
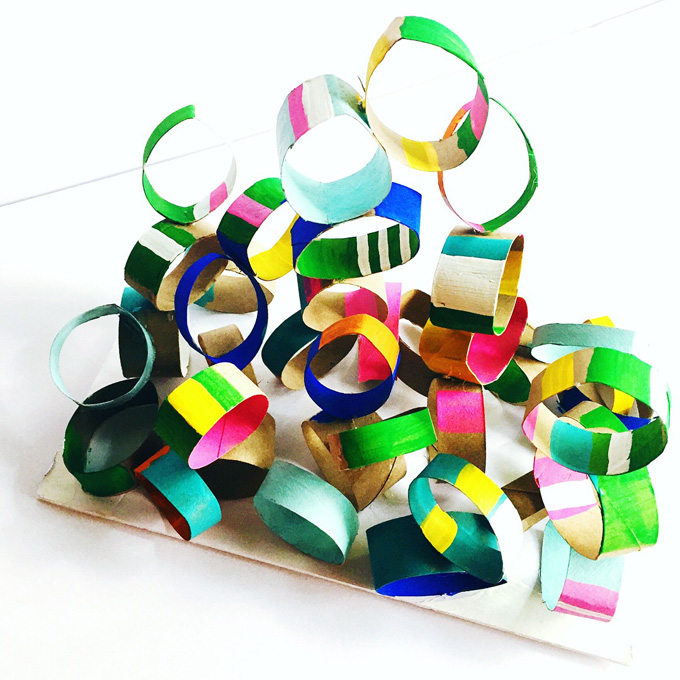
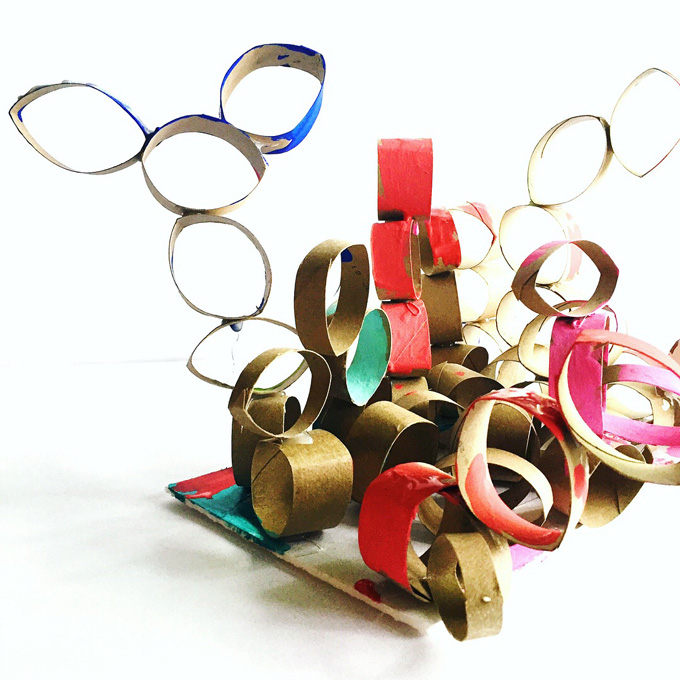
These are from Kara and her daughter Kinley. Her IG account is @raising.kinley. I love the varying circle widths, and the bright colors, and the height on that bottom one! Thanks for sharing these with us, Kinley!
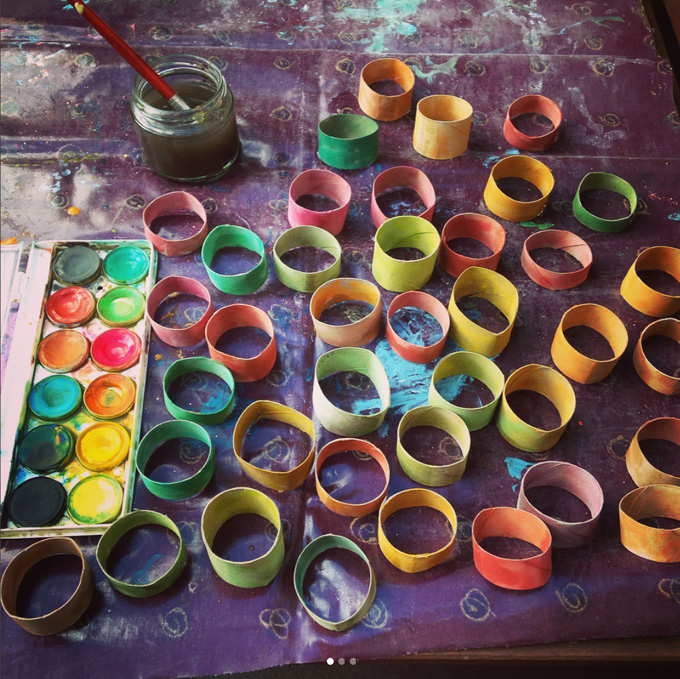
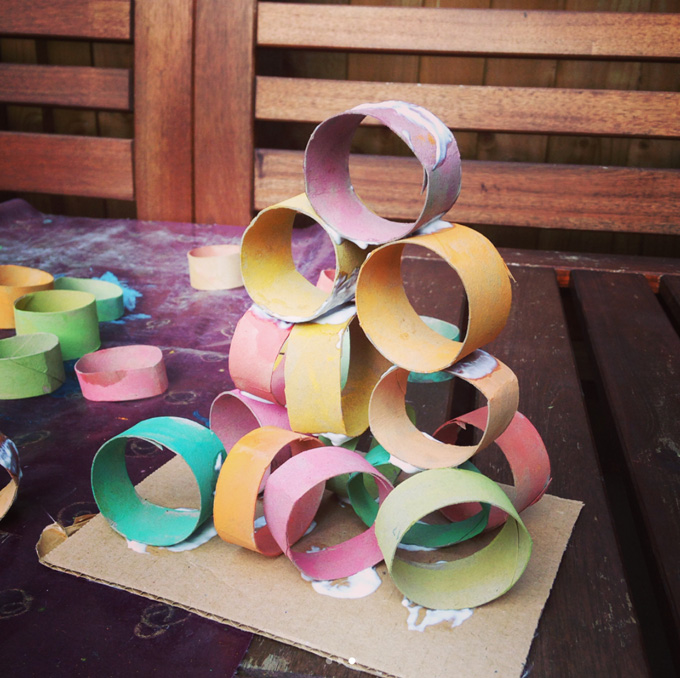
Anna Blackman and her little students made these sculptures. Follow her on IG at @mimosa_montessori. I thought it was so interesting how the cardboard circles were first painted, then glued. Thanks for sharing your technique, Anna!
Please tag me on Instagram @artbarblog if you try this one. You can also use the hashtag #artbarinspired.
xo, Bar


My kids’ preschool has a whole poem about glue, but the part that’ has stuck is, “a dot, not a lot!”
i love that, Deidra! thanks for sharing 🙂 xx bar
I love love love this paper roll activity!! I’m always looking for more ways to use them, and this is so creative & open-ended. Bookmarking this to do with my daughter!
yay!! so glad you like this, Betty, let me know how it goes!! XO
My three year old granddaughter had so much fun doing this. Thanks!!
You always propose exceptional Ideas….. Thanks for the share
Thank you so much for shearing this activity. It is really wonderful and fun to do. I ‘d like to try this with kindergarteners !
They will give a glad shout!