Shannon from Hatch is back to bring us Dollhouse Camp Part Two!!
Read Dollhouse Camp Part One first.
And Dollhouse Camp Part Three is now out, which includes a FREE printable guide to setting up your own dollhouse camp!
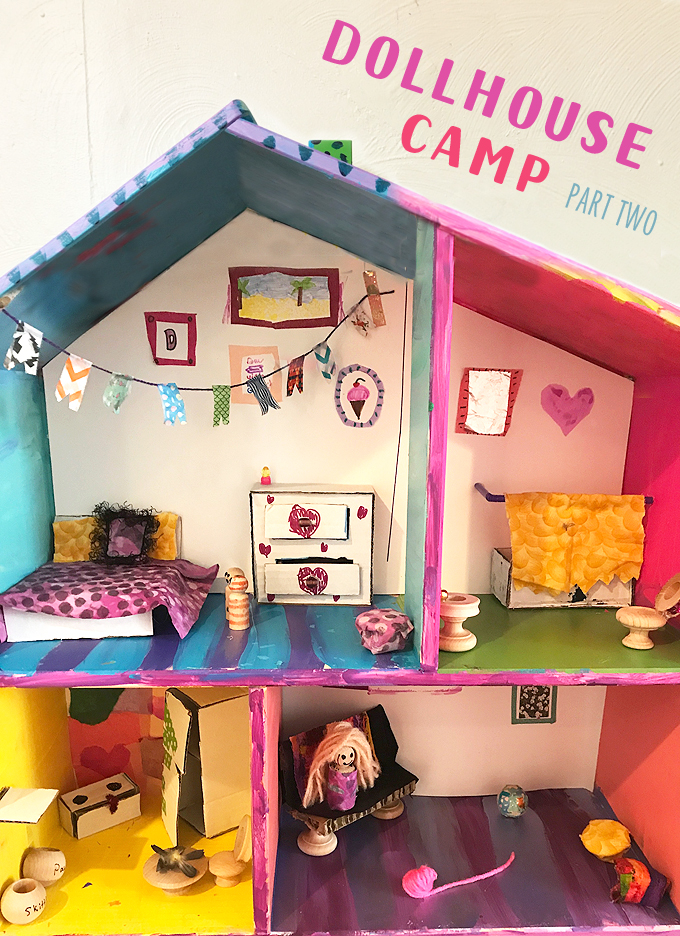
Hello, friends! I’m finally back with more dollhouse DIYs. It’s been absolutely amazing to see this dollhouse idea catch on across the country, and I know why: there are seriously endless possibilities for this project! In fact, it’s almost Halloween time and I just saw the spookiest dollhouse on Instagram- pure genius! Anyway, I want to share a little bit more about our process at Hatch, from this summer, and also from my fall session, where I’ve tweaked things just a bit for some variety. Today we’re going to be talking about the two last, but most important, aspects of dollhouse decoration: walls and furniture.
Designing the interior walls:
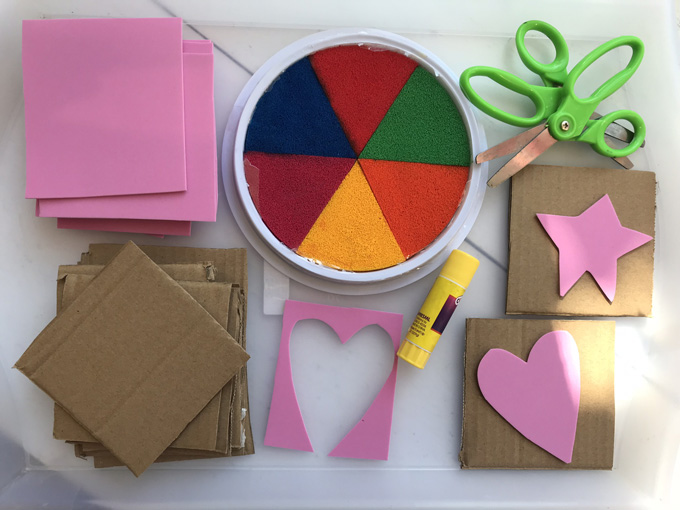
Supplies Needed:
~ Cardboard
~ Scissors
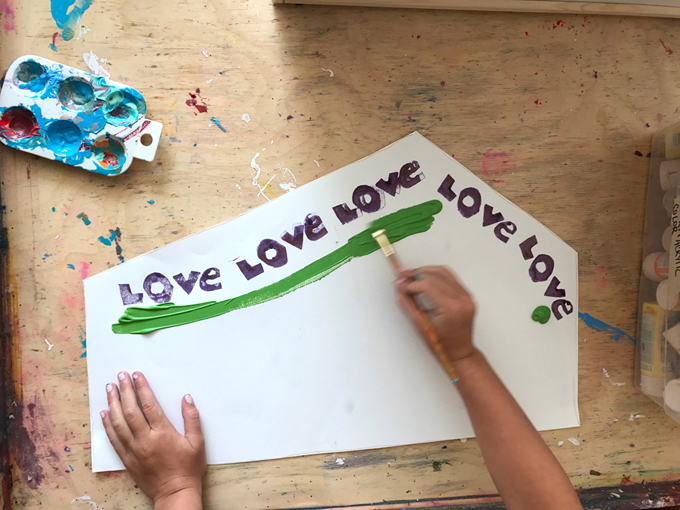
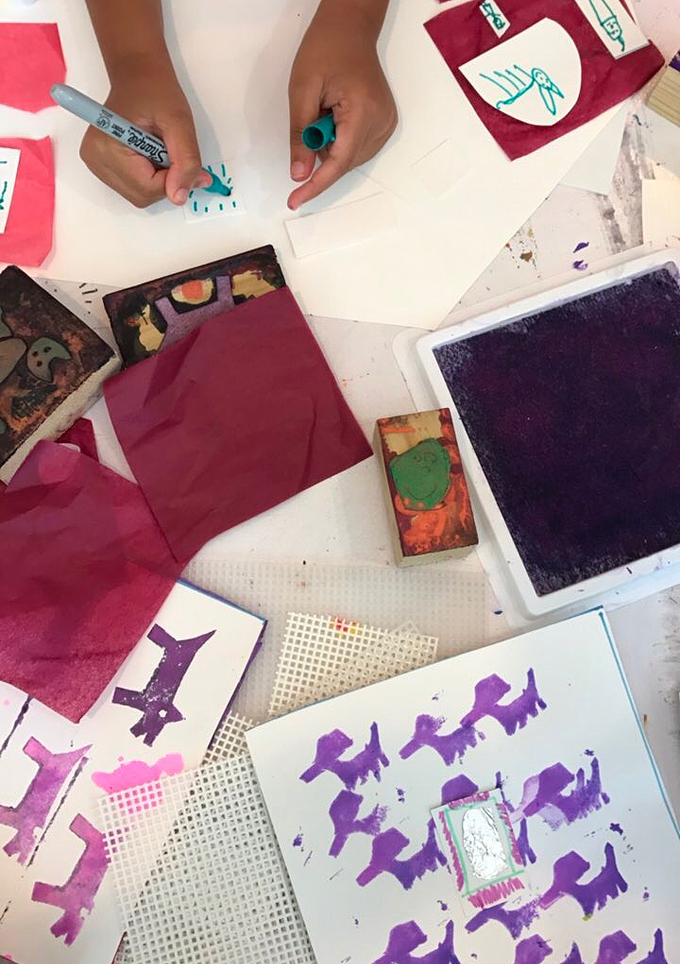
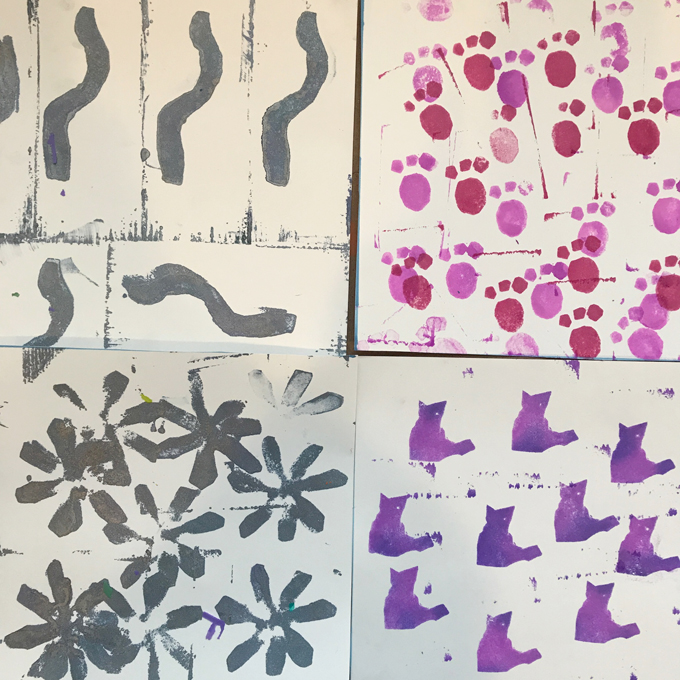
As soon as I knew we would be DIY-ing these Ikea dollhouses, I was most excited about printing wallpaper. We came up with a super quick and easy way to make stamps, and the kids really got into creating repeating patterns for wallpaper.
First, I cut 2 sheets of poster paper for each kid. One for the top section and one for the two bottom sections. Trace the shapes on the back of the dollhouse as a template.
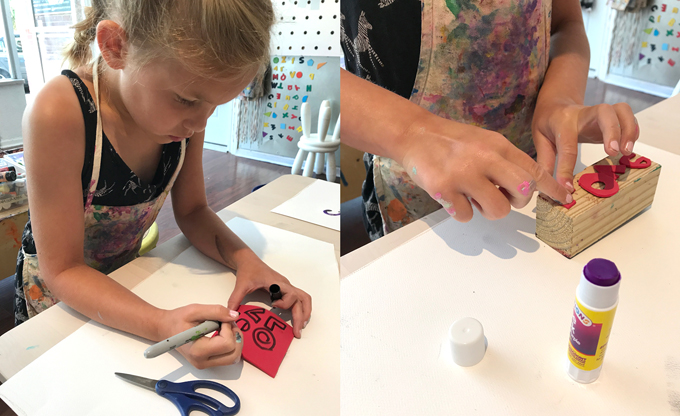
Next, have each kid draw a shape onto their foam piece and cut it out. Glue it to a scrap of cardboard or wood scrap, and print away!
Don’t miss Dollhouse Camp Part One!
More idea for wall decorating:
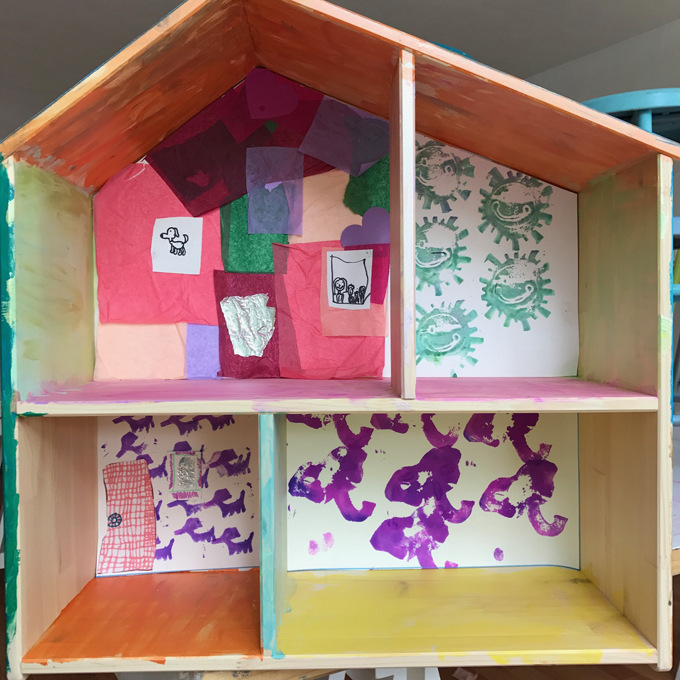
~ Collage paper scraps or tissue paper onto the poster and print on top of that.
~ Make designs with paint sticks, paint, markers, or crayons instead of printing.
~ Offer sharpies or markers, little squares and rectangles of tin foil or other metallic paper and tinier shapes of white paper to fit inside- gallery walls!
~ Sponge or spray liquid watercolor onto poster paper for a more abstract wallpaper.
~ Tin foil makes a great mirror too!
~ Make mini clocks, wall-mounted TVs, shelves of books, and even windows using scraps of paper and glue those right onto the poster paper.
Making furniture for your dollhouse:
Finally, let’s talk next about furniture. This was probably the most engaging part of the project, and also the busiest for us, so apologies that my photos are limited. You can make furniture and accessories out of anything, but here’s what we offered…
Supplies needed:
~ Glue (low-temp glue gun is best, or wood glue or Elmer’s if you are willing to let things dry more slowly)
~ Wood scraps/wood bobbles (I order in bulk online from Casey’s – their assorted wood pieces – but you can find these pieces at a craft store in smaller quantities).
~ Cardboard scraps cut down to size
~ Fabric scraps
~ Beads
~ Card stock to fold into 3D shapes
~ Small recyclables like yogurt cups, berry containers, mini bottles
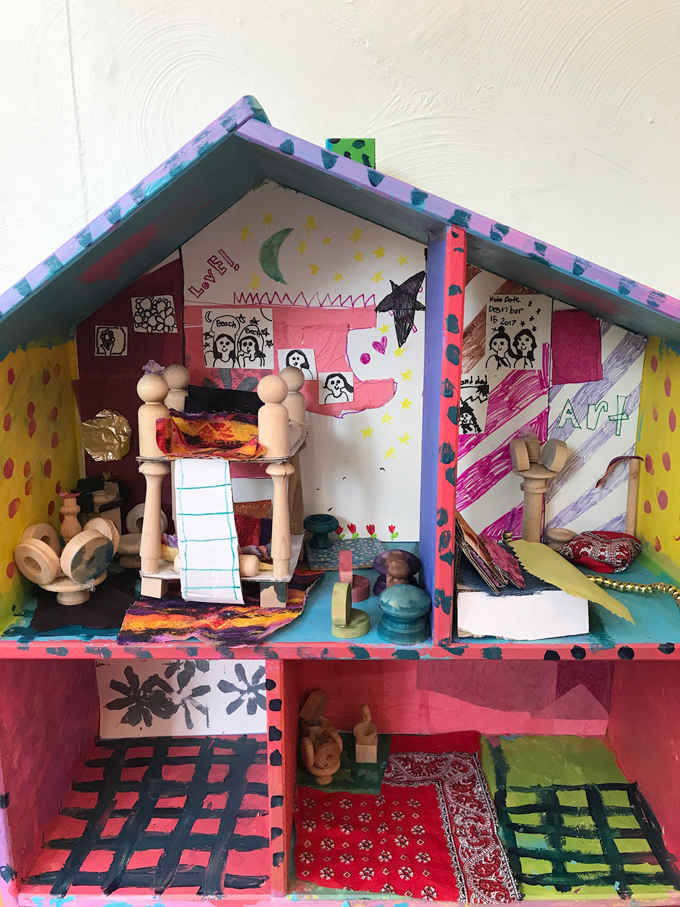
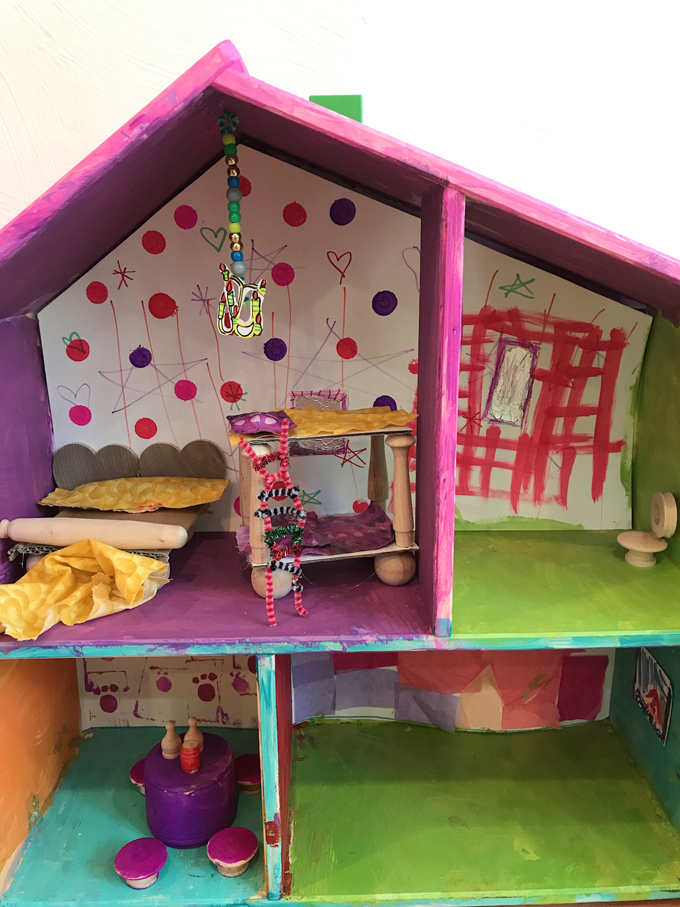
There really is no right or wrong way to approach this. Just let kids just start tinkering and building! I provided very little instruction to the kids at camp, and they just went with it! Most needed help with cutting cardboard, awkward hot gluing, and making pieces fit together. I love that we could be helpers instead of directors for this part. The kids were totally in their element, and it felt really good to let them take the reins!
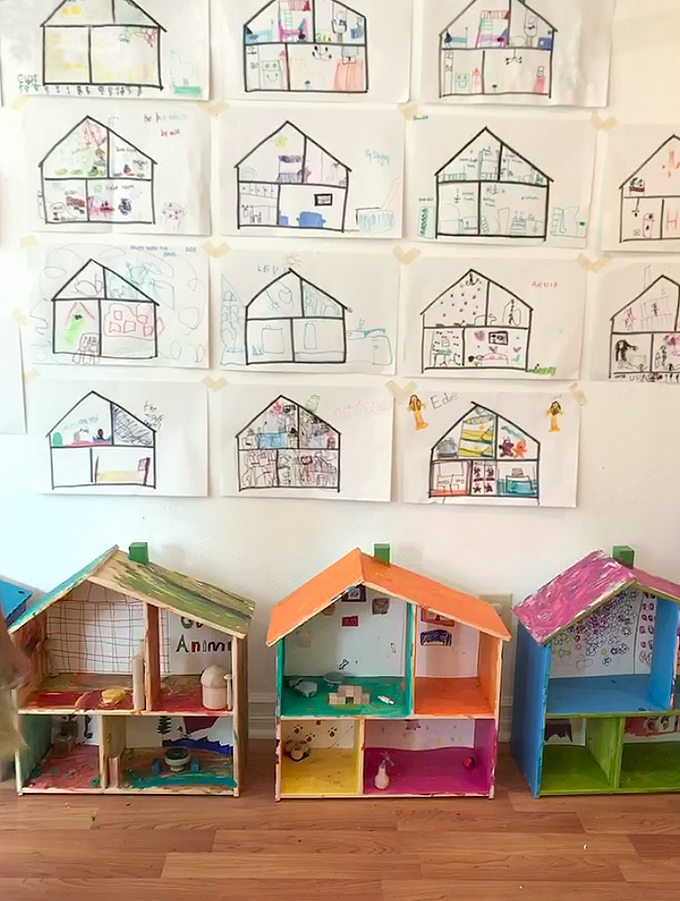
Now that this idea has spread around the country, I’ve seen firehouses, pet houses, spooky houses, and more. You could have kids determine a theme or just go for it. Here are some suggestions of what to build, if your designer is stumped:
Dollhouse furniture suggestions:
~ Bedrooms: beds, bunk beds (triple deckers or higher!), drawers, bean bags (felt stuffed with cotton balls and hot glued), curtains (string and fabric) or garlands (string and washi tape), chandeliers (we used pipe cleaners, beads, and card stock)
~ Bathrooms: toilets (very popular), sinks, mirrors, bath tubs with shower curtains (a straw and some fabric folded over and hot glued)
~ Kitchens: cabinets, tables, fridges stuffed with all the best mini snacks (a project all on its own)
~ Bonus rooms: art studios, pet rooms, greenhouses, game rooms, you name it!
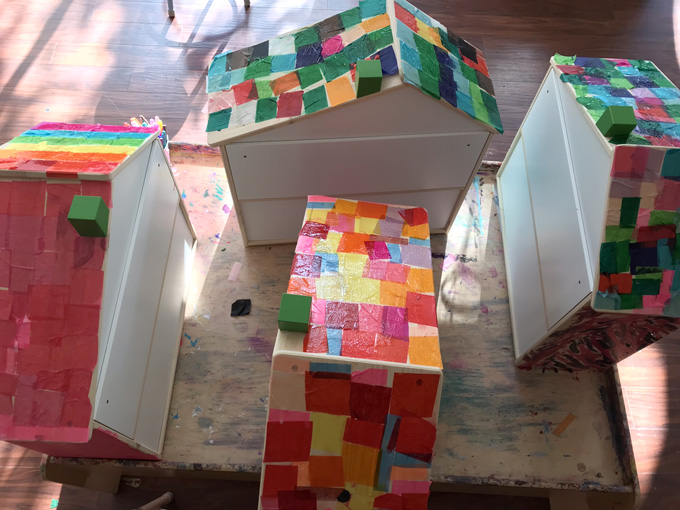
A new idea: Dollhouse collage roof!
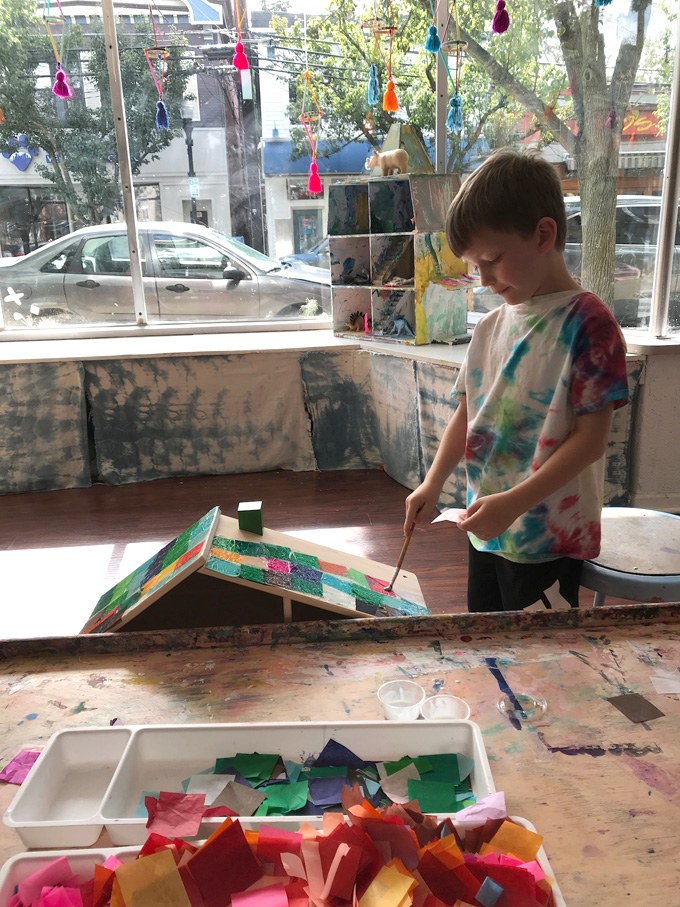
Recently, I offered Dollhouse Camp at Hatch again. After painting every inch of the houses last time, this time around, I decided to go with a new technique for roofs! I cut up a bunch of colored tissue paper and had the kids glue them (with school glue in little cups) in rows, patterns, or however they liked. I love the color and texture this added to the dollhouses!
If you use bleeding tissue paper, the colors will blend a little as you glue, which looks great! I just kept my pieces separated into warm and cool colors which inspired some designers, while others just went for it!
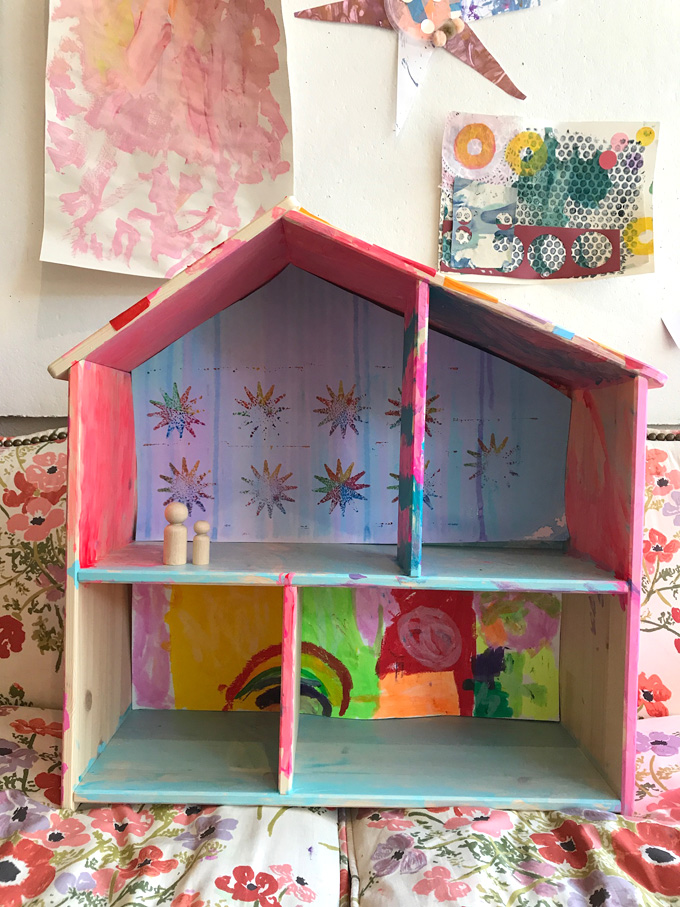
Make people for your dollhouse:
As your little designers finish up their houses, they are definitely going to ask about making people! Have clothespins, corks, wood figures, popsicle sticks, or even extra cardboard on hand to make this happen. I love Bar’s latest clothespin people post! So cute!
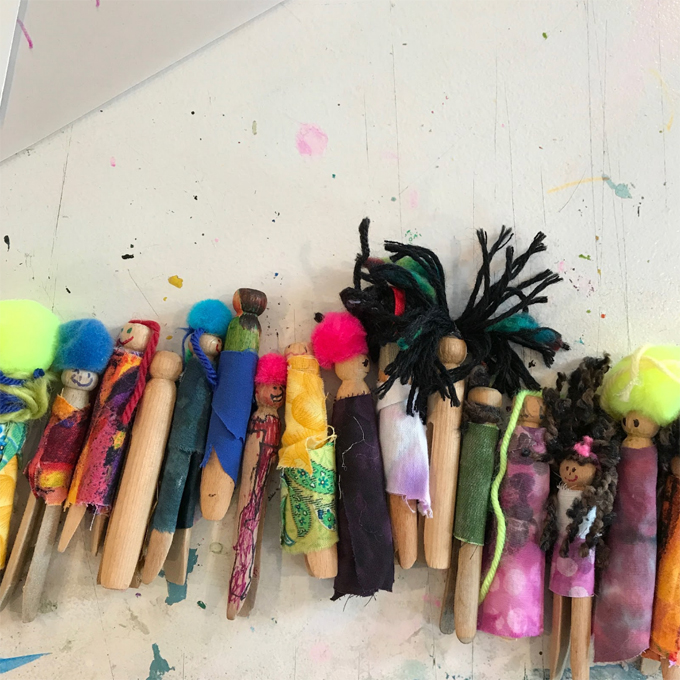
This project is truly endless. There is always something your designer can add to their house to make it even more special. In my next round, I think we’re going to make miniature plants, windows on the outside, stairs, rugs, pets, and more. I hope this inspires you to tackle a long term project with your kids, its so worth it, and they will cherish this handmade toy for many years to come!
Be sure to catch Dollhouse Camp Part One if you missed it.
Until next time!
xo, Shannon
– – – – – – – – – – – – – – – – – – –
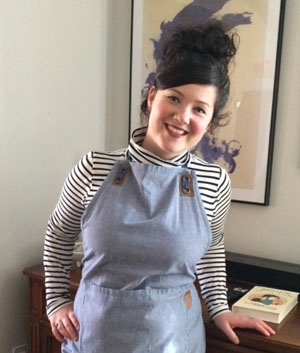
A little about Shannon:
Shannon Merenstein is the owner, creative director, and lead educator at Hatch. She is endlessly inspired by the creativity, joy, and imagination of children. Shannon returned to the wonderful city of Pittsburgh after graduation from Pratt Institute, where she studied painting and art education. For the past 8 years, Shannon has been an art educator and instructional coach at the Environmental Charter School in Pittsburgh, all the while dreaming up and testing out new and creative art projects for her children. When she became a new mom last March, the inspiration for Hatch started to emerge. Looking for creativity-building experiences for her son, Graham, Shannon saw a need for a studio like Hatch in the city. When they stumbled upon a former gallery in Point Breeze, Shannon and her husband, Cole, envisioned a beautiful space to inspire and activate creative thinking! Part art-making studio, part community-gathering space, Hatch aspires to be a special place in Pittsburgh for people of all ages to explore, create, and imagine.


What a creative project! I love how the dollhouse looks. Thanks for sharing the details and the idea!
Thank you so much for sharing this information!!!!