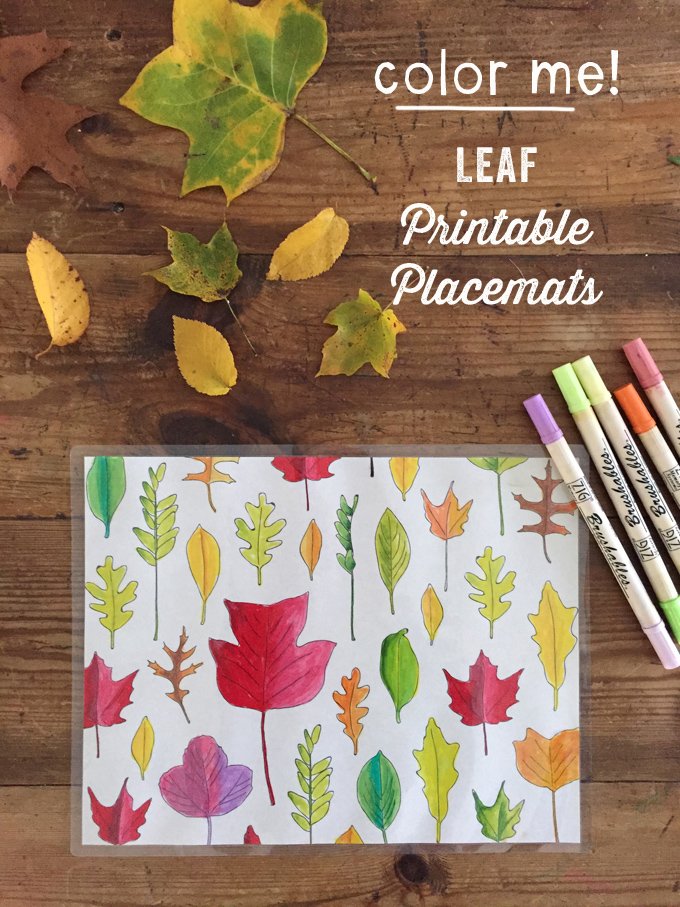
I’m so excited to share my leaf printable placemats with you!! I actually drew this pattern two years ago when I was working on some wallpaper ideas. Just recently a lightbulb went off in my dim brain and I though, hey – I should make this pattern a printable! And voila, now they are FREE for you to enjoy!!
Here’s what you’ll need to make these Fall leaf printable placemats:
1. The first thing you will need is a printer and some regular white paper. I put in a beige background which is why the printable looks not-white, but all you need is white paper.
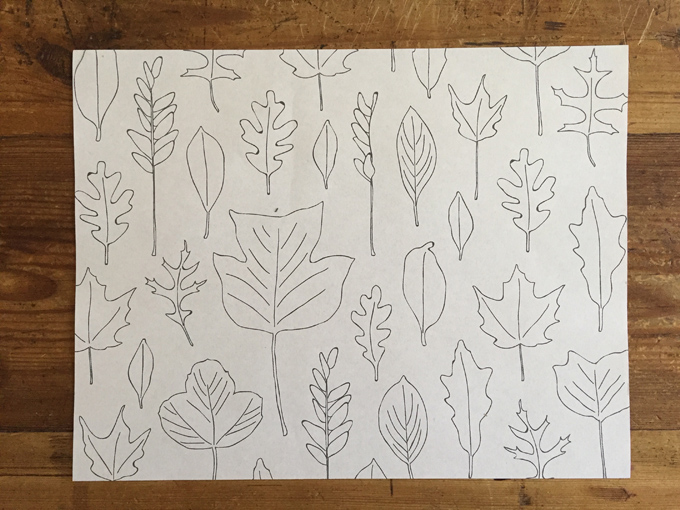
2. Next, download my free printable by clicking below. Make sure to put your printer settings on “borderless” if you want to print to the edge!
DOWNLOAD MY FREE PRINTABLE HERE!
(If you want it without the beige background, just white, then download this version.)
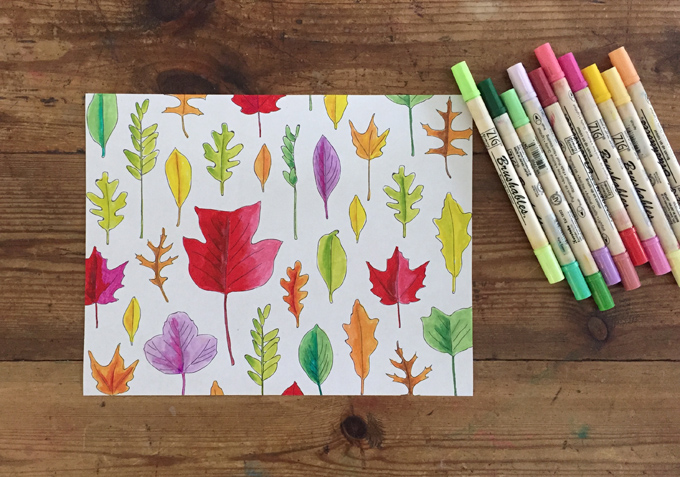
3. You can use anything you have handy to color in the leaves: colored pencils, crayons, watercolor, or just regular markers. If you want to purchase expensive but INCREDIBLY AWESOME brush-tip markers that have two shades and can blend really well, then buy these Brushables by Zig. I bought mine at our local art store on sale a few years ago, and my art class kids use them every day and even use them on wood and other things they are not supposed to and they still are in near perfect shape. So worth the investment if you are into coloring.
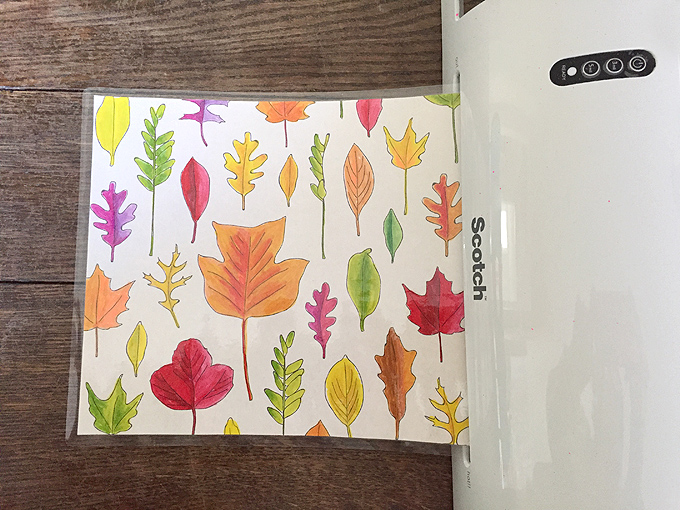
4. Laminate. I happen to have this Scotch Thermal Laminator and laminating pouches from a project that I did a few years ago. It’s not that expensive and well worth the purchase. We use ours quite a bit. Or you can take it to a copy shop and have them laminate.

Now you have a beautiful and colorful set of placemats to use for the Fall. These would be especially perfect for Thanksgiving!
I made the pom-pom napkin rings ages ago, they are very easy to make with just yarn and a hair elastic.
Enjoy!
xo, Bar


Hi Bar,
I love these place mats, and plan to print them out to use as a color-and-take-home project in my Developmental Preschool classes (we’ll laminate them for durability). I noticed that the beige background comes through on the download, and my printer printed it out in gray scale. I plan to try to adjust the contrast lighter to reduce ink usage.
Love your blog, book and wonderful ideas! (Our first art lesson this year was the watercolor lesson from your book! they are up in the classroom now and look amazing.) I am constantly inspired!
thanks becky!! I just added a white background version, so hopefully that will be better for you. let me know how it goes in preschool! xx Bar PS: so happy to hear you have my book and are loving it!!!
Yes, that’s perfect – lightening the exposure did help, but the white background is much better. Thank you!
And those pom-pom napkin rings are adorable!
I am so excited about making this a T-Day craft with my family!
I printed the image on my b/w printer and the background is a light grey. I can use it but it doesn’t look as good as it could. Is there anyway that you could post another version without the background being tinted?
ok Deborah, I added a white version! didn’t think about b&w printers so thanks for letting me know! xx Bar
Thanks so much!
Hi, did you make these in A3 or A4?
hi Nicky, they are 8.5 X 11, US letter size.