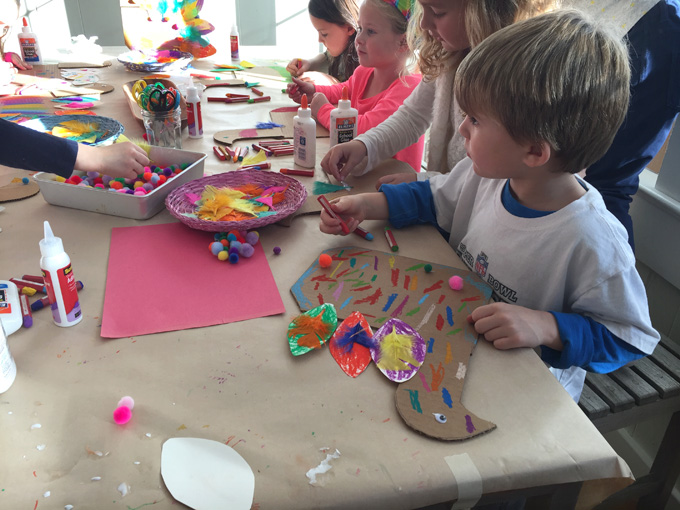
When my 6-year old art student asked me if I could come to her birthday party and make art with her friends, I practically screamed YES! I love doing Art Bar Parties because it’s very different than a class in that the birthday child really feels like he or she is the leader, and takes on a shared role with me.
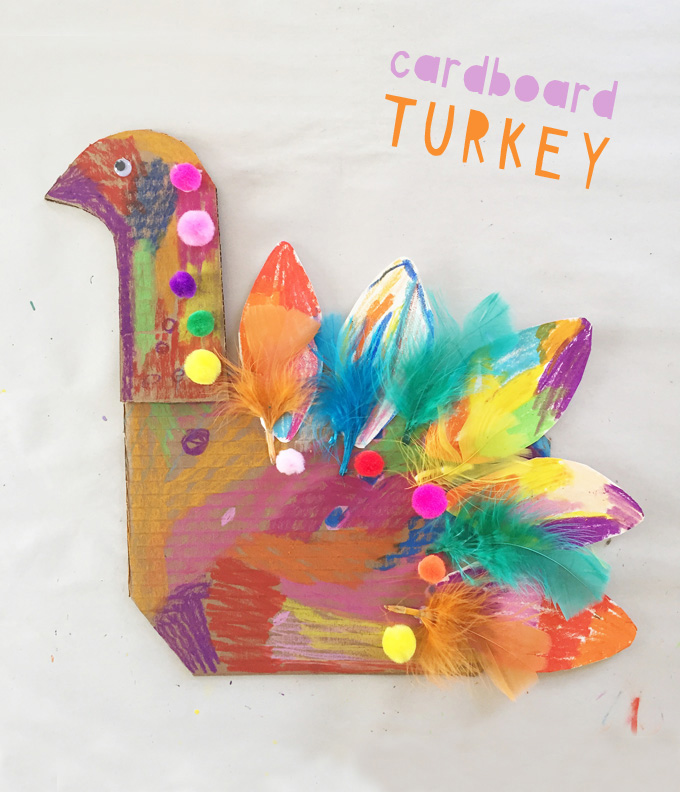
I asked this particular student what she had in mind for her party, and she said TURKEYS? in a questioning manner. Ummm… YES to the turkeys! My first Thanksgiving turkey craft from cardboard was hatched.
[ I am a participant in the Amazon Services LLC Associates Program, an affiliate advertising program designed to provide a means for us to earn small fees at no cost to you by linking to Amazon.com and affiliated sites. ]
I searched the web and found this turkey craft from an incredible art teacher named Cristina that I decided to copy. Why re-invent the wheel? Cristina is a little mysterious, I can’t find her on Instagram, but she has a blog and an AMAZING Flickr feed which you must check out immediately.
And now, here’s how we made our cardboard turkeys…
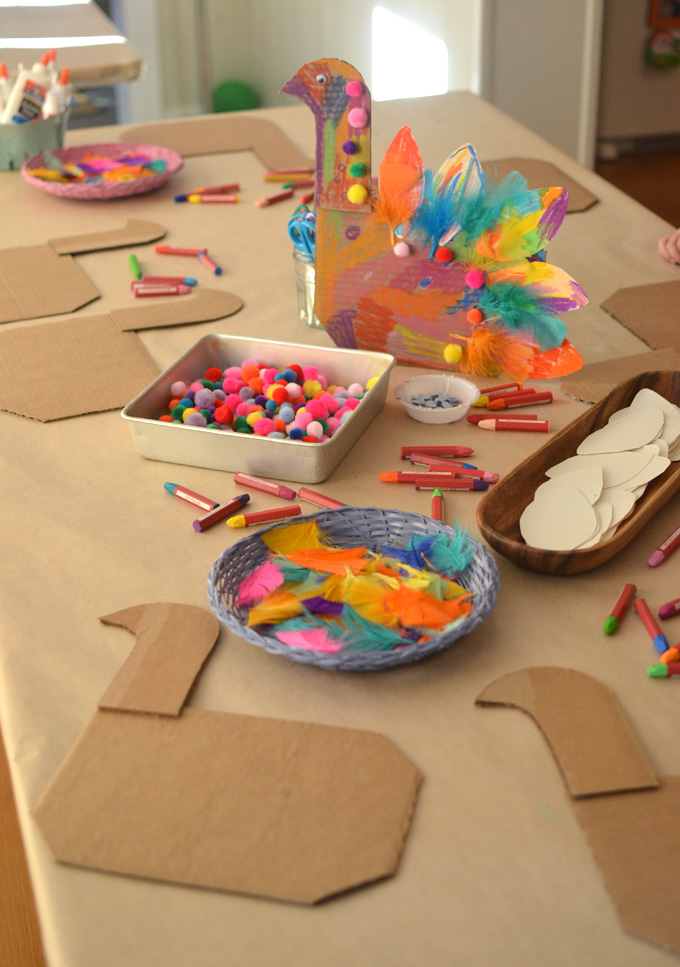
Supplies for turkey craft:
~ Cardboard cut into turkey shapes
~ Glue gun (for putting turkey together… the kid don’t use it)
~ Cardstock cut into feather shapes
~ Pom-poms
~ White school glue
Step-by-step instructions for turkey craft:
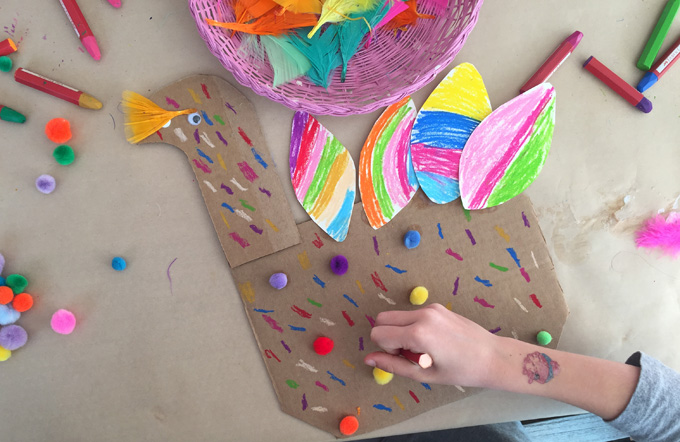
1. Prepare the cardboard turkeys ahead of time by cutting out two shapes: one will be the body, the other will be the neck and head.

2. Using the glue gun, attach the neck to the body by overlapping just a little bit.
3. Set out the cardboard turkeys and all the other supplies on the table. I rarely if ever supply a sample for my art classes. My classes tend to be very open-ended and not as crafty. But this time around I thought it would be helpful to set out an example (made by my daughter). At birthday parties, kids tend to come and go and with a sample, they don’t have to keep relying on my for instructions.
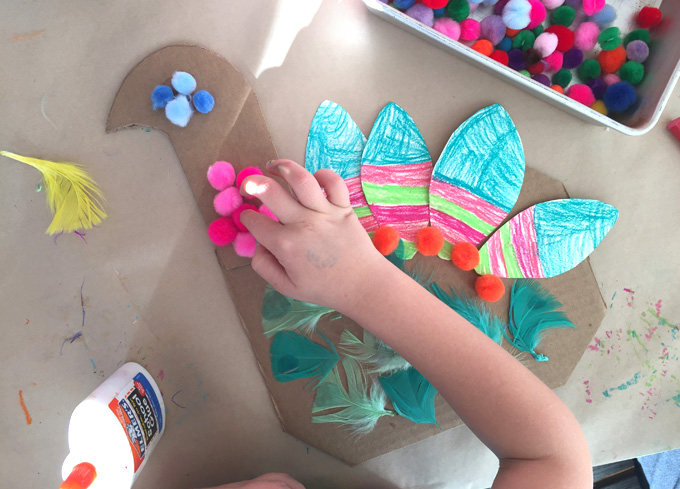
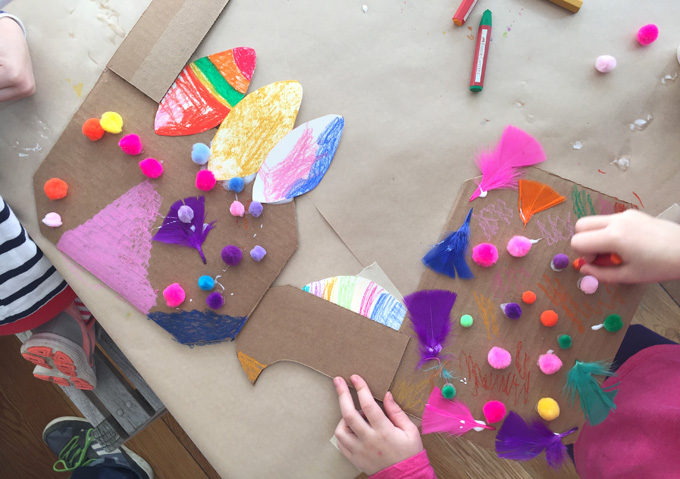
Let the kids create!!
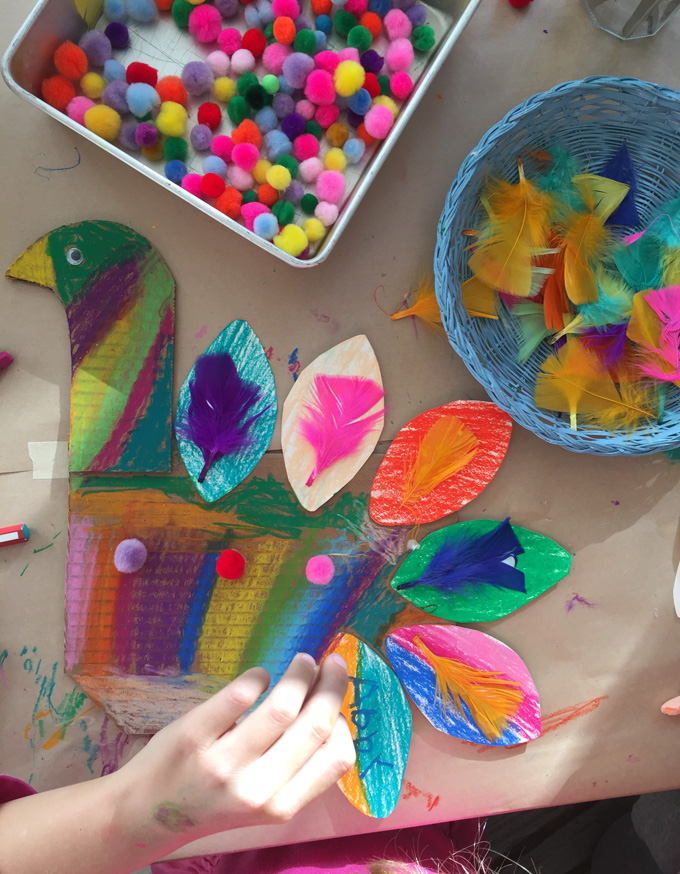
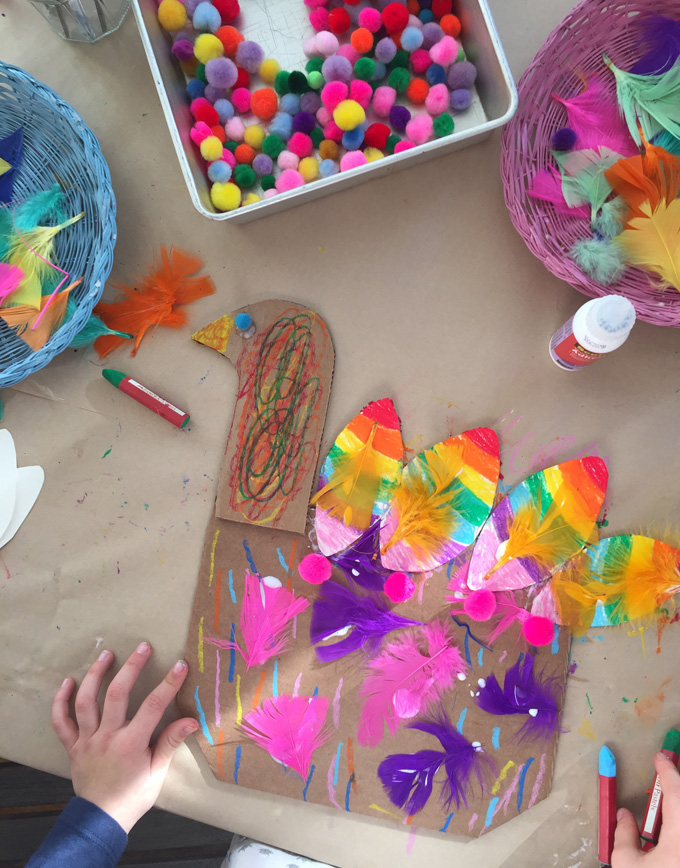
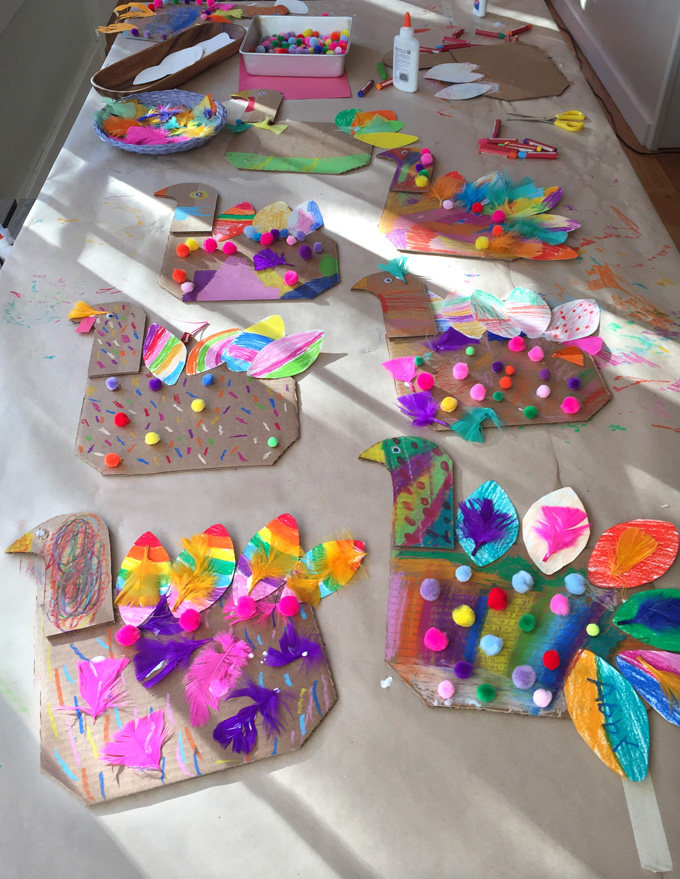
I love how every turkey looks different. My fear with putting out an example is that the kids will feel restricted. But thankfully that didn’t happen. I love these so much!! Definitely a rainbow theme happening. So much yummy color!
Thank you, again, to art-teacher-extraordinaire Cristina for the idea!
xo, Bar
– – – – – – – – – – – – – – – – – – – –


I just discovered your site and I absolutely love it! My four year old is all about arts and crafts and we will definitely be using your site for inspiration. I do have a question for you, which you may have answered on a previous post, but what do you use to store your art supplies? Our kitchen is always covered in papers and markers and paints and I haven’t figured out a good way to store everything! Thanks!
hi Faye, so glad you found me! I did write a post with some photos of my art studio. You can find that here: https://www.artbarblog.com/making-art-space-home/ Also, my book Art Workshop for Children has a whole section on ways to organize an art space. My two favorite pieces for storage is the Alex drawers from IKEA for paper storage, and the Raskog utility cart from IKEA for materials storage. Best of luck! xo Bar
I always find your blog super inspirational. Thanks for the share.
thank you for leaving a comment, Marco! I always love hearing from people who are inspired by my labor of love. xx Bar
Thank you for sharing this. kids loved doing their turkeys ❤️
I LOVE the cardboard turkey idea and the grateful banner! I can’t wait to do both of these this year! Thanks for sharing your great ideas and inspiring me!