This year I purposefully put off making and sending our holiday card until after the holidays. I love making cards (usually I do a postcard, not a handmade card) and love sharing an update with family and friends. But this year I just wanted to give myself some grace, and not add to my December to-do list.
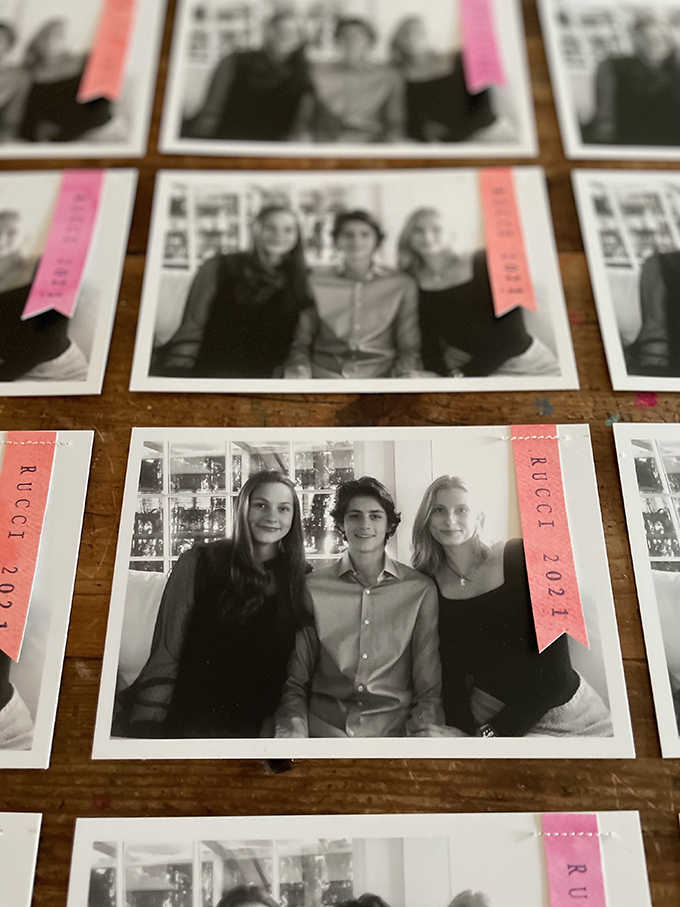
I decided to print a simple black-and-white photo. I didn’t print a message or anything because I wasn’t feeling the Merry & Bright. Not that I’m feeling doom and gloom either, it’s just that it doesn’t feel authentic to make jolly cards as usual this year, at least not for me.
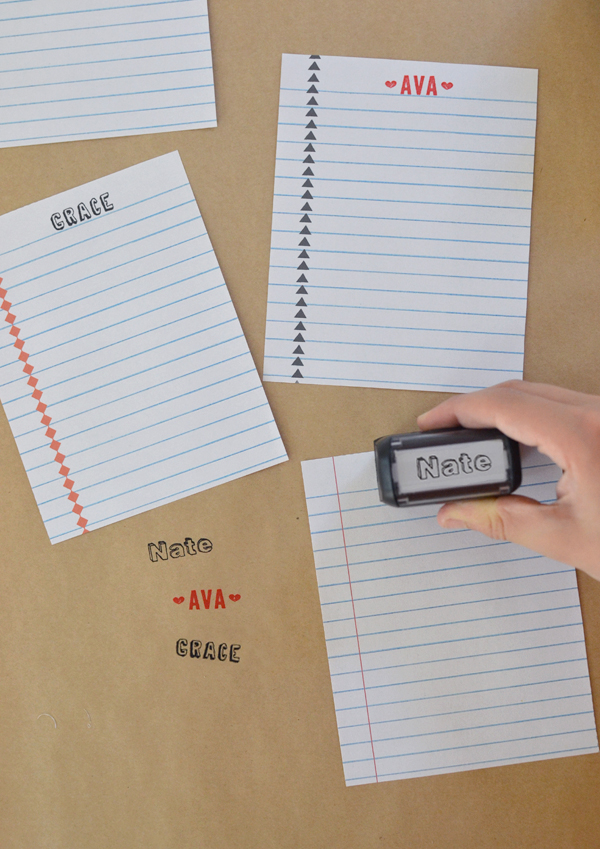
The photos sat on my desk for a few weeks. I finally picked them up last week and decided to attach something to the front. I wanted a marker of the date, so I used my cool rolling alphabet rubber stamper and was able to add our last name and the year. The process was very simple and I’ll explain it in more detail and link to the products I used.
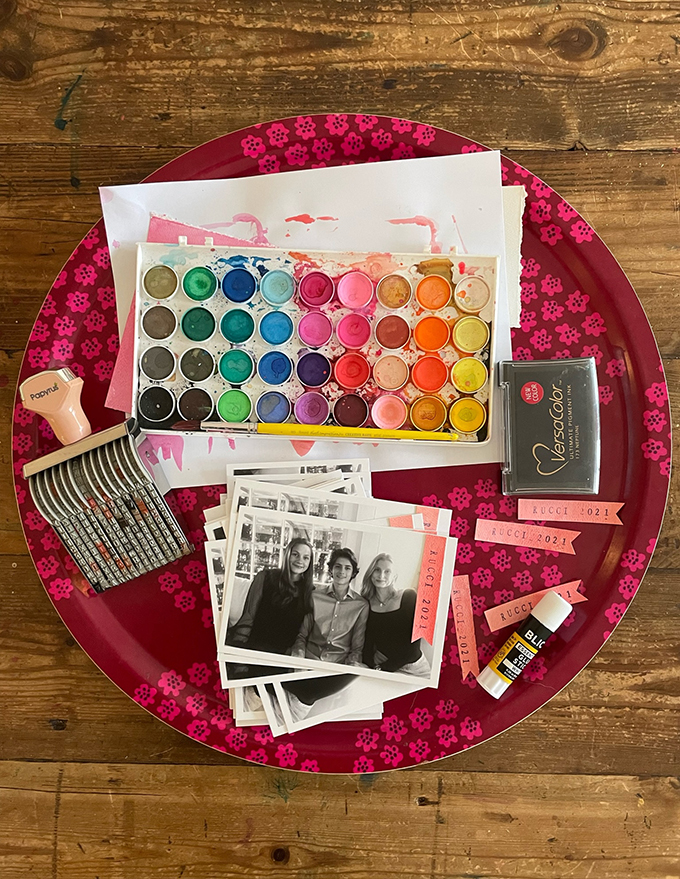
Materials for DIY Holiday Card
~ Photos (I used Artifact Uprising Everyday Prints in Satin finish with border – do not choose White Egg finish)
~ Watercolor paper (I used a lighter weight, 90lb paper)
~ Watercolors (any palette will do, I used an OOLY kid’s palette)
~ Rolling alphabet rubber stamp
~ Paper towel
~ Scissors
~ Sewing machine
Process for DIY Holiday Card
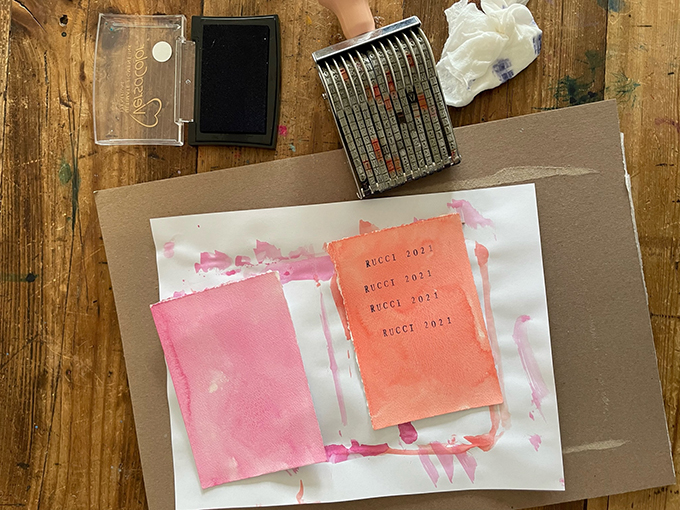
1. Begin by cutting the watercolor paper into smaller pieces. This just helps with planning how many little flags you can fit onto once square.
2. Paint the paper with watercolors and let them dry. When dry, you may need to bend them back a little to make them lie flat.
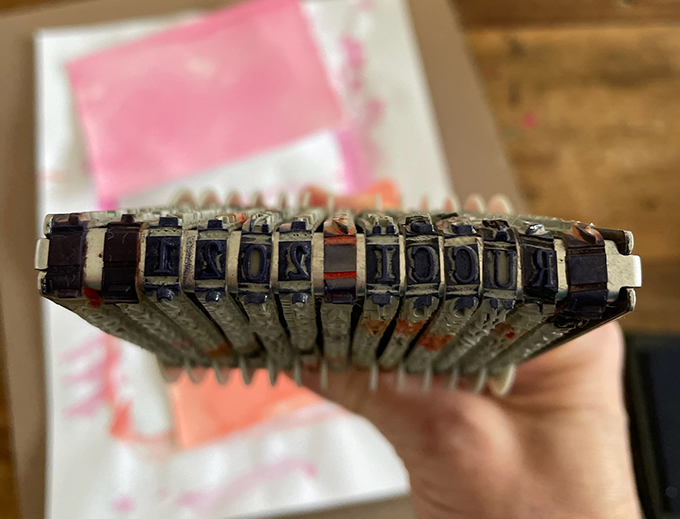
3. Press the stamper into the black ink and stamp on the watercolor paper. I was lucky to be able to add our last name and year onto the rubber stamper with a space in between. But those spaces also pick up ink, so I ended up using a damp paper towel to dab the ends and middle (where there were blank spaces) before stamping onto the paper. Also it helps to provide a little cushion or give underneath the paper you are stamping on. I used a piece of cardboard which is softer than my wooden table. This helps even out the stamping.
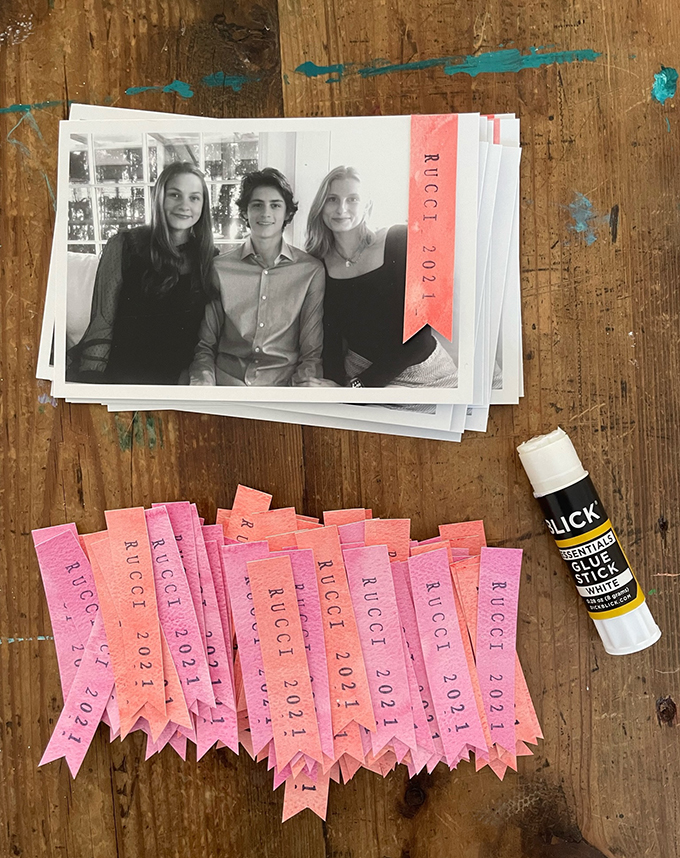
4. Cut up the little flags, leaving room at the top for some stitching. I just used my eye when cutting, they didn’t need to be perfect. I attached them with a little glue, but this step is optional. It just helped me make sure they were straight when sewing.
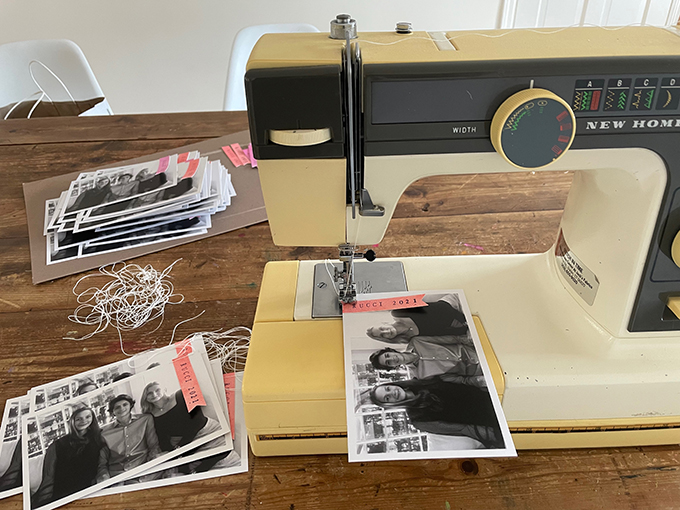
5. Stitch across the top. I have a very old, very basic machine (30 years old but still kicking!). It didn’t love sewing over the bulk of the paper, but the bobbin only got tangled up once and then I just took out the stitches and tried again. You couldn’t tell at all that it was stitched twice.
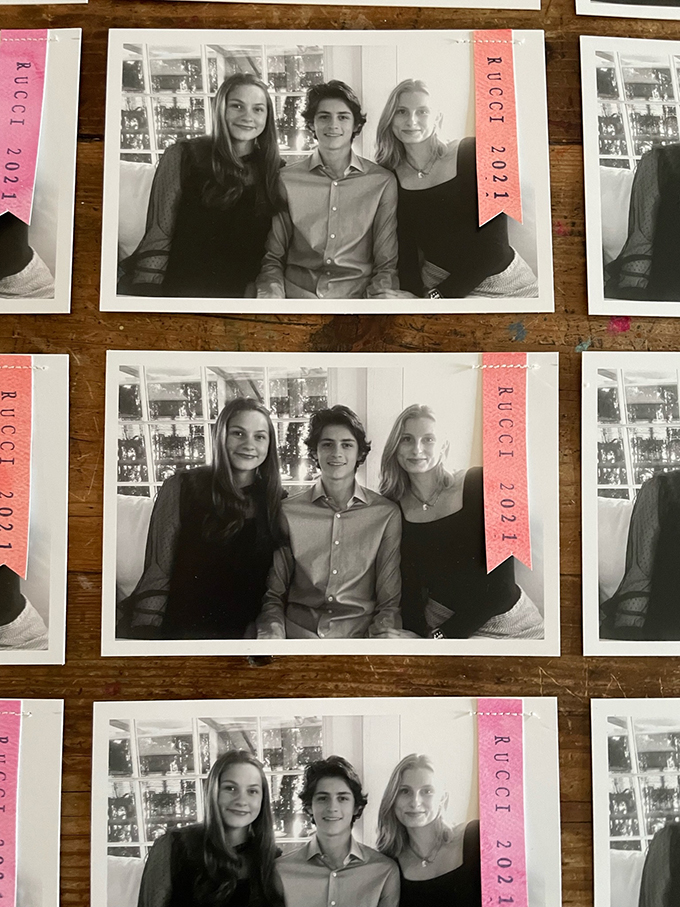
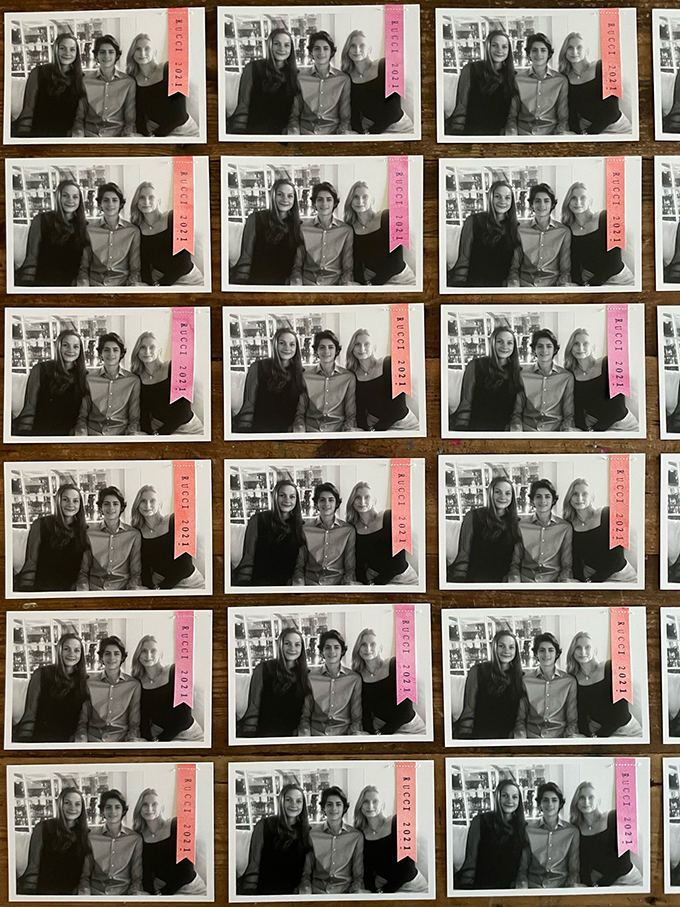
The backs are blank and I took the time to write all 100 people a little note. Next year I might go back to printing a message because it did take some time. But this year I really felt the need to make this piece of snail mail personal and special.
Here’s to a happy and healthy 2022!
xo Bar
– – – – – – – – – – – – – – – – – – – –


Leave a Reply