We’ve had these name stamps for years. I make my kids new ones all the time. It never occurred to me to share this source until we made a stamp for my daughter’s friend for her birthday and the mom flipped over it!! We included a stack of notecards, too. It really was the cutest gift!! This would also make a great teacher gift. Similar to the teacher gifts my kids made last year, but this time their teacher would have a stamp that they can use on anything!
Here’s how I create the names, which I then upload to a website that makes the stamps:
~ You can create the name in Photoshop, or any other design software you might have.
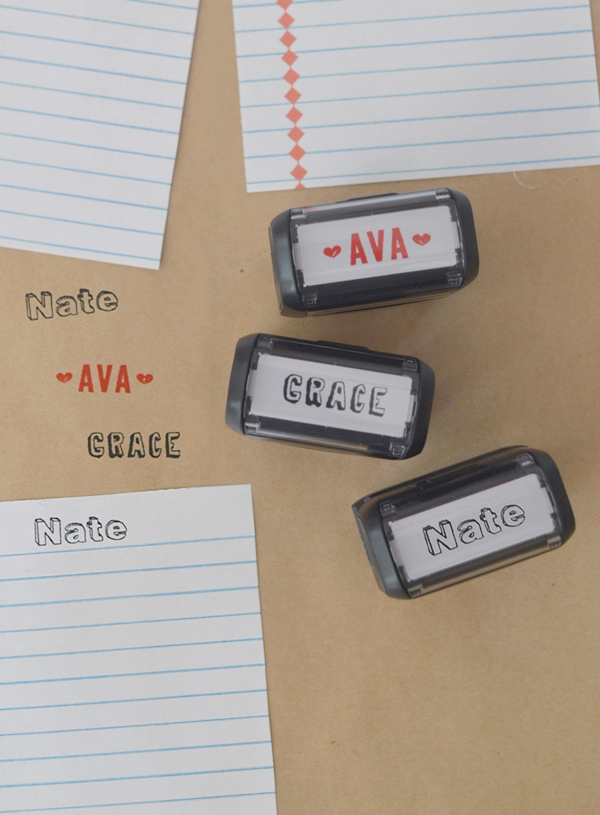
~ Choose your fonts. I used Veneer for “Ava”, Tire Shop for “Grace”, and Black Dog for “Nate”. All of these fonts can be found on MyFonts.
~ Make sure to work in black. Type your name. Your font height should be 3/8″ high. The length will vary depending on the name.
~ Save your name, making the page size (or canvas size in Photoshop) just slightly bigger than the name, by just a few millimeters.
~ Your file format should be jpg, gif, bmp or gnp.
Here’s how to upload the file to the stamp making website:
~ Go to Rubberstamps.net. Go to the tab on the left “Custom Stamps” and then scroll down to “Self Inking”.
~ For my kids’ three names, I chose the second stamp down which measures 1 1/2″ x 9/16″ and costs $11.95. If your child’s name is longer, then you will need to go up in size otherwise their name will get too small. For the name “Annabelle”, I chose the 1 7/8″ x 3/4″ stamp for $13.95.
~ Click on “Customize and Order”.
~ Click on the “Choose File” tab which is in the first beige box on the left.

~ Once you’ve added your file, it will show up in the preview. Make sure it fits. It should look like this (above). If your name shows up really teeny, then your canvas is too big (the white space around your name). Just go back into the file and make sure you trim the canvas so that it’s just the name.
~ There are tons of confusing things to click. Don’t worry about any of them. If you want your stamp to be in a color, then scroll to the bottom. You will see another preview of your name. Just above that, to the right, you will see a button that allows you to chose your color. When you’ve selected your color, hit “Add to Cart”.
~ If you just want black ink, then ignore all of the other junk and just click “Add to Cart”.
That’s it, you’re done!
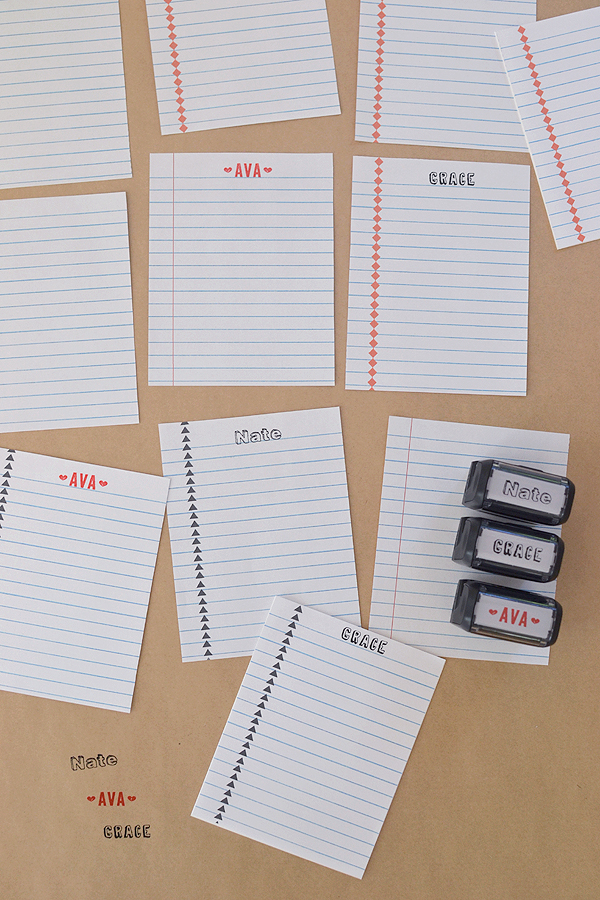
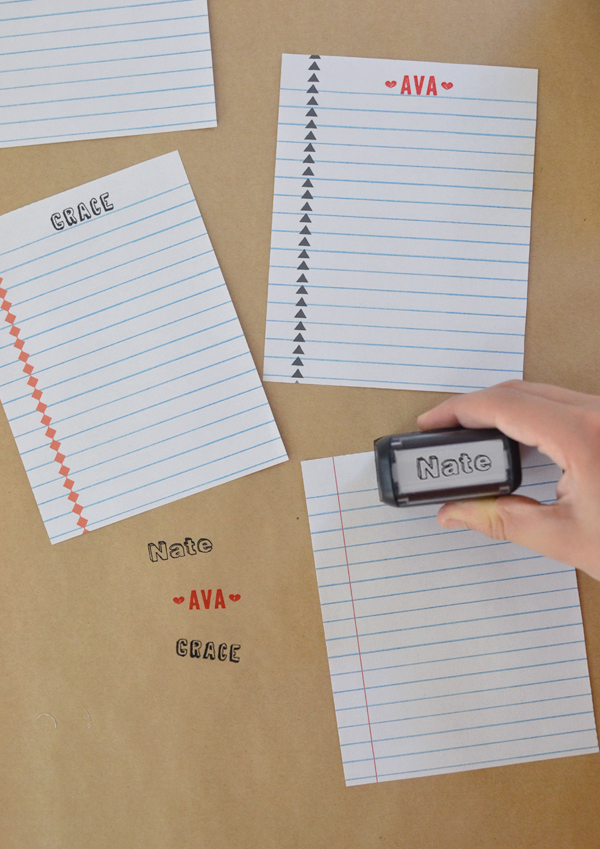
Here are the files to download for the notecards. The cards come four on a page, you have to cut them up. Use a lightweight card stock. Choose the borderless setting in your printer’s dialogue box.
traditional notebook lined cards
Kids loooooove using their stamps. Who doesn’t get a thrill out of seeing their name over and over again? It becomes addictive! My kids even stamp their arms (it comes off with water) and think they are pretty cool.
These stamps are cheap and have so many applications other than notecards. I use them on brown paper to wrap gifts for them, or on their lunch bags (if their lunch boxes are gross and in the laundry), or on notes in their lunchbox. You can also stamp the back of their art to remember who did what (and then I always add the date).
Let me know if you need any help!
xo, Bar


These are so neato! I must order them for Xmas.
i love that you say neato 🙂
Hi, thanks for sharing! Just wanted to let you know that the file for the red diamond cards is actually pulling up the file for the black triangle cards.
oh! ok thanks makia, i will fix it! xo bar