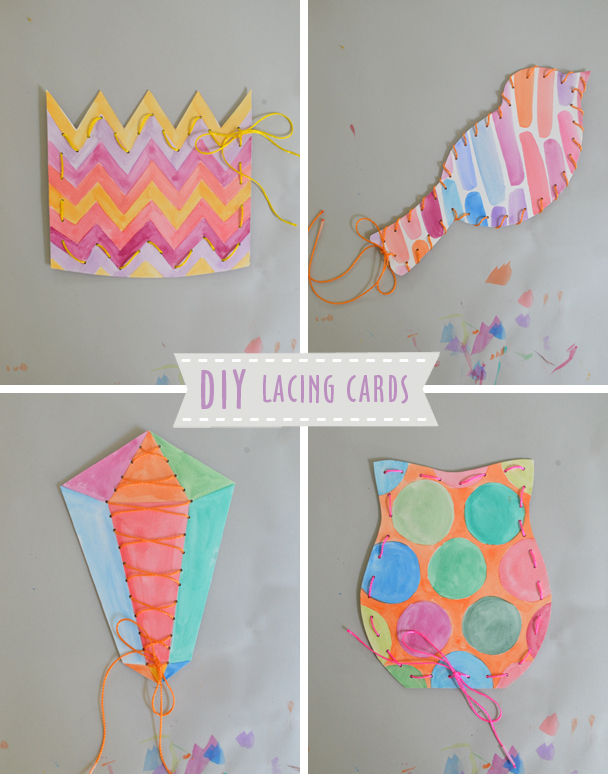
When I was a little girl, I spent most of my days sewing. My mom had an old-fashioned Singer sewing machine that worked by turning a hand-crank on the side. I loved that machine. I made lots of pillows, mini quilts, and little purses. Anything with straight lines. I still love sewing and try to fit it into our lives whenever I can. Lacing cards are such a great way to teach basic hand-sewing skills. Today I want to share with you my handmade version of lacing cards.
This post contains affiliate links. Thank you for your support!
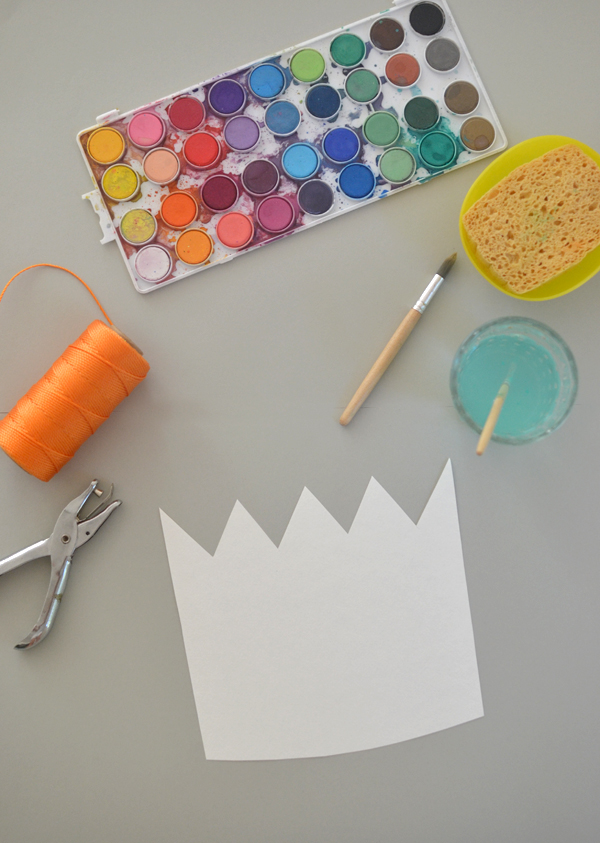
Here’s what you’ll need:
~ Watercolor paper (I used 140 lb weight in a 9” x 12” pad size)
~ Brush (I love Ikea brushes, but these are second best)
~ Glass of water and damp sponge or paper towel
~ Templates for shapes (or make your own shapes)
~ Hole punch (I used an 1/8″ for these photos, but 1/4″ is better for littler kids)
~ String (I used mason line because I had it from another project, but it’s not cheap. I love these shoelaces
which work even better)
Download templates here: Bird | Crown | Owl | Crystal
Follow these steps to make your own lacing cards:
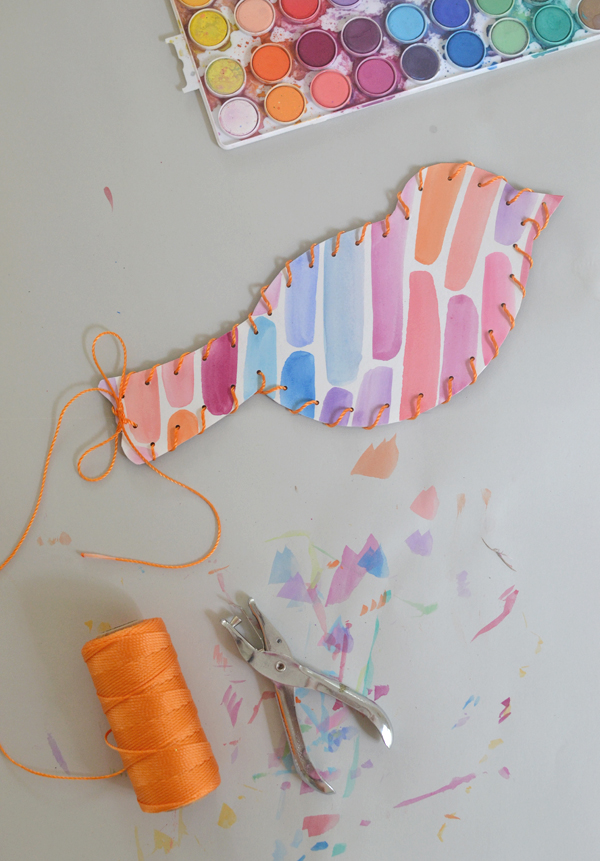
1. Print the stencils on regular copy paper. Cut them out, then use them to trace the shapes onto the watercolor paper. For the crystal shape, use a ruler to draw the lines onto the watercolor paper. (Tip: It will be easier to paint the shapes in first, then cut them out afterwards. I cut my shapes first only because it made for prettier pictures!)
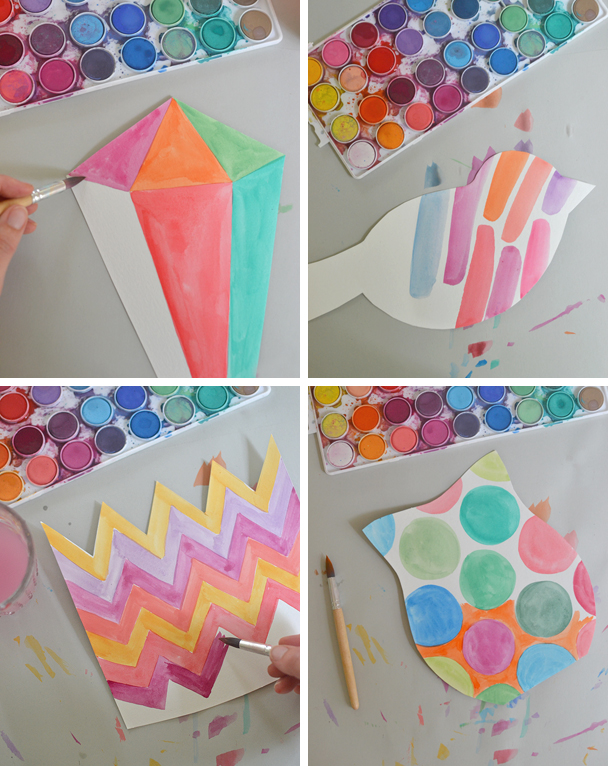
2. Set up your watercolor. I always have a damp sponge next to my water glass, but you could also use a paper towel.
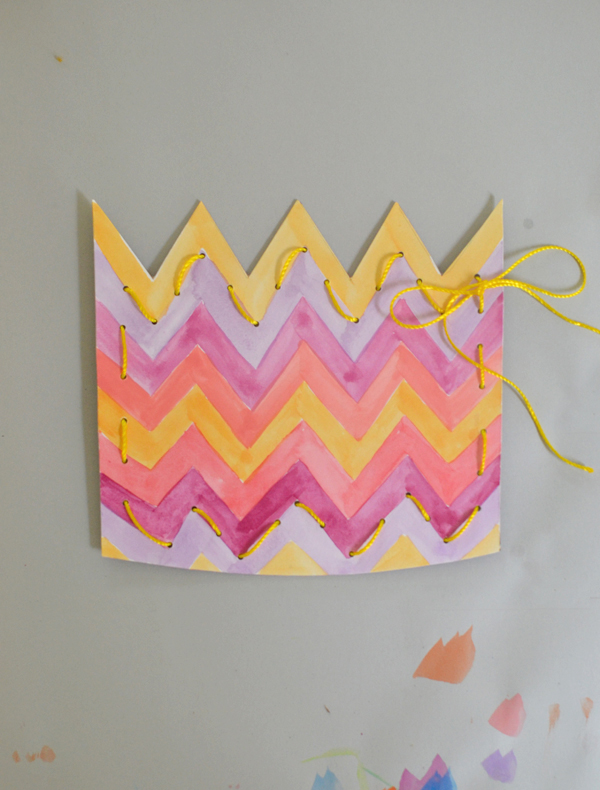
3. When painting your shapes, you can do whatever you want. That is the beauty of this project! There are no mistakes to be made. I used solid blocks of color for the crystal, quick swaths of color for the bird, a zig-zag pattern for the crown, and big polka dots for the owl. (For an added sense of collaboration and ownership, you can let your child paint the shapes!)
4. After the shapes have dried, you just need to bend them a little to get them to lie flat.
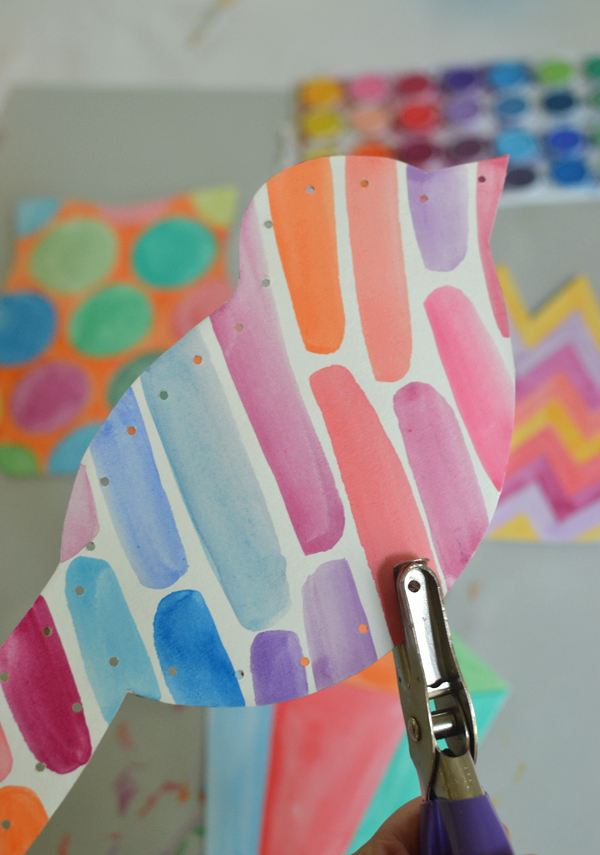
5. Punch your holes around the edges. I spaced mine about an inch apart.
6. Cut your string. I used 6 feet of string for the bird lacing card (incredible, right?). This one took the most string because of the blanket stitching. The other lacing cards took about 5 feet or less. Since I used mason line (which frays), I burned the ends with a lighter, then I wrapped a small piece of tape around the end to make it like a shoelace. If you want actual shoelaces, you can find these shoelaces (54″) in a variety of colors on Amazon. Another alternative is to buy these plastic sewing needles
, which my kids love because it feels like real sewing, and just use yarn.
Voila! Now you have a beautiful set of lacing cards that you can give your child. What a treasured gift! These cards are wonderful for both girls and boys. My 8-yr old boy loves lacing cards.
Enjoy!
xo, Bar


The 4 templates for this activity do not work. Is it possible to rectify this please?
It is a great idea and I think my students would love this.
Thank you.