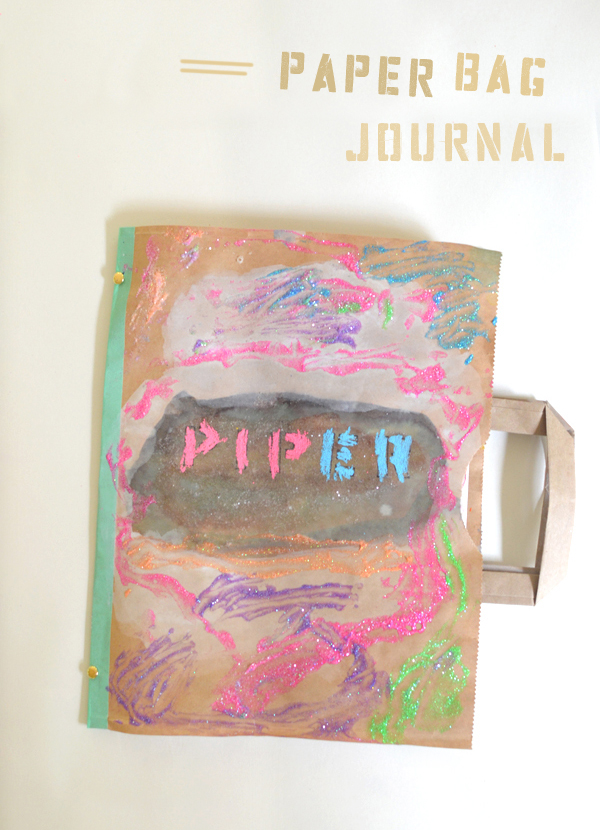
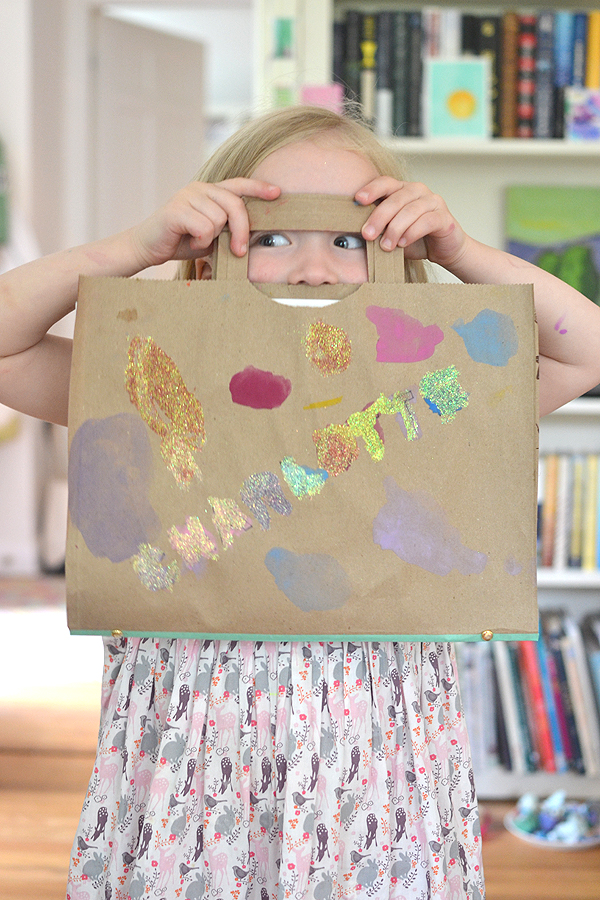
Over the summer, I had art camp here every day for five weeks. On day one of each new session, the first thing we did was make an art journal. It was something that could be used throughout the week, if the kids were done with their projects early, or if they had an idea they wanted to sketch. We talked about “thinking and working like and artist”, which means keeping a journal close by to write thoughts or draw or paint or glue…whatever moved them! The kids LOVED making these journals. They thought it was so cool that their names were on them, and that they could fill it up with anything they wanted. Plus there was a nifty handle to carry it around. Winner!

Supplies for making the journals:
paper bag // three or more sheets of 12 x 18 sulphite paper (or other paper that size, i just happened to have sulphite paper and love the density) // plain or colored masking tape (I used painter’s tape
) // hole punch
(1/8″) // brass fasteners
Instructions:
1. Cut down the sides of your paper bag and cut off the bottom. You will now have two separate paper bag sheets (with handles).
2. Fold the inside paper you are using in half and lay it down on one side of the paper bag. Trim around the paper leaving a bit of a margin. Trim the other paper bag sheet.
3. Tape the two sides together. I put tape on the outside and the inside.
4. Punch a small hole at the top and bottom, going in as far as your hole punch will let you. Punch the hole close to the fold, but not on the fold.
5. Open up the bag and lay the folded paper inside, marking where the holes are on the white paper. Now punch holes in the white paper right on the fold.
6. Insert the brass fasteners from the outside and secure them on the inside. Voila!
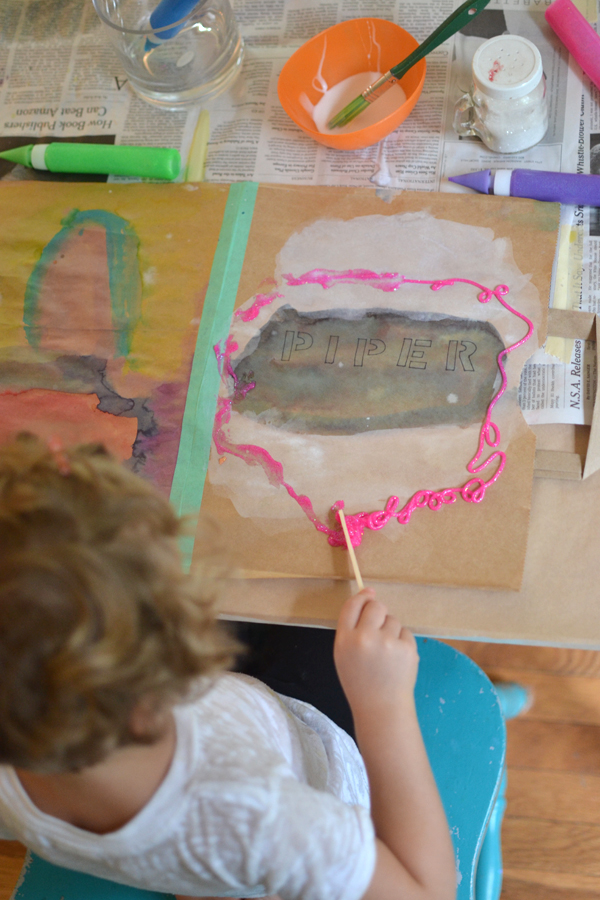
I actually taped the two sides together and then had the kids paint and decorate them before I attached the inside sheets. After the paint and glitter dried, that’s when I put in the sheets with the fasteners.
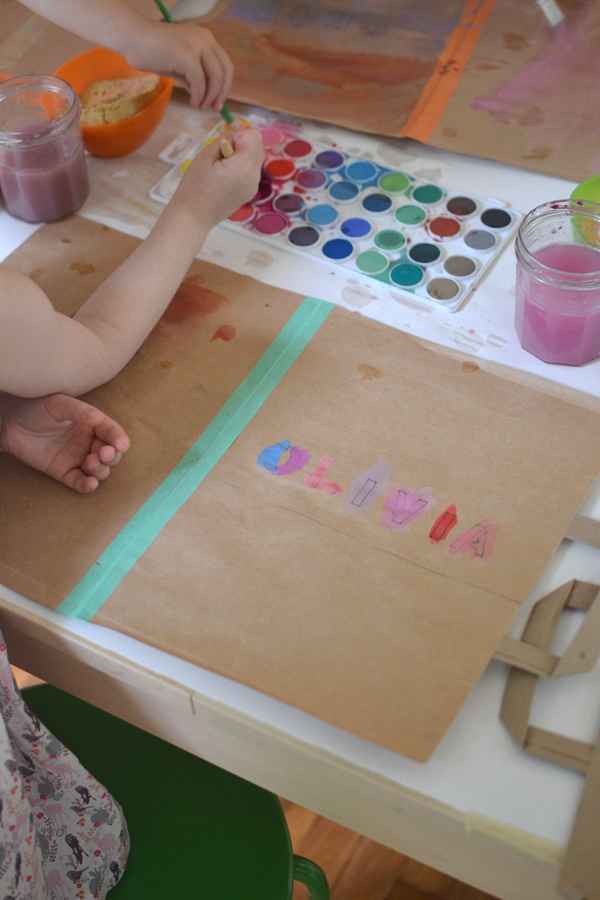
Supplies for decorating the journals:
letter stencils (optional, you can freehand) // watercolor paints
// brushes
// glitter glue
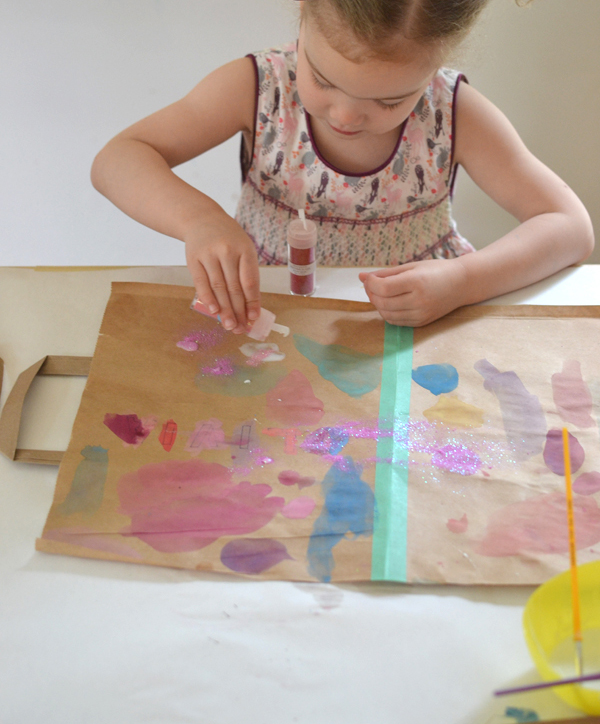
// glitter
(messy and exciting alternative to glitter glue) // white glue in a bowl with a brush (if you use glitter) // neon chalkboard pens
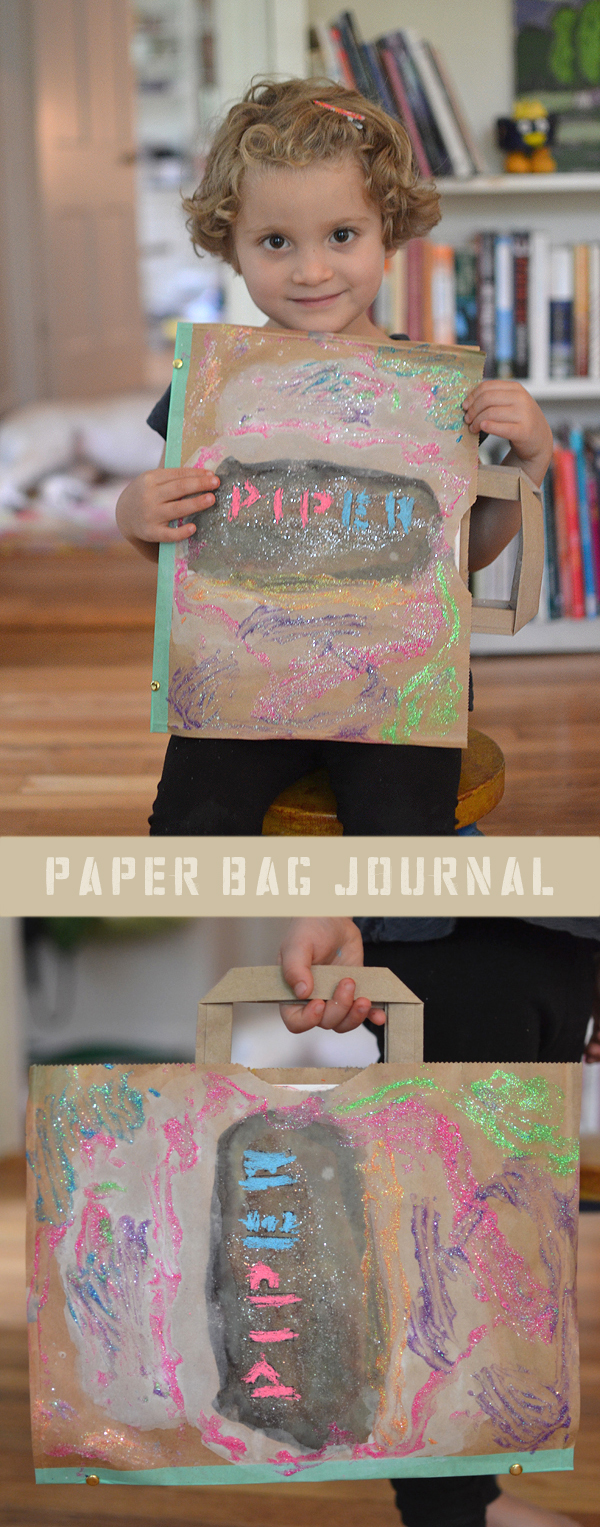
We glued envelopes inside the front cover. This was strategic in once sense, to cover all of the grocery store graphics, but also it allowed them to be collectors and to save the little bits they found to use for their art.
Sometimes the simplest ideas are the best!
xo, Bar
are you kidding me?! these are awesome! Charlotte?!!! I love her and that pic!
thanks meri, it’s a good one. easy peasy. i made some this week without the inside paper and without cutting down the bags and we’re using them as portfolios. the built in handles are so lovely. xoxo
So creative and how proud the child can feel to have their very own unique art journal, pinned! Found your post and blog from Teach Preschool fb page!
thanks so much susen!! so glad to have a new visitor to my site 🙂 xo bar
What a fantastic idea, thank you so much for sharing xxxxx my kids have loads of paintings so this will keep them all together xxx
you’re welcome kerry and thank YOU for reading my post!! xo bar
These are great! I made up a bunch of these as party favors for my daughter’s birthday party today. They were a huge hit. We set up an art table with stamps, markers, crayons, stickers and jewels. The girls had so much fun decorating their journals. This was a great party favor with their own watercolor set. So much better than a bag of candy and plastic things! Thank you!
You are so clever! What a great idea for a party activity and favor all in one. And with a watercolor set. I love it!!! Bravo to you. Thank you for commenting, Misty!! xo Bar
I have looked all over for those bags, and can’t find any with handles… help?!
where do you like, Dekotah? every grocery store in America has them, but I don’t know about outside of the US. Maybe you could buy different ones on Amazon like these: http://www.amazon.com/Craft-Gift-Brown-Paper-dozen/dp/B005KKYIIK/ref=sr_1_1?ie=UTF8&qid=1432742756&sr=8-1&keywords=brown+paper+bag+with+handles. Sorry!!
My 8 year old loved this! We came home from school yesterday to make them. She turned one into a math journal and the other into a Halloween scrapbook. She took the math book to school today to show her teacher. The other she will take with her to the school Halloween party. Thank you for sharing this idea. Now I know what to do with all of those paper bags.
PS: We LOVE your book and your weekly newsletter!!!!!
I’m so happy she loved this projects, and I love the idea of a math journal and a Halloween journal. How clever!!! Thank you so much for sharing this with me, and for buying my book!! xx Bar
Wow! I love this: the children create the outside & the inside! 🙂 Thank you for sharing!
loved it made on with fabric too!
oooh, love that idea!