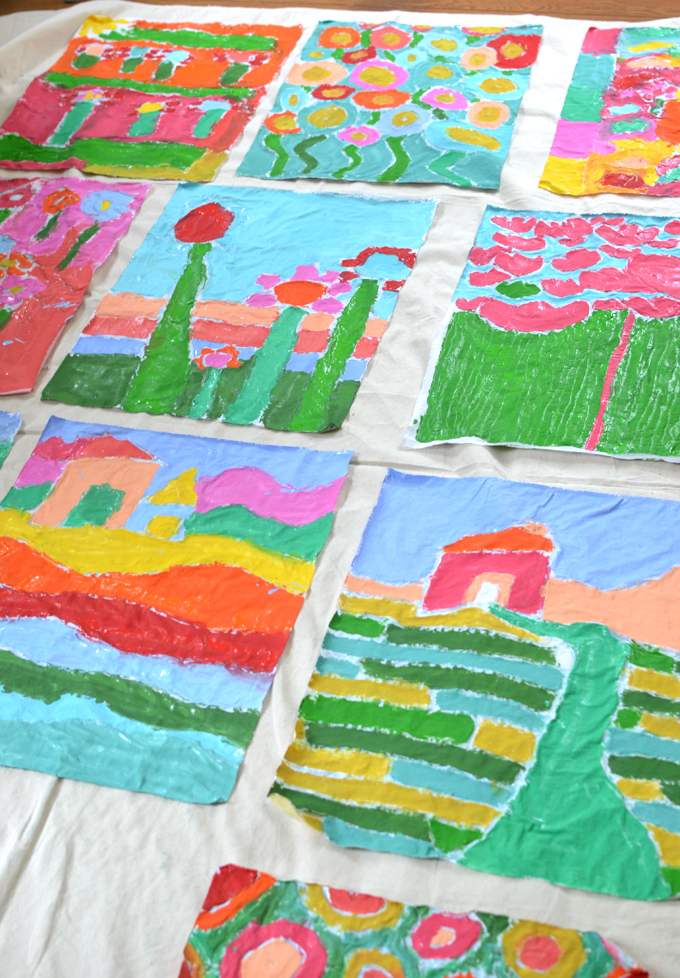
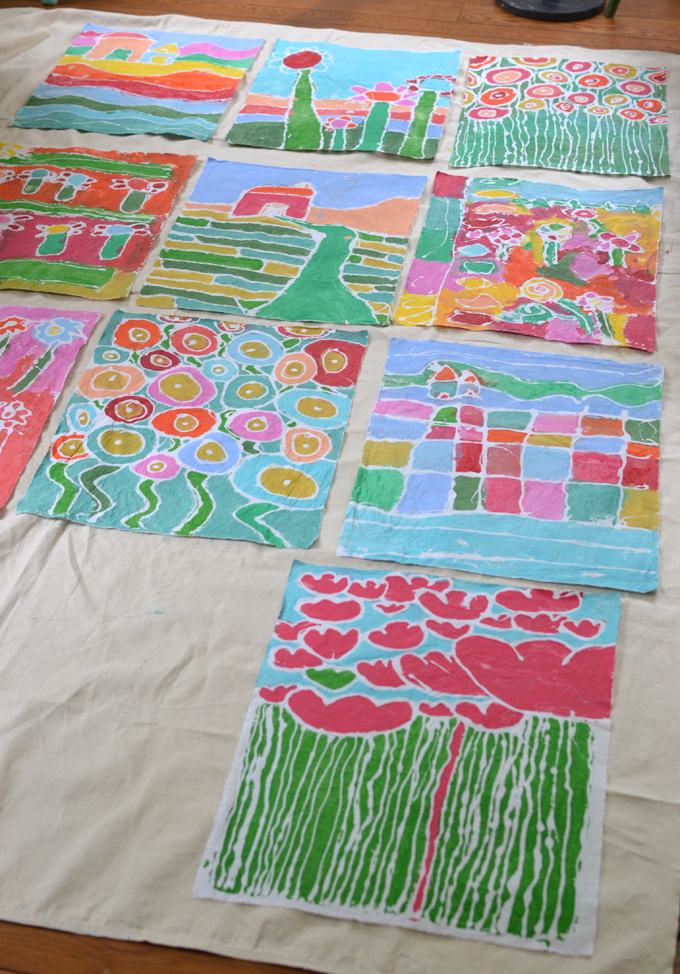
Last summer, I did a whole week of “Artist Study Camp” at my home here in Connecticut. It was geared a little bit more towards older kids, although I ended up with kids ages 5-10. They were complete sponges and took it all in, working so hard and using their new skills to create some stunning works of art. We tried glue batik for the first time and, well… you can see for yourself how amazing they turned out!
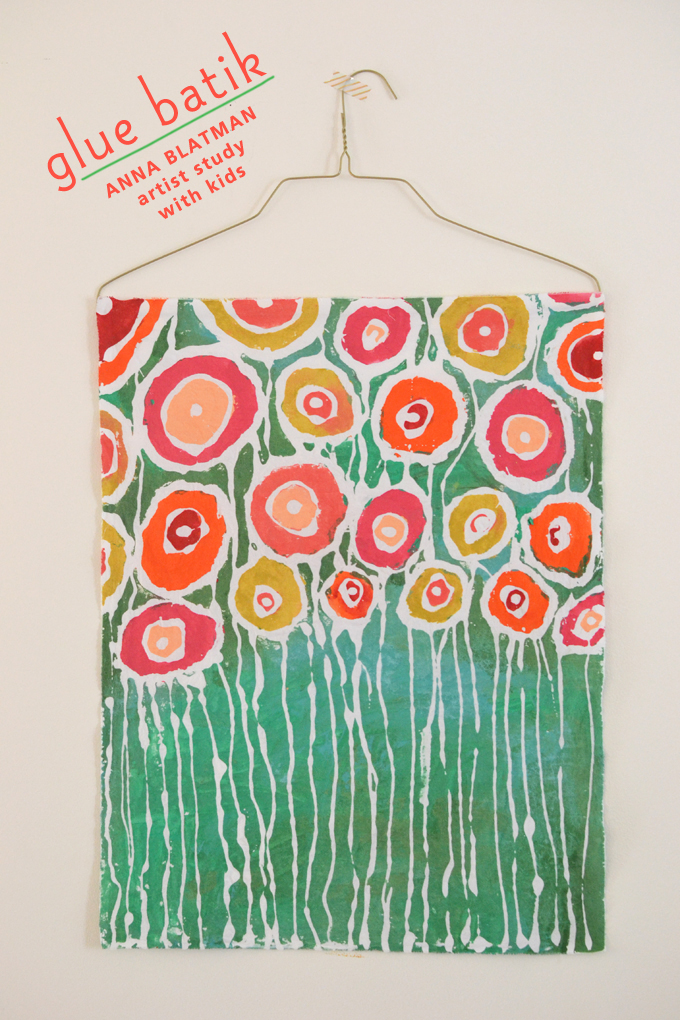
I’m one of those people who gets excited about pretty much anything made by small children. I think a 4-year old has the most innate sense of color and design. I wish I could paint like a 4-year old! But often when kids start to get older, they lose some of that freedom of expression. So it helps to inspire them with other artists.
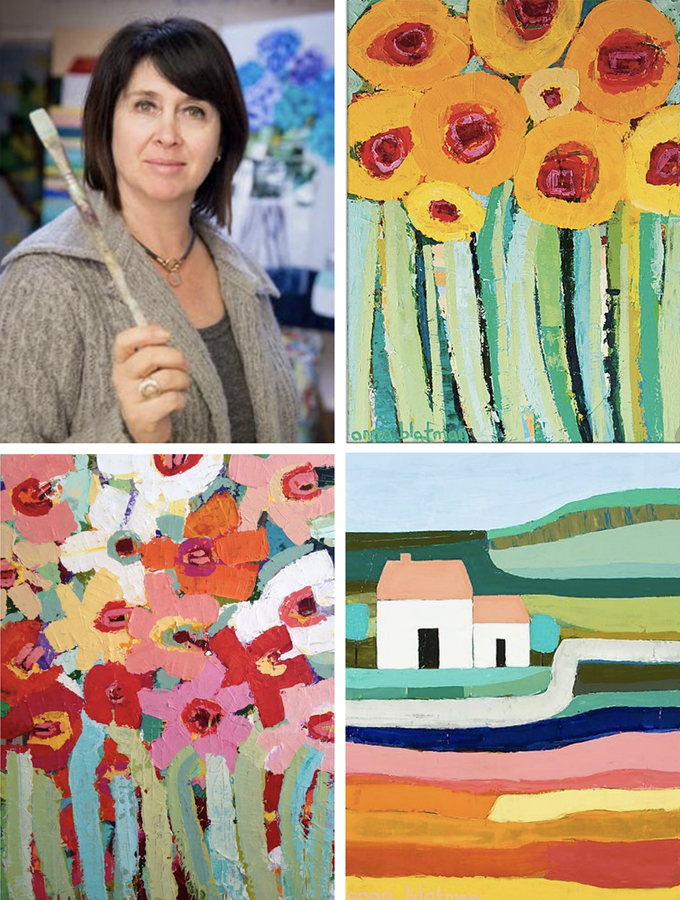
I chose Anna Blatman because I saw her paintings and immediately fell in love with the color and shapes she creates in her work. Her paintings lend themselves so well to batik. To remind you, “batik” is an Indonesian term and technique whereby you use wax to create patterns that resist the dye when the fabric is painted or emerged in dye. We used glue instead of wax but I was actually so pleasantly surprised at how well it worked!
[ I am a participant in the Amazon Services LLC Associates Program, an affiliate advertising program designed to provide a means for us to earn small fees at no cost to you by linking to Amazon.com and affiliated sites. ]
Supplies needed for Glue Batik with Kids:
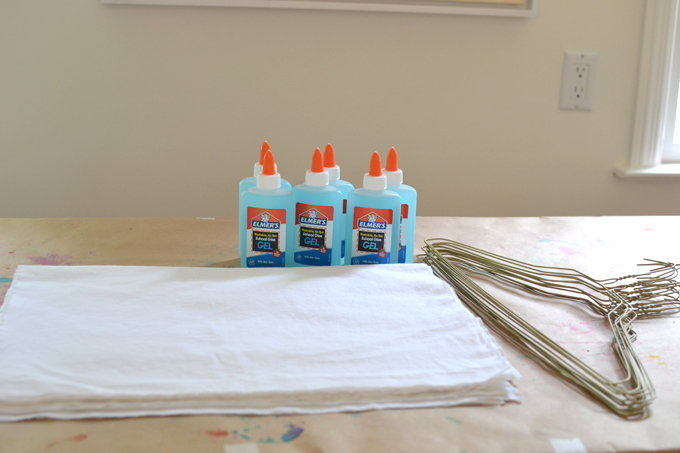
~ White cotton fabric (I used an old cotton sheet, make sure you wash any fabric before you start)
~ Elmer’s blue gel glue (you can use regular white glue if you have it, it’s just a little harder to see on the white fabric)
~ Paper and pencil (optional as a drawing warm-up)
~ We used liquid acrylic paints but you could also use fabric paints
~ Brush, glass of water, and paper towel to dab the brush
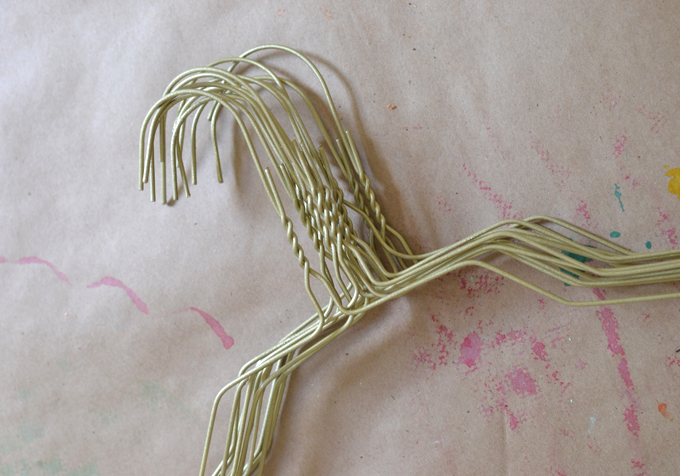
~ Wire hanger for hanging (optional to spray paint them, I painted them gold)
How to make Glue Batik with kids:
1. Before the students arrived, I printed out some Anna Blatman paintings and taped them to the wall next to their work area. We looked at her paintings before they started working and talked about the lines, shapes, color, and composition.
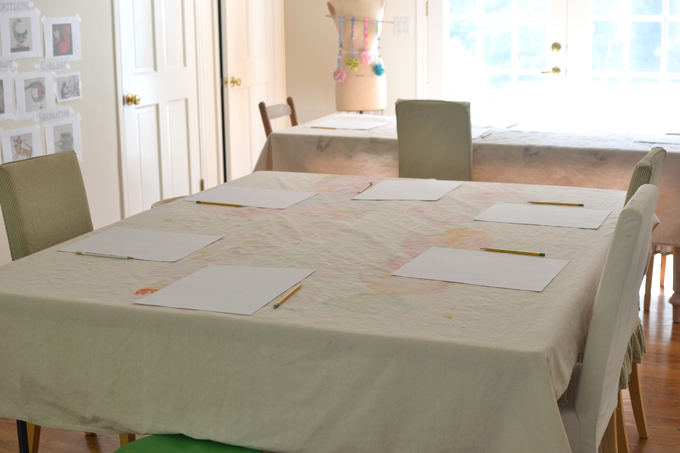
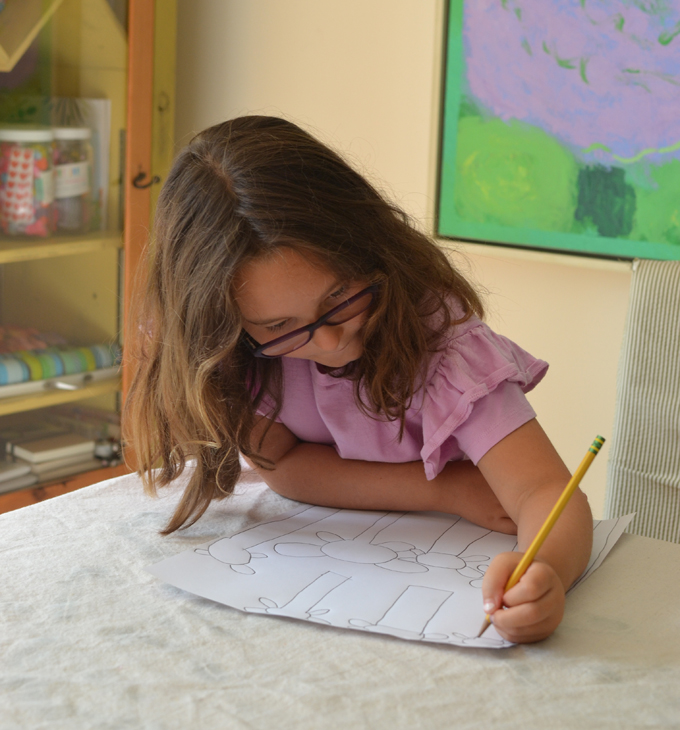
2. I gave each student a large piece of paper and a pencil to sketch and plan their batik. They needed to have a solid direction before drawing with the glue, because there is no erasing or changing your mind in batik. They could choose to do a floral field or a landscape. I also gave them the option of creating something that was their own interpretation of Blatman’s work. Some of the kids changed their minds as they started drawing, so I’m glad we sketched first.
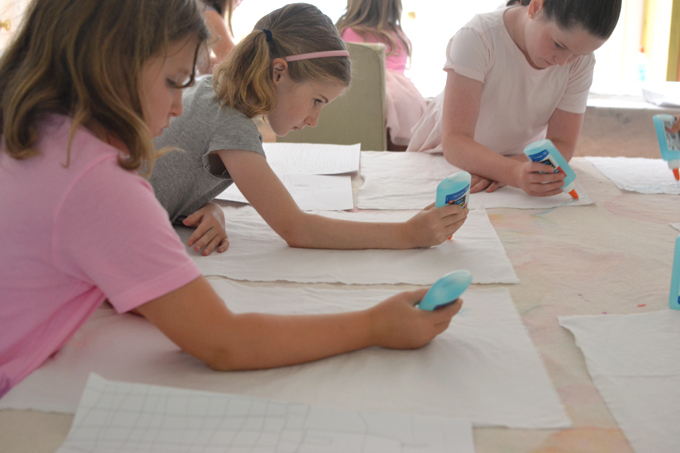
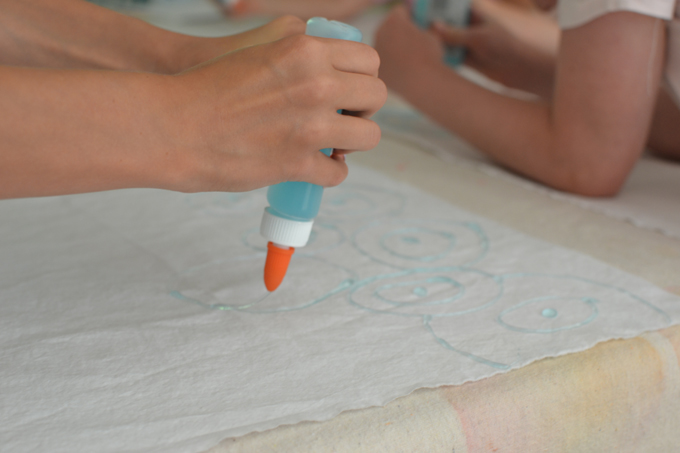
3. Next I gave them each a white piece of cloth (I pre-cut these to the width of the hanger). With their sketches beside them, they began to squeeze the glue and create lines and patterns. The little ones got a little tired squeezing but nobody gave up! It was definitely a work-out for those hand muscles, but it was also really fun to draw with glue.
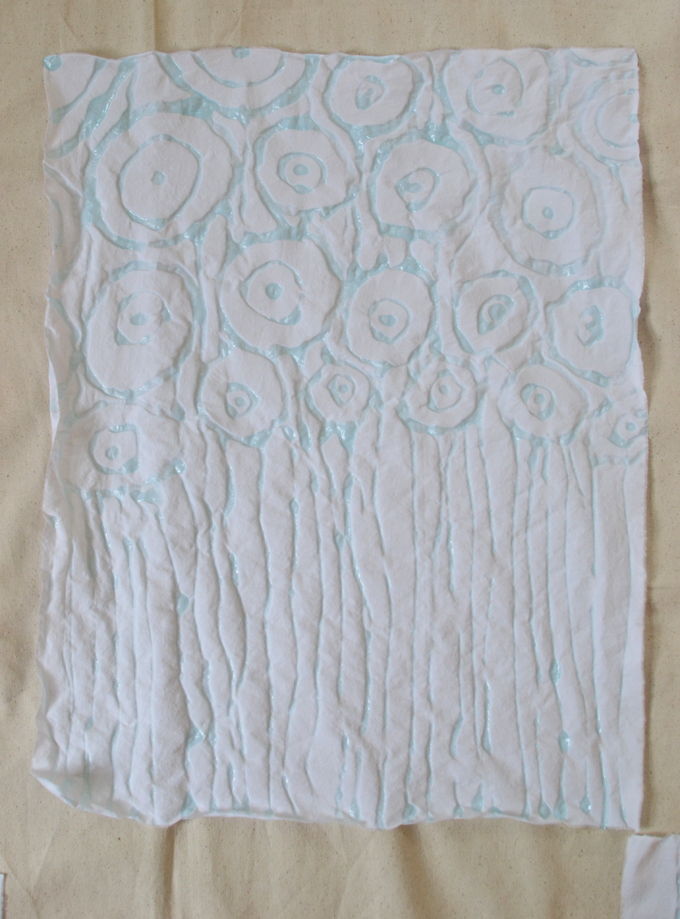
4. We let their glue drawing dry overnight.
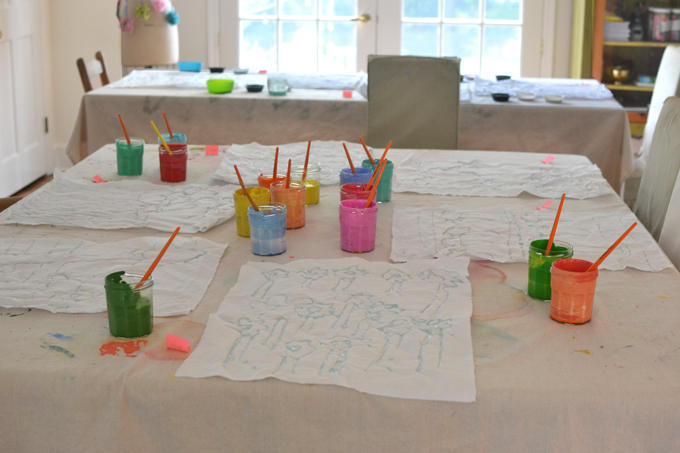
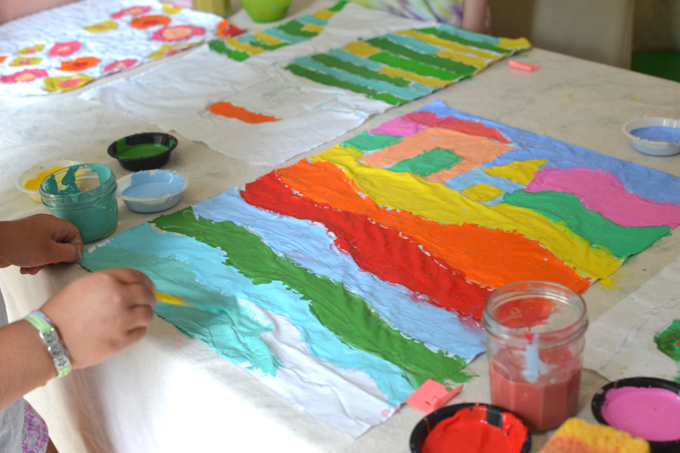
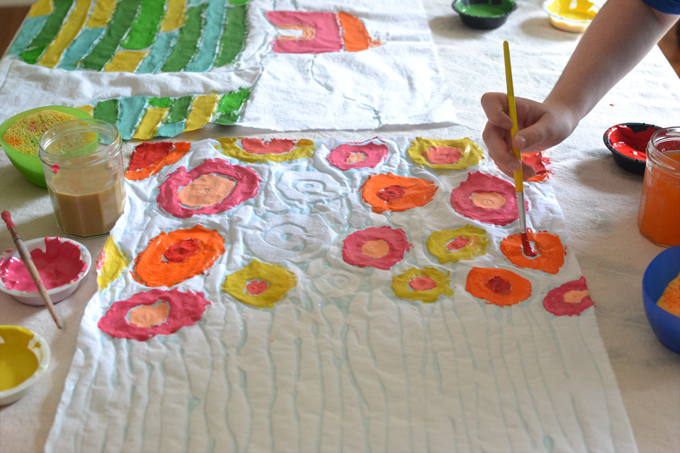
5. The next day I set out the liquid acrylic paints (some came straight from the jar and some I mixed) and let the kids paint however they wanted. I told them to paint inside the lines, but it’s also ok if the paint goes over the line.
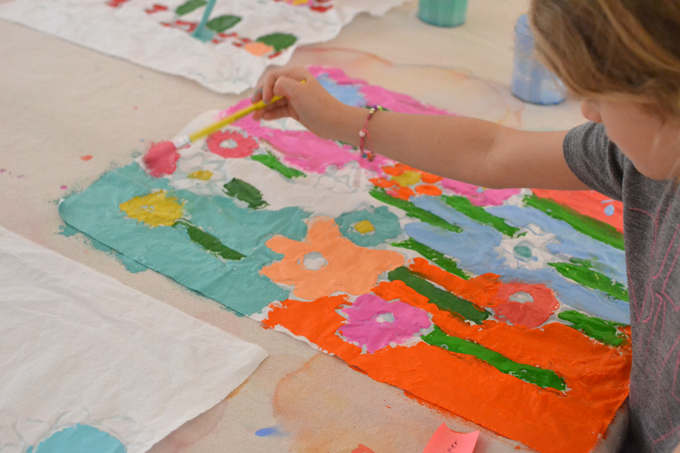
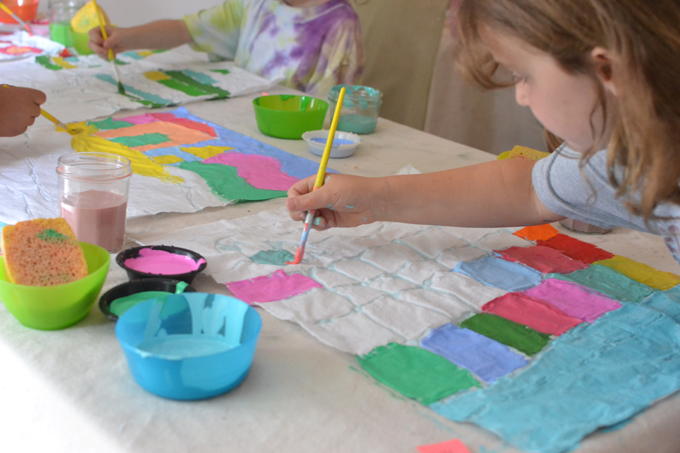
6. When the paint was dry, it was time to wash out the glue! I thought I had taken photos of this process buy I can’t seem to find the photos so maybe I didn’t. Sorry!
But here is how it went…
Washing the Glue Batik pieces:
7. I placed the painted batiks in a tub of warm/hot water (you can also use a big sink or tub). I let them soak for an hour, maybe two. Then I gently scrubbed the glue and excess paint off with a soft scrub brush. There will be paint and glue bits coming off so if you are using a tub, know that you will want to clean the bits out before opening the drain.
8. Once they were clean, I threw them in a dryer with an old towel. Or you can just hang them to dry. When dry, I ran an iron over them to set the color one more time and to smooth out wrinkles.
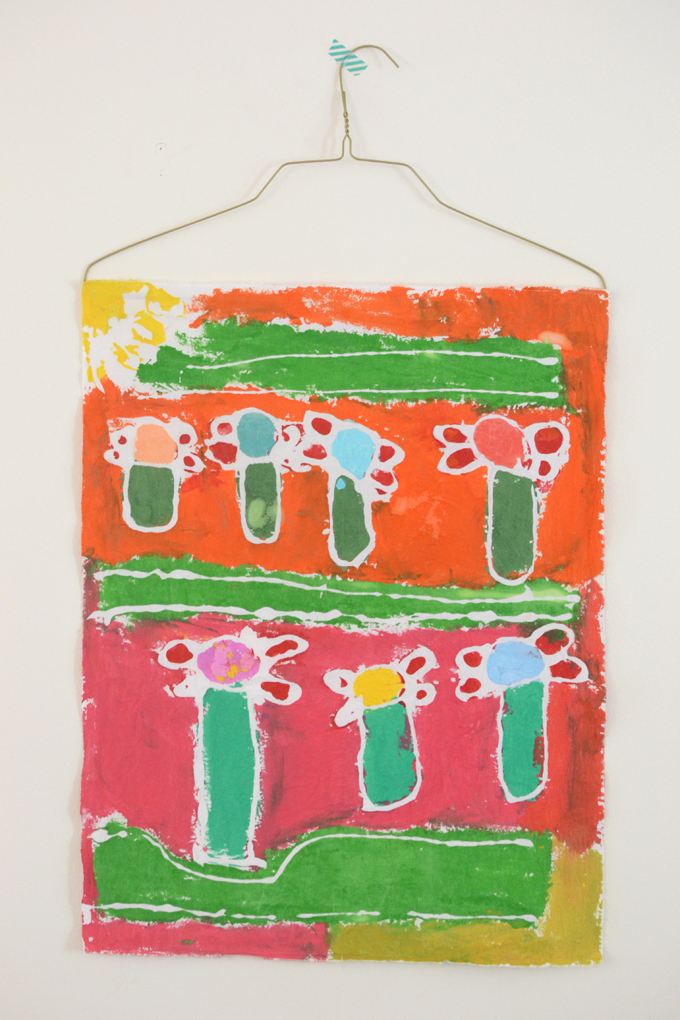
9. Lastly, I fold the top of the batik over the wire hanger and added some hot glue to seal it closed.
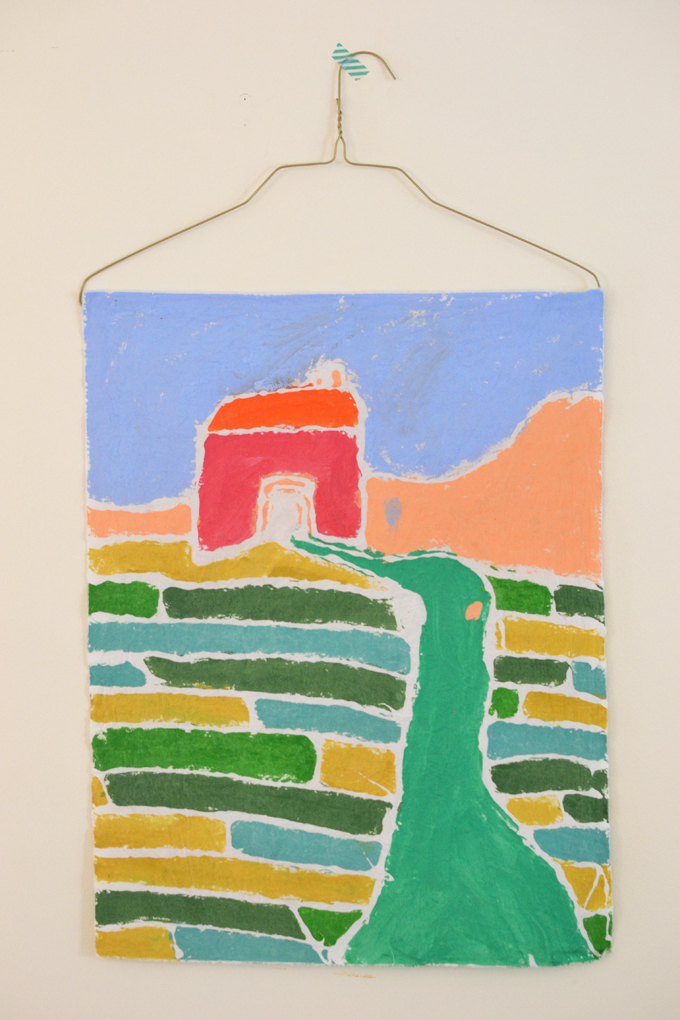
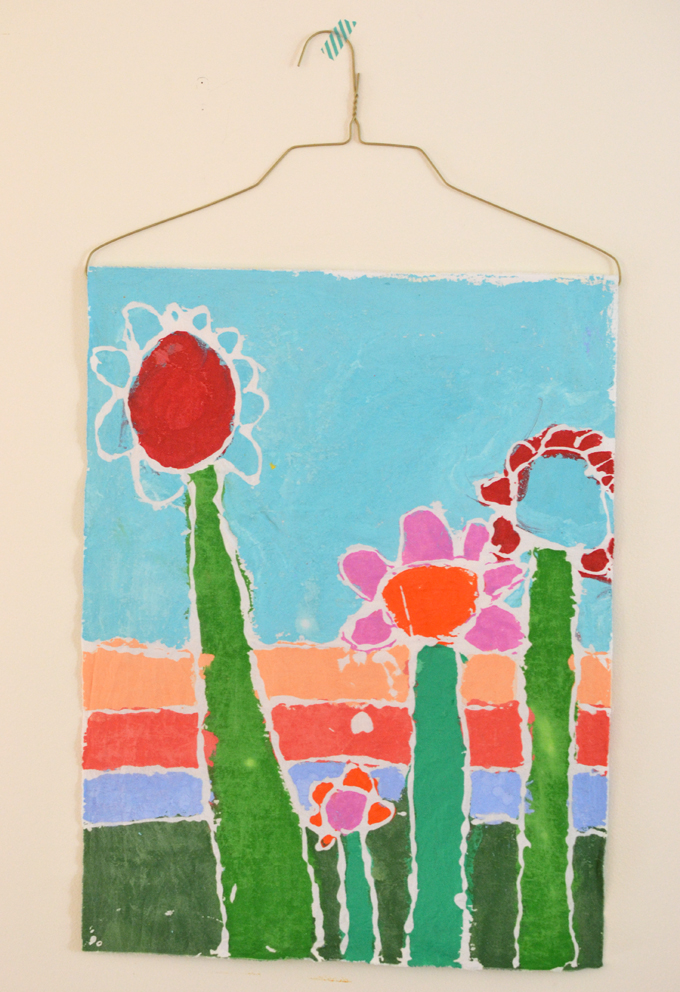
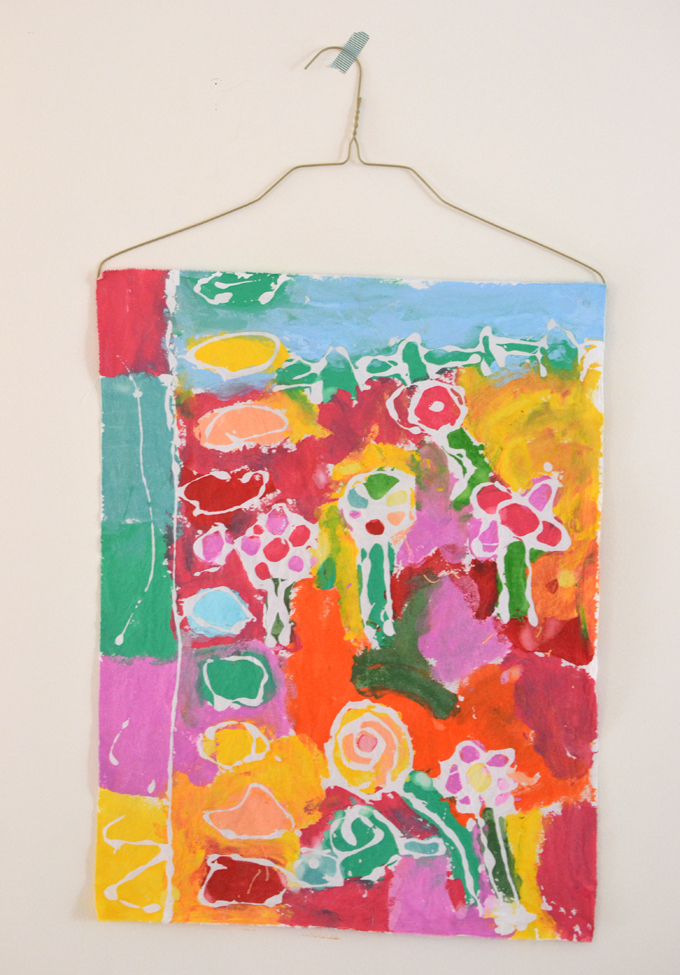
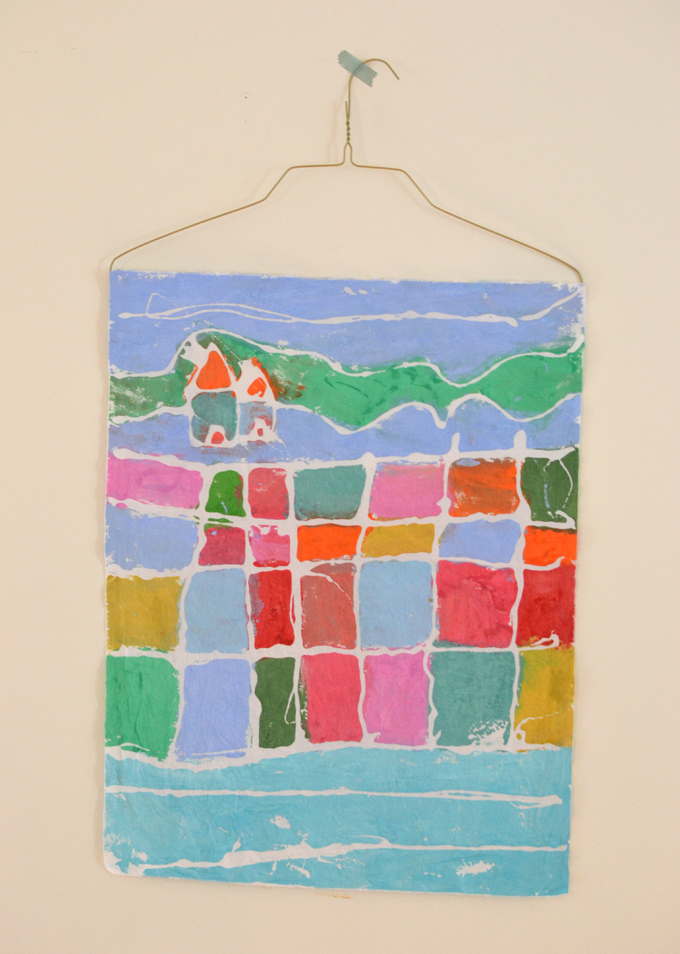
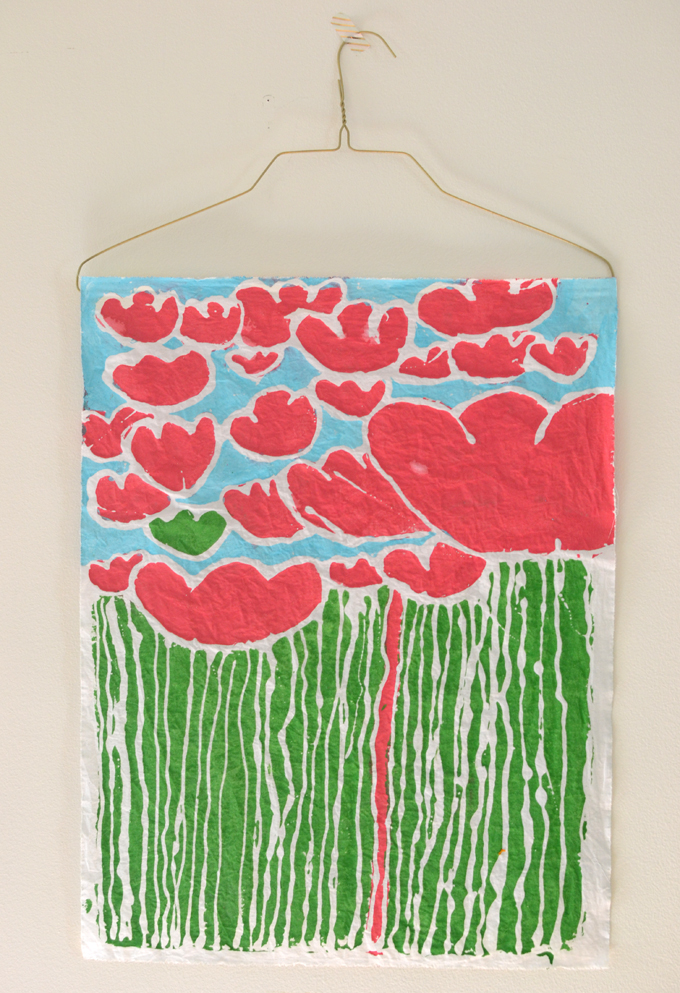
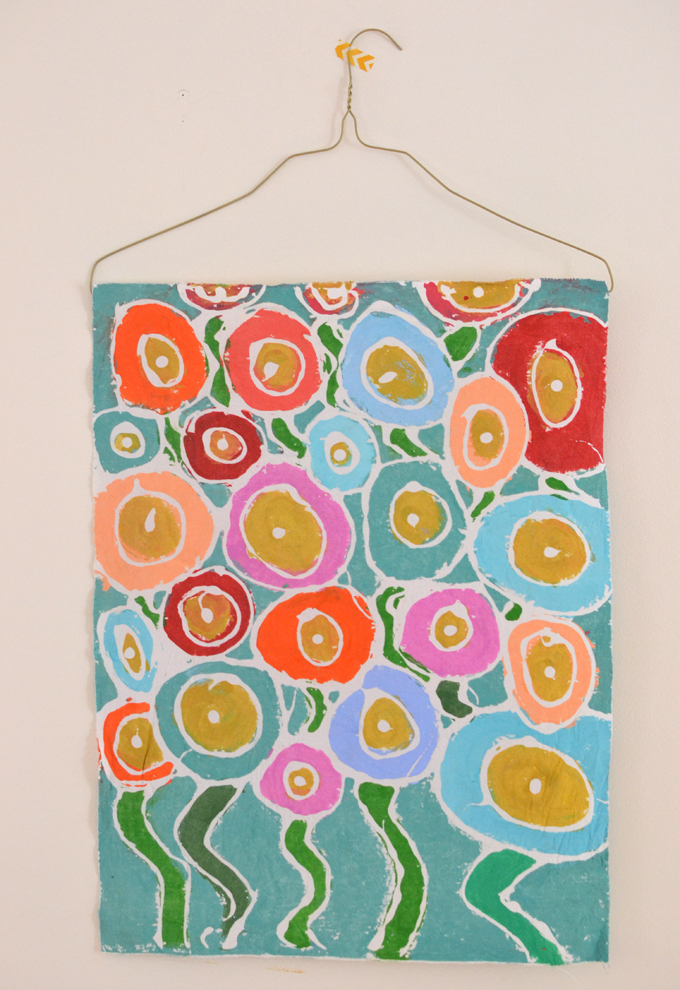
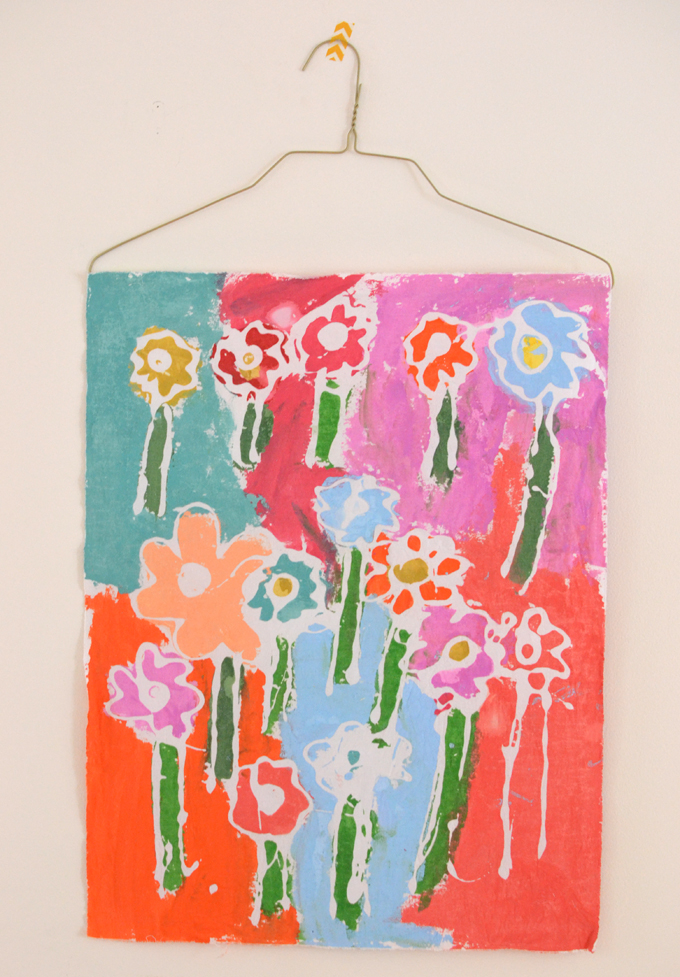
Even today, a year later, I’m still so impressed by the focus, patience, and artistic ability of my art campers. They really blew me away with these batiks. Are they not stunning?
You can also sew your batiks into pillows! (I would make the design horizontal if you are going to do this.)
Have fun and share any other tips you have if you’ve done this before.
xo, Bar
– – – – – – – – – – – – – – – – – – – –
Did you like this post? Here are more artists studies with kids:


I love this!!! Can’t wait to do this!
This blog is such a positive influence on our family’s lives, being stuck at home during the pandemic. My boys did this the past couple days, now their art is soaking in the sink…we are all excited to see the results. Thank you for your posts, and esp the step-by-steps.
Have a great day!!
Thank you Anna, so glad to hear your boys did this one! ~ Bar
😍😍Glue batik is such a fun process to do with kids, and these are beyond gorgeous! The color palette works so well and the artist you chose for inspiration seems to have been a really lovely choice. It’s obvious how much care went into these. Beautiful work, artists!
thank you Kim!! xx Bar
Awesome and beautiful!
absolutely LOVE the batik!!! fabulous!
These are really amazing! I want to try this myself, and get my teenage grandkids to join me.
These are beautiful. I will definitely be trying this with my two! I really love your website, it’s truly inspirational. A big thank you for brightening up lockdown, from Brighton, UK.
love to read this, thank you Denise! xx Bar
Hi Barbara. I came across your blog and I’m so loving it here! You are doing such a fab job and I’m so happy to see all those amazing artworks by your kids. You truly are shaping their artistic minds further 🙂 thank you for that 🙂
thank you, that is so nice to hear 🙂
Magical !
Could the blocks be washed in hot water in a washing machine to remove the glue?
Hi Kim, I’m sure you could. I don’t know how the glue would effect the washing machine, but my guess is that it would be fine. Just wash on cold! ~ Bar
I did this with my Girl Scout troop and while the end product was great I found things were so stiff. I have done it with fabric paint and acrylics, which is softer do you think?
Hi Cindy, I think fabric paint is probably less stiff. you really have to wash the glue out well using soap and rinse a lot. The stiffness is no matter if you are making a wall hanging, though. It matters more if you are making a pillow. I hope this helps! ~ Bar
What brad of paints are used. I would love to try this method.
Hi Joanne, there are two links in the post. We used liquid acrylics but you can also use fabric paints. Hope this helps! ~ Bar
I am an elementary school art teacher teaching a summer learning camp (really just summer school) and I am in love with all of your projects. Supplies are my biggest issue for the number of students and with budget issues, it usually has to come out of my own pocket. I would love some low-cost ideas if you have them. I’m going to use some old sheets and acrylics for the batik. I will let you know how it goes.
Hi Ronni, yes I used old sheets, too. And acrylics is perfect. Maybe water them down a little bit so they aren’t as thick. Those are really your biggest expense. I often use my local Facebook page to ask if anyone has any leftover supplies. Best of luck! ~ Bar
I love these artworks but when I tried it to test it out, the glue spread as it dried with the lines joining together. Is there any tips to help get a better result?
Hi Louise, did you use the clear glue? That shouldn’t really happen. Maybe your lines need to be a little further apart, not so close together. Sorry about that! I hope you try again. ~ Bar
I am really looking forward to doing this with my 6 year old son. He has autism and loves to paint and play with glue so this is perfect! Thank you so much!
Love this idea! So beautiful. I would love to use on tote bags. Perhaps a silly question – do they need to be washed one at a time? Or can you soak them all together in the bin?
Quick question can this translate to paper or canvas? Is there another way to hang?
❤️
Hi Becca, you can do batik on paper with glue and watercolor – just let glue dry then pain in between. For canvas, the glue may not go all the way through so you may have to use the traditional batik technique of using hot wax. Try it! Good luck! ~ Bar
They all did a fabulous job.
I did this craft in 2011 with my kids in Sunday School and it worked perfectly and was beautiful. This year 2022 I tried to find the Elmer’s Blue School Gel and it seems like they don’t make it any more. I tested a lot of glues and plain white school glue works just as well except for the fact that you can’t see it when it dries. But if you have drawn your picture in pencil before putting the glue down you can see the line a bit. You can also feel it.
We did our banners on canvas. Here is a link to what we made
https://www.dropbox.com/sh/ap2wglhdup4jnqc/AAB2cV4hIyLJQCZ_Fa2j7LRsa?dl=0
I’m trying this with my class this week! I’m curious if you’ve had any problems with the edges unraveling.
Hi Jeannine! I love to hear you are doing this with your class, by the time you read this you might have finished already. I hope it went well! And no, the edges didn’t unravel, after the whole process they become more stabilized. Best wishes! ~ Bar
Great inspiration!
Do you see any disadvantages to the glue vs. using wax (what I’ve done in the past for batik), and do you think it could work with a dye bath if a lukewarm temp? Thanks!
Hi Heidi, great questions! We use glue because it’s just easier for a big group, I don’t have to worry about hot wax. I think wax is ideal, but the glue worked out well, too. And as for a dye bath, I think that probably wouldn’t work because the glue is water soluable – perhaps a cold bath? You could try! If you do, let me know how it goes. ~ Bar