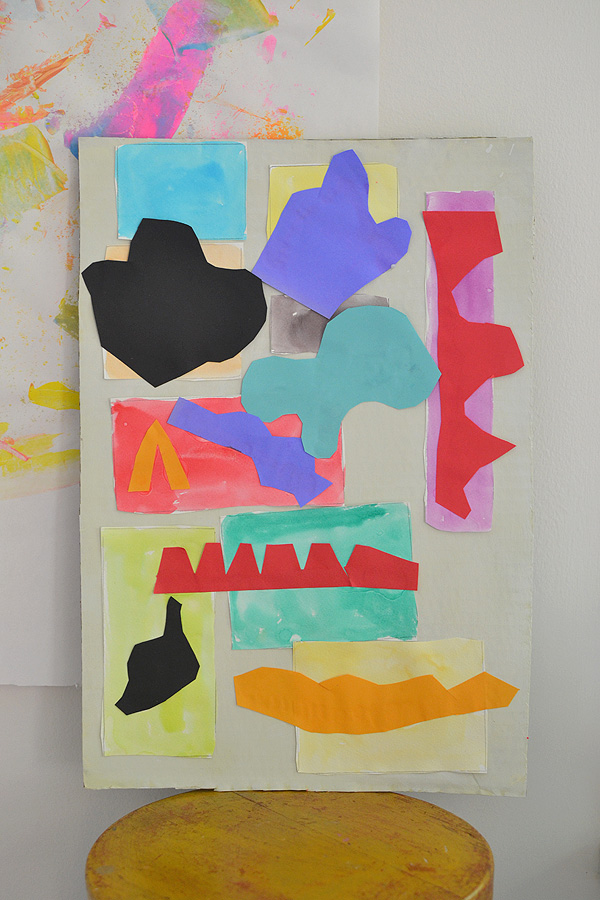
I’ve been waiting to post this series for months! I’m so excited to share the amazing art that my kids made in art camp last summer. We studied five artists over the course of a week and it was completely insane how much the kids got into it. Today I think it’s most appropriate to start with Henri Matisse. I recently took my kids to the Matisse Cut-Outs exhibit at the MoMa. It was INCREDIBLE!! I could have stayed there for a week. They had some old footage of him working. He would sit in his wheelchair – it was towards the end of his life – and his assistants would hold up giant pieces of paper as he used a giant pair of scissors to cut out shapes. So incredibly cool to see this man in action! Very inspiring.
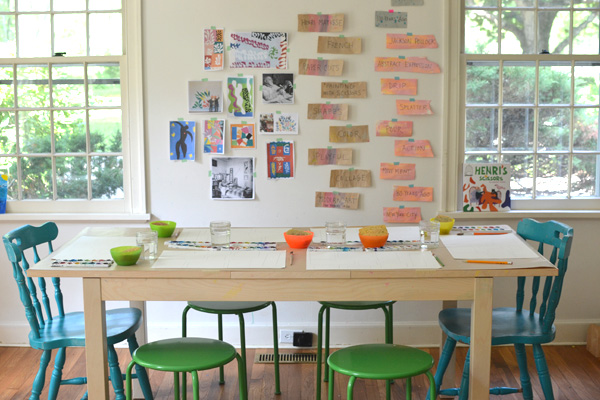
Every day during camp I would create a wall of words and photos in honor of the chosen artist. The next day I would keep the words up and move them to the side, and then add a new artist. By the end of the week the wall was covered with words. For Henri Matisse the words were collage, playful, shapes, color, modern art, French, paper cuts, and painting with scissors. We talked about his technique and we stared at his work for a while. Everyone chose their favorite. Then they got to work!
This post contains affiliate links. Thank you for your support!
Here’s what you need to make these beautiful collages:
~ Paper to paint colored squares. (We used large watercolor paper
~ Watercolor paints, or tempera paints. (We used Crayola
~ Scissors (these
~ Elmer’s glue or a glue stick
~ Piece of cardboard in a large size (Ours were about 14″ x 20″ and I painted them off-white beforehand.)
~ Colored paper
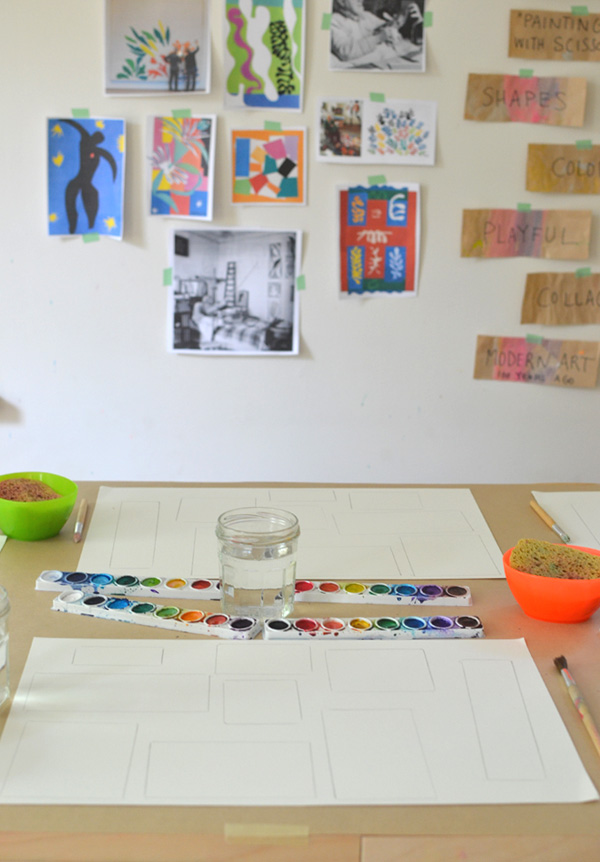
Step 1: Prepare the cardboard either the night before or a few hours before. I painted one side an off-white color. I recently read that if you paint an “X” on the back then it won’t curl when it dries. What a great tip!
Step 2: Trace square and rectangular shapes onto a piece of paper. Preferably watercolor paper or card stock, but regular copy paper would work, too.
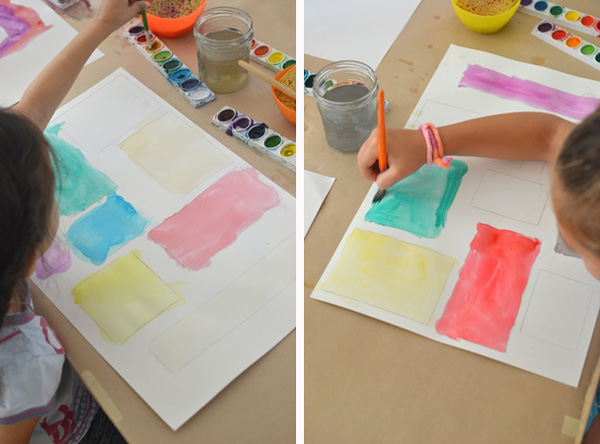
Step 3: Have the kids mix strong, bright colors to paint in their shapes. Matisse painted all of his papers first with gauche which is opaque and more saturated than watercolor. Watercolor can get a little pastel-ish so if you really want bright colors try tempera paints.
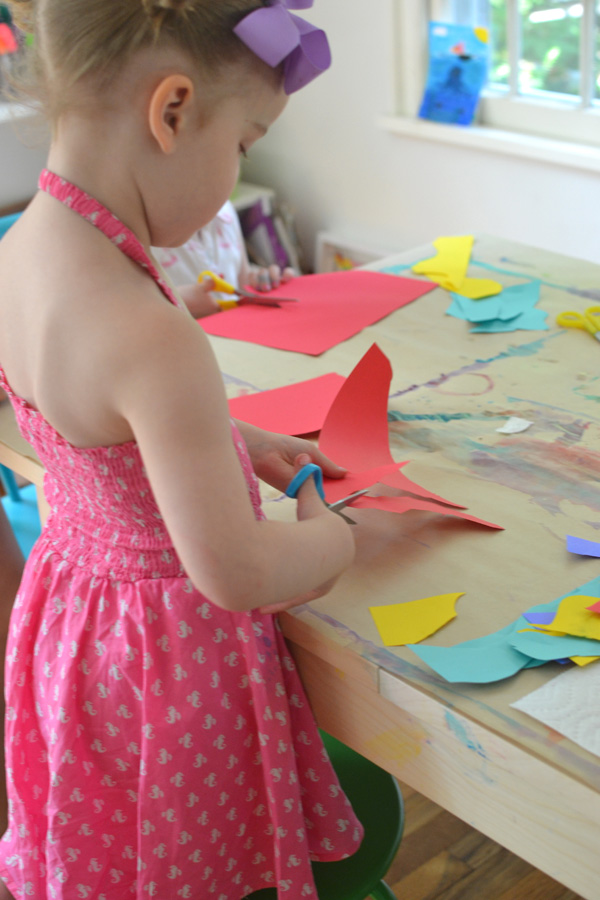
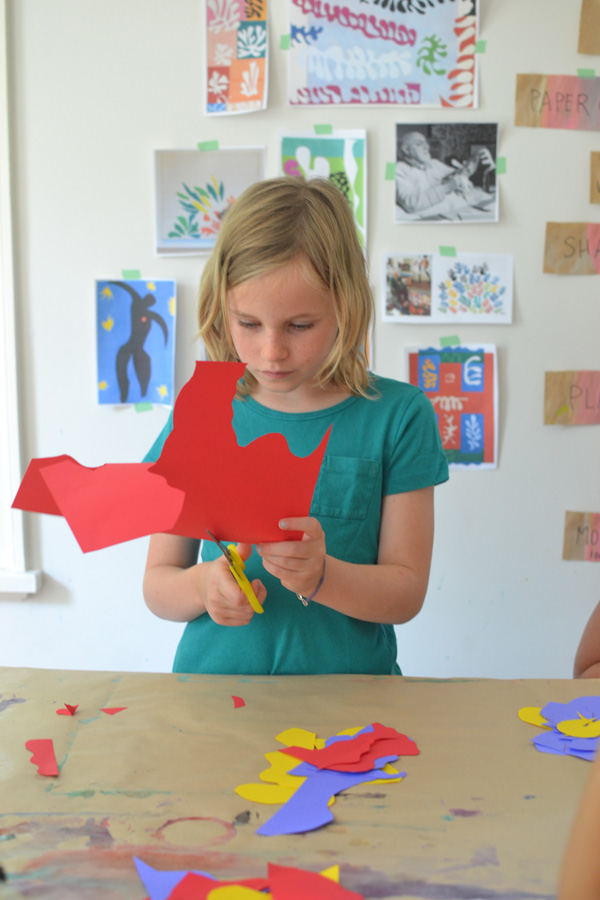
Step 4: While the paint is drying, let the kids choose their colored paper and have them start to cut organic shapes. If they are little, like four or smaller, you may want to help them a few times by cutting with them and showing them how they can wiggle and move the scissors so shapes have a round and bumpy quality. Have them collect about 10 shapes. Point out that they can use the negative shapes as well. Meaning, the shape of the paper that is left after you cut out your shape. Matisse used his negative shapes all of the time.
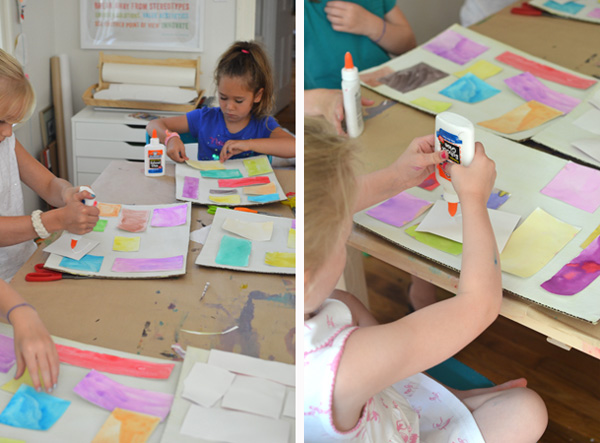
Step 5: When the watercolor has dried, have the kids cut out their squares and rectangles.
Step 6: Bring out the Elmer’s glue and let them paste their shapes onto the cardboard.

Step 7: Lastly, have them glue their organic cut paper shapes on top of their square shapes.
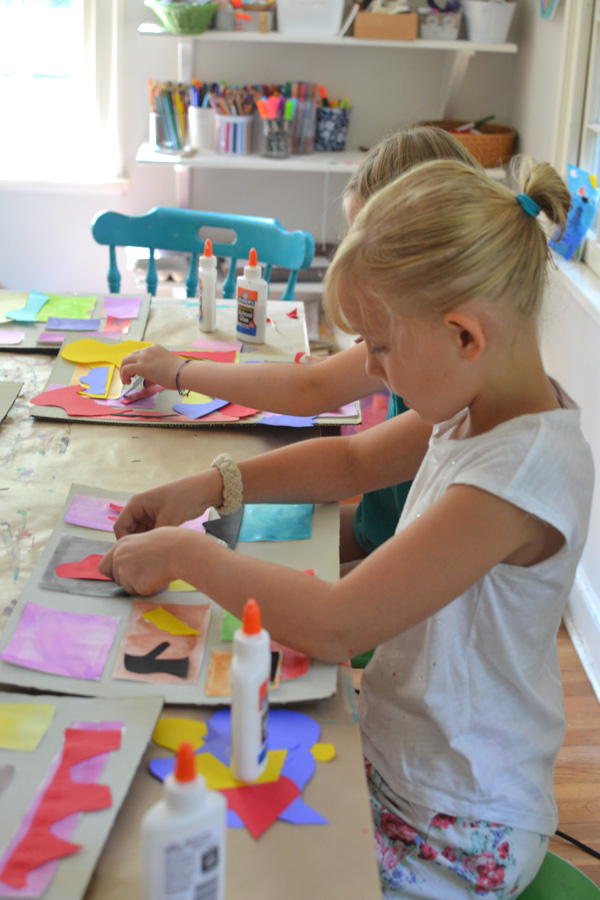
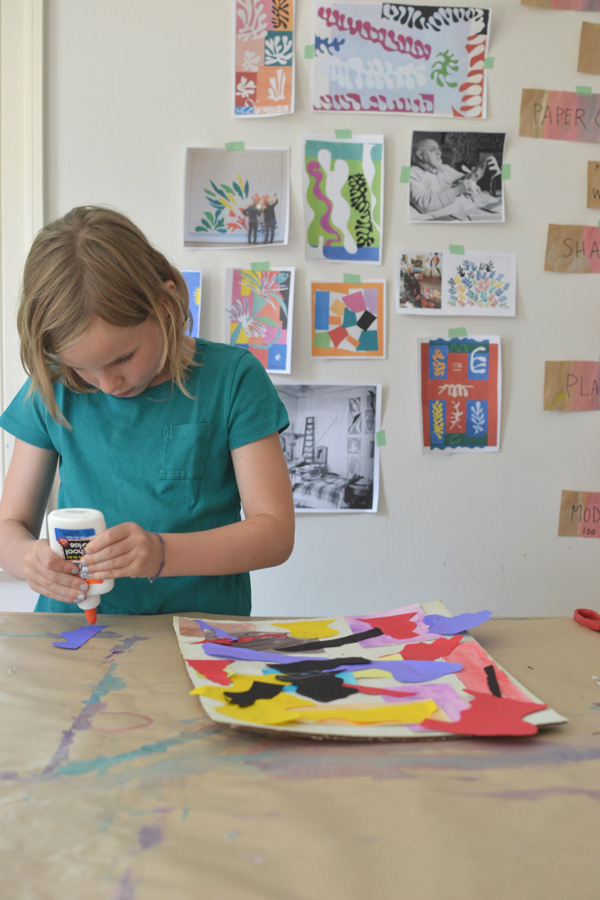
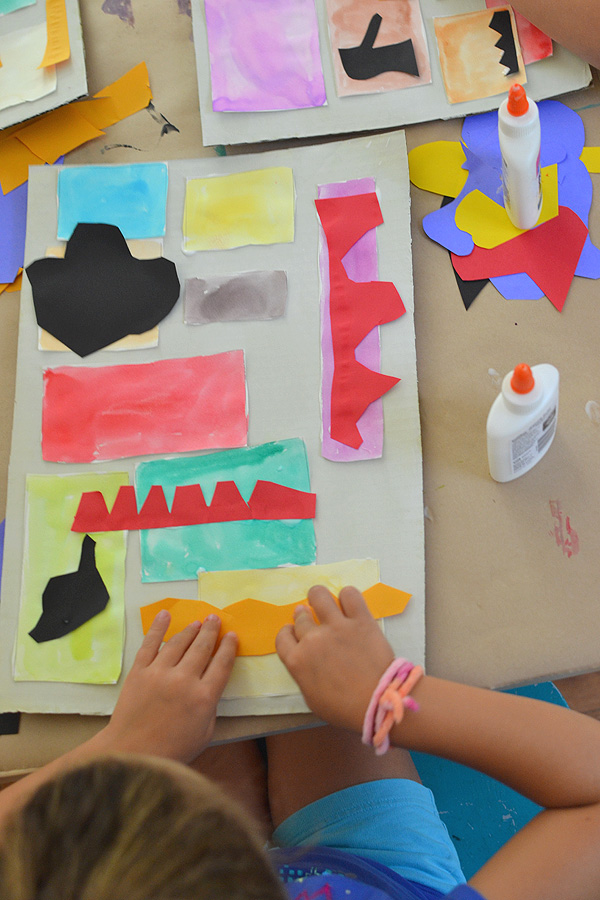
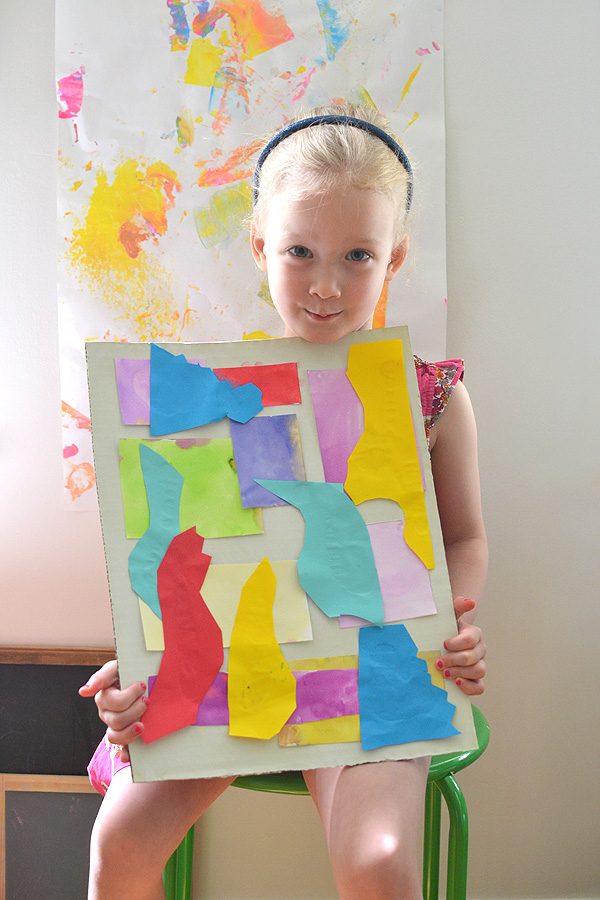
How beautiful are these kid-made Matisse cut-outs? I still can’t stop staring at these photos. I wish I could have kept them!
I hope you try, and let me know how it goes!
xo, Bar

Great job Bar! I love how you used words along with the images. What a wonderful idea.
I love your idea of exploring Matisse’s art with children. I’ll surely do this with my son and with children in a classroom. Thank you!!!
thank you for leaving a comment, Agnieszka! i just checked out your blog and it is equally inspiring! one of my favorite people in the world, my former nanny, lives in Poland so i have a fondness for anything from your beautiful country. please tell me if you do the Matisse cut-outs in your class i would love to see! xo bar
I adore Matisse’s cut outs. This is an excellent idea – and the results are great! 🙂 Thanks! I love this corner of yours.
Hi Barbara, I did the Matisse cut-outs today and you can see them here: https://mamaaga.wordpress.com/2015/01/30/malowane-nozyczkami-kolaze-z-matissem-w-tle/
oh my goodness, they are so beautiful!!! thank you for sharing these with me, they make me so happy. xo bar
I’m really happy that you like ours cuts out, they are so colorful and pretty 🙂
I love this idea and am slowly getting the supplies. What type of paint did you use to paint the cardboard off white? Also can you recommend a book for kids on Henri Matisse?
P.S. we did the Georgia O’ Keefe activity and the grands loved it!
Thank you for this!
Love this another artist to do with the children I have recently done Kandinsky, mondrian, and klimt as we were looking at shapes all these artists used shapes in their work. The children loved learning about these artists and reproducing their famous art work.