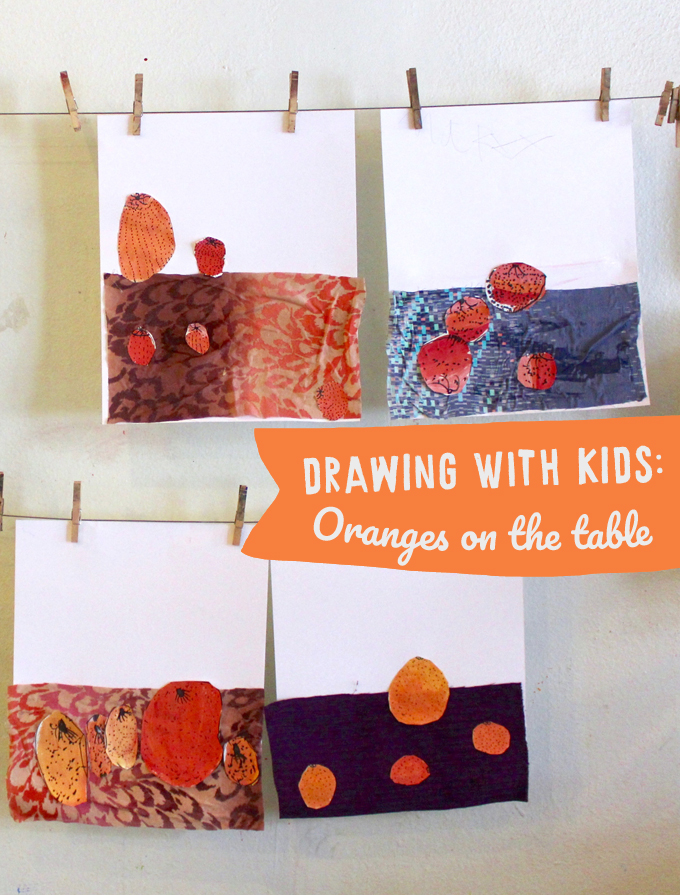
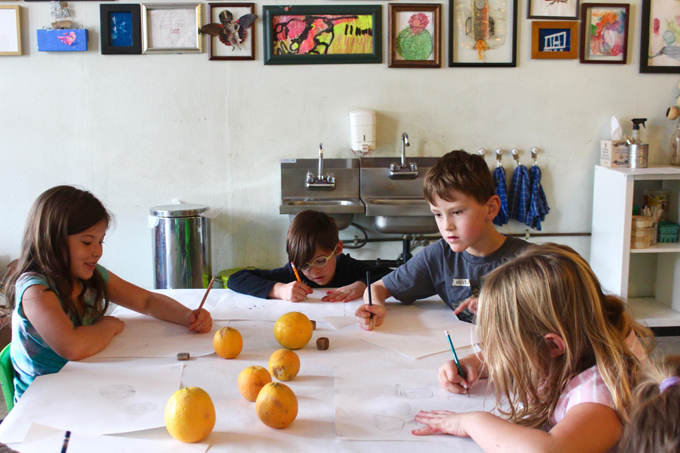
My friend Samara from Purple Twig in L.A. always has the best ideas for drawing with kids. When I saw these still-life orange paintings on her Instagram feed, I knew that I needed to know more! I just love that she used a piece of fabric for the table, and how she had the children arrange the oranges to give some perspective. It’s all so good!
I begged her to write this post up for me, and she said yes!! Aren’t we so lucky?
Here is Samara, in her own words…
It is no secret that kids love to mix their own colors. In our studio kids could spend hours doing it, squealing in excitement over adding some white to a purple to make lavender. The colors almost never turn out to be bright and clear. Instead the end result is usually a dulled down amber color or a burnt orange ultimately heading towards brown. Don’t get me wrong, I do love those muted colors and prefer them to the out-of-the-tube ones. But it can also be wonderful to watch students mix their own tones. For them to discover for themselves that there exists a multitude of shades of orange or reds.
This project came out of the joy of mixing colors and pushing that idea by having the kids use their own colors in a project. These paintings do remind me of Cezanne’s Still Life with Oranges, full of patterns and color. We made these paintings in the course of an entire day, but you could split it up into 2 days. It’s a perfect project for ages 6 and up.
[ I am a participant in the Amazon Services LLC Associates Program, an affiliate advertising program designed to provide a means for us to earn small fees at no cost to you by linking to Amazon.com and affiliated sites. ]
Oranges on the Table Supply List:
~ Egg cartons
~ Tempera paint- yellow, red and white
~ Small cups for paint
~ Paint brushes
~ Oranges or grapefruit
~ Paper: smaller size for oranges, larger for collaged final piece
~ Fabric of your choice cut to fit in bottom half of 11X17 paper
~ Black marker or sharpie
Step-by-step directions for drawing with kids
Step 1
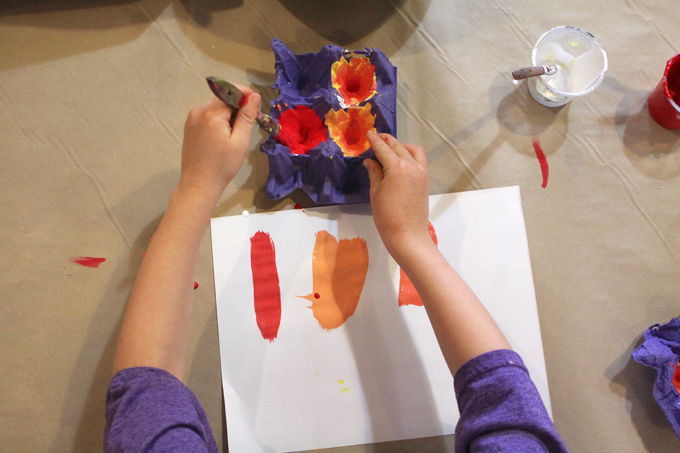
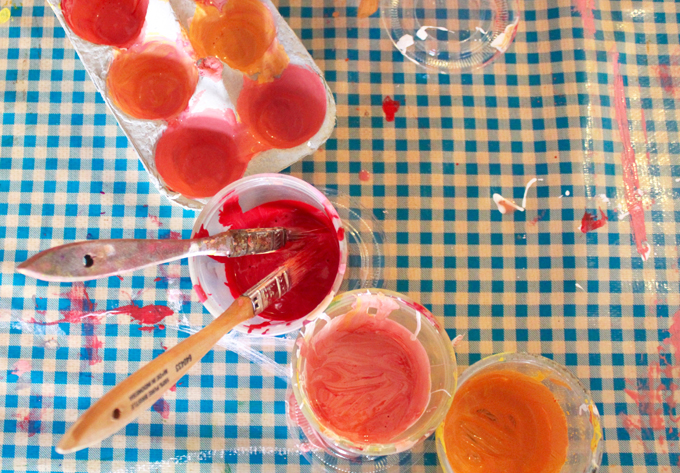
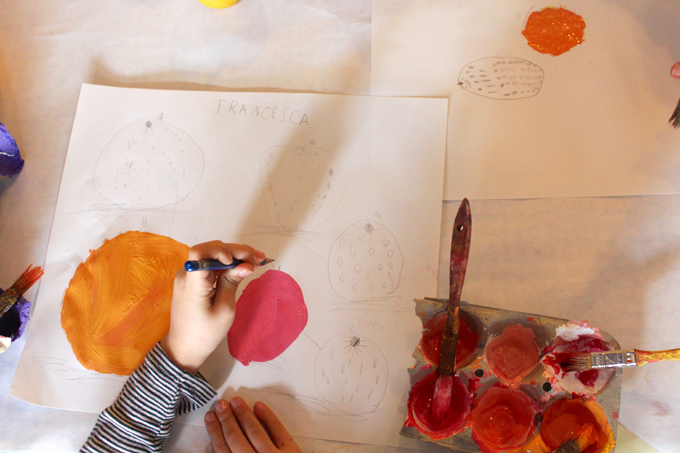
I give each student a small cup of yellow, a small cup of red and a small cup of white paint, each cup with its own brush in it. They will use the egg carton to mix and store their colors in. The only instruction I give at this point is to tell them that when mixing colors, it’s good to start with the lightest color first and add in the darker colors. They will see more change in the color this way and have more control in producing their colors.
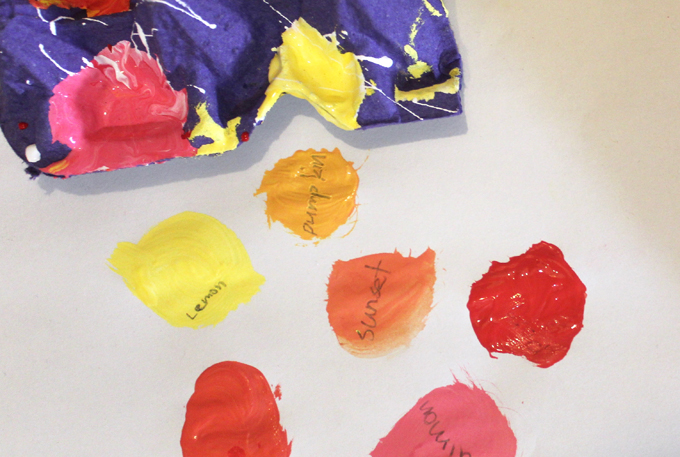
Oh, and I give them a paper and pencil to test and name their colors. The kids come up with such a huge variety of orange shades and names for every one of them.
Step 2
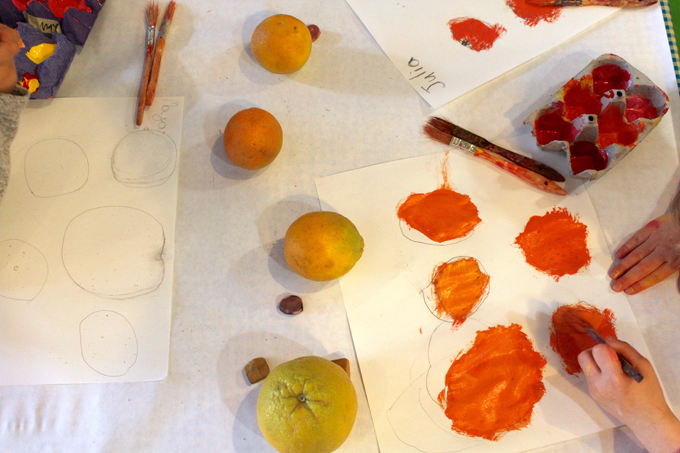
I then put oranges on the table for them to draw with a pencil and propose for them to look at the shape, to look at the texture on the surface while drawing – and to try and capture it on their paper. They draw four or five oranges of different sizes.
Step 3
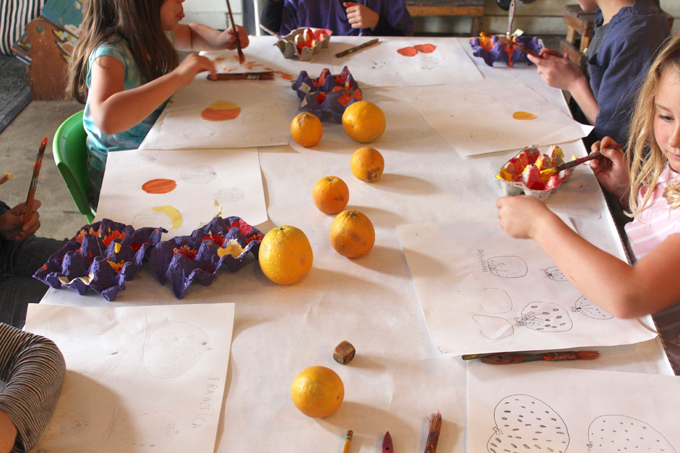
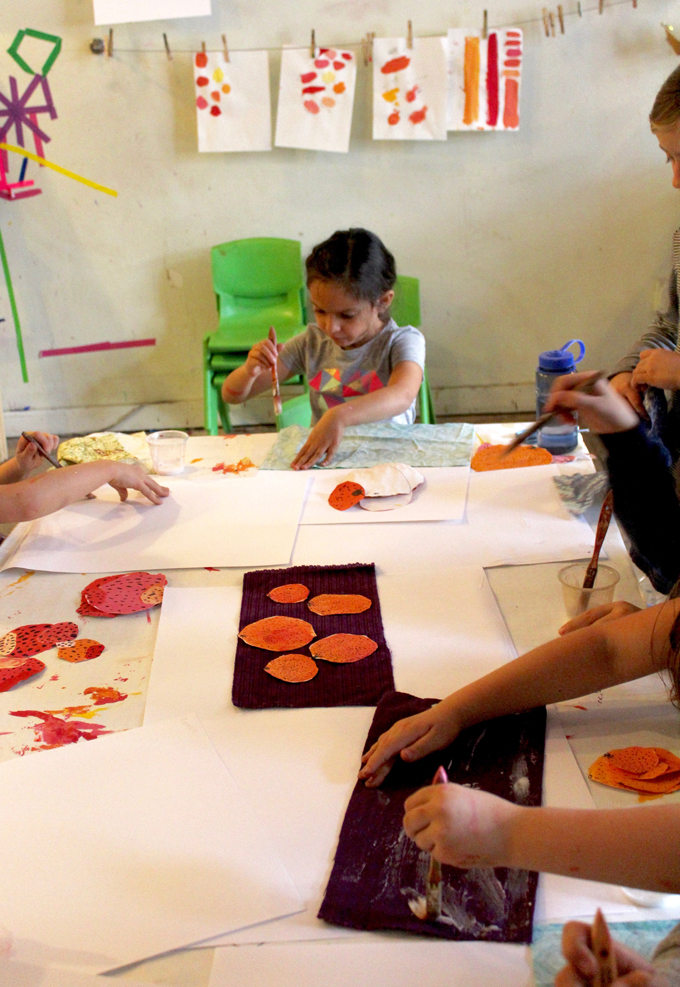
When the children finish their drawings, they use their mixed paints to color their oranges. I ask them to notice the lights and darks of the oranges as well where the shadow is on the orange. The challenge is to use at least three of their colors per orange.
Step 4
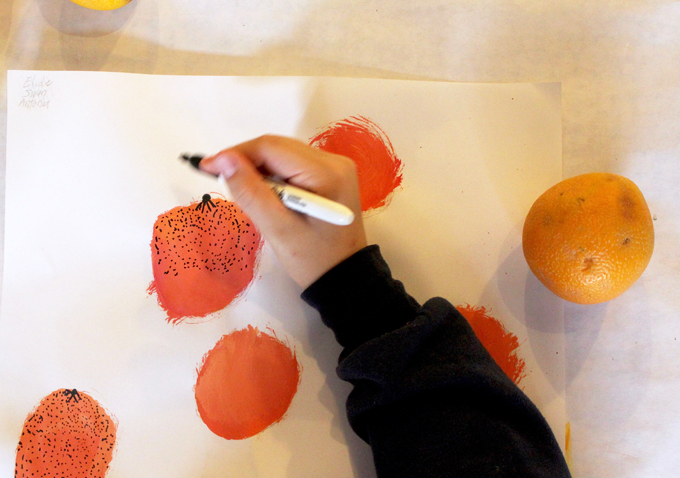
When the paintings are dry, I give them a black marker to go back over the textures they discovered and documented onto their orange paintings. Then they cut them out.
Step 5
I have a variety of fabrics already cut to size for the kids to choose from. They glue the fabric to the lower part of their paper. This will be their table.
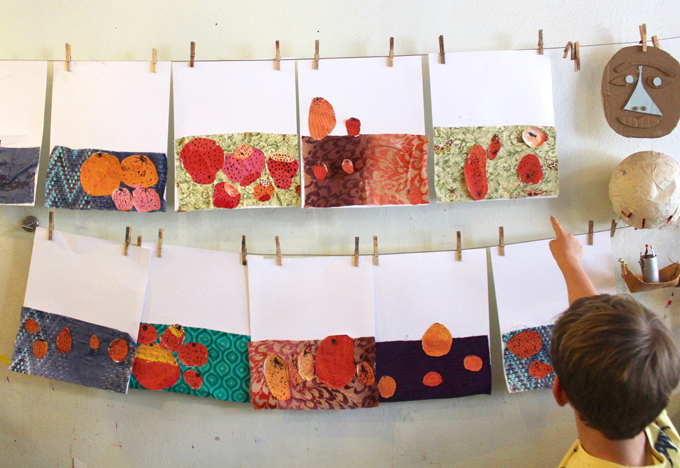
Last of all comes the compositional choices. Before they glue down the oranges, I ask them to lay the oranges onto their “table cover”. I ask them to notice if the oranges look farther away or closer by the position of the oranges. Once the kids are satisfied with their placement, they can then glue them to the fabric or paper. We sometimes do have floating or flying oranges.
~ Samara

A little about Samara:
Samara Caughey is the owner, creative director, and lead educator at Purple Twig. She received her BFA from the School of Art Institute of Chicago and her MFA from USC. She taught art classes for children at the Armory Center for the Arts in Pasadena, California for 9 years before opening her own studio for children and families. At Purple Twig, Samara focuses on teaching techniques like ceramics, drawing, sculpture, collage, and printmaking while also allowing children to have their own voice. Samara’s approach to teaching children grows directly out of her own fine art practice of sculpture and collage. She has exhibited professionally in solo and group shows in Los Angeles, New York, San Francisco, and Minneapolis. Another influence in Samara’s life is her mother who is a child psychologist, specializing in play therapy for young children. Her mom taught her about the developmental stages of childhood and the importance of acknowledging and respecting these stages with nonjudgmental, yet positive interactions.
Follow Samara on her incredibly inspiring Instagram feed where she generously shares ideas with the world.
– – – – – – – – – – – – – – – – – – – –


I absolutely agree that putting fabric as a table is a great idea. Really enjoyable to see all the process, surely the kids enjoy a lot with this paintings. Thanks for sharing!
I can’t wait to try this with my after school class! The observational and collage elements combined are wonderful!
Wow! These are amazing! My kids all like drawing since they were little. Thank you for sharing the post. I think such type of post inspires the skill of our kids.