About a year ago, I sent a survey to all of my followers, asking them what kinds of things they might want to see me write about or produce on my blog. Several followers asked for an Art Prompts Advent Calendar Printable. I wasn’t sure exactly what that meant or what it might look like, so it took me a while to figure this out. Thanks to the help of some savvy blogger friends, I went with something simple. A one-page printable! (Also available in Spanish!)
If your kids love open-ended art and you want to collect some handmade gifts along the way, then this is for you! Here’s how it works…
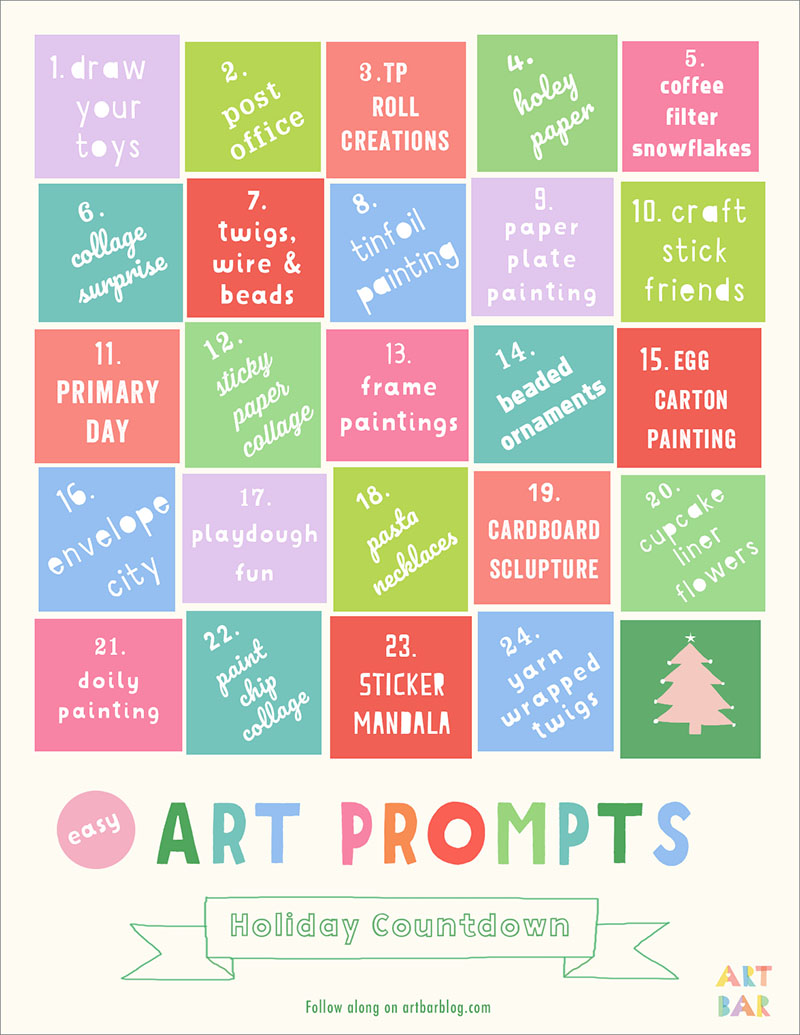
1. Print out the calendar.
Get your Advent Calendar Printable here
Click here to download in Spanish
2. Hang it up somewhere prominent!
3. Come back to this post every day to read about each new prompt and grab the supply list. To make things even easier, I have created a Master Supply List that can print and bring to the store just once so you will have everything you need for the month. Or order it all on Amazon by clicking on the links below each photo.
Get your Master Supply List here
And now, without further ado, here are your Art Prompts!
1. Draw Your Toys
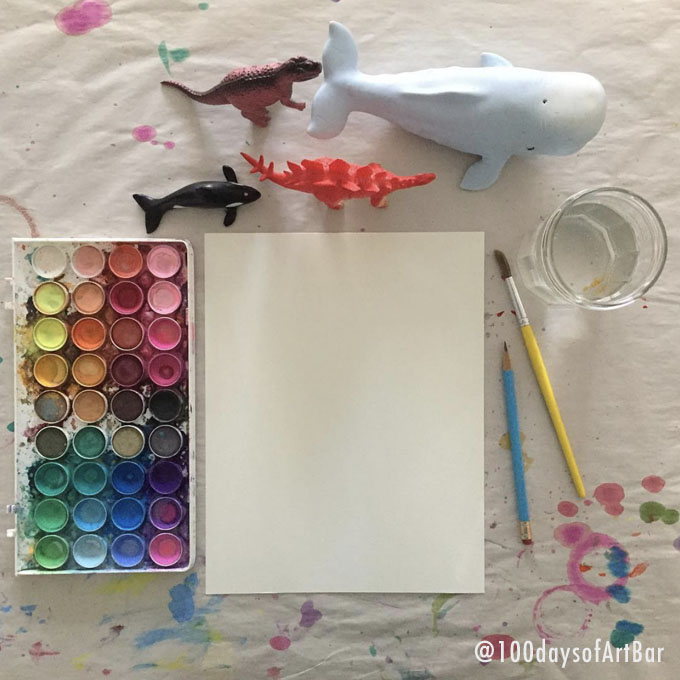
Supplies:
– Figurines or any small toys
– Paper and Pencil
– Watercolors (these are from OOLY)
– Brush, water, and paper towel for drying brush in between colors
Directions:
Have your child draw their toy from observation. Then paint.
2. Post Office
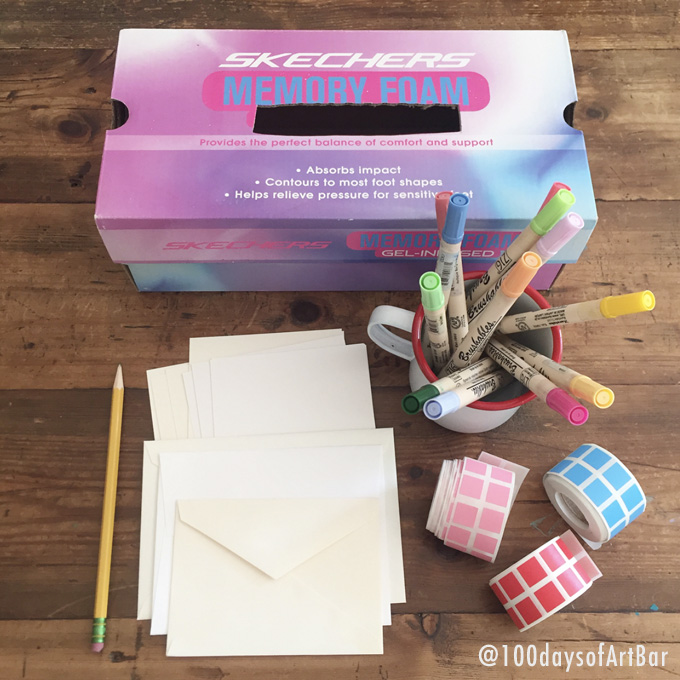
Supplies:
~ Shoebox
~ Xacto knife to make mail slot (adult use only)
~ Envelopes
~ Card stock cut small enough to fit in envelopes, or folded paper
~ Markers & pencil
~ Stickers
Directions:
This shoebox has not been decorated. It doesn’t have to be, but you can make it look more like a post office box if you have the time. The kids will LOVE making pretend mail and sticking it in the slot!
3. TP Roll Creations

Supplies:
~ Toilet paper rolls
~ Pipe cleaners (or wire or straws, just something to put through the holes to connect the rolls)
~ Gel pens (ours are scented!) or any coloring supply
~ Tape
Directions:
For little kids, pre-punch the rolls with holes. They can use regular markers or crayons if that’s all your have.
4. Holey Paper
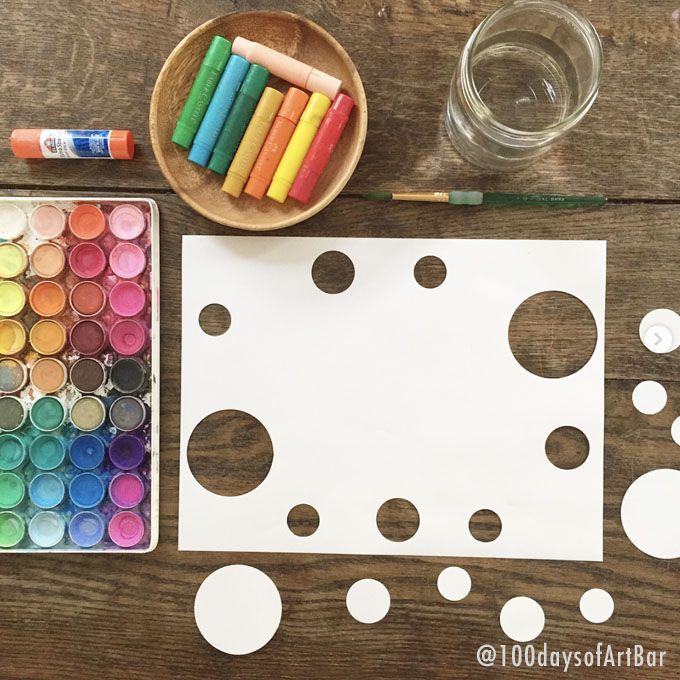
Supplies:
~ Paper with holes
~ Gel sticks, oil pastels, or crayons
~ Glass of water, brush, paper towel for dabbing
~ Glue stick
Directions:
I have a collection of paper punches that we used often in art class. If you don’t have these they you can fold the paper in half and cut circles that way. The gel sticks are cool because they are water-based and you can use a paintbrush to blend. Using the oil pastels or crayons with watercolor is a cool technique because oil and water don’t mix.
5. Coffee Filter Snowflakes
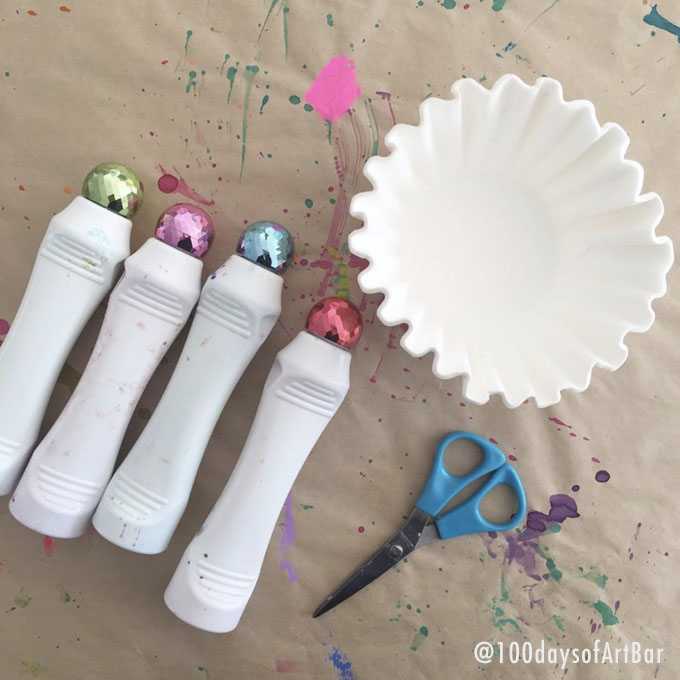
Supplies:
~ Dotters (I peeled the labels off)
~ Scissors
Directions:
The littles can just explore the dotters on the coffee filters. Older kids can fold the filters like you would make a traditional snowflake – by cutting out small shapes and then opening it back up.
6. Collage Surprise
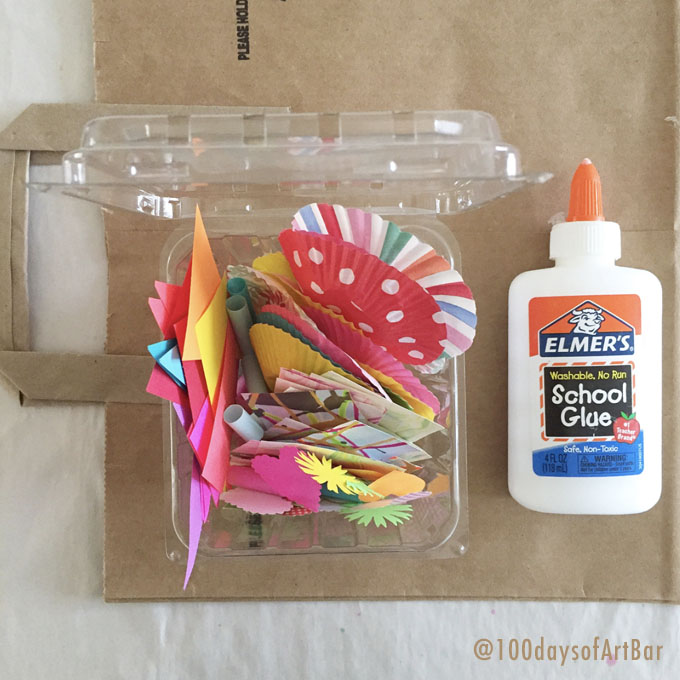
Supplies:
~ Berry container full of collage bits (colors paper, old art, straws, cupcake liners)
~ Glue
~ Paper bag, piece of cardboard, or any paper
Directions:
Kids will LOVE seeing a clear container full of collage material! Fill with any scraps you have around.
7. Twigs, Wire & Beads
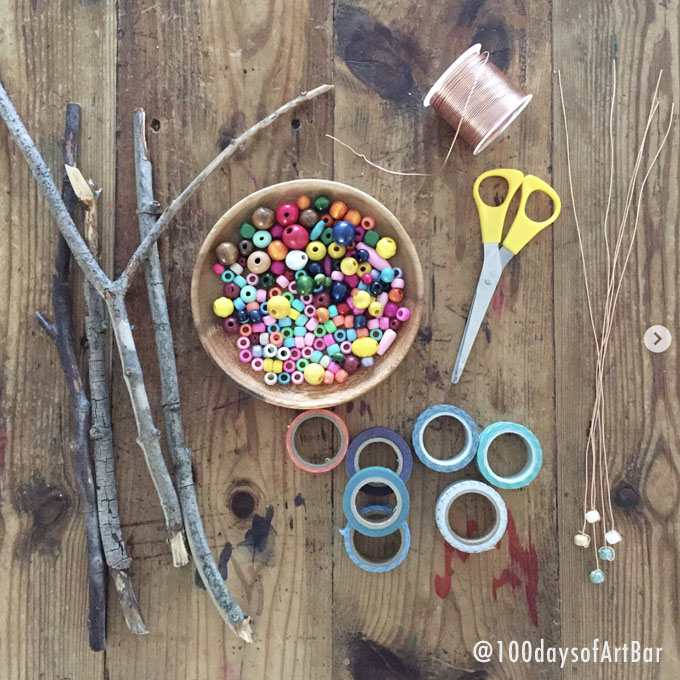
Supplies:
~ Twigs
~ Beads (we used pony beads and wooden beads)
~ Craft wire or pipe cleaners
~ Scissors
Directions:
I like to pre-cut the wire and secure it with a bead. Kids can bead the wire the hang it from twig or wrap it around twig or do anything they want.
8. Tinfoil Painting
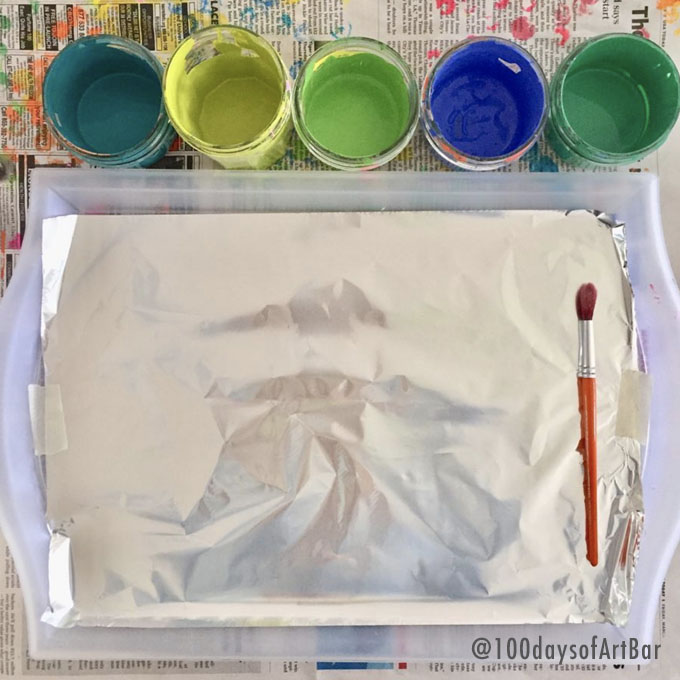
Supplies:
~ Tinfoil
~ Paint brush
~ Glass or water and damp sponge for dabbing (cleaning brush in between colors)
Directions:
A wonderful, shiny surface that kids can glide their brush across. Use an easel if you have one!
9. Paper Plate Painting

Supplies:
~ Paper plates (the thin, cheap ones are best for this)
~ Watercolors (I like Crayola for this project)
~ Water & brush
~ Scissors
Directions:
Little ones love to paint and cut. This is a perfect prompt for their exploration. For older kids, they can make faces or flowers or just something abstract.
10. Craft Stick Friends
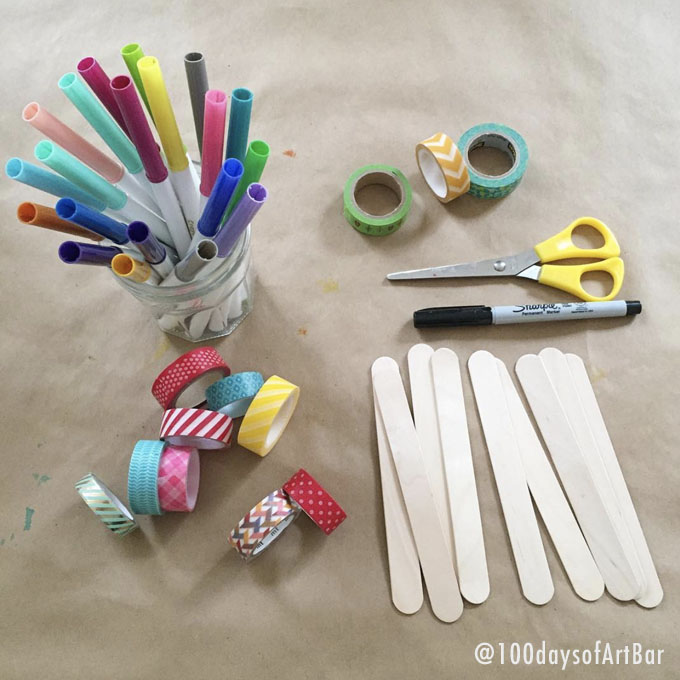
Supplies:
~ Markers
~ Black sharpie or pencil
~ Scissors
Directions:
My art students never get tired of this one! I sometimes see them cut the craft sticks in half to make babies.
11. Primary Day
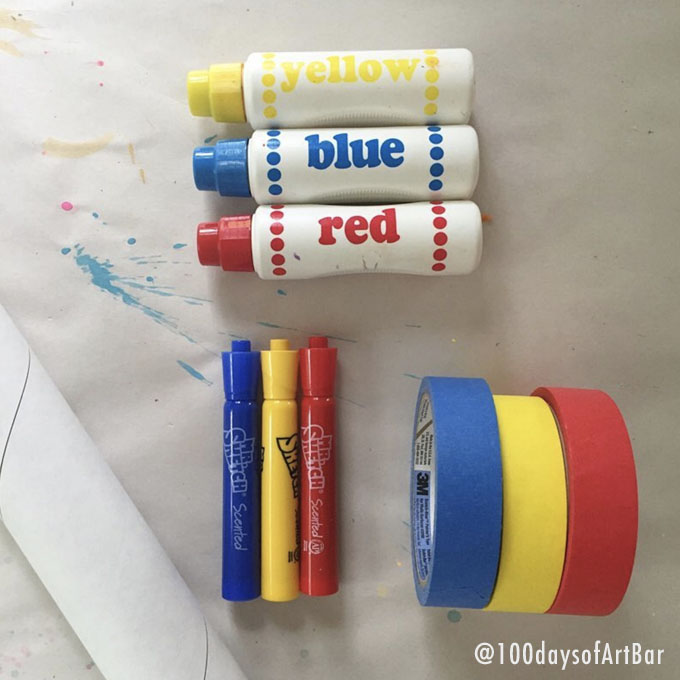
Supplies:
~ Long white tube or white paper
~ Primary color dotters
~ Primary color markers
~ Primary color tapes
Directions:
This is less about mixing primary colors than just recognizing them, playing with them, and making some Lichtenstein-esque “pop-art”.
12: Sticky Paper Collage
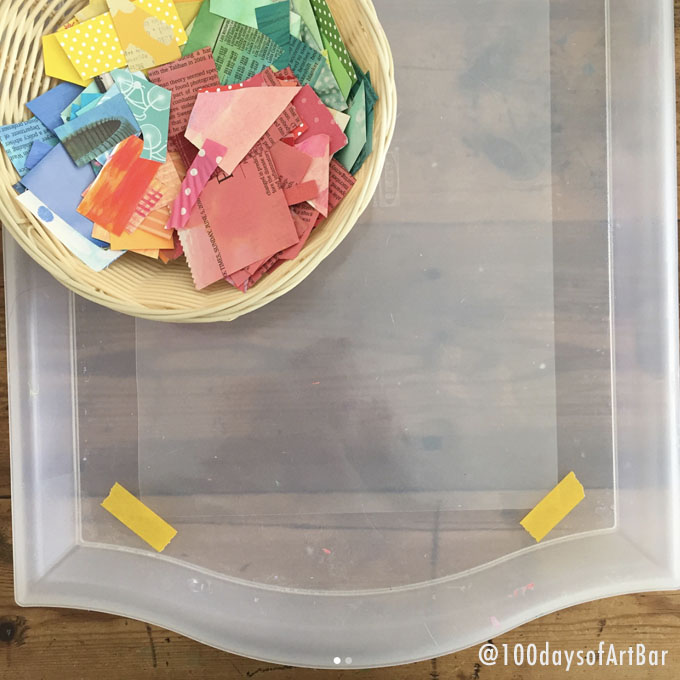
Supplies:
~ Contact paper or adhesive paper
~ Flat collage material
~ Scissors
~ Hole punch
~ Wire or string for hanging
Directions:
Tape corners down to a surface, sticky side up. Once they have finished sticking collage bits on – place another sheet of adhesive paper on top to seal it. You can also put out magazines so the kids can cut out faces and letters. I’ve also done this with flowers and leaves.
13. Frame Paintings
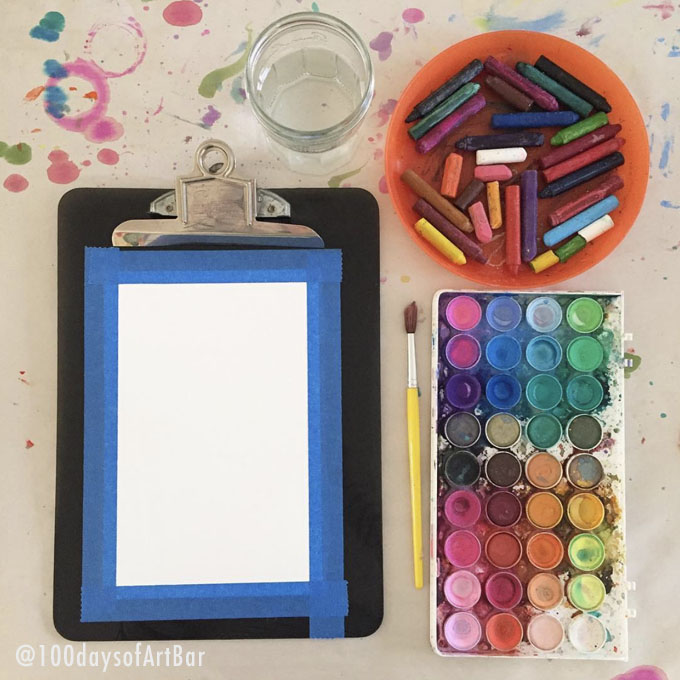
Supplies:
~ Watercolor paper (I cut mine small)
~ Painters tape
~ Water & paintbrush
~ Oil pastels or crayons (optional)
Directions:
Just tape the paper down evenly all around to a table, tray, or piece of cardboard. After painting is dry, carefully peel off tape. It’s amazing how a white border can transform a simple painting into a masterpiece!
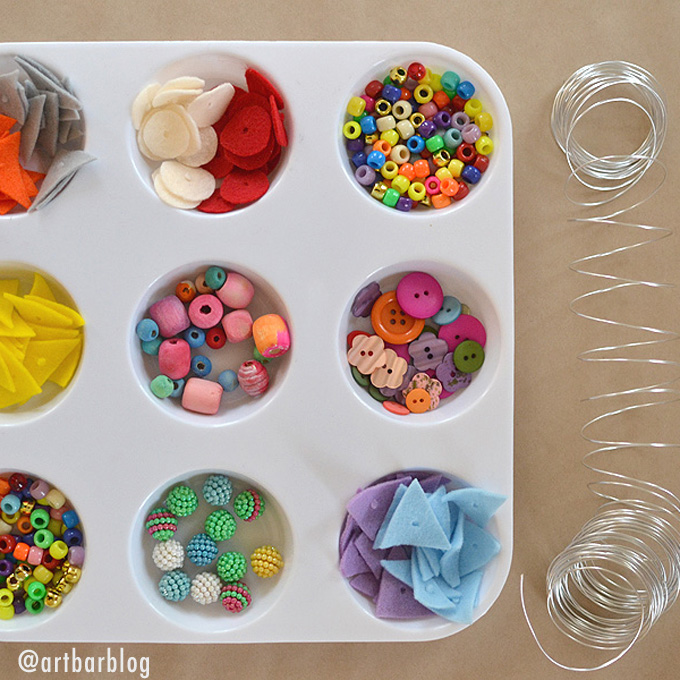
14. Beaded Ornaments
Supplies:
~ Assorted beads (pony beads, unpainted wooden beads)
~ Buttons
~ Felt or paper pieces with a hole in the middle
~ Wire or pipe cleaners
Directions:
Cut a piece of wire about 18-20″ and add a stopper at the bottom. After the kids have beaded, secure the top. Now have them twist the wire into a ball. Tah-dah! You now have an eclectic and colorful ornament. Of course you don’t have to make an ornament at all, you can just let you child explore the bendy nature of the wire.
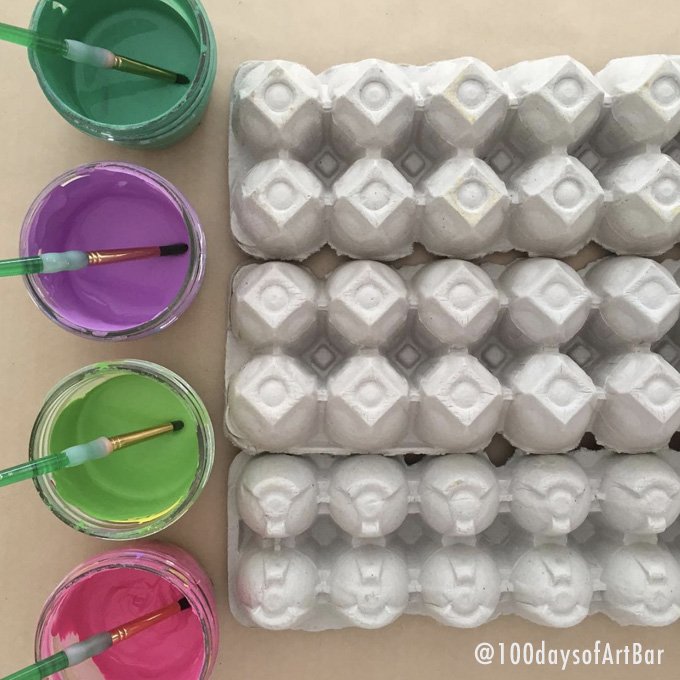
15. Egg Carton Painting
Supplies:
~ Egg cartons
~ Brushes (if you are going to put one in each color, then you don’t need water to rinse)
Directions:
Simple and always inviting. You could extend this prompt with collage material and glue.
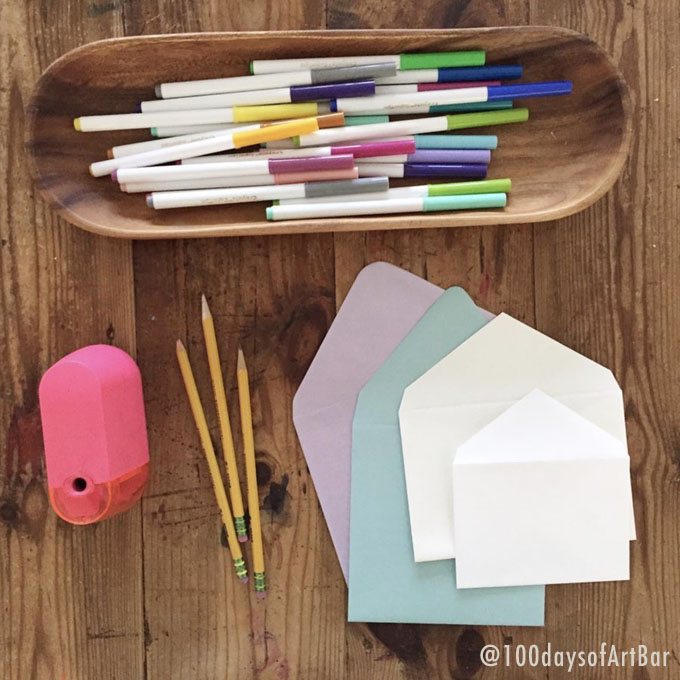
16. Envelope City
Supplies:
~ Envelopes
~ Pencils
~ Sharpener
~ Markers
Directions:
Fold the flap up and it becomes a perfect house shape! If you don’t have an electric sharpener, get one for the future. Sharpening pencils is an activity in and of itself!
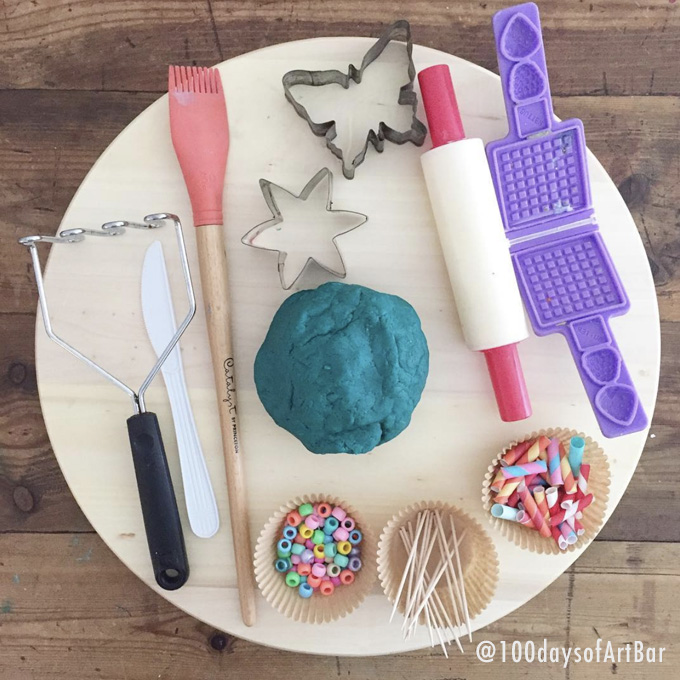
17. Playdough Fun
Supplies:
~ Homemade playdough
~ A variety of tools (get rollers and waffle makers if you don’t have them, they will be used a LOT)
~ Toothpicks
~ Straw bits
~ Beads
Directions:
Get homemade playdough recipe here (glitter optional). My kids never ever tired of playdough. It always was my go-to during their childhood. That waffle maker needs to be in a frame! They all fought over it and I could never find another one.
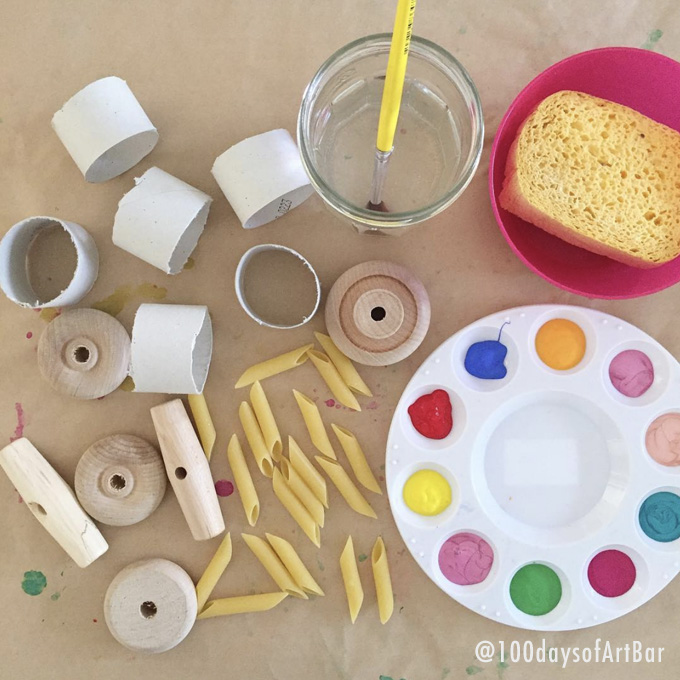
18. Pasta Necklaces
Supplies:
~ Any pasta that you can string
~ Wooden beads, spools, wheels
~ TP rolls cut into smaller pieces
~ Water, brush, and damp sponge for dabbing
~ Yarn or wire
Directions:
You can really gather anything that has a hole for stringing. Have the kids paint first. When everything is dry, string into a necklace. If your child doesn’t want a necklace, they can bend the wire into a sculpture.
19. Cardboard Sculpture

Supplies:
~ Cardboard scraps
~ Scissors
~ Wood glue (it’s stronger and dries faster, but you can use Elmer’s if that’s what you have)
~ Tempera paint (optional)
Directions:
Whenever I need a quick creative invitation, I always turn to cardboard. The more scraps you can put out, the better. You can add other things, too. Like buttons or bottle tops or beads.
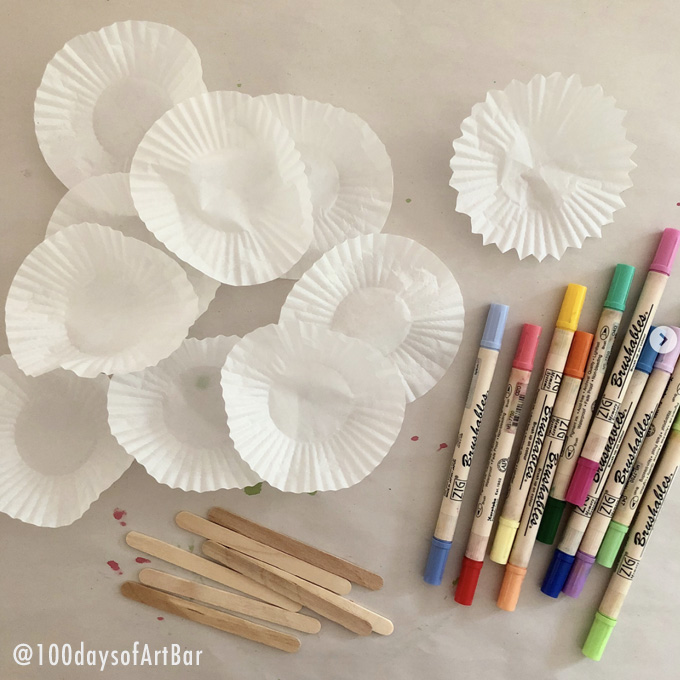
20. Cupcake Liner Flowers
Supplies:
~ Markers
~ Craft sticks (not Jumbo)
~ Tape
Directions:
Flatten out the liners. After they are colored, tape or glue to the sticks. Or glue to a piece of paper. If your child is not into flowers, they can make anything they want! I always like to have a piece of cardboard handy in case they want to make a collage.
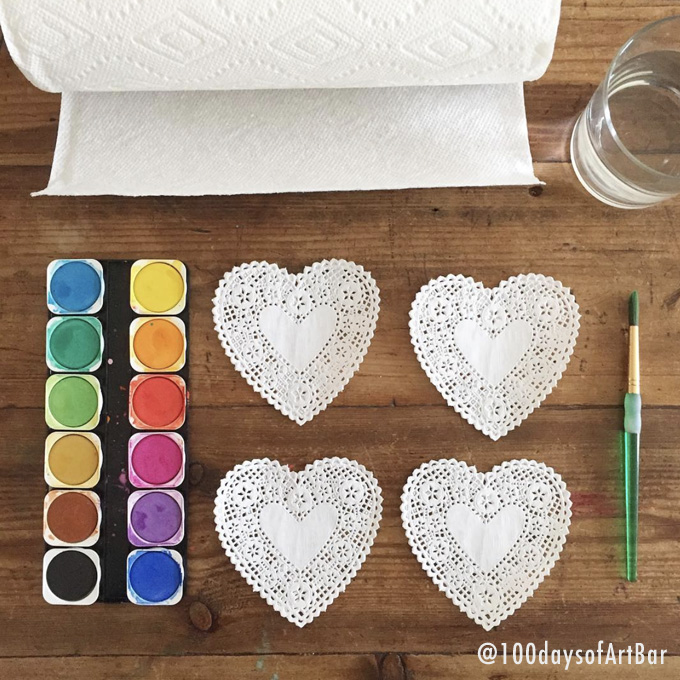
21. Doily Painting
Supplies:
~ Heart doilies or circle doilies
~ Paper towel to put underneath
~ Water and paintbrush
Directions:
This is especially engaging for the kid who pays attention to detail. You can also paint on top of white paper – the negative space it creates from the cuts in the doily is very cool.
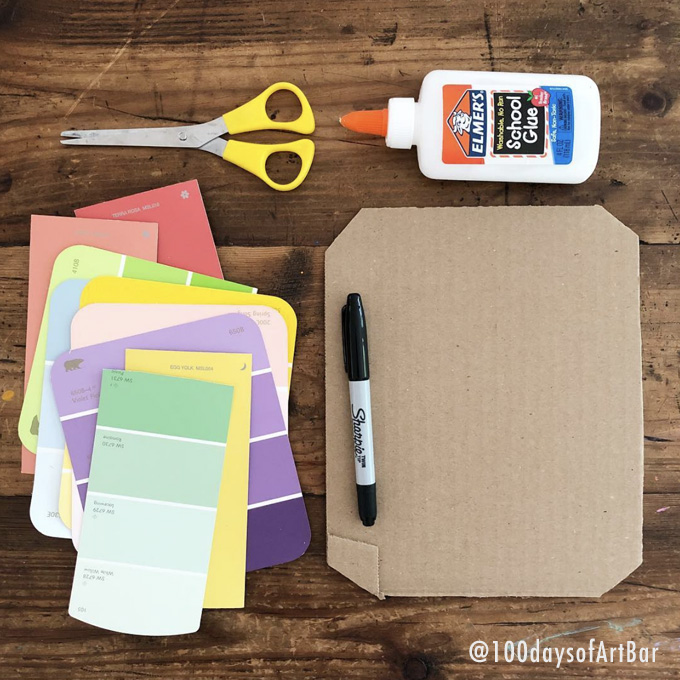
22. Paint Chip Collage
Supplies:
~ Paint chips (free at the paint store)
~ Scissors
~ Sharpie
~ Cardboard
~ Glue
Directions:
You can prompt your child to draw first with the Sharpie, then cut the colors up into smaller pieces and fill in the drawing. Or they can cut and glue first then draw on top.
23. Sticker Mandala
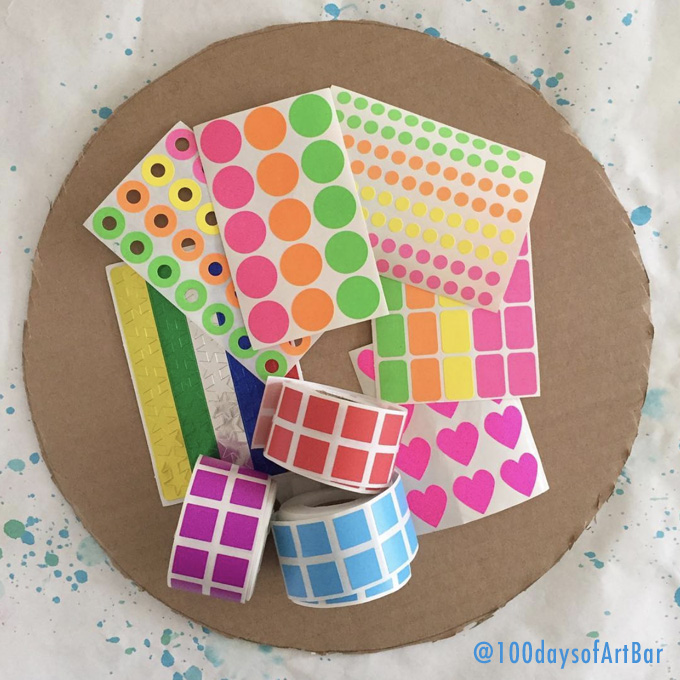
Supplies:
~ Cardboard circle
~ Stickers
Directions:
With just these two supplies, kids can make something so cool. Younger kids will just explore the stickers. For older kids, they can find the middle with a ruler and then start with one sticker and continue around to create a mandala pattern. Use cereal box cardboard if you have it, it’s easier to cut.
24. Yarn Wrapped Twigs
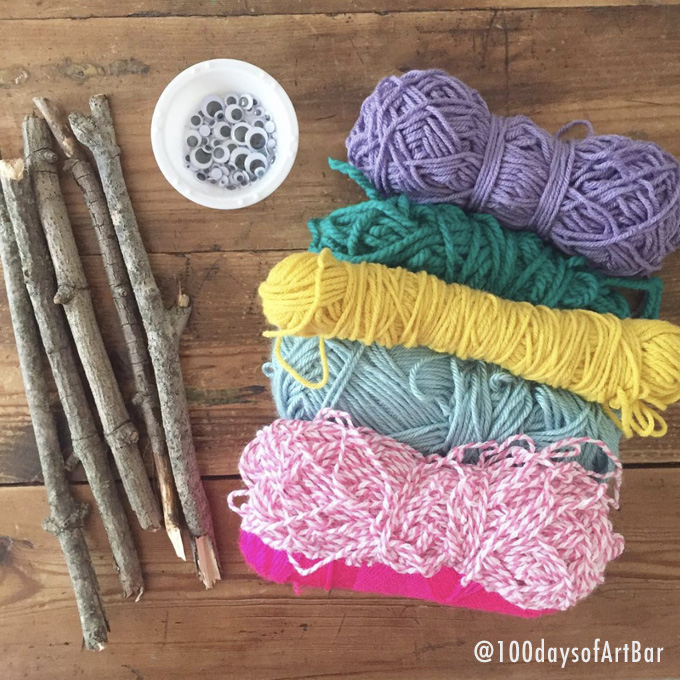
Supplies:
~ Sticks
~ Yarn
~ Googly eyes (optional)
~ Glue gun (for eyes)
Directions:
Wrapping sticks with yarn is a really good sequencing activity for little kids. First choose the colors, then cut a long piece, then start wrapping by holding down the end of the yarn and wrapping over it. Go around and around until the yarn is done. But yarn wrapped sticks in a vase for an artsy centerpiece. Or use googly eyes to make people or snakes.
25. MERRY CHRISTMAS!!
I do hope you will enjoy this advent calendar and not feel like it’s just more pressure. The last few days leading up to Christmas are no-mess days. And obviously you can skip a few days if need be! I just think that if you have a child who really loves art, and take about 10 minutes each day to set it up (and clean up from the day before) then this will actually be helpful because your child will be occupied while you do other things. At least that’s the hope!
Enjoy!
xo, Bar
– – – – – – – – – – – – – – – – – – – –
If you love this Advent Calendar Printable, you might love these Printables, too:


Love this creative advent calendar!