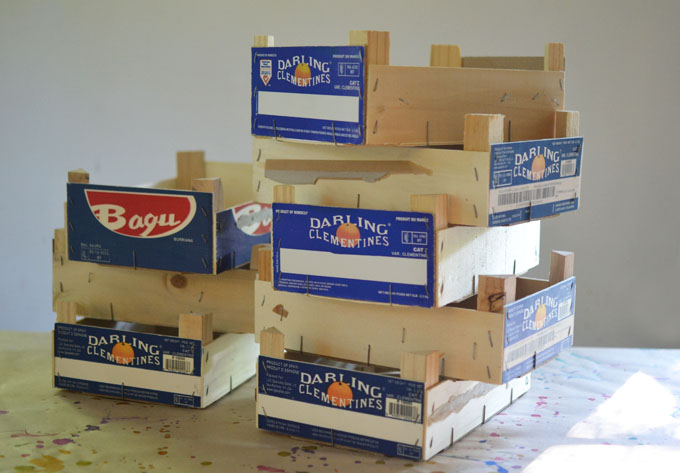
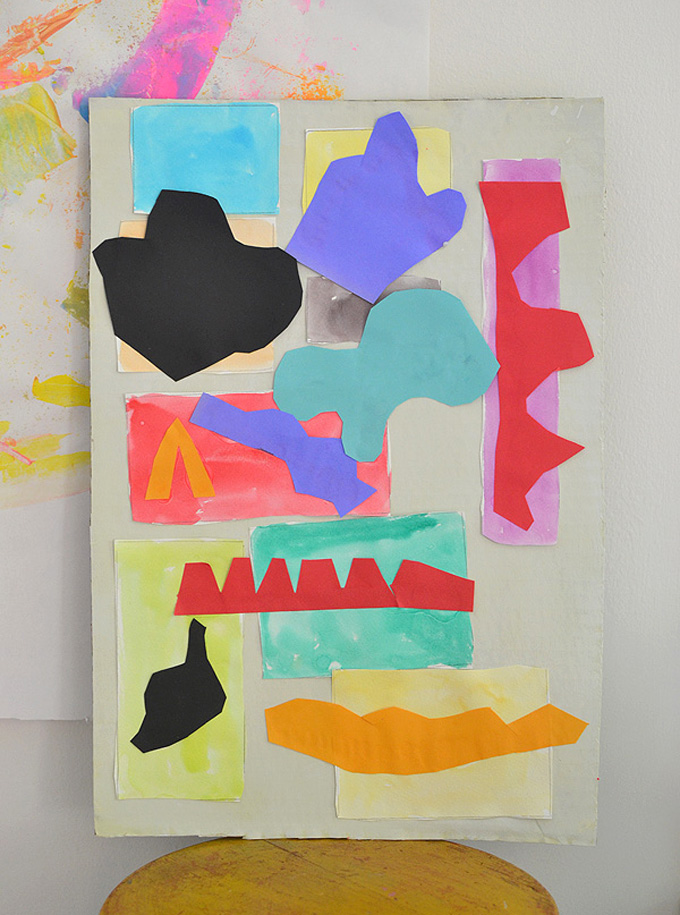
I discovered artist Mano Kellner on Pinterest and was immediately drawn to her “art boxes”. They are very curious, quite charming, and even a bit mystical. I was so inspired by this one that I immediately started to plan how I could make something similar with my art students. I decided on making dioramas using the clementine fruit crates I had been saving!
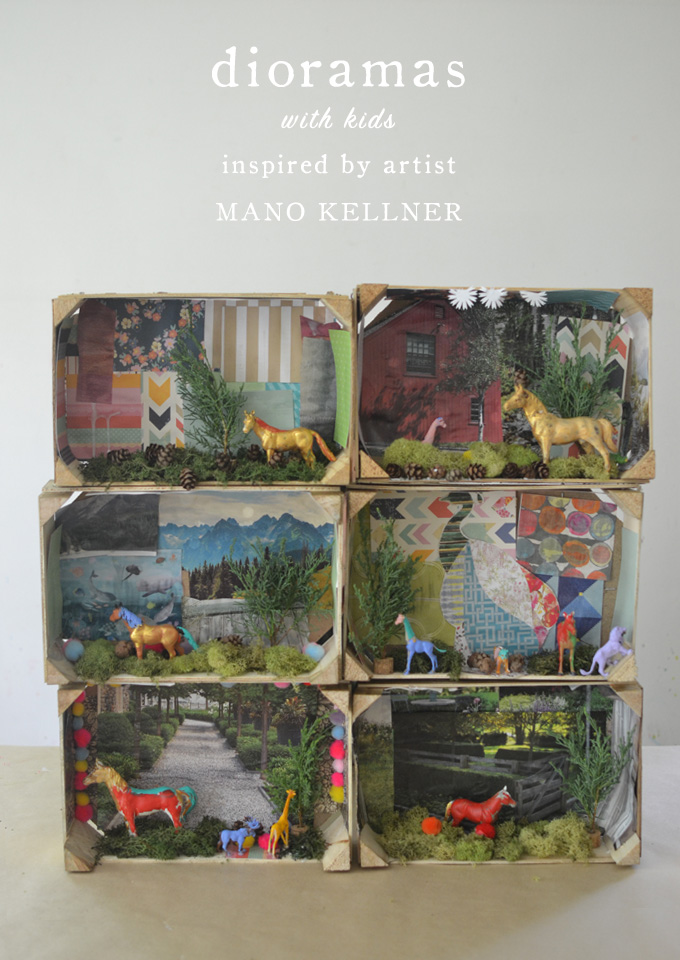
If you don’t have these wooden crates, you can very easily use shoeboxes. The key to our dioramas was to create a little fantasy world. I think you can do this in many different ways. Our way was to use images from magazines together with little animal figurines. I’m obsessed with the way they turned out and love the dark, foresty looking scenes coupled with the brightly painted animals. Contrasts in art is what really draws you in.
[ I am a participant in the Amazon Services LLC Associates Program, an affiliate advertising program designed to provide a means for us to earn small fees at no cost to you by linking to Amazon.com and affiliated sites. ]
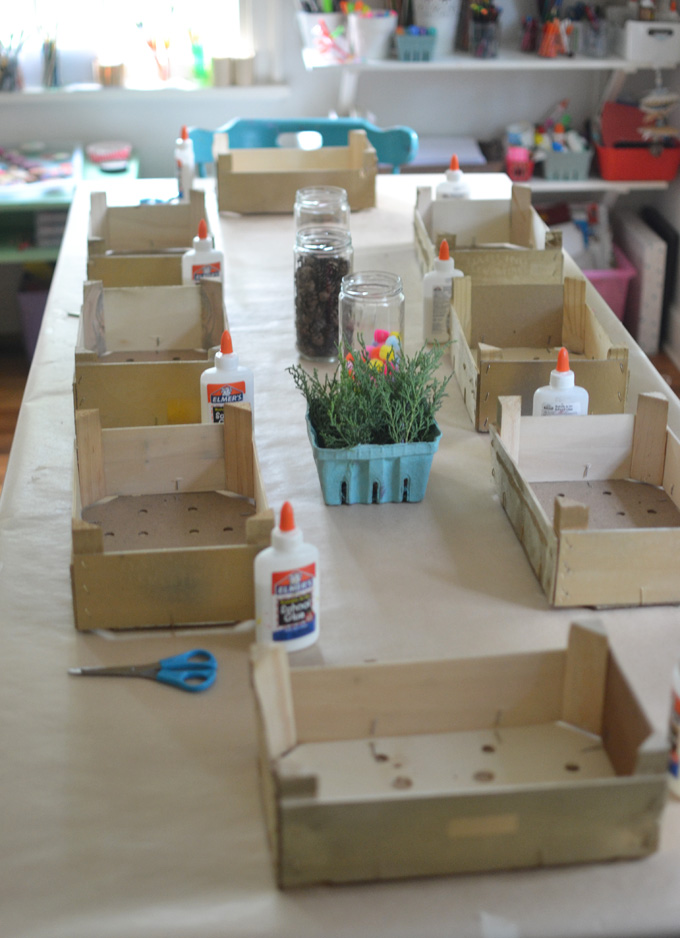
Supplies needed for dioramas with kids:
~ Wooden fruit crates of shoe boxes
~ Cut sheets from magazines of scenery and/or patterned scrapbooking paper
~ Pom-poms
~ Evergreen tree mini branches (homemade)
~ Mini pinecones, or small nature objects found outside
~ Wine corks
~ Elmer’s glue
~ Scissors
~ Plastic animal figurines (ours are from our collection, but I would buy this farm animal set because it’s fairly inexpensive for the amount of animals)
~ Tempera paints (I don’t buy small jars like this, but they do come in handy for small painting projects and they are inexpensive)
How to make dioramas with kids:
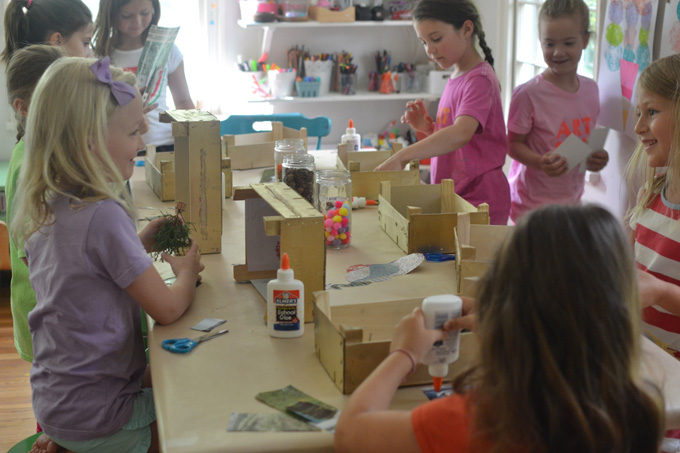
1. Begin your prep by cutting up the magazine pages and patterned paper. I put these in piles on a separate table, or on the floor.
2. Prep the little trees. I cut small clipping from trees outside, then attached them to corks. I cut the corks in half and nailed a little hole in the middle, then used hot glue to attach the tree to the cork.
3. Put the rest of the materials in jars or bowls, and set out the crates along with glue and scissors.
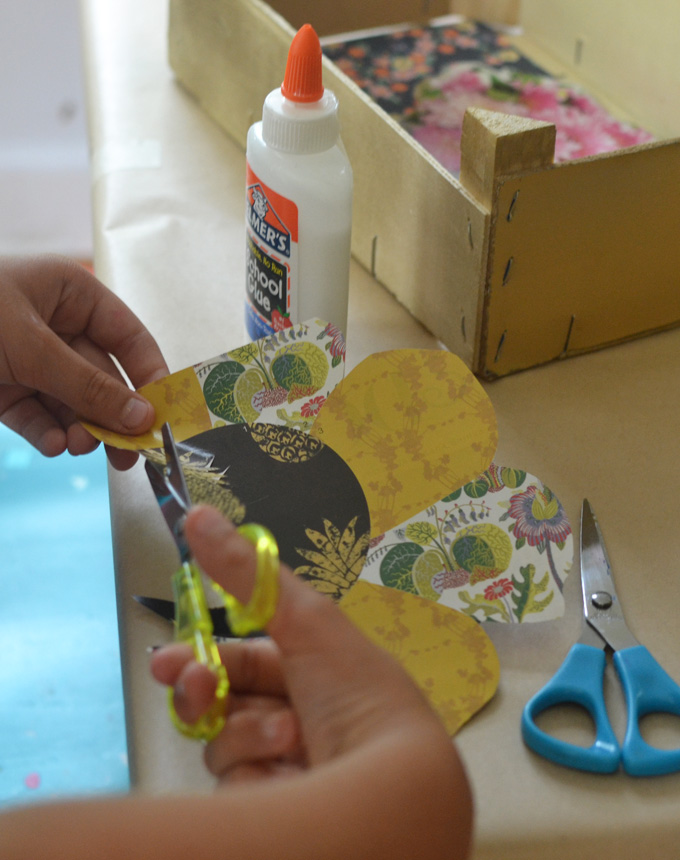
4. The children cut and glue so that the back and sides are covered.
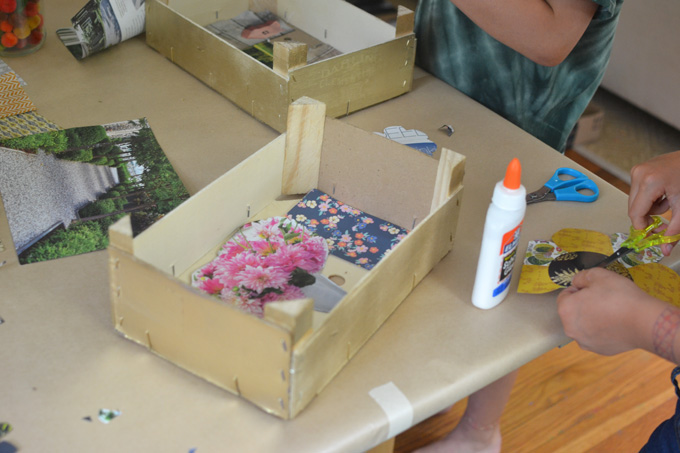

5. It was all hands on deck when helping them glue in the trees, so I didn’t snap any photos. But that would be the next step! Cover the ground with moss and add all the embellishments.
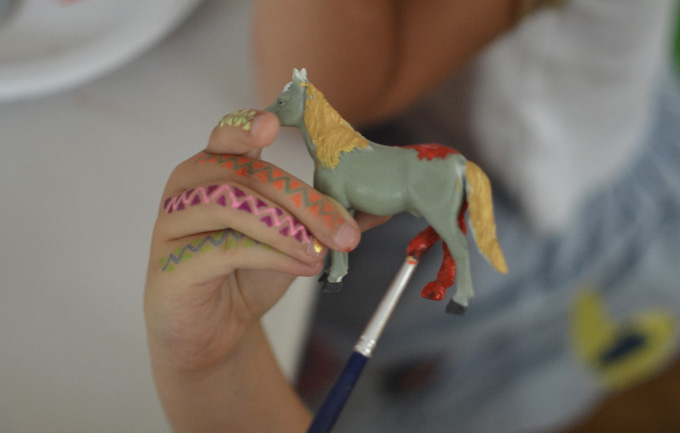
6. Animal painting was over at another table. Let them dry before adding to their diorama.
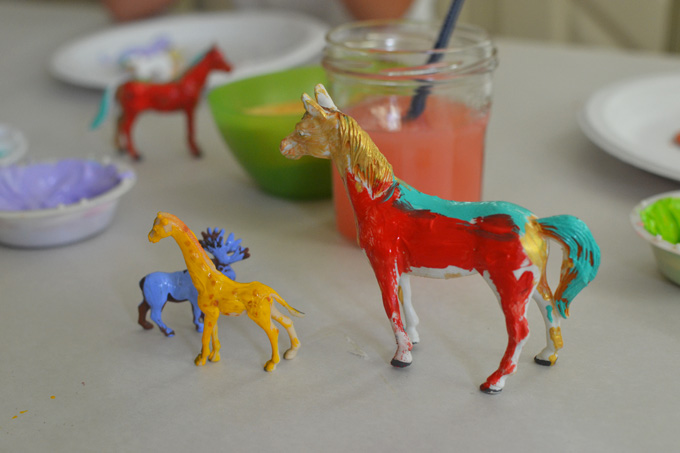
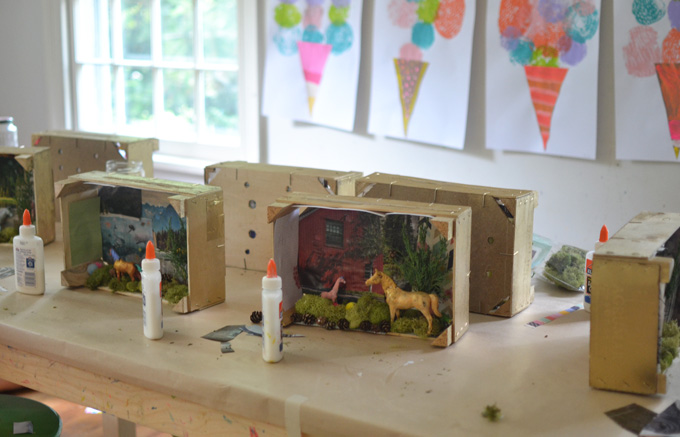
7. I used hot glue to add the animals, the children told me exactly where to put them.

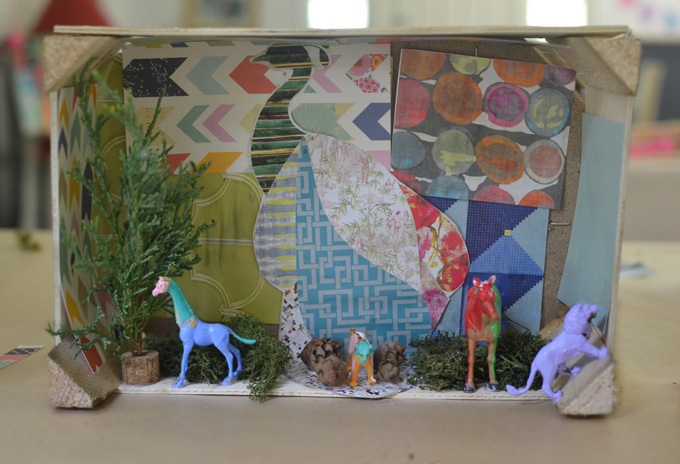
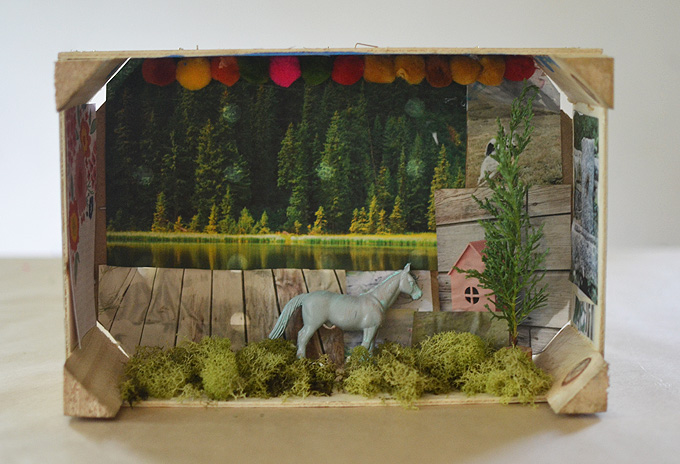
I really can’t stop staring at these. It feels like a mini-trip into a magical, happy world.
xo, Bar
– – – – – – – – – – – – – – – – – – – –
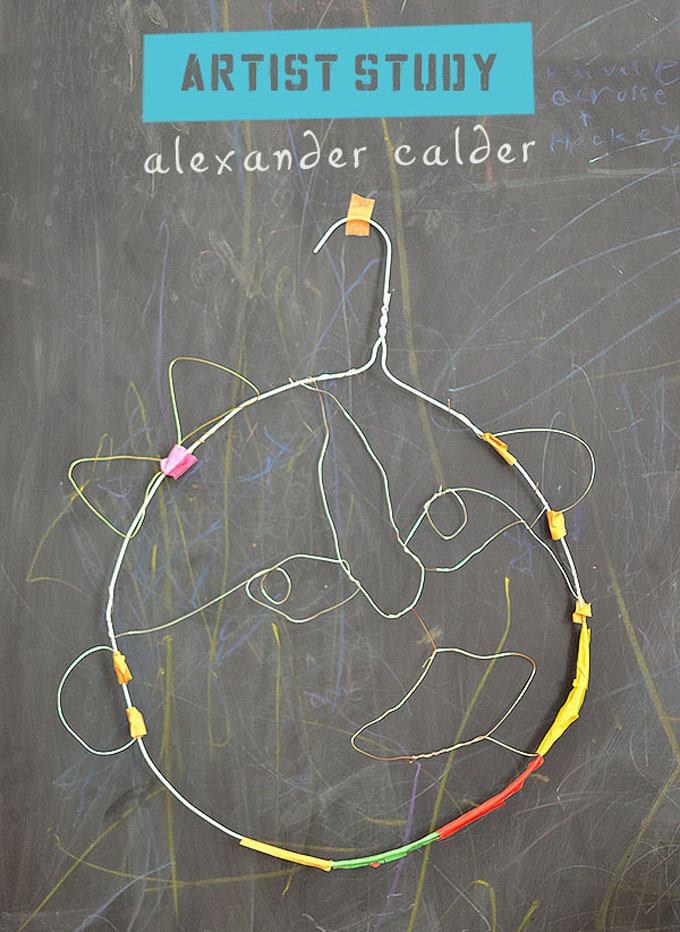
Did you like this post? Here are some more artists studies with kids:


Hi Barbara,
I don’t usually comment, however I’m changing that because I believe us humans are better off connecting to one another vs. reading a blog post and leaving.
I wanted to say thank you for all you do. We are a homeschool family and I’ve never thought to introduce art because I grew up thinking I was bad at it. You’ve given me the confidence I need to finally do art with my children.
Thank you!
Warmly,
Eaman
YAY!!!!! that is my sole purpose, to empower parents and teachers to introduce art even if they think they are “bad at it”. because there is no right or wrong when it comes to process art, it should always be about exploration and experimentation. there are so many lessons to be learned through creativity. bravo to you for stepping out of your comfort zone and letting your children explore what it means to be human! we are the only species who can express themselves through the arts, and it is starting to become our last commodity as AI takes over and everything becomes automated. thanks for leaving a comment and making my day! xx Bar
These are so beautiful!!