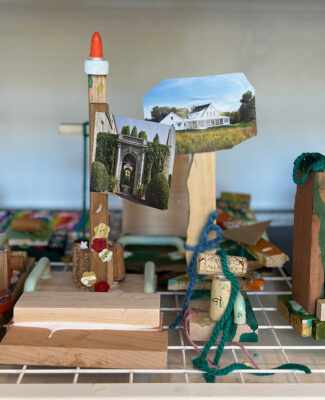
We experienced another successful community art table! This time, I set out leaves with fabric scraps, tempera paint, glue, and colored construction paper. I had a prompt at the table, but children could use the materials however they chose. The results were pure magic. I love every single piece! [ I am a participant in…
painting
16 Liquid Watercolor Art Experiences
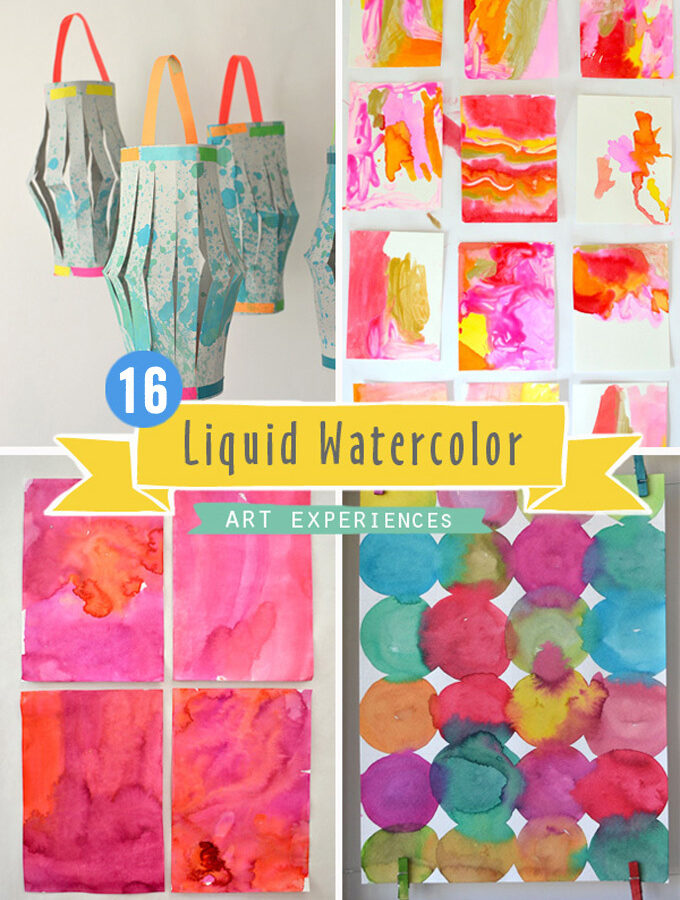
Liquid watercolors have become one of my favorite art materials. They are not as convenient as regular palette watercolors, which we use more often just because they don’t require as much set-up or clean-up, but they are just so beautiful to paint with. The colors are very rich and vibrant, and you can cover large areas…
Mixing Skin Tones Using Primary Colors

I’m back with more color mixing! Last week we mixed secondary and tertiary colors (check out this video) and today we are mixing skin tones using primary colors! This is pretty sophisticated stuff, and hopefully I do a good job of explaining the concepts of mixing browns in the video below. Don’t be intimidated, though,…
Smash Painting
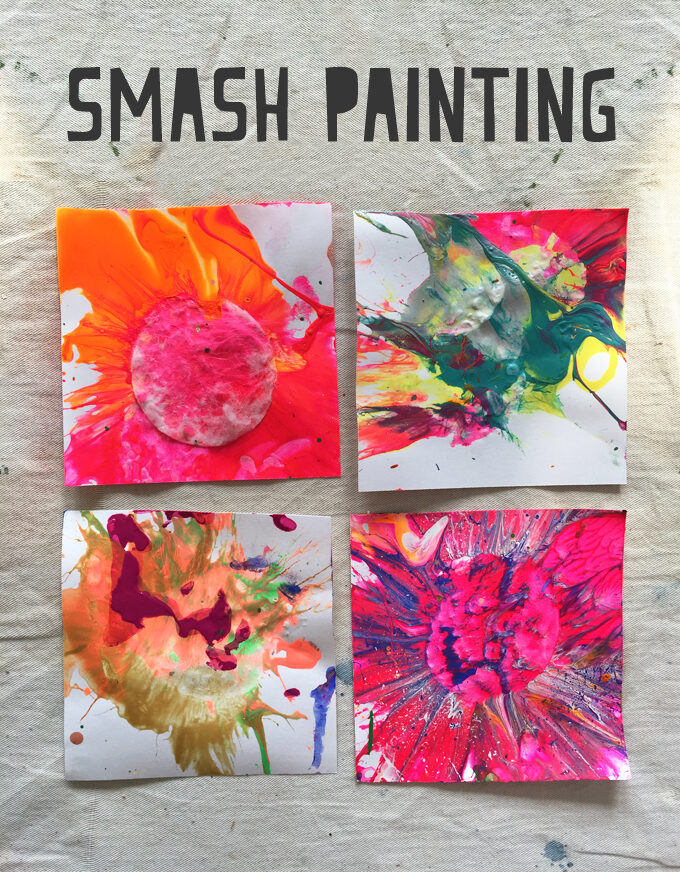
If you are looking for a really simple, exploratory, physical, colorful, messy, highly engaging, and FUN creative experience for outdoors, this smash painting is it! It will make your kids so happy that they will squeal with joy. And when all is said and done, you’ll have a collection of really cool and unique little…
Art and Play Activity Guide for Learning at Home / Week 5
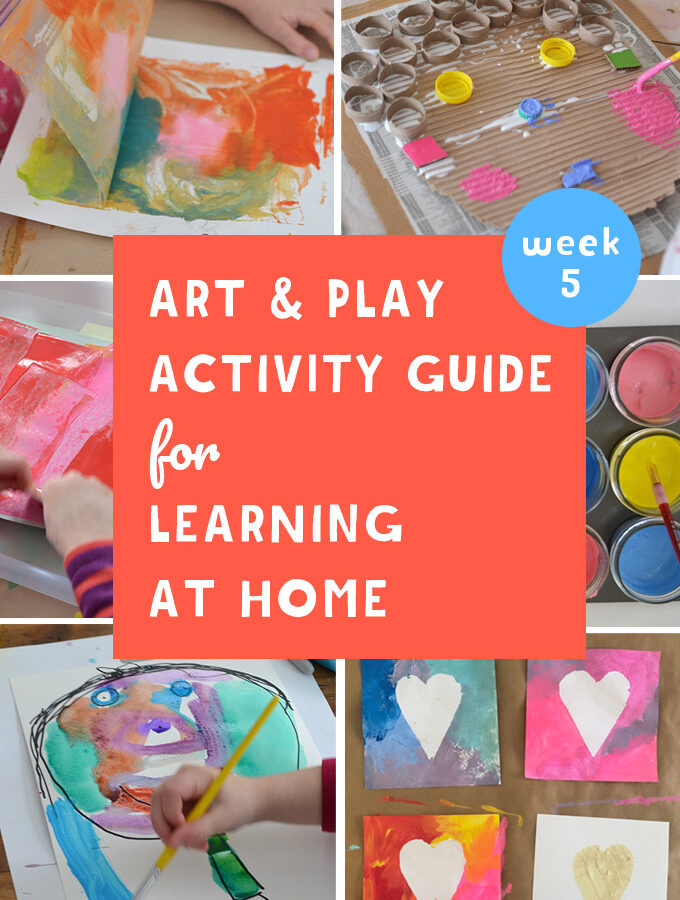
It’s Painting Week! Before you run in the other direction or call us out for being totally crazy to make a whole week of painting experiences, worry not, we’ve got you covered. In Week 5 of our Art & Play Activity Guide for Learning at Home, we will be holding your hand every step of the…
Giant Recycled Egg Carton Village | A Process Art Collaboration
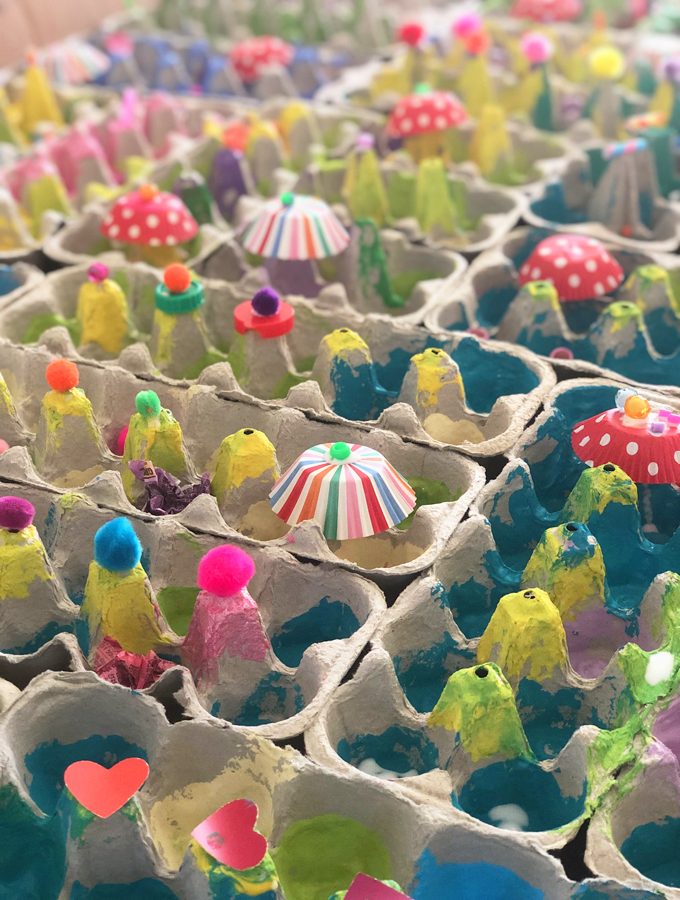
A few weeks ago in my Spring Break art camp, I created this giant recycled egg carton village by gluing almost 50 egg cartons into a huge box. My art students loved this process art collaboration because there were no rules (other than don’t splatter paint on people) and they could really use their imaginations…
Drawing with Kids: Oranges on the Table
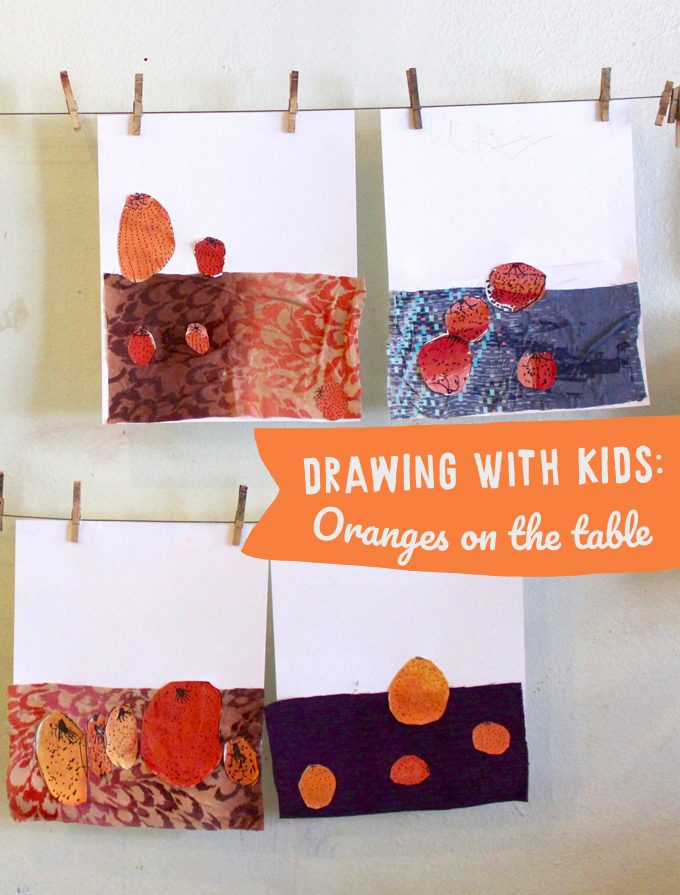
My friend Samara from Purple Twig in L.A. always has the best ideas for drawing with kids. When I saw these still-life orange paintings on her Instagram feed, I knew that I needed to know more! I just love that she used a piece of fabric for the table, and how she had the children…
Patterned Cardboard Animals with Templates
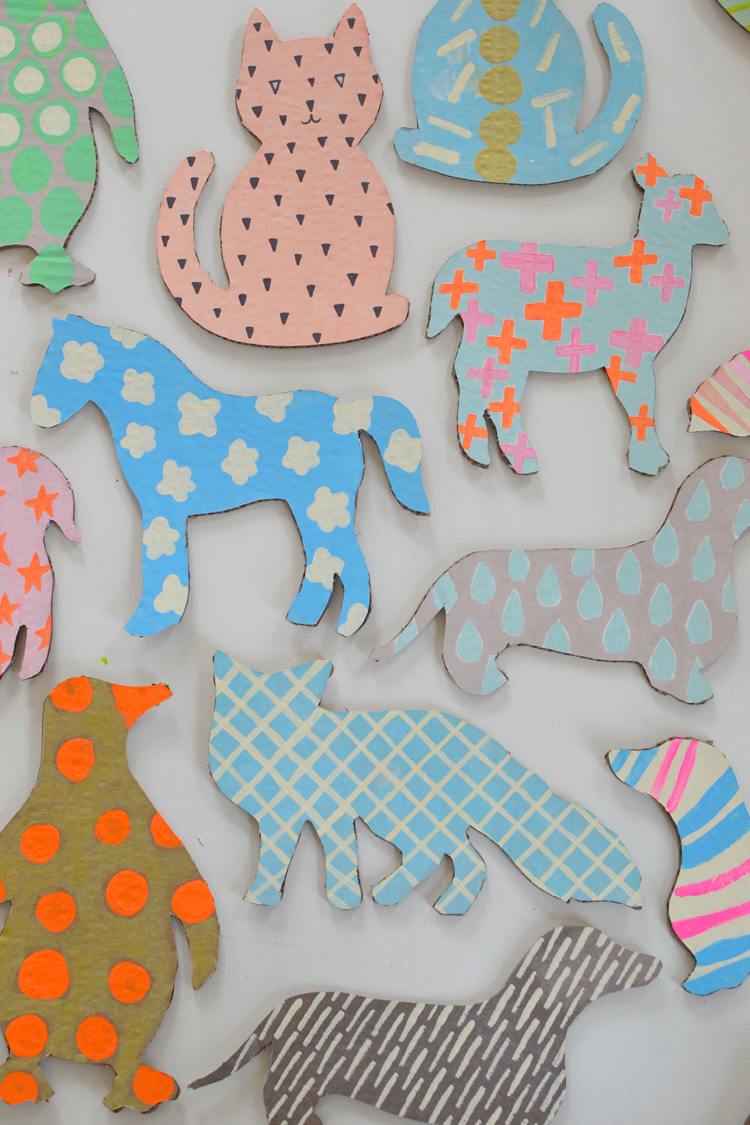
By now you all know that I am a lover of cardboard (as professed in my latest book, Cardboard Creations), and am always thinking of new ways to re-use my collection of recycled boxes. These patterned cardboard animals were really fun to make both for me and my kids! They sit on our mantle currently…
40 Summer Art Ideas for Kids
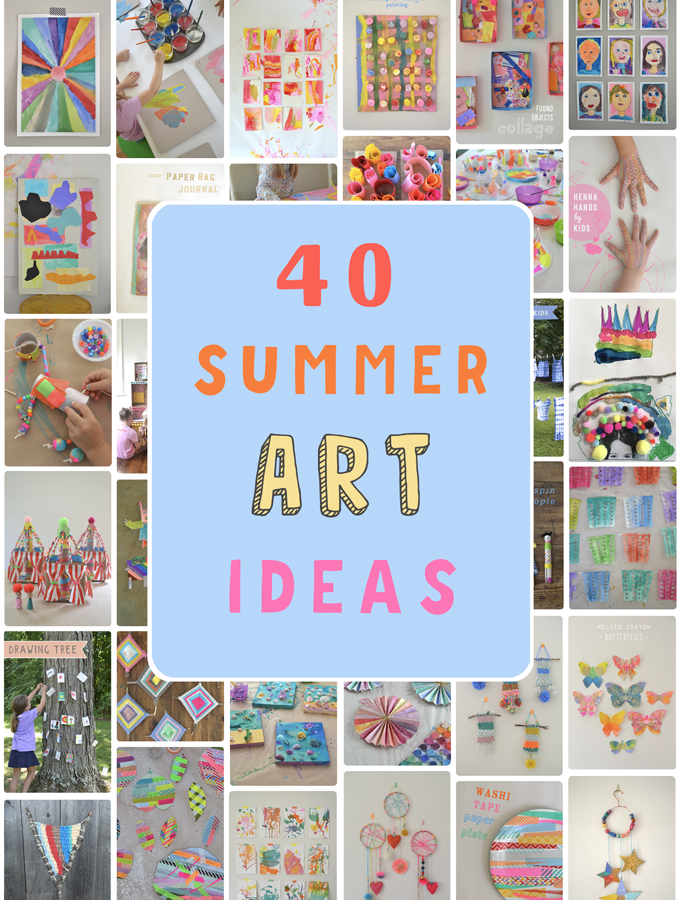
I’m so happy to present you with this amazing list of 40 Summer Art Ideas for Kids! It hit me as I was scrolling through my Art Bar Pinterest page that I have accumulated quite a big bunch of summer art projects through all of my camps. I thought of writing another ebook, but then…
Mother’s Day Portraits: “Queen Mom”
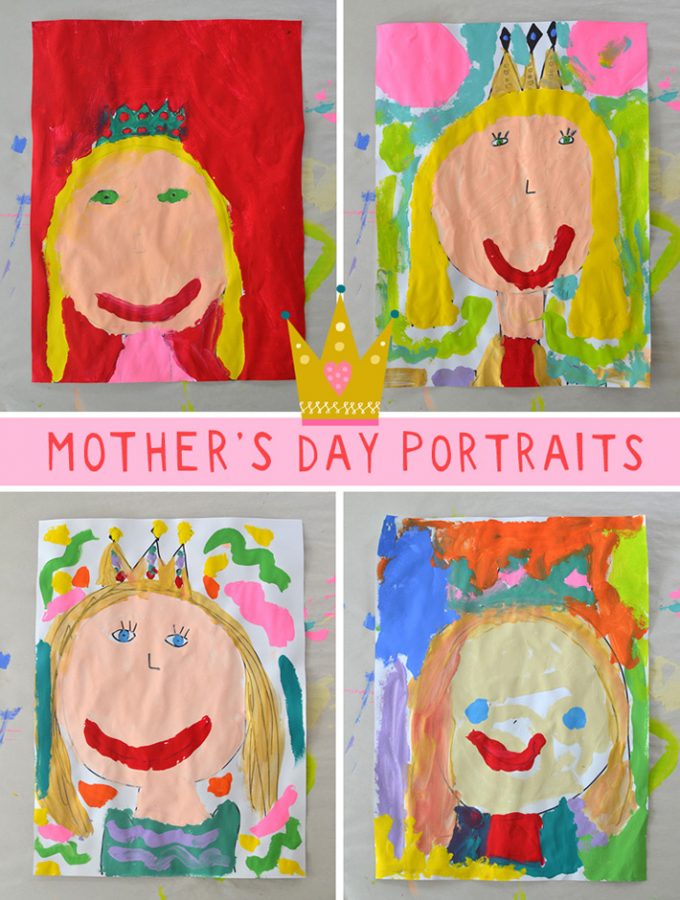
One of my favorite seasonal are projects that I do with my students is making Mother’s Day Portraits (and Father’s Day coming soon!). This year, as the kids were drawing with their Sharpie before painting, one of them added a crown. She said it’s because her mom is the queen of the house. Well, yeah…