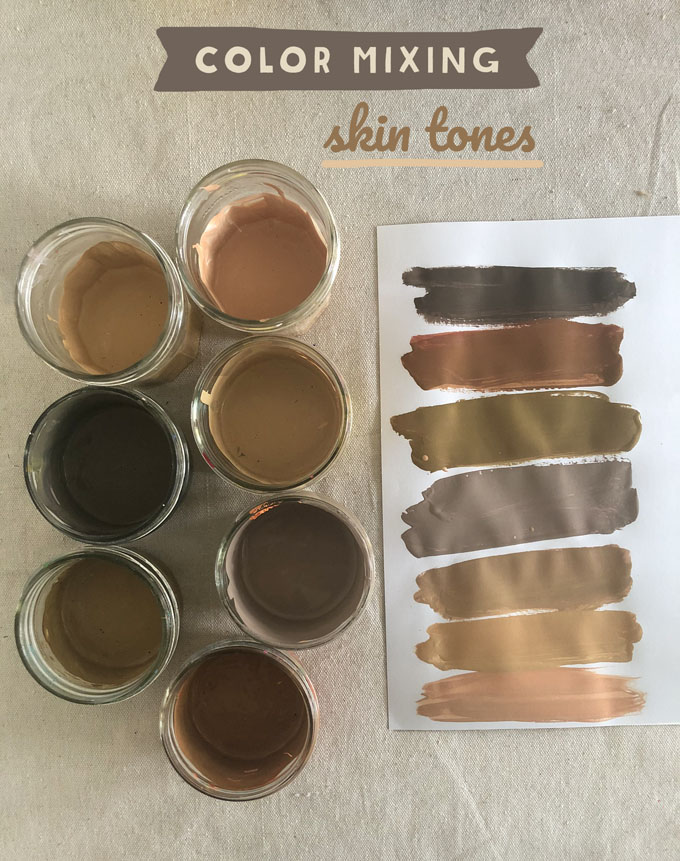
I’m back with more color mixing! Last week we mixed secondary and tertiary colors (check out this video) and today we are mixing skin tones using primary colors! This is pretty sophisticated stuff, and hopefully I do a good job of explaining the concepts of mixing browns in the video below. Don’t be intimidated, though, because you will 100% be successful in mixing beautiful browns! The nuance is in getting the right shade and tone, and that’s where color theory comes into play.
[ I am a participant in affiliate programs designed to provide a means for bloggers to earn small fees at no cost to you by linking to Amazon.com and affiliated sites. ]
Supplies for Mixing Skin Tones
~ Tempera paints (I used 3 primaries, plus a giant 32 oz white, plus purple and pink) from either Blick (pints) or Crayola (16oz)
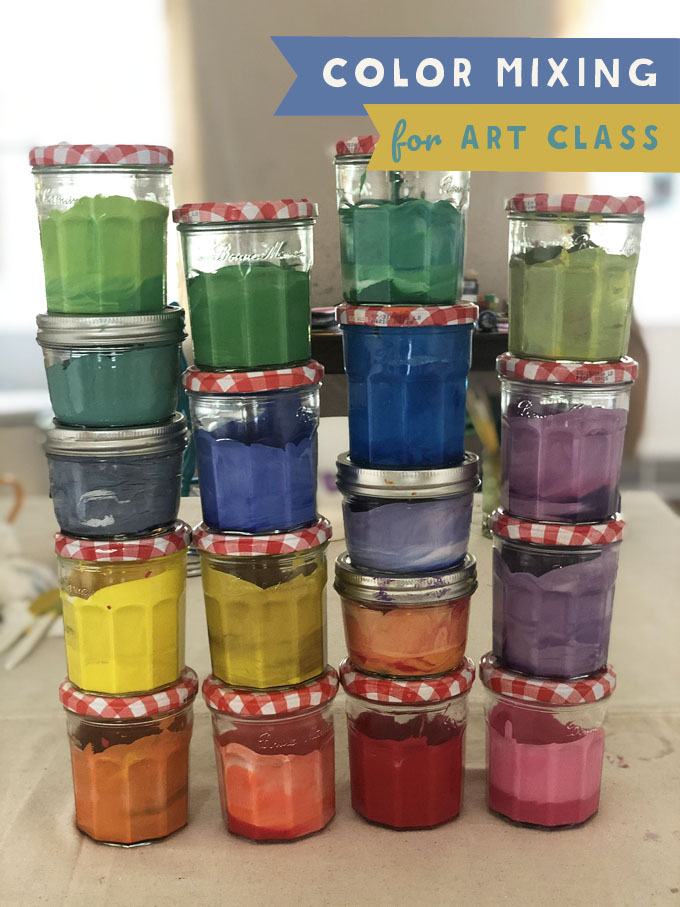
~ Glass jam jars (I buy Bonne Maman with the gingham lid – they are the perfect size)
~ Plastic knives for stirring
~ Muffin-top pan or shallow cardboard box for storage
Watch the Mixing Skin Tones video!
This video (above) is a continuation from last week’s video on color mixing where I talked about complementary colors (also called contrasting colors) on the color wheel. When mixing skin tones, I use the three primary colors and white, and then add in drops of complementary colors depending on the shade I am trying to make. You can mix endless, beautiful browns with this technique, and making lighter skin tones uses the same technique but with lots more white. Keep reading for more tips!
(Click here if you can’t see the video above.)

How to Mix Skin Tones
1. First, get your mixing station set up. I used glass jars with lids so I can store them, and plastic knives for mixing. The paints last for a while, up to a month. I used mostly primary colors, but as you can see in the video I did also use a little orange and purple at times (which is technically cheating, lol, but not really because purple is just red + blue, and orange is just red + yellow!) and I used a little pink, too. Pink is hard to mix from primaries, and I use a drop when making the lighter skin tones.
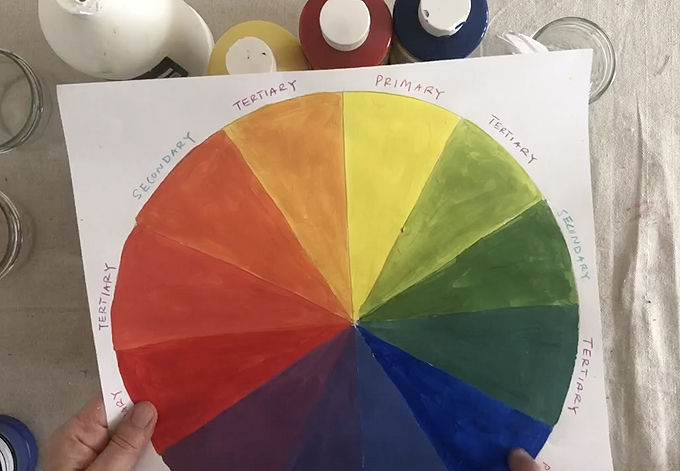
2. In the video, I explain the concept of complementary colors. They are opposite each other on the color wheel. The three basic sets of complementary colors are: blue + orange, red + green, and yellow + purple. They all include one primary and one secondary color.
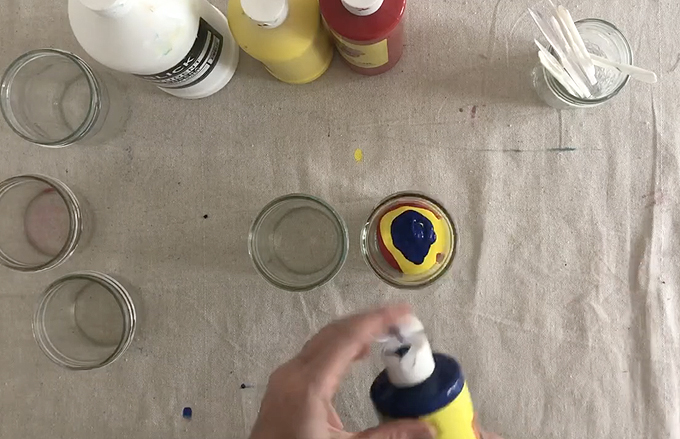
3. Start by putting a little bit of all 3 primaries in a jar. When you mix these together, you will find that the blue is very strong, and that all 3 primaries mix to a blue-ish charcoal. Add some white to bring out the color a little and to make it more opaque. Now start playing around and making the color more brown. To do this, use your knowledge of complementary colors. If the color looks too blue, add orange. If the color looks too red, add green, and if your color looks too yellow, add purple.
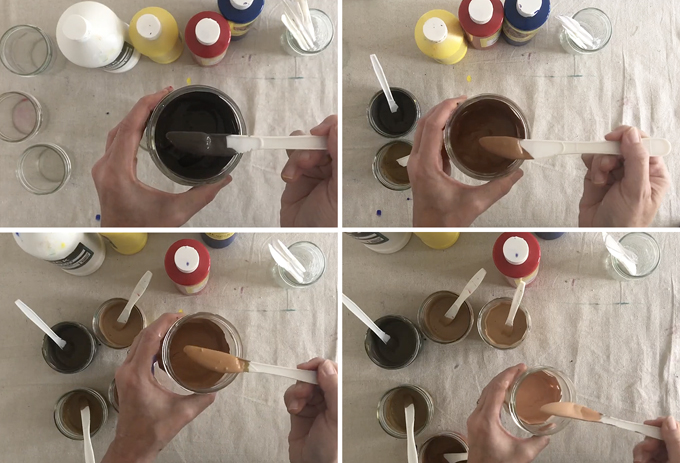
4. Mixing skin tones is all about experimenting and playing around. Add white as you get to lighter tones. I used the orange and purple in place of using yellow + red and red + blue. It saves on paint, and gets you to where you’re going a bit quicker.
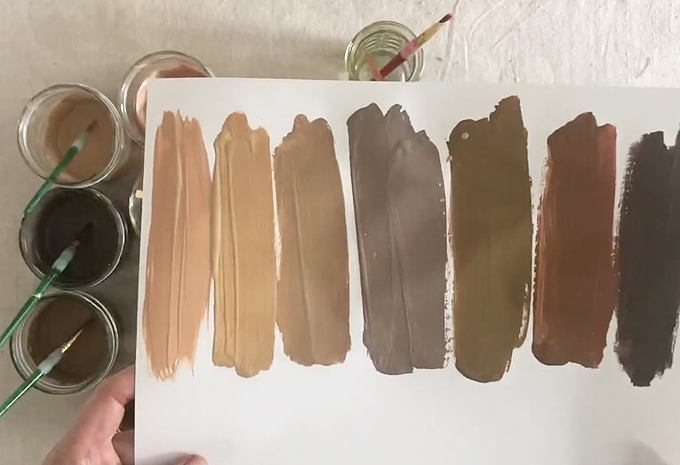
5. If you have a small group of children, you can have them mix their own skin color and paint on the back of their hand to match their tone! Remember to start with a small amount of paint in your jar because the amount will keep growing as you add more colors. Look how beautiful those colors are! You can set out all of your browns and make rainbows, or use them to draw and paint leaves.
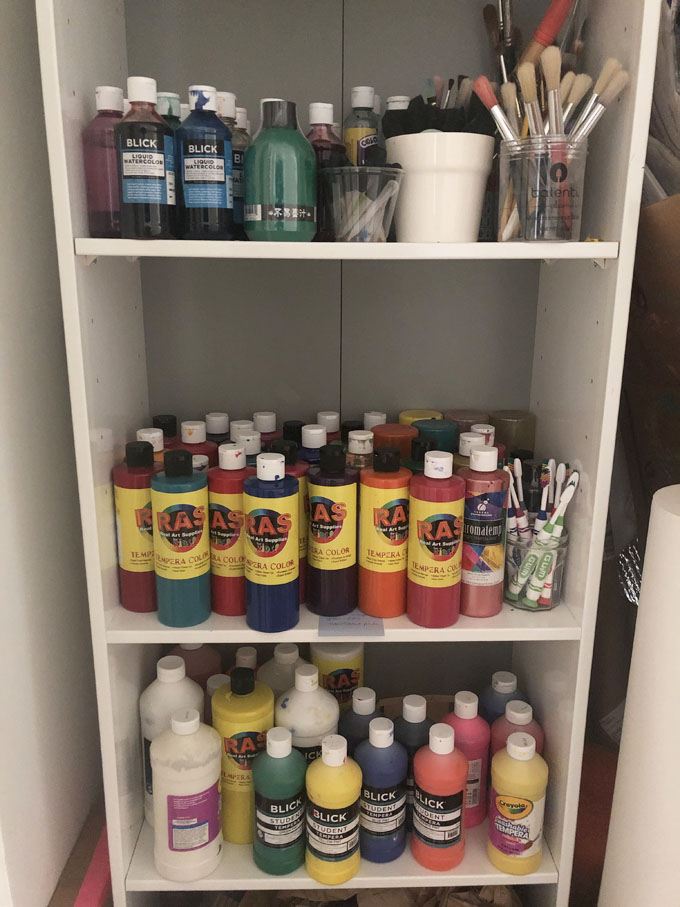
Organizing My Paint and Art Supplies
I keep my paints and a bunch of other art supplies in two closets. One is purely for the paint bottles, and the other closet is where I store the mixed paint jars.
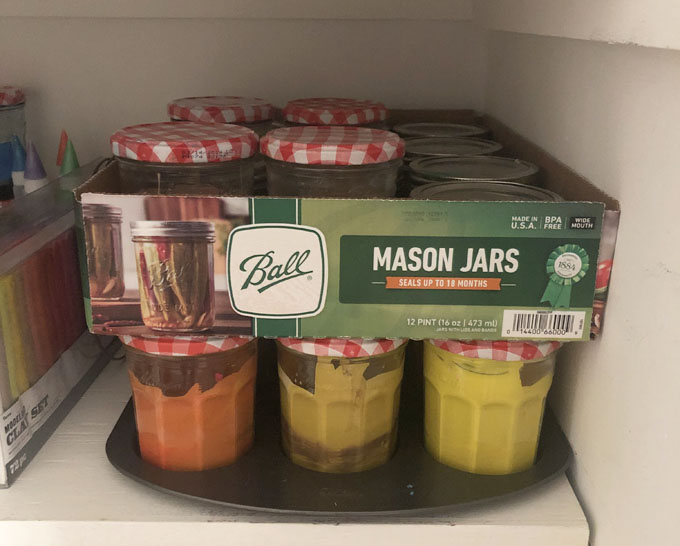
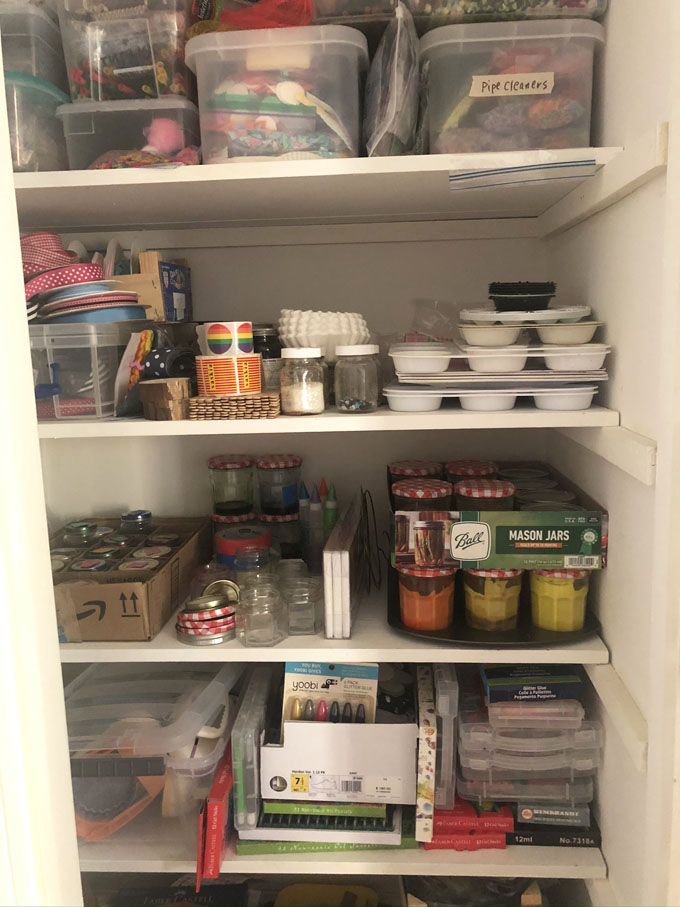
I keep my paint jars stacked which makes it easy for my art students to help me get them and put them away. I also keep other supplies in this closet that I don’t necessarily want out on the open shelves, or that I don’t have room for on the art cart. You can see how well it works to use a closet. My house weirdly has 4 coat closets in the front hallway, so I use two of them for art supply storage. I also have an entire basement full of supplies, which I don’t think I will ever show you, LOL.
Please let me know how the color mixing goes! Tag me on Instagram at @artbarblog, or leave a comment!
xx Bar
– – – – – – – – – – – – – – – – – – – –



How long do your mixed colors last in your jars before they dry out?
Hi Monica, they last a few weeks, even a month. Usually they are used up before then, but they can last a while! xo Bar
Hi there! Did you ever have a video of a quick painting session where you painted lots of lines/circles/random shapes in cheery colors? I may be mistaken, but I think I saw you paint something like that using paint cakes on a large sheet of sulphite paper. It looked inspired by the ‘100 lines paintings’ that children sometimes do in first grade. Thank you kindly.
Hi, yes – it’s on my Instagram! @artbarblog