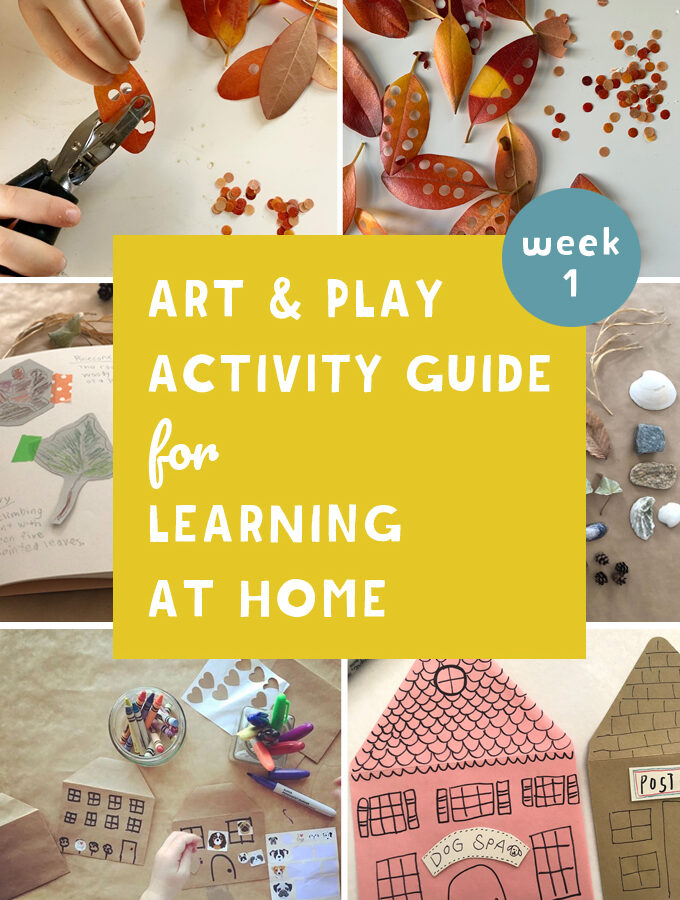
Ok, deep breath everyone. We are all in this together. As we lay low and practice social distancing at home due to the COVID-19 pandemic, my good friend, Shannon Merenstein from Hatch in Pittsburgh, and I have come up with an art and play activity guide for all the kids in quarantine who will be learning…
Cardboard Bird Sculptures
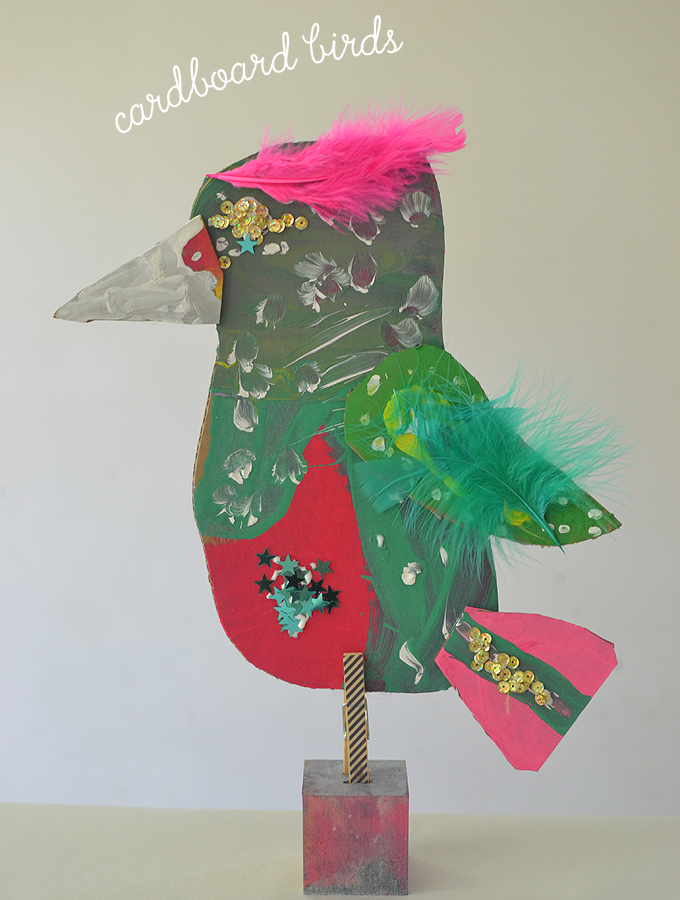
Ah, my old friend cardboard is back with a new but familiar look! Today I want to share these amazing cardboard bird sculptures that my art campers made. I got the idea for these from the IG account @marymakingart, and we were also inspired by the artist Clare Youngs, who is an incredibly talented cardboard animal artist…
Art Educator Interview: Alie Edwards from Creation Space
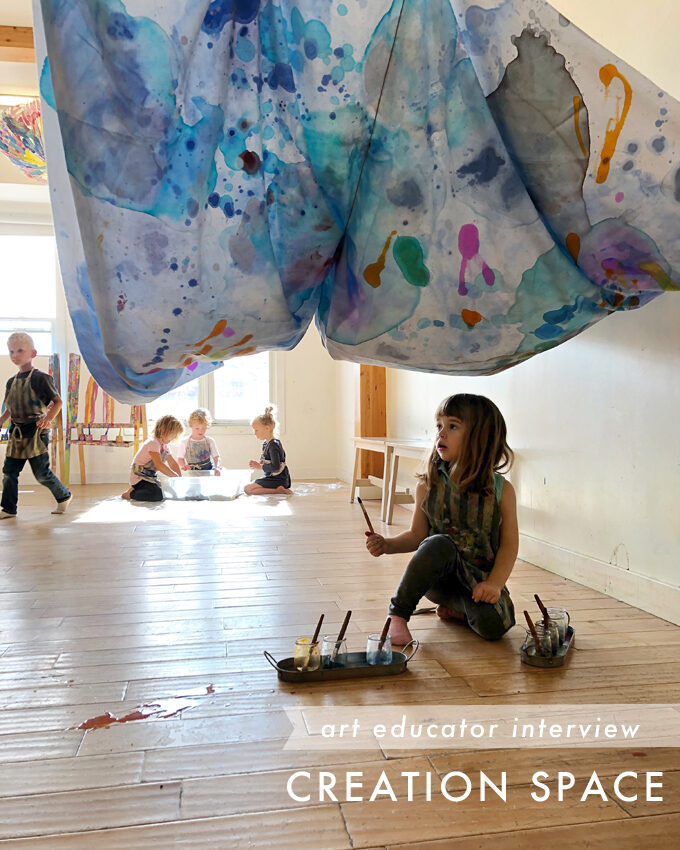
Art Educator Interviews are back! I have taken a long break, but am as passionate about this series as ever. I get so many emails from readers who want to know how I started teaching art classes in my home and how to take the first steps. I started this series in hopes that these…
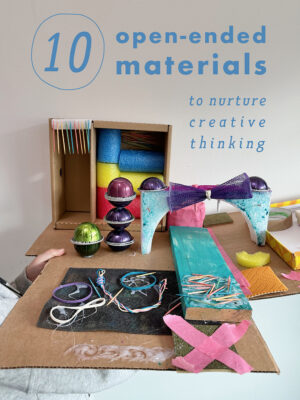
Creative Invitation: Adventure Boxes
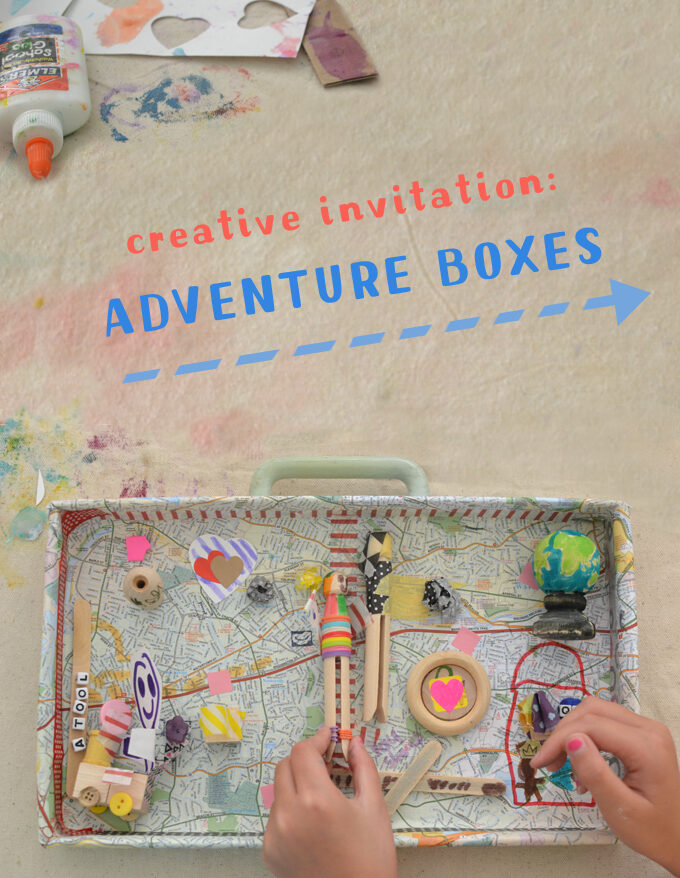
Are you familiar with the phrase Creative Invitation? It’s when you set out some interesting materials on a table which are so enticing, they beckon or invite children to come over and make a creation. Typically, this is a simple set-up with no set instructions and is child-led and open-ended, where there is no right…
Handprint Keepsake: A Warm and Cool Color Study
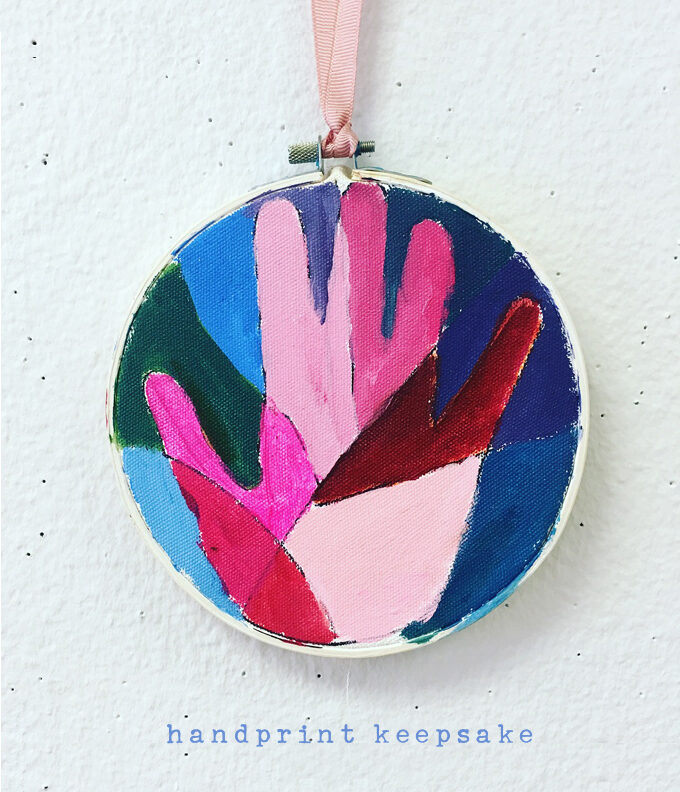
Do you remember these handprint keepsakes that I posted on my 100 Days of Art Bar Instagram account last year? Well lucky us, because today we are going to find out exactly how they were made! Cara Franke from The Arterie art studio is here to share all of her wisdom and tell us how she inspired…
Sculpture with Kids: Ugo Rondinone Artist Study (Part 2)
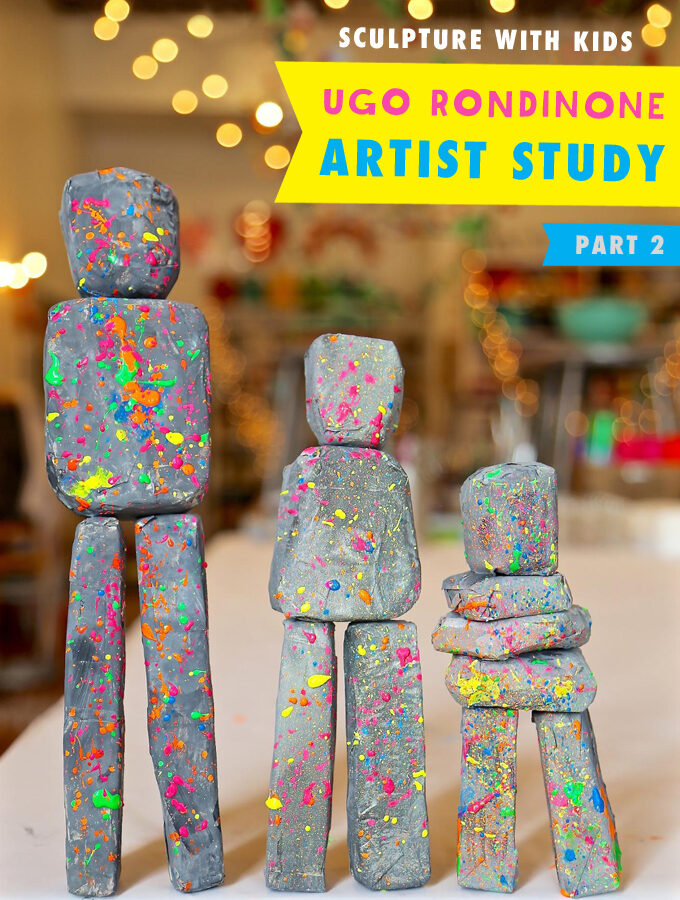
Ami from HANDMAKERY is back today to share Part 2 of her Sculpture with Kids: Ugo Rondinone Artist Study series! This time, she and her kids study Ugo’s Human Nature installation that was at Rockefeller Center in New York City in 2013. Using a similar technique to Part One, Ami explores paper mâché and magnets, along…
Sculpture with Kids: Ugo Rondinone Artist Study (Part 1)
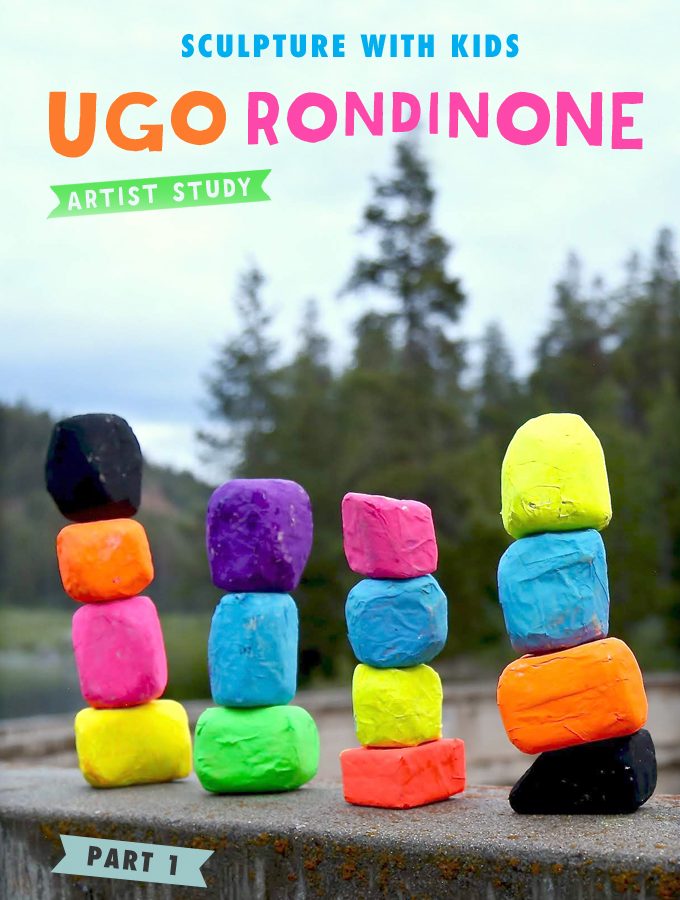
Today I have the pleasure of introducing you to one of my favorite people of all time. Ami from HANDMAKERY in Carbondale, Colorado is here to tell us about the amazing sculpture project she did with her kids, studying the work of Seven Magic Mountains artist Ugo Rondinone. Ami’s projects always blow. me. away. She…
Paper Pinwheel Photo Backdrop

I made this paper pinwheel photo backdrop for my friend’s 50th birthday party in May and I’ve been meaning to share it with you for months! I’ve been addicted to making pinwheels for years and years, and I really believe that they add happiness and joy to ANY occasion. I made this in pink because…
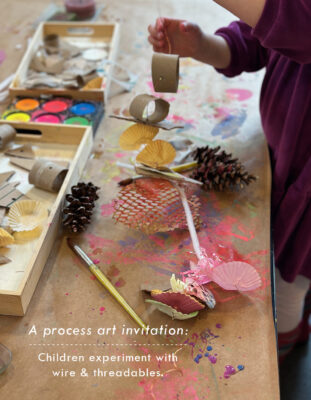
“Pinecone Forests” Invitation with Drip Painting
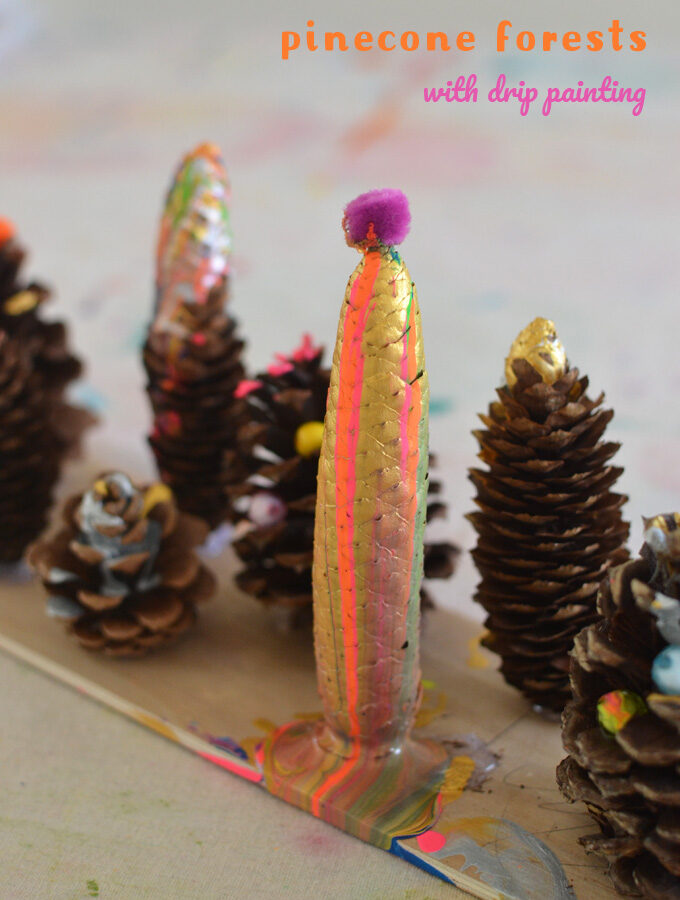
These “pinecone forests” were made with a drip painting technique that every child, no matter the age, loves!! The little ones get a really good hand workout, and the older ones take time to layer their colors and watch them blend. This painting invitation cost very little but has so much going on that it…
Yarn Star Ornaments
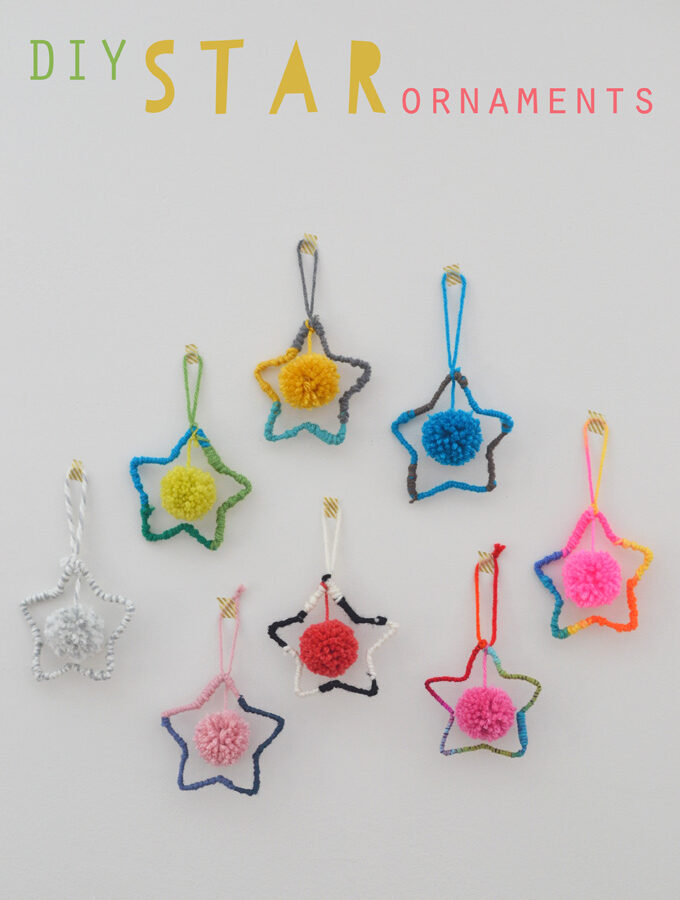
Today I want to share how we made these delightful DIY yarn star ornaments! I love this idea of wrapping pipe cleaners with yarn. It’s not only charming and pretty, but therapeutic. (And yes, everything is cuter with pom-poms!) [ I am a participant in the Amazon Services LLC Associates Program, an affiliate advertising program designed…