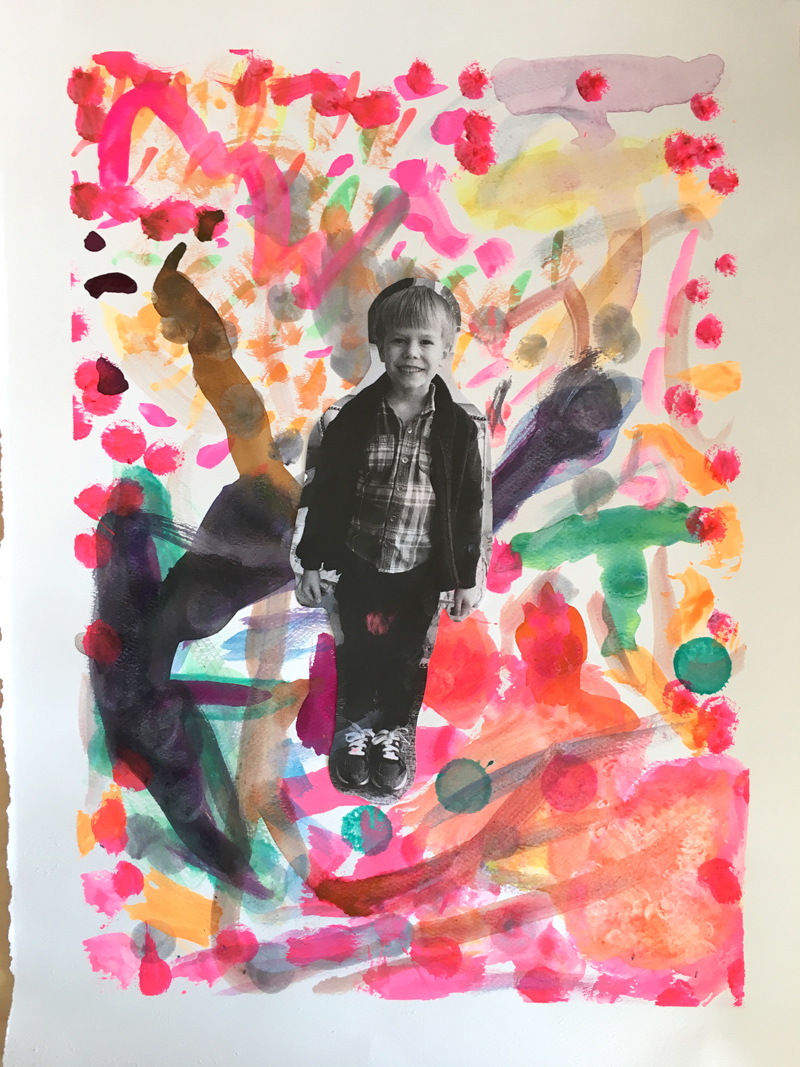
There are so many ways to approach self-portraits with children: observation, inspired by a particular artist, symbols of interests and activities, the list goes on. This time, I wanted to create an engaging, multi media self portrait that could be completed in just one session with my little artists.
{ This post was written by my lovely contributor, Shannon Merenstein of Hatch art studio. }
I wanted children to think about what their imagination looks like or feels like. What ideas look like. The materials list for this project is a little long, but that’s mostly because you can take this project in any direction, using such an array of different materials.
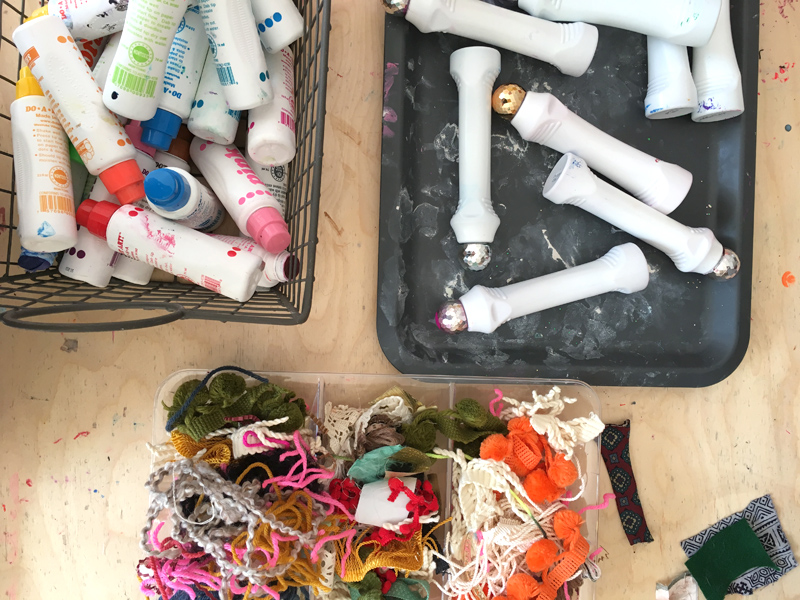
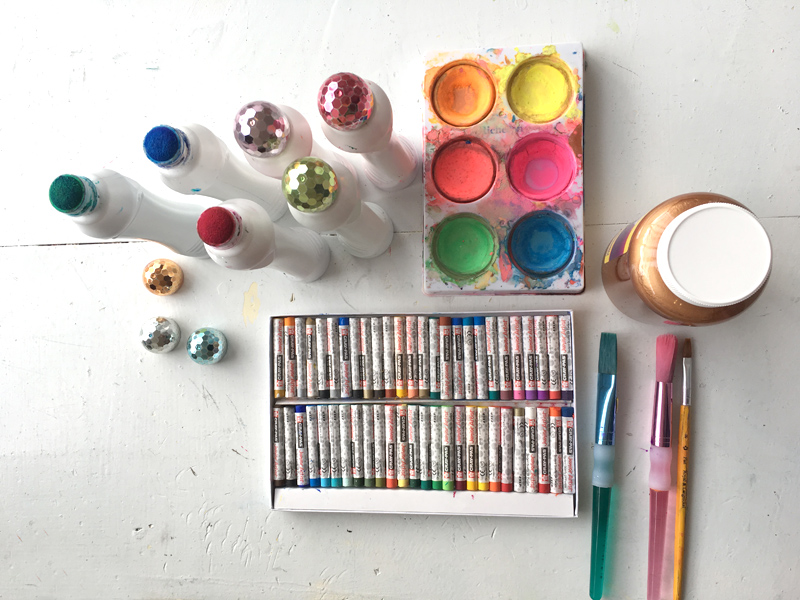
Before the list, I have to introduce you to my secret art class weapon.. your mind will be blown: actual bingo dotters. The washable kiddo dotters out there are just great, don’t get me wrong. But you’ve got to check these out! They are neon, opaque, and seriously have lasted almost an entire year.. that’s over 50 birthday parties, a summer of camp, and many, many toddler classes. It’s shocking how good they look on so many surfaces, and in so many applications. Highly recommend! P.S. they come with disco ball caps. I peeled the labels off of mine for aesthetic reasons. 🙂
This post contains affiliate links. Thank you for your support in this small way!
KIDS SELF PORTRAIT SUPPLY LIST:
~ Watercolor paper, cardboard, or card stock
~ Painter’s tape or masking tape (optional, we used it to make a border)
~ Black and white photo of your child (just printed from your printer onto regular paper)
~ Neon tempera cakes (or watercolors if this is what you have and don’t want to buy the neon cakes)
~ Brushes
~ Dot markers (if you already own these and don’t want to buy more)
~ Oil pastels or chalk pastels (offered but no one really touched)
~ Collage material
~ Glue stick or school glue
~ A brayer or roller (optional)
So back to this initial prompt (apologies for extra long disco ball dotter love letter)…
What does your imagination look like?
Well, all of ours look different and you’ll see that in these artworks. There’s no right or wrong way to approach this!
SELF-PORTRAIT ART PROMPT FOR KIDS: THE PROCESS:
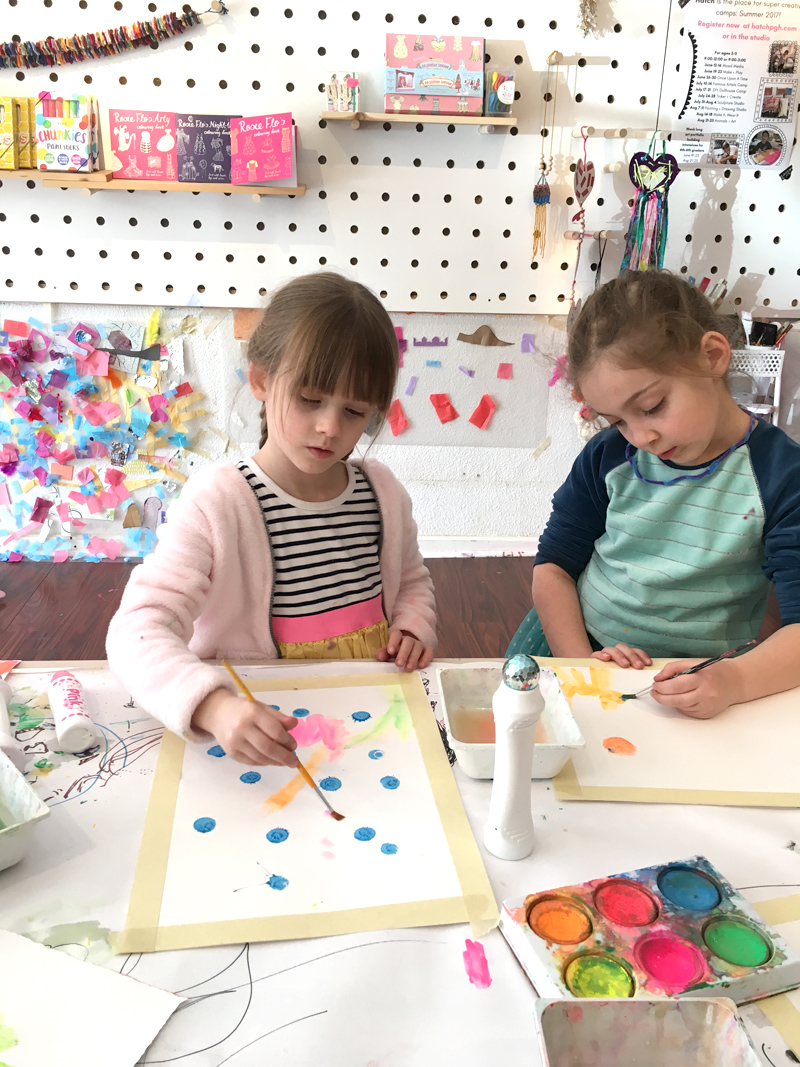
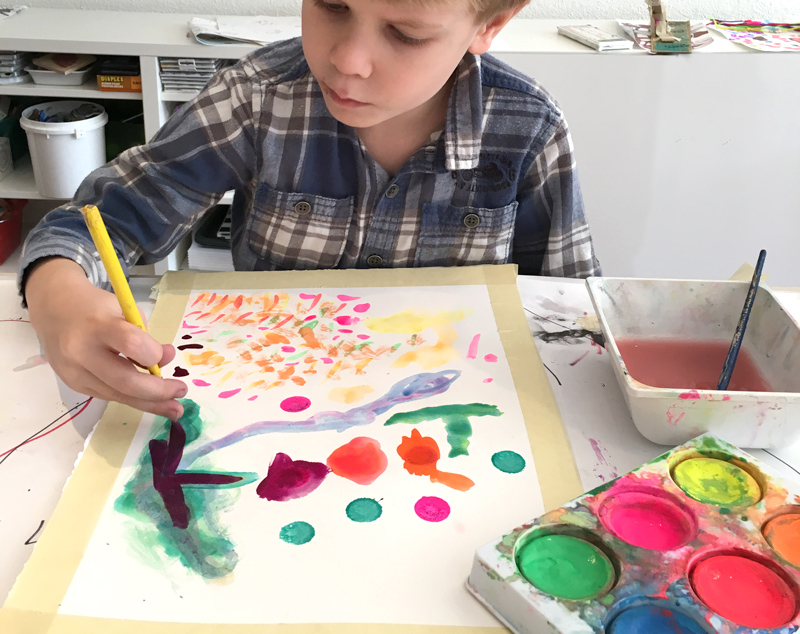
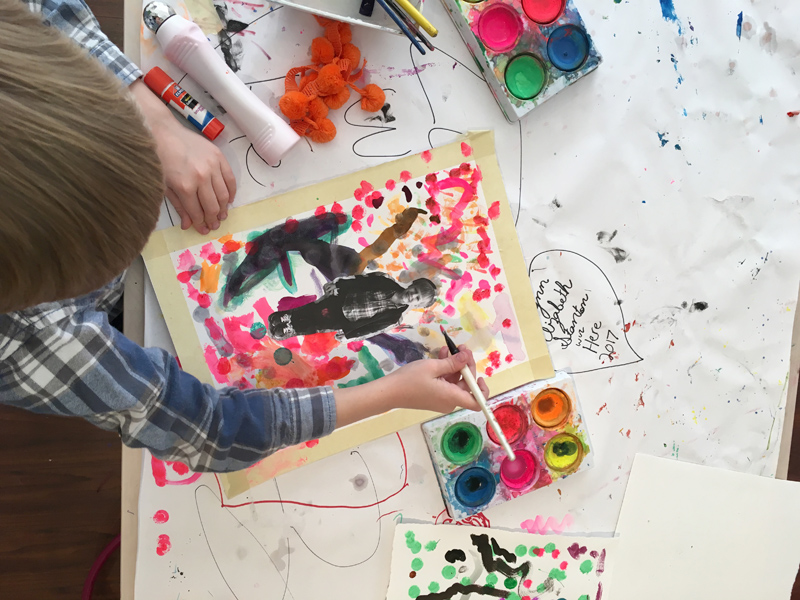
Earlier in the day, I had the children pose for a quick photo that I took on my phone and sent to our regular inkjet printer. I let them know we’d be jumping into our own artwork with these photos later. You could definitely also do this with magazine collage or another photo of your child. We started by taping a masking tape border so the artwork would really pop and feel “finished” no matter what technique the artists explored. Some children dotted, others began with paint, everyone immediately took their own path.
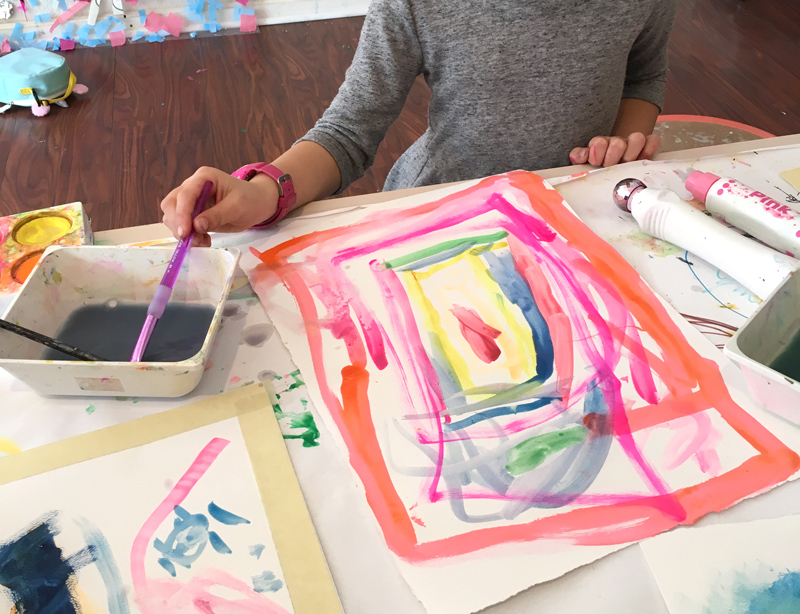
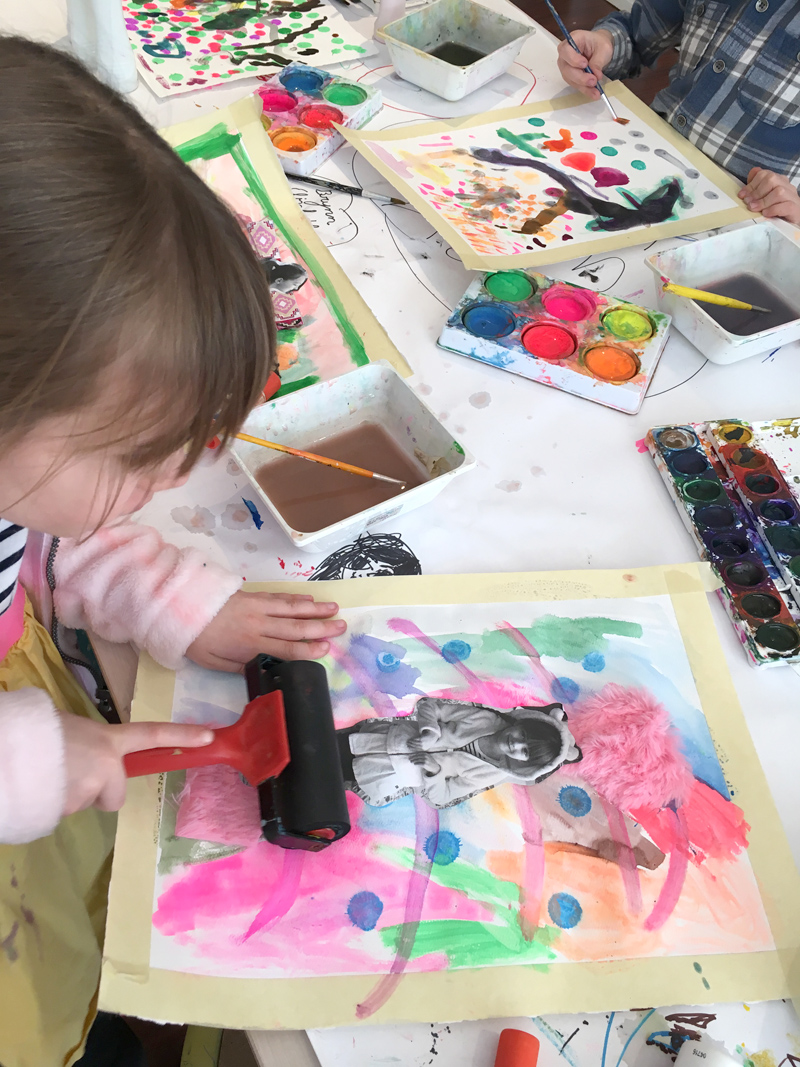
Each one truly started to feel representative of that child’s imagination. As the artists worked, we cut out their printed out black and white photos and we played around with where each photo “belonged” in the artwork. Lately, I’ve been into giving a kids a roller or brayer when doing collage or gluing like this. Not only is it fun to roll, but it gives everything an added nudge to stay stuck. After this step, some kids chose to continue to paint or dot around their photo, while others embellished with a little fabric and collage.
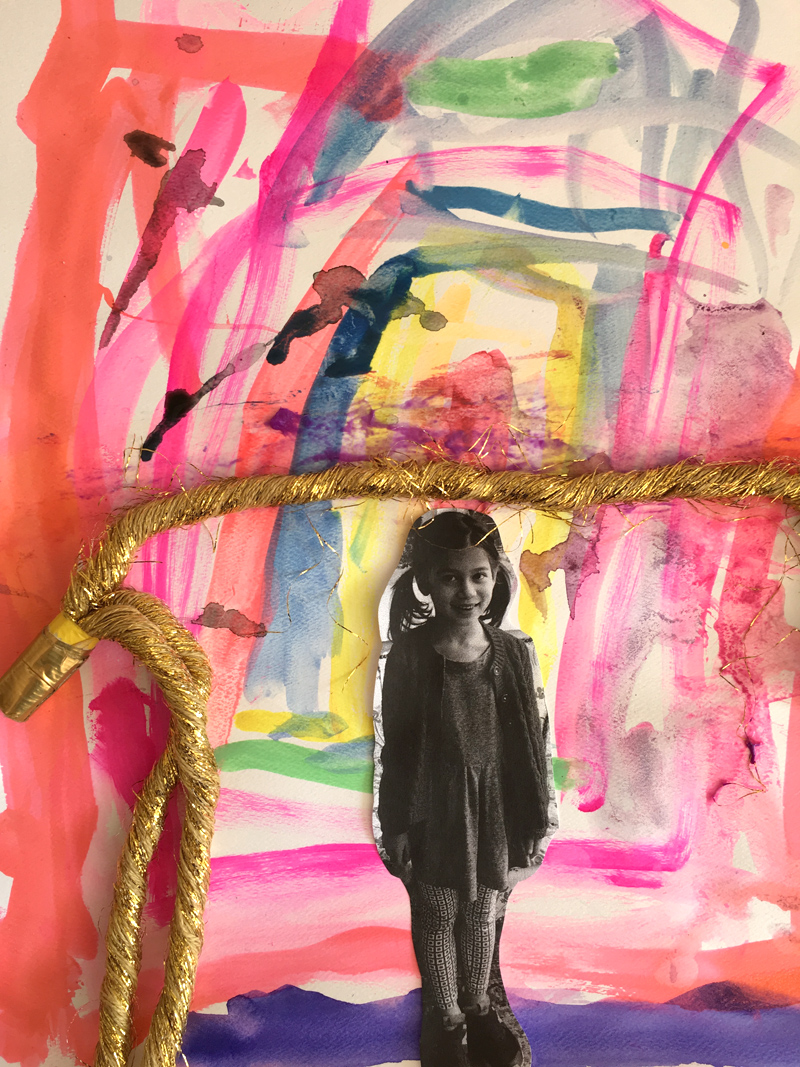
Explore with children what self-portraits reveal.
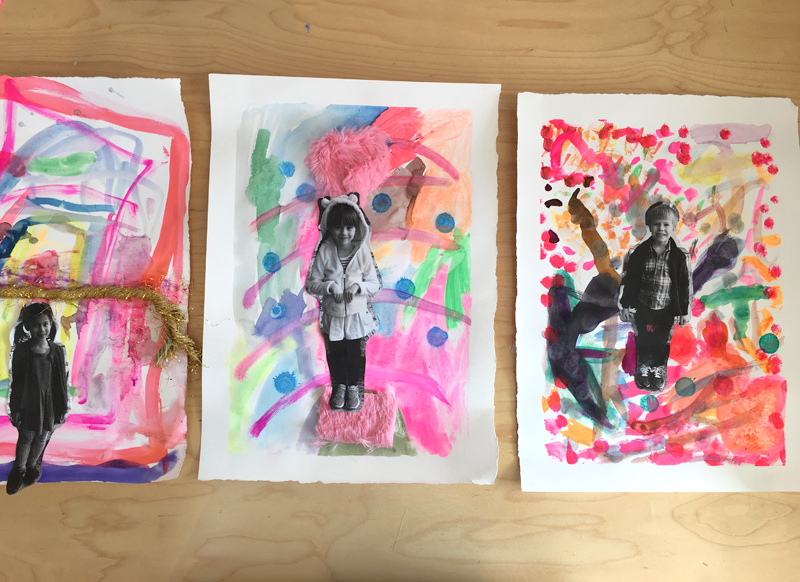
Besides a quick gluing and rolling demo, and some tape peeling, I was pretty hands off in this project and the kids were really in the zone, trying all sorts of brushstrokes and playing with the fun collage materials. I did challenge these guys to push their color to the edge of the tape, so the results would be a bit more dramatic.
QUESTIONS TO POSE TO YOUR CHILD FOR THIS ART PROMT:
~ If you close your eyes, what colors come to mind?
~ What lines, shapes, or colors represent your imagination?
~ What would it be like to be inside your artwork? What would it feel like?
~ If your imagination was a place, what would you see?
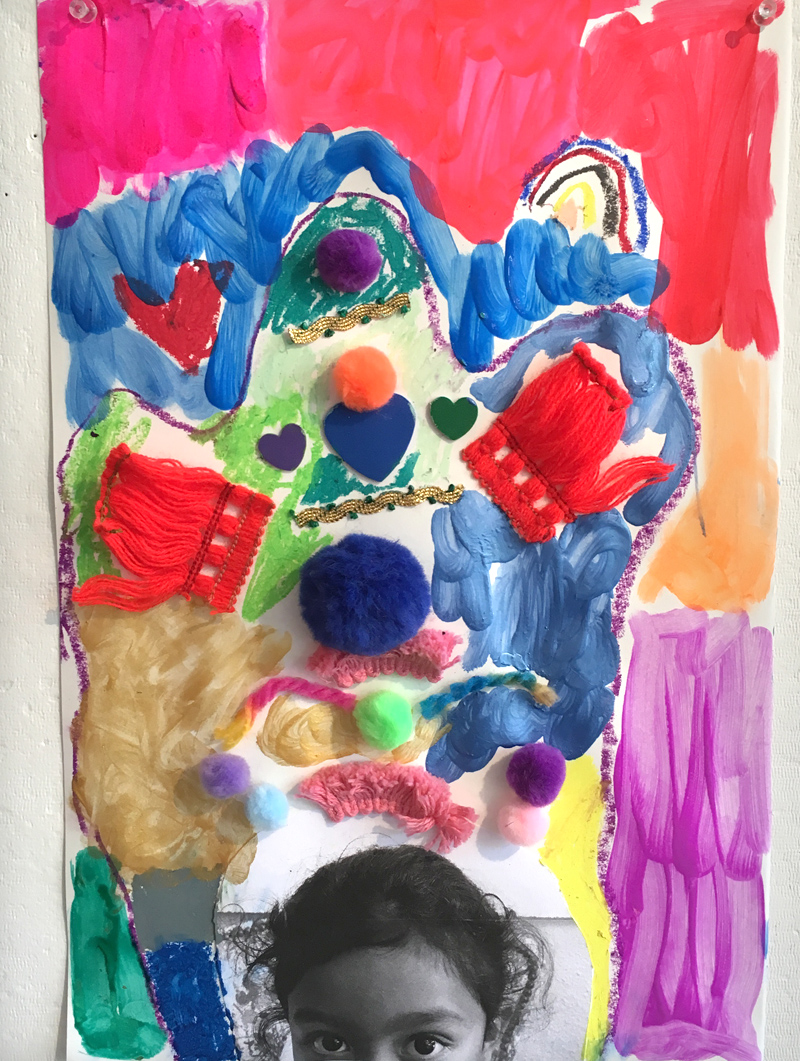
Do you want more art prompts? Read this post about starting an art journal.
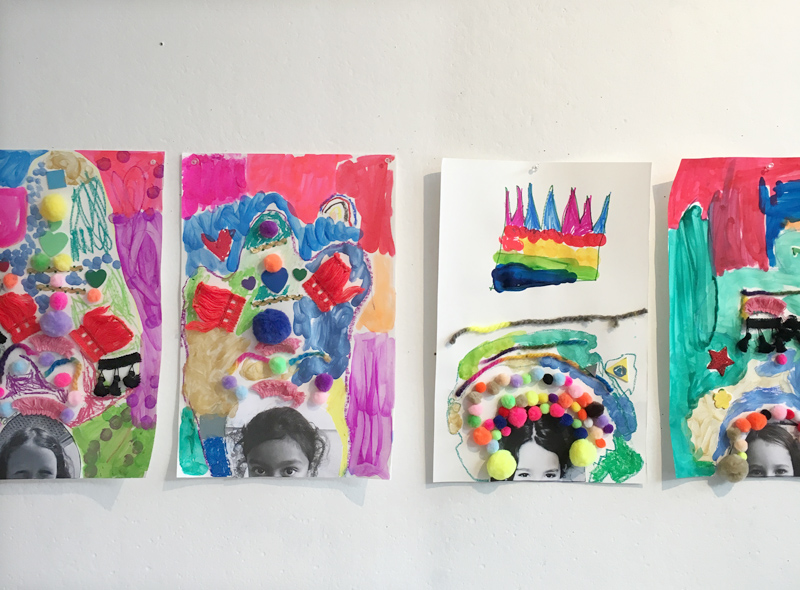
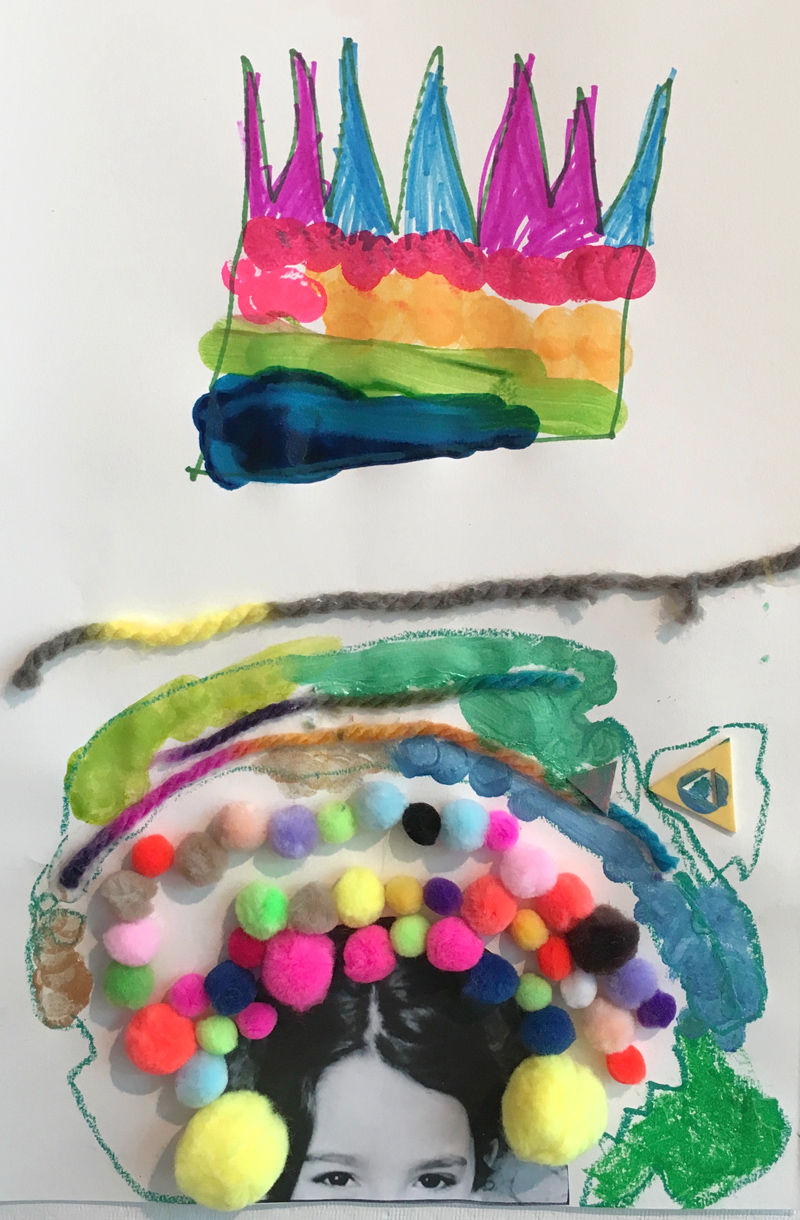
I tried something similar with another group last summer, I was inspired by a mixed media hat project by Small Fry Studio that included a closeup black and white photo, cropped like this. My students didn’t really latch onto the hat idea (as it happens), but they did love filling the space with imaginative doodles, little bits and bobs, and tons of color! This is what gave me the idea for the What’s Does Your Imagination Look Like? prompt.
I hope you’ll give this project a go. It was so much fun to chat with the artists and learn why they chose each color and brushstroke to represent their imaginations. I have a feeling these will be great conversation starters at home too.
xo, Shannon
– – – – – – – – – – – – – – – – – – –
A little about Shannon:
Shannon Merenstein is the owner, creative director, and lead educator at Hatch. She is endlessly inspired by the creativity, joy, and imagination of children. Shannon returned to the wonderful city of Pittsburgh after graduation from Pratt Institute, where she studied painting and art education. For the past 8 years, Shannon has been an art educator and instructional coach at the Environmental Charter School in Pittsburgh, all the while dreaming up and testing out new and creative art projects for her children. When she became a new mom last March, the inspiration for Hatch started to emerge. Looking for creativity-building experiences for her son, Graham, Shannon saw a need for a studio like Hatch in the city. When they stumbled upon a former gallery in Point Breeze, Shannon and her husband, Cole, envisioned a beautiful space to inspire and activate creative thinking! Part art-making studio, part community-gathering space, Hatch aspires to be a special place in Pittsburgh for people of all ages to explore, create, and imagine.
Follow Shannon on Facebook and her beautiful Instagram.
– – – – – – – – – – – – – – – – – – –


Hi Shannon, These self portraits are fabulous! I didn’t know there are neon tempera cakes.
I lead an art group for kids at a a homeless shelter and can’t wait to try this. Thank you!
HI Shannon! I love this project. How long did this project last? Was it a 45 minute project or did it last several periods? Thanks so much!
hi Elise, the project last for one art period, so 45 minutes would be just the right amount of time! xx Bar