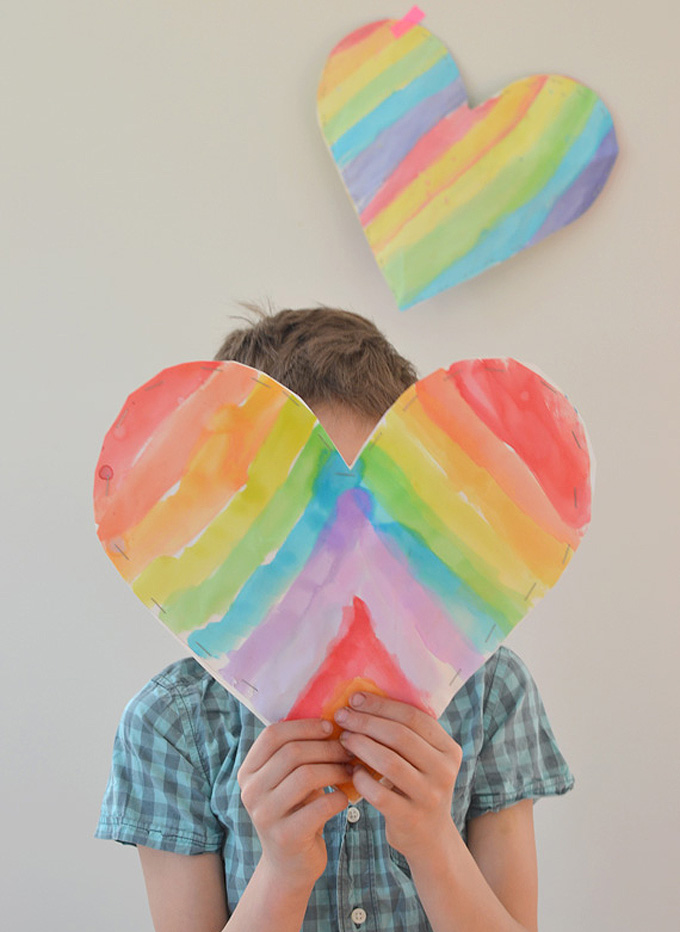
We looove making these little puffy “pillows” in art class. (We’ve made clouds and hearts before.) There are many steps involved, but that’s what makes it so exciting! The kids made these last week to use for holiday decoration. Some wanted to put them on top of their trees, and some wanted to hang them over their beds for sweet dreams.
This post contains affiliate links. Thank you for your support!
Here’s what you’ll need:
Supplies Needed for Puffy Stars
Brown paper (you can use a roll of craft paper, or a brown paper bag)
Star templates 1 – 2 – 3 – 4 (or freehand your own star, but remember to cut 2)
Stuffing (I just shredded some scrap paper and newspaper)
How to Make a Puffy Star
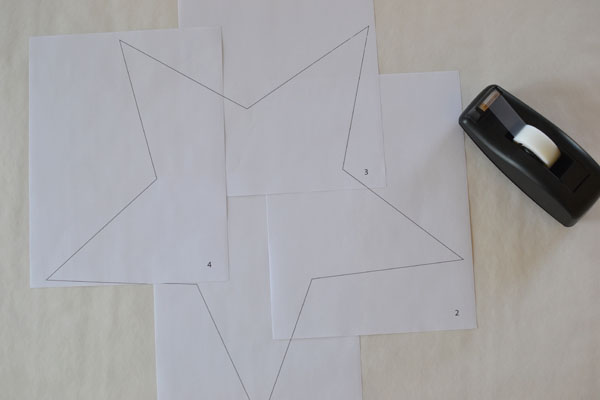
Step 1: Print out the 4 template sheets. Tape them together so they make one big star. Cut it out, then use it to trace the star onto the brown paper. Cut two.
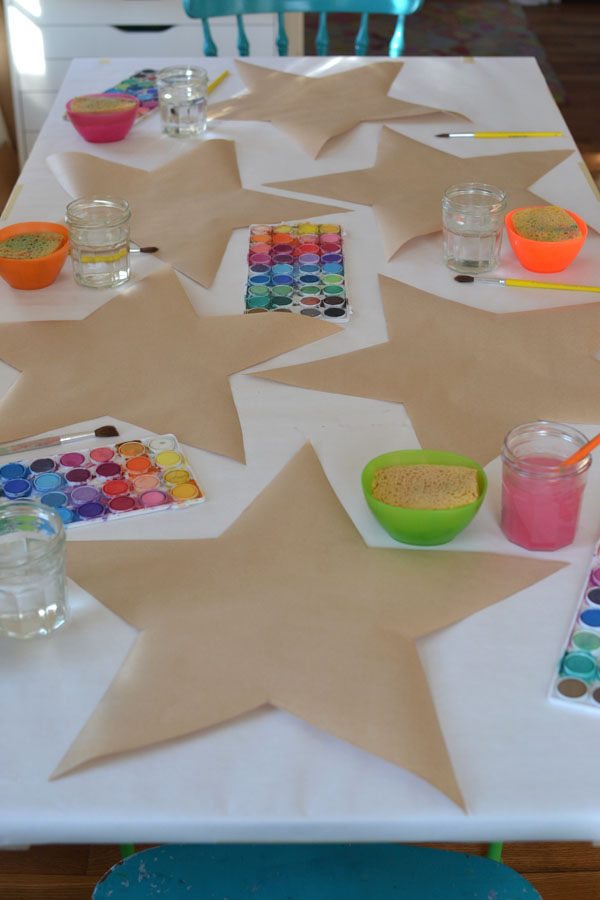
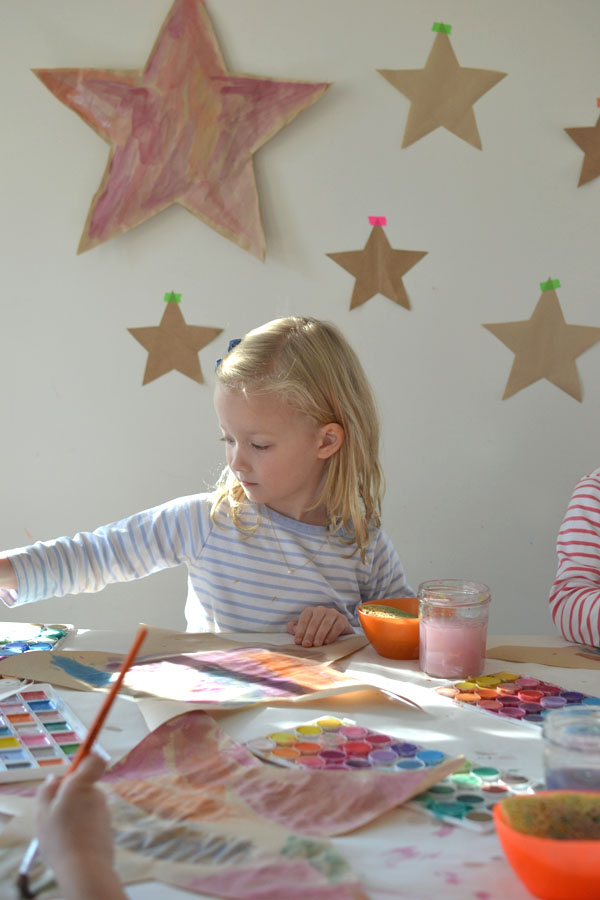
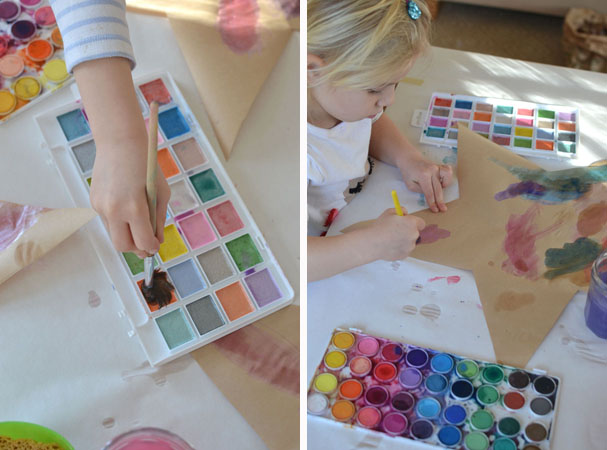
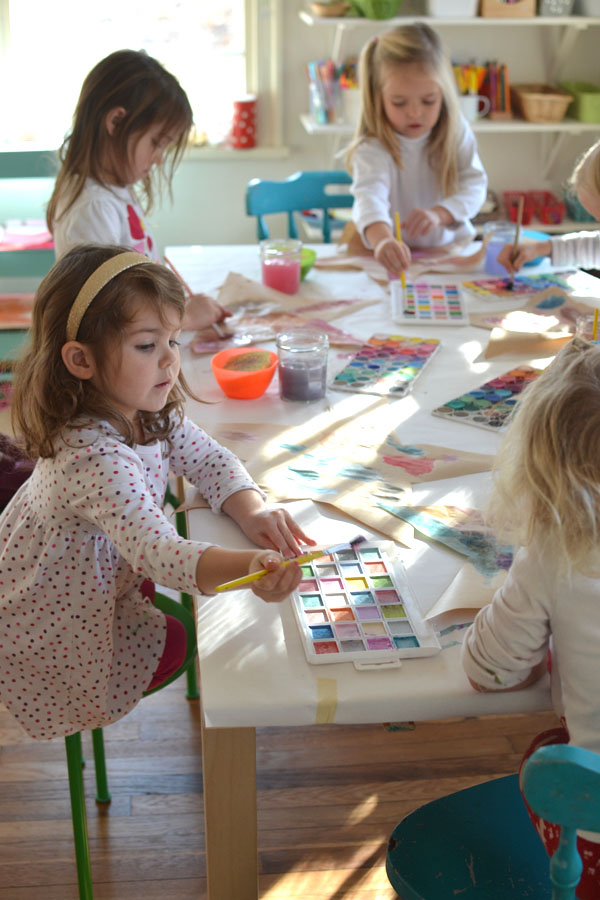
Step 2: Lay out one star and some watercolors. Let them paint all over it. If they want, they can paint the second star, too. Then you’ll have a reversible puffy star!
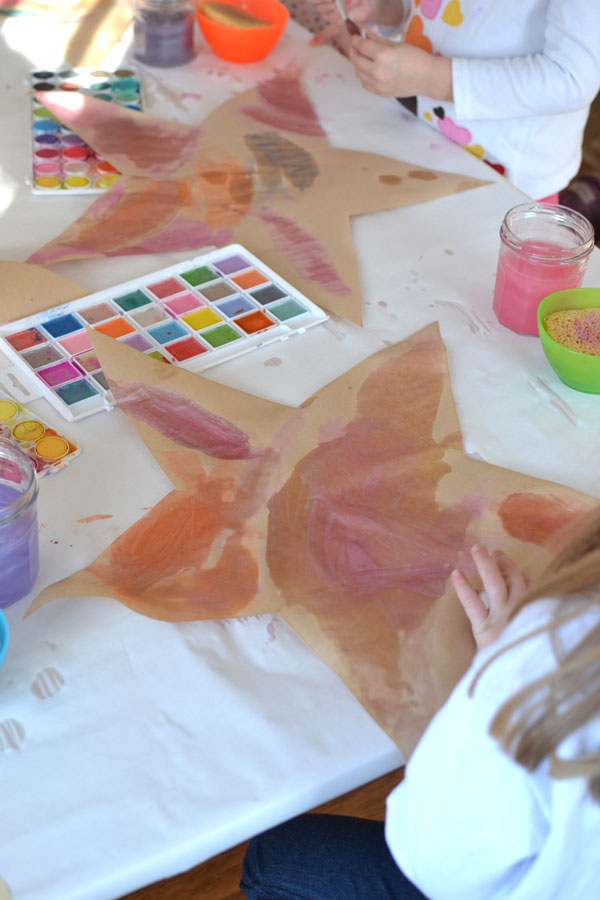
Step 3: Let the stars dry. I used a hairdryer to speed things up since I only had an hour from start to finish.
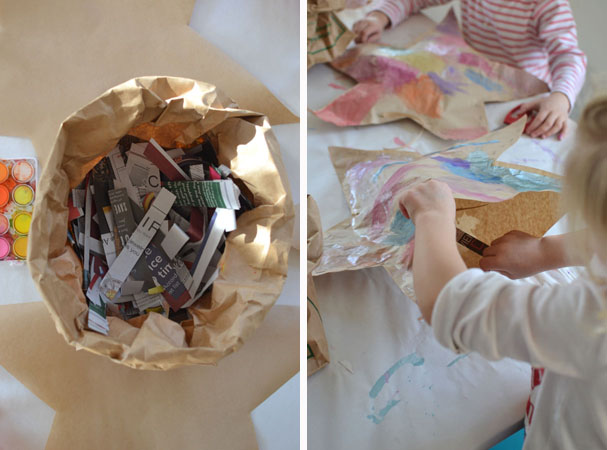
Step 4: Staple all but two sides together. Show the kids how to crumple and stuff the star in a delicate way. When they’ve finished, staple the last two sides together.
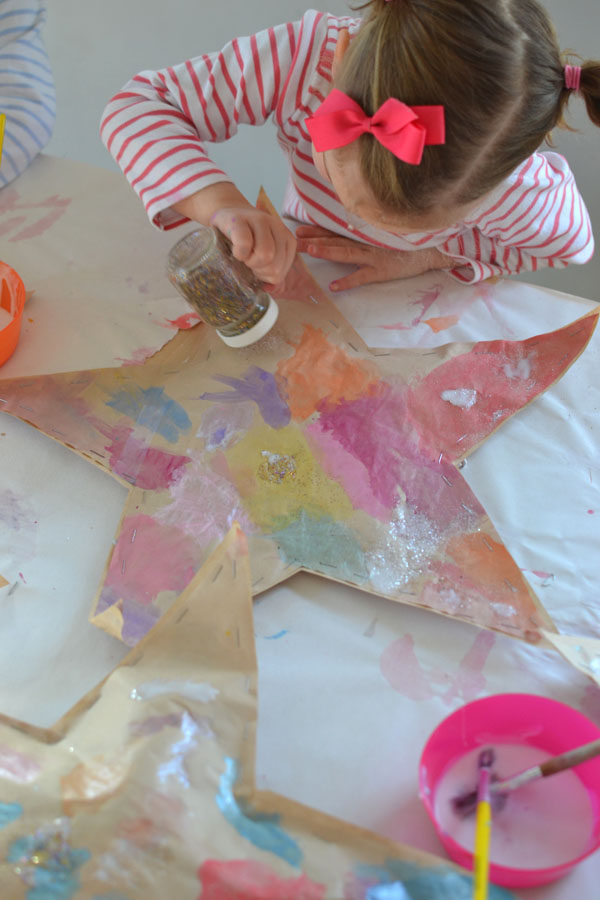

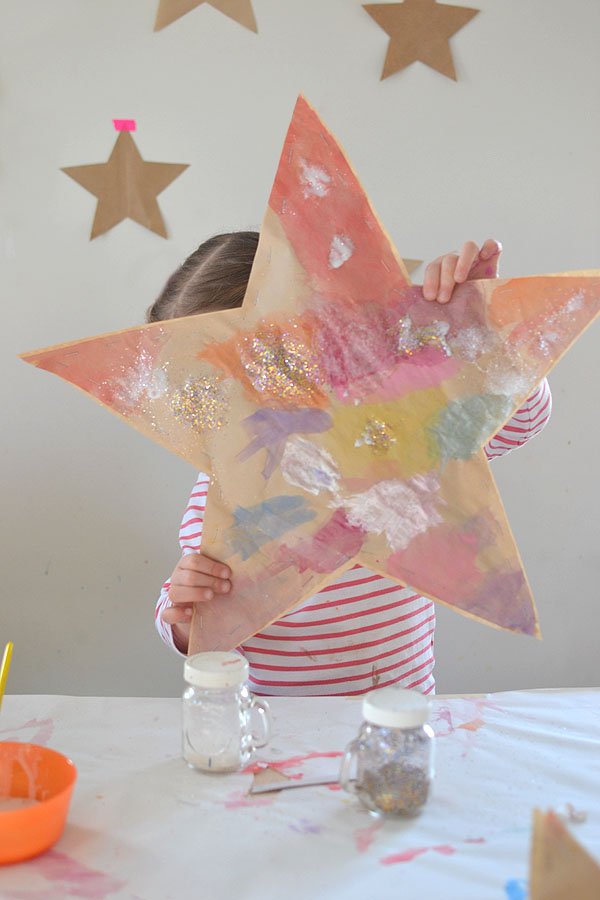
Step 5: Pour a little bit of glue in a bowl. Let the kids brush on glue with a paintbrush, then sprinkle a little glitter.
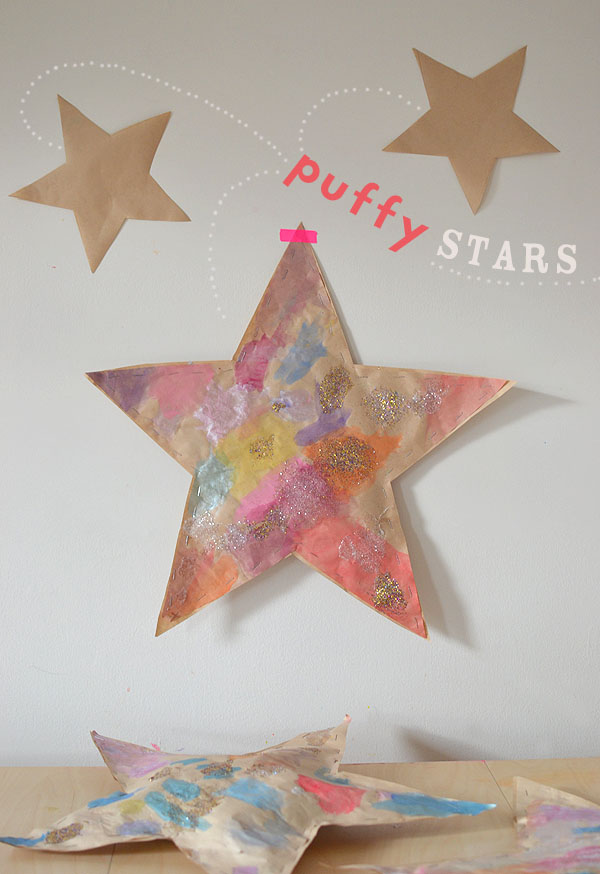
Voilà! Puffy stars are done. I decided to punch a hole at the top and put a piece of string through, but i did that after I photographed. This way they could hang it anywhere they pleased.
Enjoy this artsy craft…it’s a good one for a rainy or snowy day.
xo, Bar
– – – – – – – – – – – – – – – – – – –
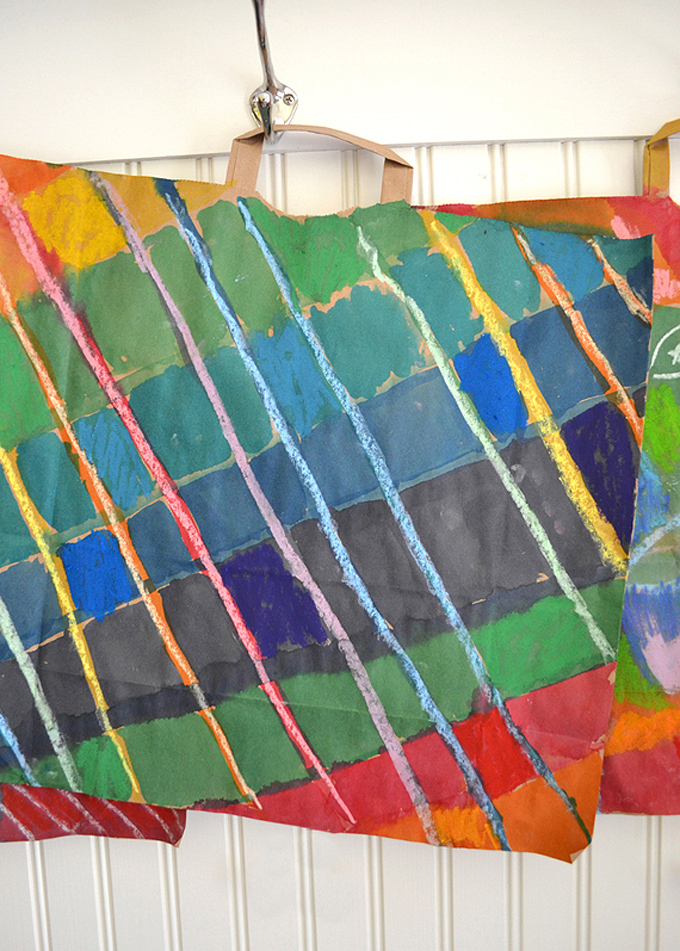
Did you like this post? Here are some more paper art ideas for kids:


I just said wow!!!!!!
I love your ideas!!!!
I cant wait to make the star with my little ones!!!!