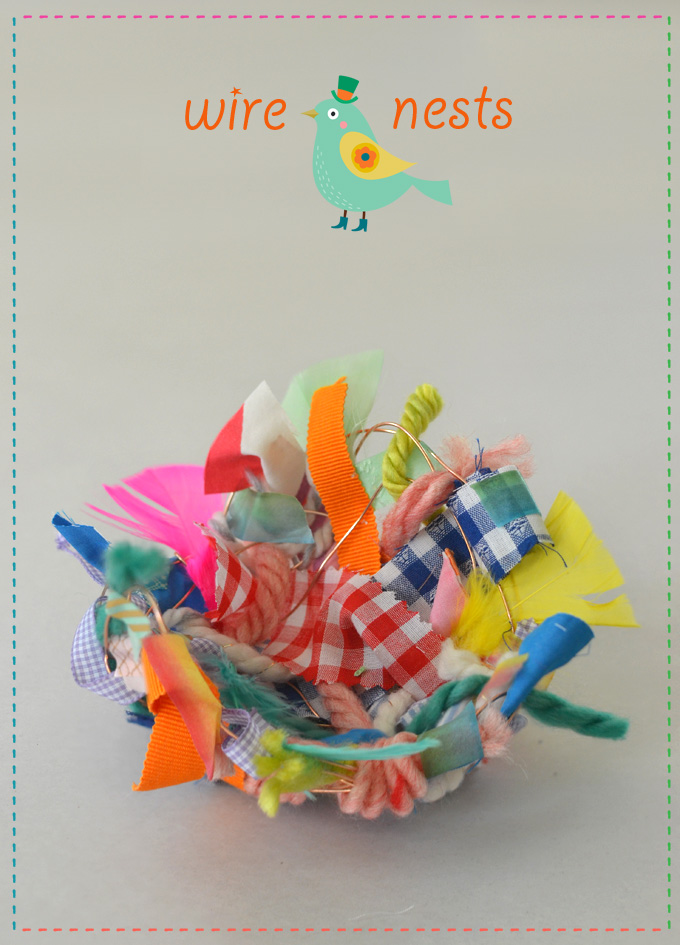
I had originally planned to set out these wire nests as an art invitation for my kindergarten class. I usually don’t try a project first because most of what I do it process art which is completely open-ended. But sometimes I do something closer to a craft so then I will try it out to see if it’s age appropriate. I am so glad I did! These nests were way too hard for kindergartners. The wire is very flexible and easily bends in all sorts of shapes. And threading the bits and bobs in and out takes some control and good fine motor skills. I decided to post about these anyway because I think they would be perfect for upper elementary and middle schoolers!
And as for the littles, this could certainly be a fun art prompt that doesn’t need to be nests! Just set out all of the parts and see what they can make on their own. Be sure to pre-cut the yarn.
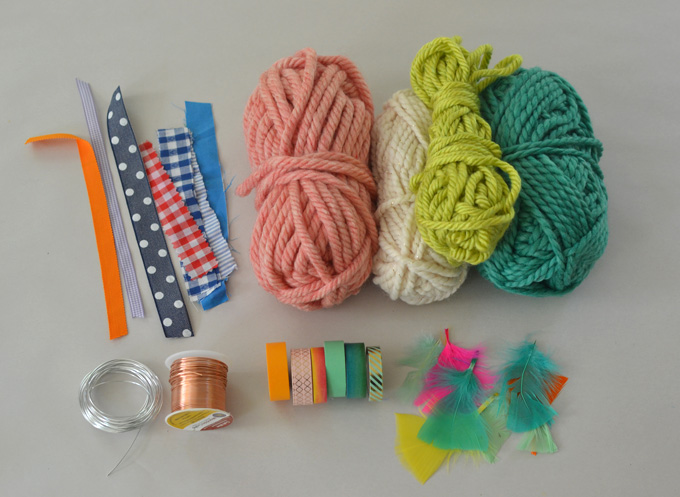
Supplies Needed for Wire Bird Nests:
~ Craft wire (I used 18 gauge copper)
~ Yarn
~ Ribbon (saved from packages)
~ Feathers
~ Scissors

Steps to make Wire Nests:
Step one: Bend wire into a nest shape. I plan to make a video soon, but until then… just twist and wrap and bend and see what you can come up with.
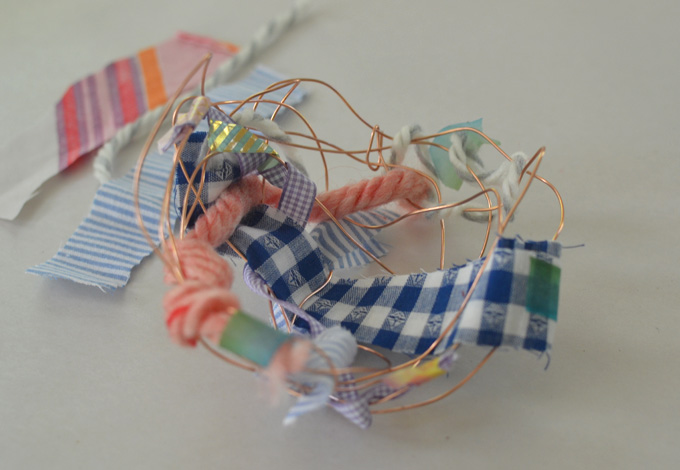
Step two: Weave the scraps through the wire, using the washi tape to secure pieces if they feel like they need it. Put the feathers in at the end.
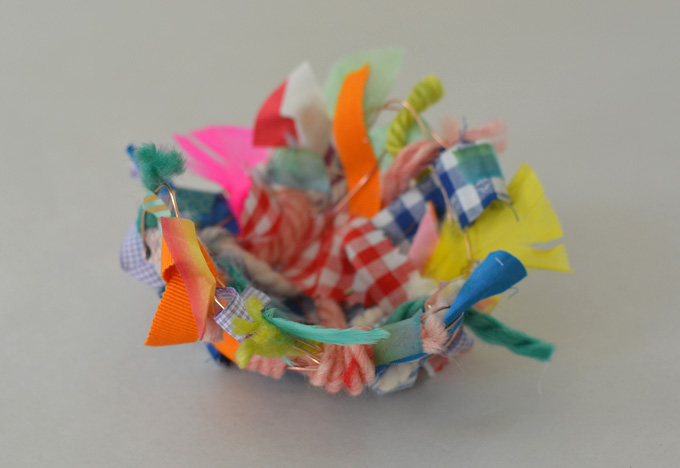
I absolutely love the way this nest turned out and I was thinking that it would be fun to make a BIG nest out of heavier wire and make it a collaborative project. The kids could even go outside and collect nature to add to the nest!
Lots of ideas still to come, I don’t feel like I’m finished exploring this whole concept.
xo Bar
– – – – – – – – – – – – – – – – – – – –
Did you like this post? Here are more Spring crafts for kids:


Cool project! How do you weave with the washi tape? Isn’t it too sticky? Thank you.
Hi Patricia, the washi tape is used to tape some of the pieces in place, not to weave with. I hope this helps! ~ Bar