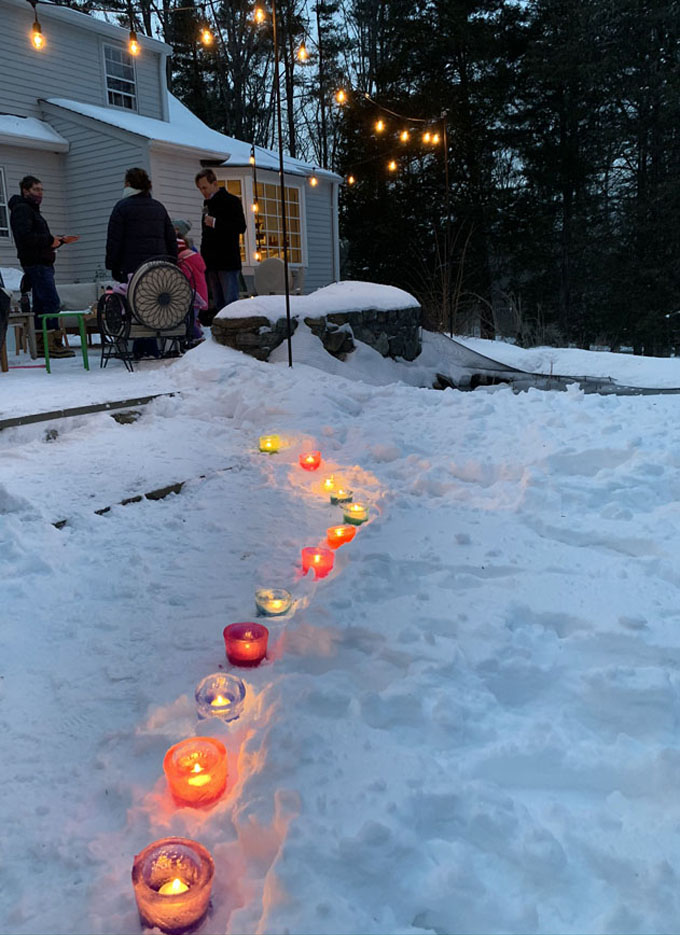
My daughter turned 21 this past Saturday. I remember a few years ago when she was calculating her next Saturday birthday, and when she realized it would be on her 21st, she did a little dance. Little did we know that COVID would come and ruin all her plans. So I wanted to make the day as special as possible. We had just had a snowfall, so we shoveled out our back patio, lit a fire in the fire pit, and created a little ski-lodgy COVID 21st birthday with close family. It was not her first choice, but it will for certain be one of her most memorable birthdays.
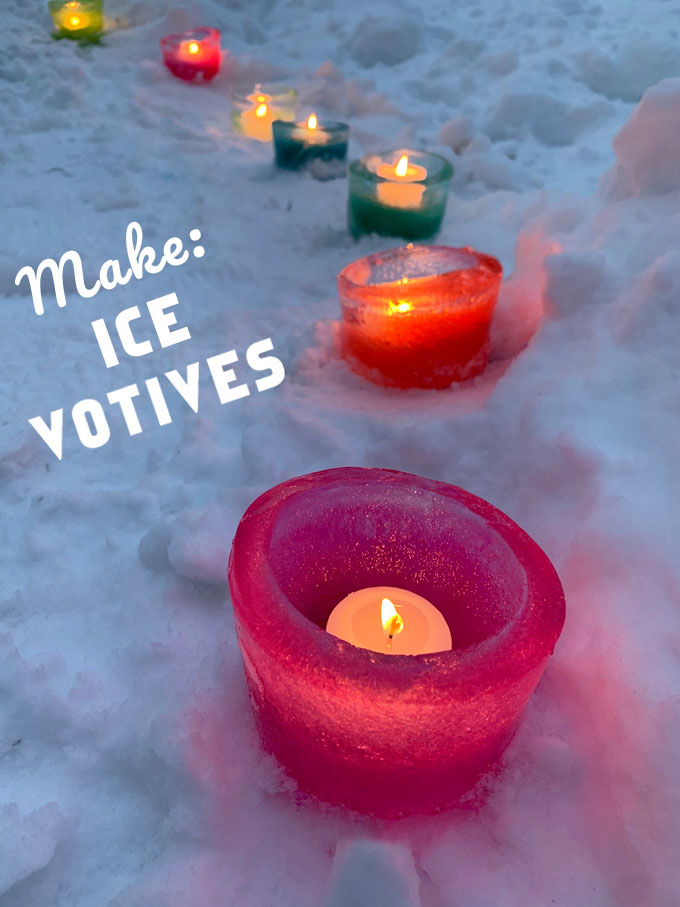
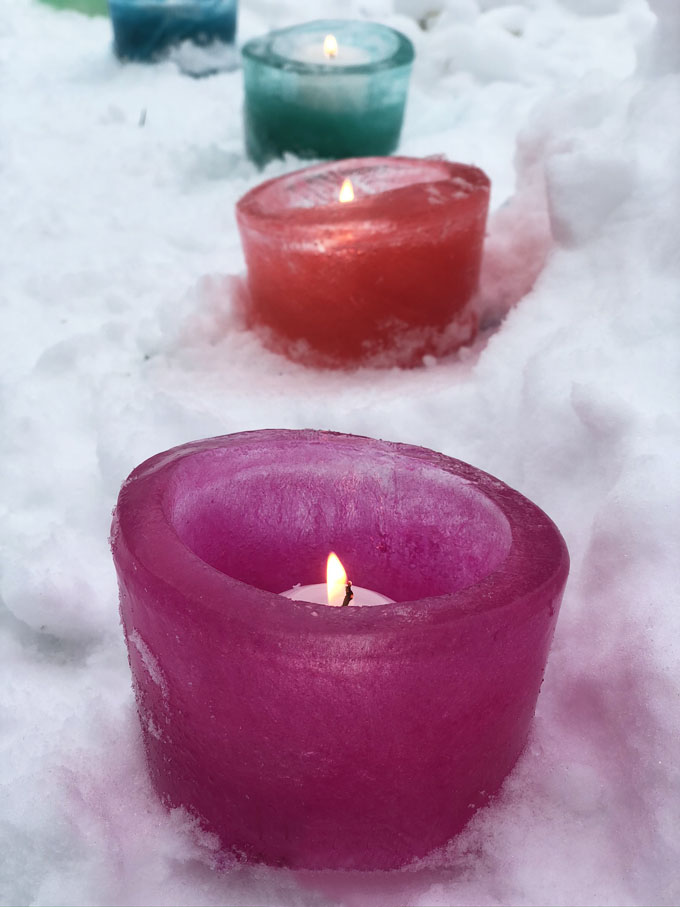
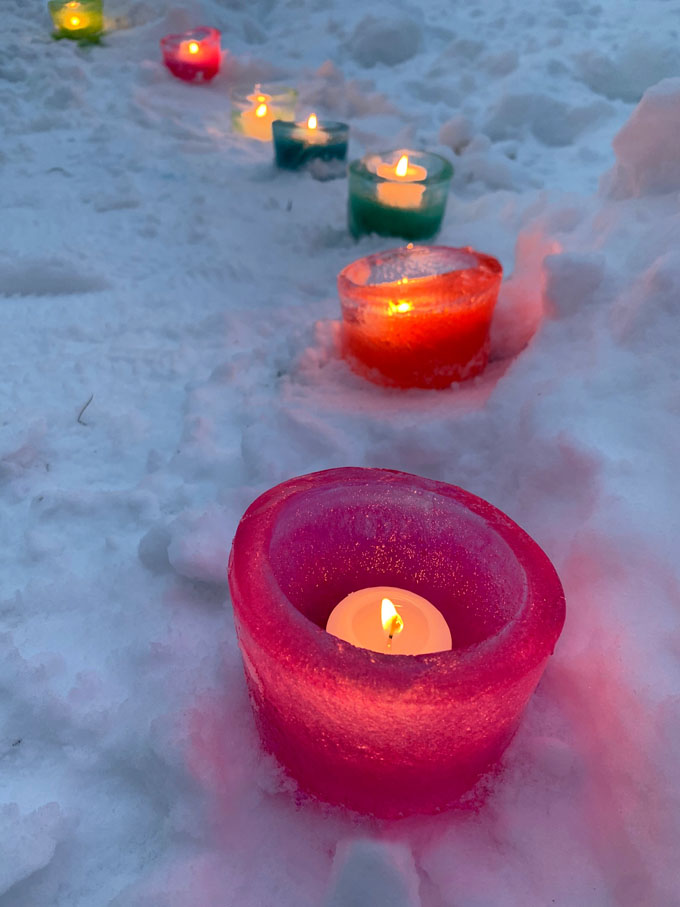
To make the day more special, I decided to make some colorful ice votives to line the walkway to our back patio. I quickly did a search on Pinterest and realized they would be super easy to make. I just needed to time it right. As long as I made them the night before, I would be in good shape. Luckily the temperature outside stayed below freezing all day so we actually enjoyed the votives for 12 hours!
[ I am a participant in affiliate programs designed to provide a means for bloggers to earn small fees at no cost to you by linking to Amazon.com and affiliated sites. ]
You can make these with any supplies that you have handy. I used deli containers and plastic cups. You just need two vessels that are two different sizes, to create a hole in the center.
Supplies to Make Ice Votives
~ 16oz deli containers (or any tupperware you have)
~ Cups or containers that are smaller in circumference than the tupperware – I used hard plastic party cups
~ Rocks to weigh down the inner cup
~ Liquid watercolor or food coloring
~ Votive candles (I used these and they burned for more than 12 hours)
How to Make Ice Votives
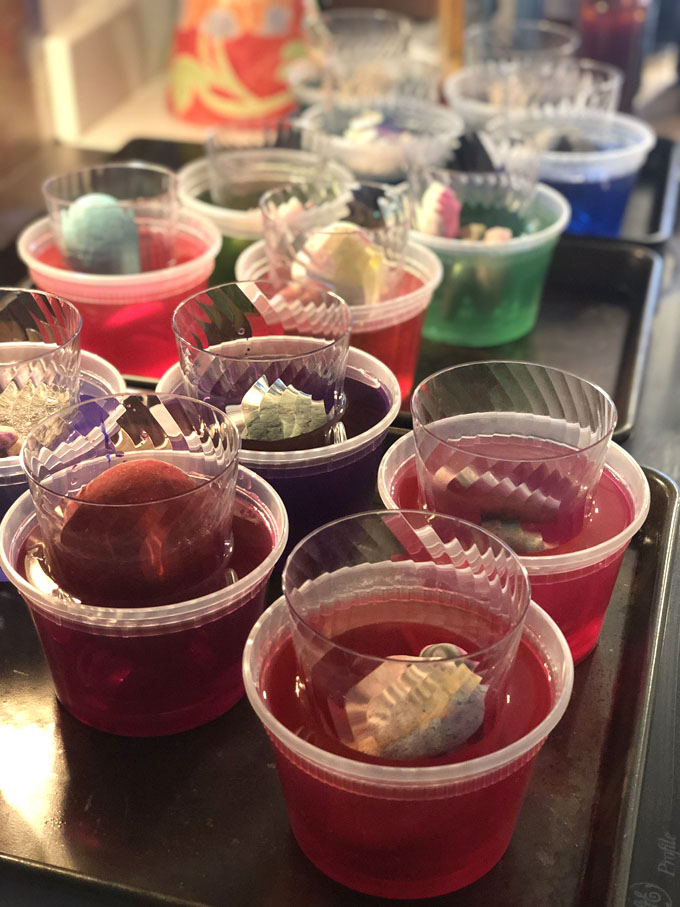
1. Fill your big containers up halfway with water and set them on some trays.
2. Put the smaller plastic cups in the center and weigh them down with some rocks & stones (my stones are colorful because they are leftover from painting them last summer).
3. Add some food coloring or liquid watercolor into each container and stir.
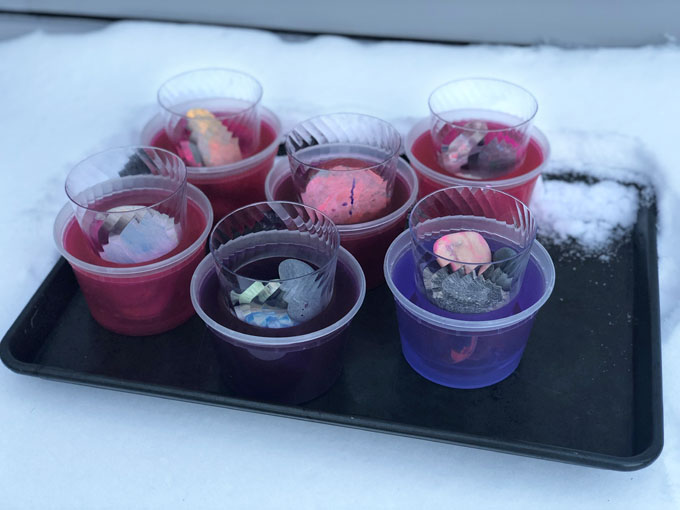
4. Set them outside to freeze. Make sure to find a really flat surface, and then adjust the inner cups so that they are centered.

5. The next day, bring the trays inside for about 20 minutes to let the ice melt slightly so you can take out the center cup and take the votives out of the containers.
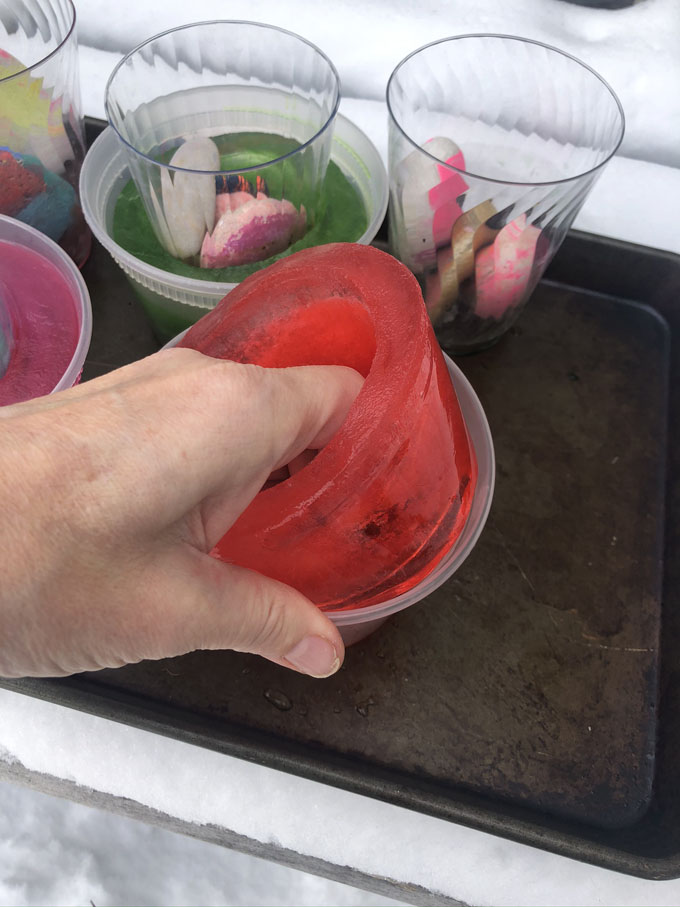
6. That’s it! Now you have gorgeous, colorful ice votives that you can use outside. There are actually bottoms to the votives, the ice does form underneath the cup slightly. But it’s ok if there isn’t because the candle can just sit on the snow. Either way, the effect is the same.

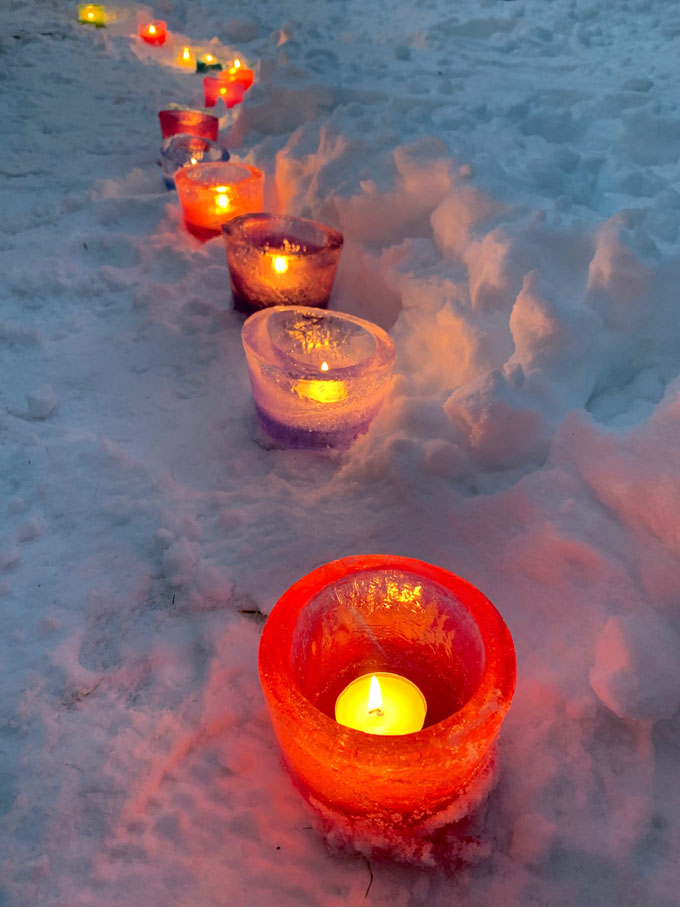
The votives never melted from the candles. In fact, three days later they are still outside, fully in tact. As long as it stays below freezing, you can keep using them!
My friend Gina who lives in Sweden has written more posts on ice lanterns and ice/snow projects than anyone I know! Check out her posts on her blog, Willowday.
xo, Bar
– – – – – – – – – – – – – – – – – – – –
Did you like this post? Here are some more winter crafts:


These are lovely…what a nice way to brighten up your daughter’s day!
Bar, It’s so special to e included in this special day. Sending hugs from Sweden! (and thank you xx)