Have you ever wanted to try embroidery and stitching with your kids? I have! I’ve always been drawn to textiles. In art school I was passionate about fabric design, and in my 20s I used to make children’s clothing and sell them to Barneys in NYC. With my passion for fabrics and yarns, it’s actually shocking that I’ve never tried this with my art students!
Thankfully, Shannon from Hatch Art Studio is back and she is going to show us how to do this creative and simple embroidery + stitching project with kids.
Here’s Shannon in her own words…
Are you looking for a cozy, not-so-messy, family-friendly project this winter? I’m all about the warm + wooly when it’s cold outside. So let’s dig out the yarn bin and get started!
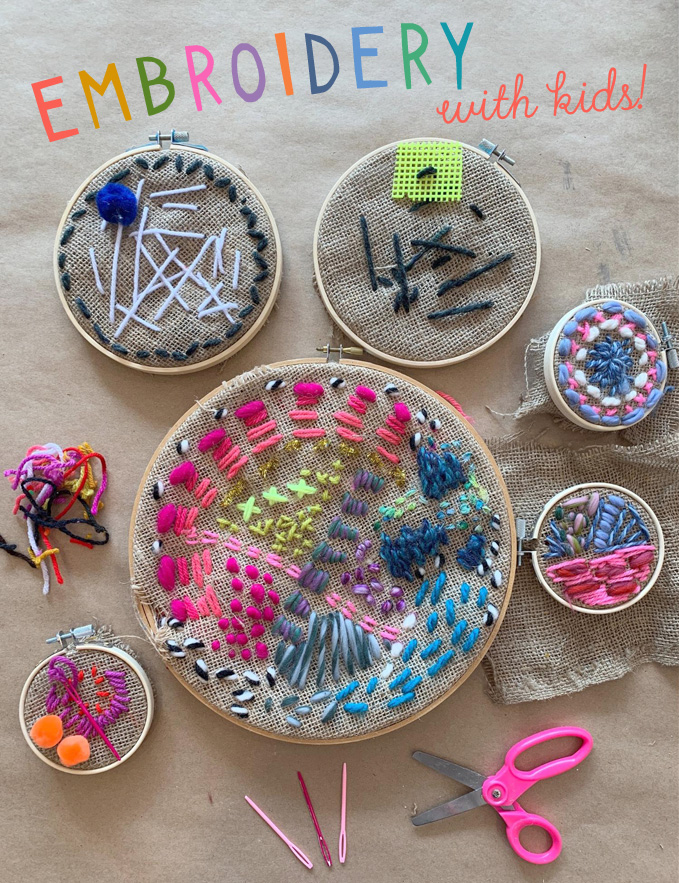
I call this invitation “Free Form Embroidery and Stitching”. There’s actually nothing new or especially innovative about this process. However, here’s the secret about this project (and skill in general)… there are about a bazillion ways to experiment with these simple materials and you and your children seriously can’t go wrong.
[ I am a participant in the Amazon Services LLC Associates Program, an affiliate advertising program designed to provide a means for us to earn small fees at no cost to you by linking to Amazon.com and affiliated sites. ]
Supplies needed for embroidery with kids:
~ Embroidery hoop of any size
~ Burlap fabric (before you go out to buy, check your craft closet.. I kind of want to bet you have a piece of it in there somewhere)
~ Plastic large-eye sewing needles
~ Various yarns (pipe cleaners + thin scraps of fabric work great too)
~ Beads (optional- but choose pony beads so you can thread the needle through)
Step by Step Guide to Embroidery with Kids:
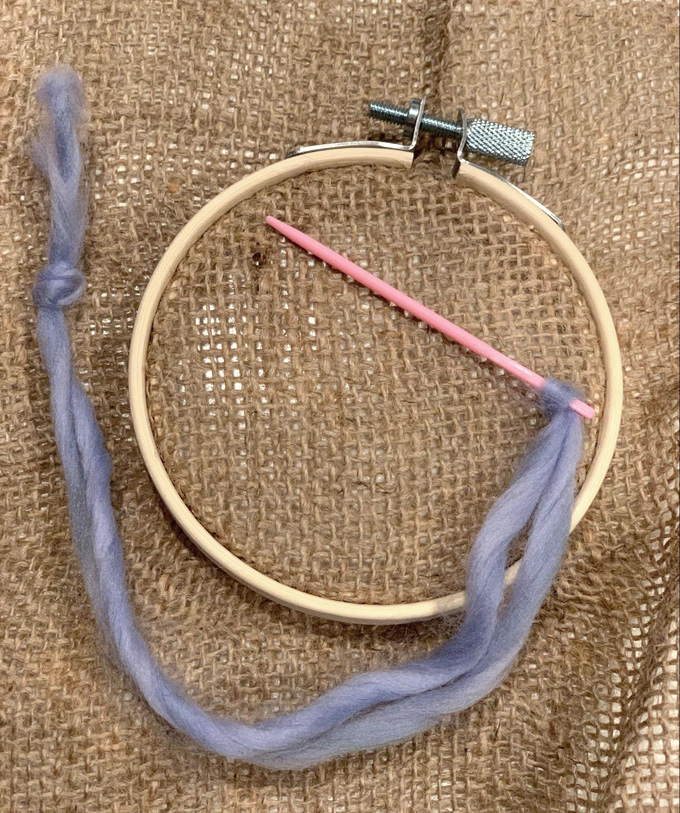
1. Pull apart the embroidery hoop and place your burlap inside. Screw it back together.
2. I actually like to trim the edges now so there are no “roadblocks” for younger children exploring this material. The tension and open weave of the burlap in the hoop will make this a frustration-free stitching experience!
3. Thread a plastic tapestry needle with a piece of yarn of your choice (I like to set out a variety of yarns in various thicknesses and texture).
4. For first timers, tie a nice big knot on the end so that it doesn’t pull through the open weave of the burlap with rough and heavy-handed stitchers.
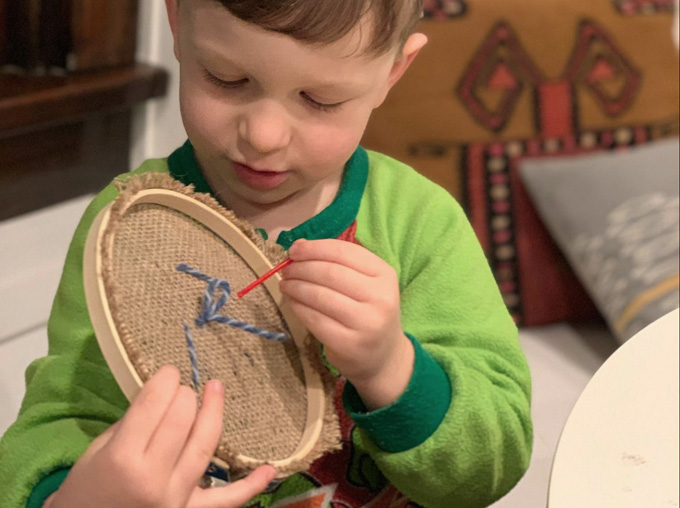
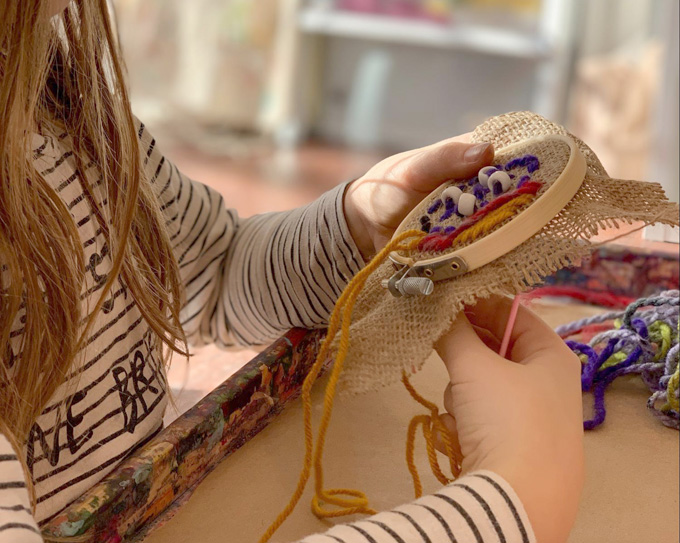
5. For young children, have them begin from the back of the hoop and poke and pull the needle through, then down again from the top. It may help to hold the hoop with them for the first couple of stitches.
At this age and stage, this is practically a mark making experience. Think of it like scribbling at this stage and let your child lead the way- no need to move them towards anything more structured than this.
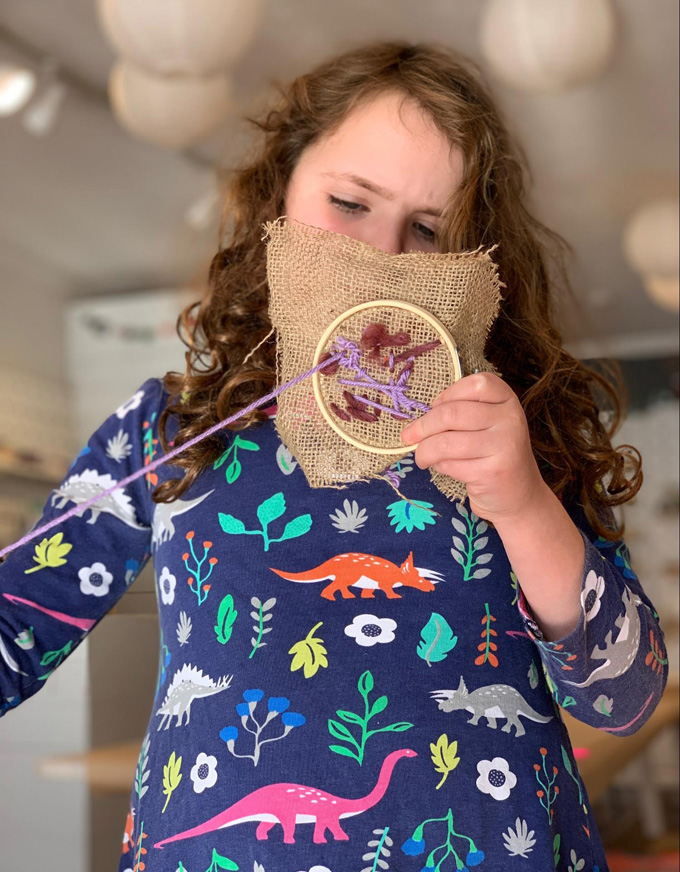
6. For slightly older kids, or those looking for more stitching fun- you could offer many stitching variations. As I mentioned before, a yarn with a different texture or thickness is going to offer a completely different experience, so try that next.
Note: I don’t worry about the back of this project too much- you can trim the pieces in the back and tape them down if you like (they’ve already been knotted, remember?)
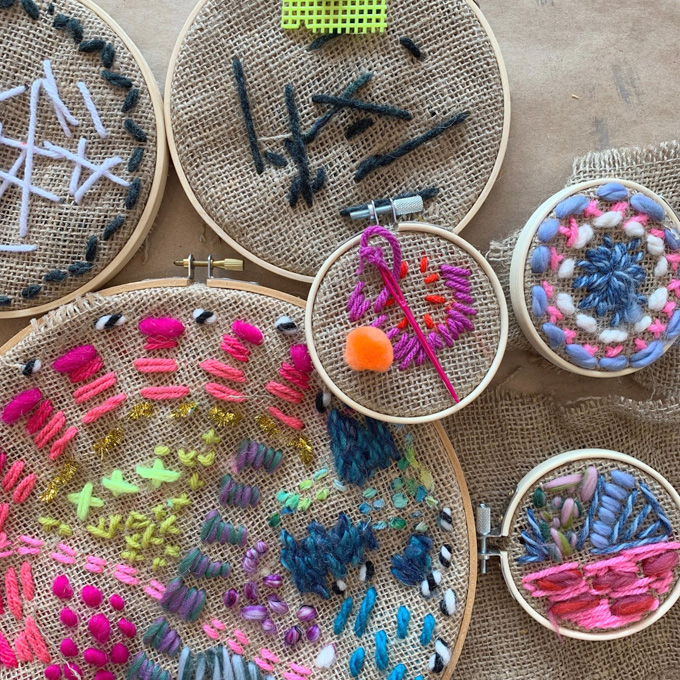
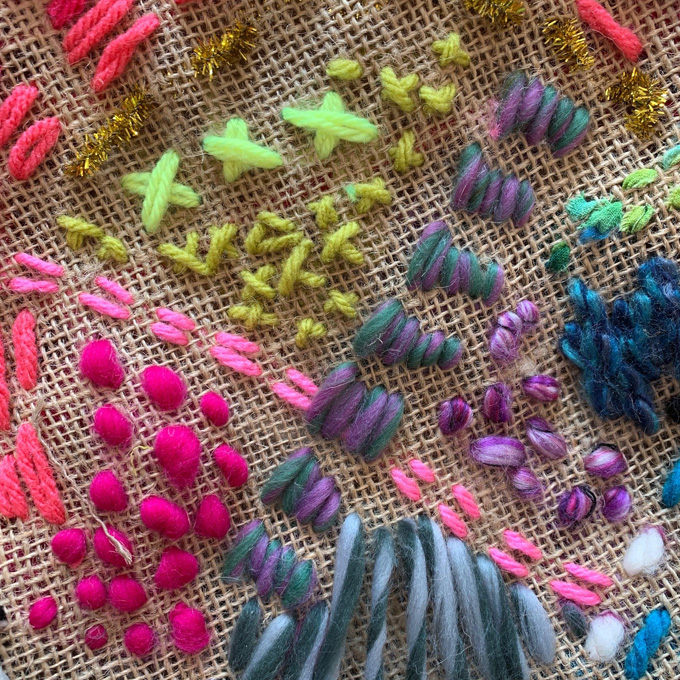
Here are some ideas for stitching variations:
~ Stitch length: move your needle in and out of various openings in the burlap to create longer and shorter stitches
~ Experiment with creating rows of stitches that are right next each other (to create a more solid shape) or further away to be able to see each stitch
~ Fold your yarn in half or thread 2 or 3 different colors together and experiment with stitching that way
~ Try stitching out and then coming back to the same spot to create a radial design like a flower or starburst
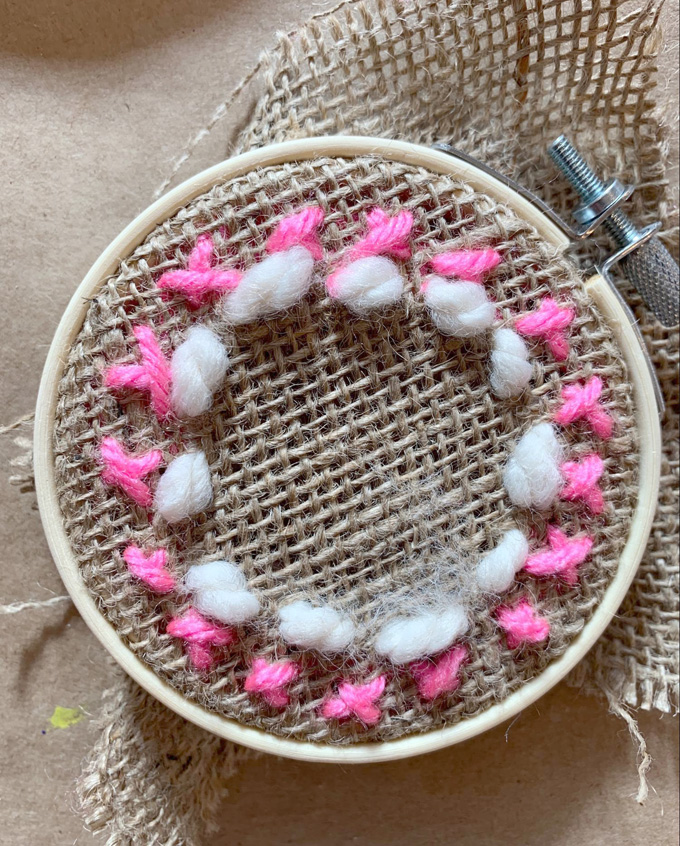
~ Short, random stitches kind of look like polka dots to me! (Go in and out in openings as close together as you like)
~ Stitch around those random stitches with another color to create a background (see pink and red piece)
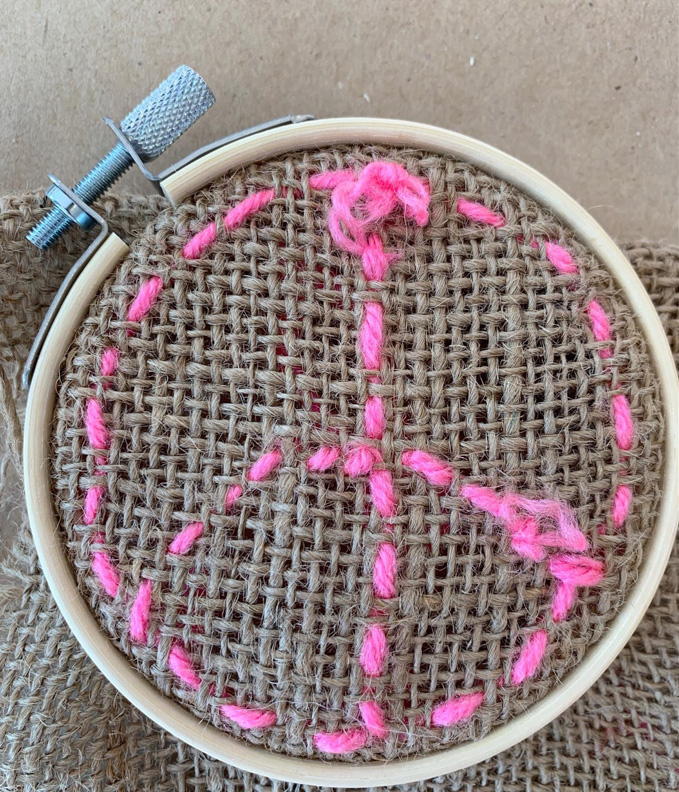
~ Make a series of Xs or crossing over your previous stitches with a new color
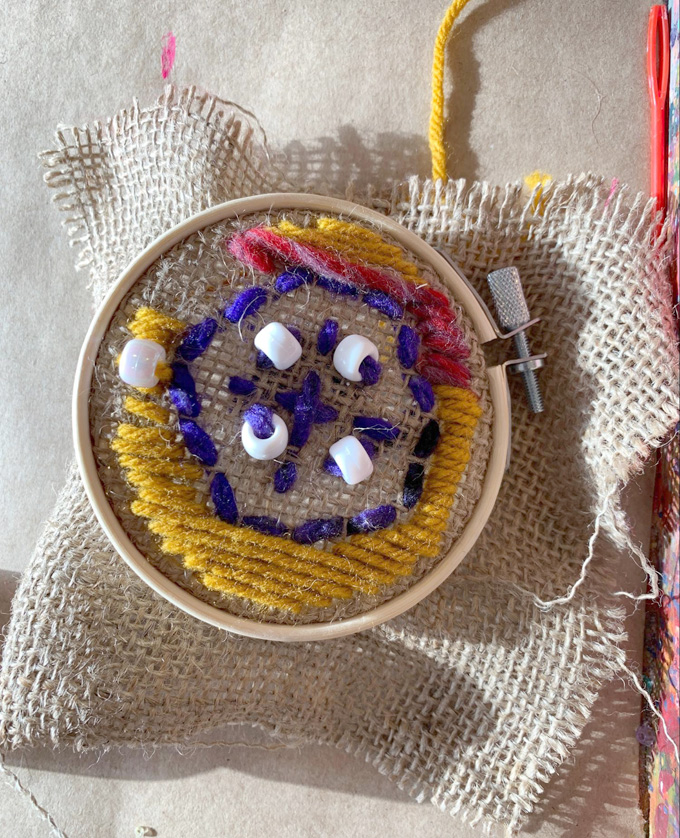
~ Use a metallic pipe cleaner or a thin strip of denim or other sturdy fabric to weave through
~ Create a design and transfer it to your burlap with chalk
~ Incorporate beads, plastic pieces, or pom poms (just thread onto your needle before completing a stitch
I’ve now played around with these materials with my 3 year old son Graham, a group of 1st and 2nd graders, and yes, I even made time to do a few (OK, a whole bunch) of stitches at home after everyone went to bed. It’s calming, meditative, and engaging which is exactly what we need to get through the freezing cold days of winter.
Hope this project finds a way into your home this winter!
XO, Shannon
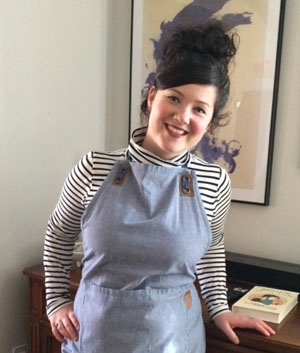
A little about Shannon:
Shannon Merenstein is the owner, creative director, and lead educator at Hatch. She is endlessly inspired by the creativity, joy, and imagination of children. Shannon returned to the wonderful city of Pittsburgh after graduation from Pratt Institute, where she studied painting and art education. For the past 8 years, Shannon has been an art educator and instructional coach at the Environmental Charter School in Pittsburgh, all the while dreaming up and testing out new and creative art projects for her children. When she became a new mom last March, the inspiration for Hatch started to emerge. Looking for creativity-building experiences for her son, Graham, Shannon saw a need for a studio like Hatch in the city. When they stumbled upon a former gallery in Point Breeze, Shannon and her husband, Cole, envisioned a beautiful space to inspire and activate creative thinking! Part art-making studio, part community-gathering space, Hatch aspires to be a special place in Pittsburgh for people of all ages to explore, create, and imagine.
Follow Shannon on Facebook and her beautiful Instagram.
– – – – – – – – – – – – – – – – – – – –
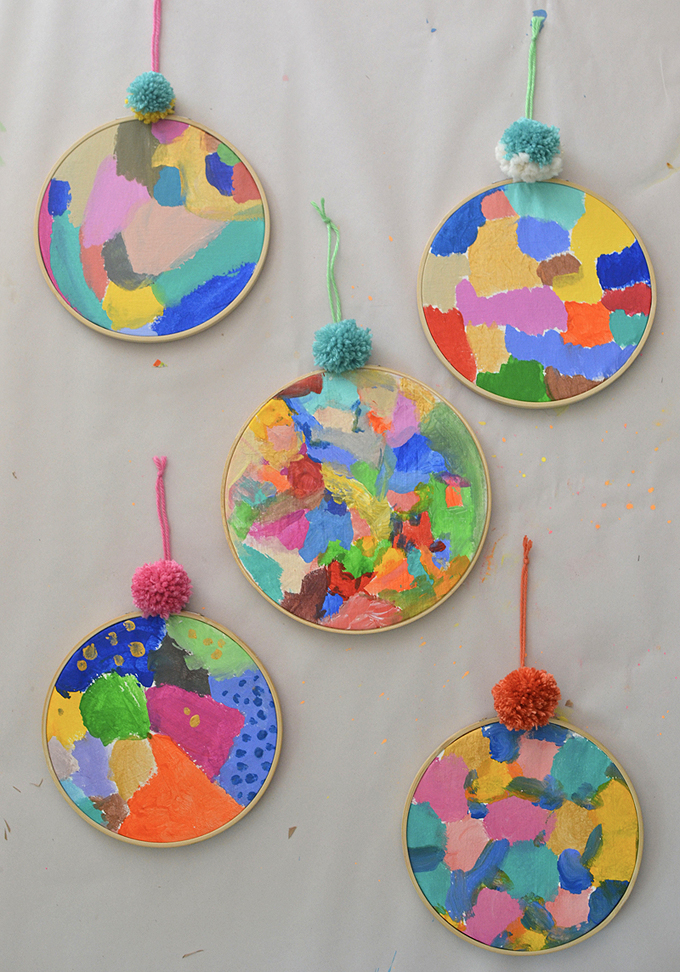
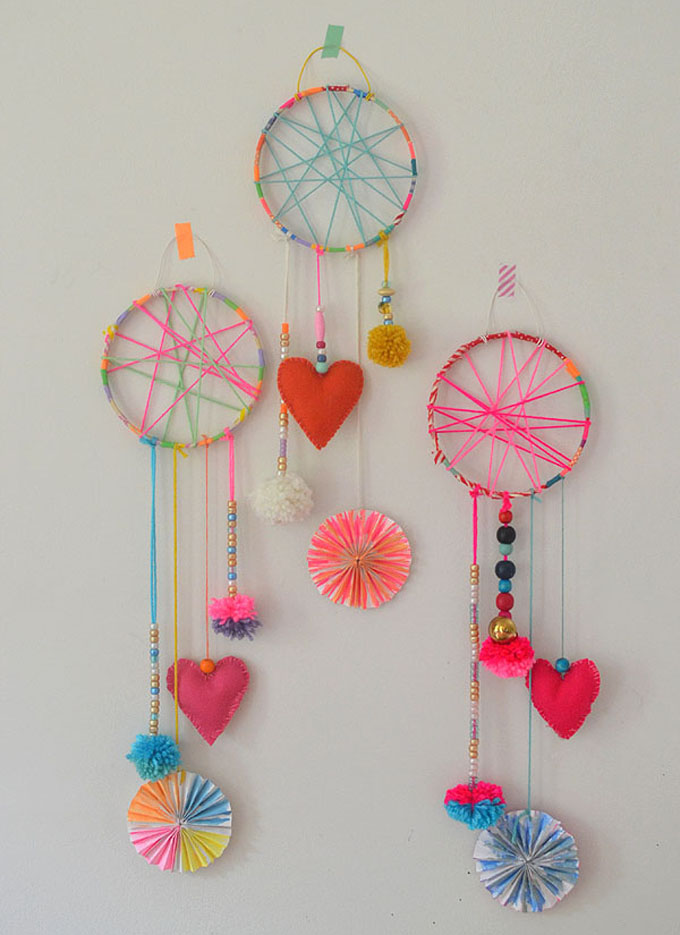
Did you like this project? Here are more ideas using hoops:


Oh my!!! So incredibly inspiring! The photographs and all the captivating colors are all so very beautiful! I love how this is stitching + sewing but just so experimental and fearless for ALL ages! Adding this to my bountiFUL bucket list of beautiful arts and crafts! Thank you for always sharing so much creative goodness! What a pleasure to see Hatch and ArtBar come together of goddesses of goodness galore!!! Much love! xo Ami
thank you Ami!! Shannon really is so clever and imaginative, I love ALL her ideas and I feel so lucky she could share this one with my readers! Adding to my bucket list, too! xx Bar
HOW CAN I PURCHASE A LONG SLEEVED ADULT SIZE ART BAR TEE SHIRT?
hi Deborah, sorry I don’t have any adult long-sleeved tees 🙁
Hi there! I love this idea so much! I’ve been wanting to get my kids learning to stitch and I was thinking of using mesh canvas, but I so prefer this! Have you found a certain size of embroidery hoops to fit best in little hands? My kids are 7, 5, and 4…and I may even let the 2 year old try. 😉
hi Lindsay! I would say the best hoop sizes would be anywhere from 4″ for the littlest so they can hold it well, to 6″ or so for the older kids. Not too big. Enjoy! xx Bar
These are adorable! Could you suggest a way to use them once they are completed? I think it’d be fun for my littles to give them as gifts but I’m not sure what you do in the end- Do you keep it in the embroidery ring? If removed, how would you keep the burlap from unraveling over time?
Thank you!
Hi Theresa, so you could take them off the hoops if you absolutely love the finished piece and want to frame it under glass. You could then make sure the edges are cut evenly into a square, and even fray them a bit. Or you could keep it in the hoop and make a hanger with some wire. You could tuck the edges underneath and hot glue them to the inside. I hope this helps! xx Bar
You could also take a piece of cardstock,the same size as the hoop, have the children decorate the cardstock and glue it to the back of the hoop so the inside is not seen. And then can be hung, etc.