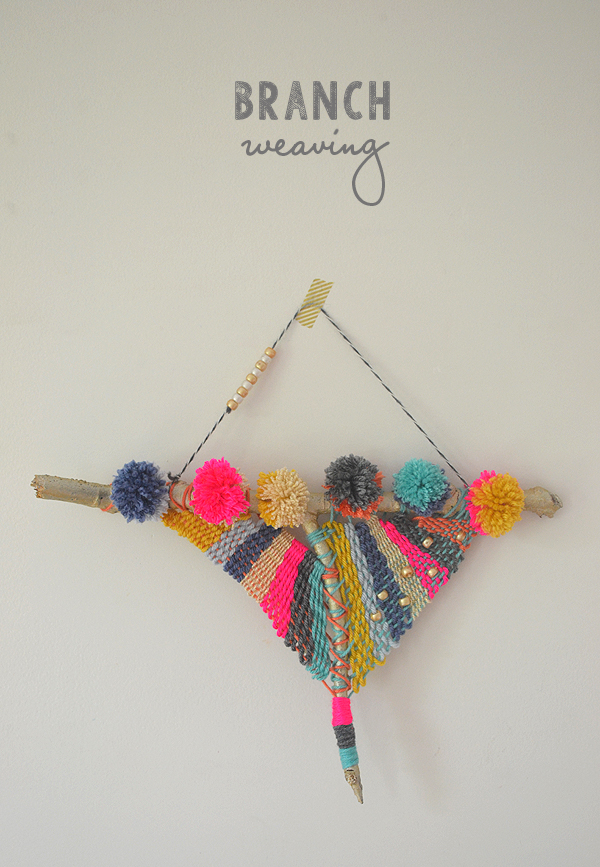
I’ve been wanting to weave on a branch for years. That might sound strange to an ordinary person, but for this textile design geek it’s a perfectly normal dream! Since my windows of making-alone-time are far and few between, I didn’t spend a whole lot of time finding the perfect branch. I literally took this one out of the kindling box that was next to the fireplace. Speed of execution was more important than perfection for a change!
This post contains affiliate links. Thank you for your support!
Supplies:
~ a branch that has a “T” shape
~ gold tempera paint (I used this one which I got at my local art store, but this one
is cheaper on Amazon, it’s just a little bit yellower)
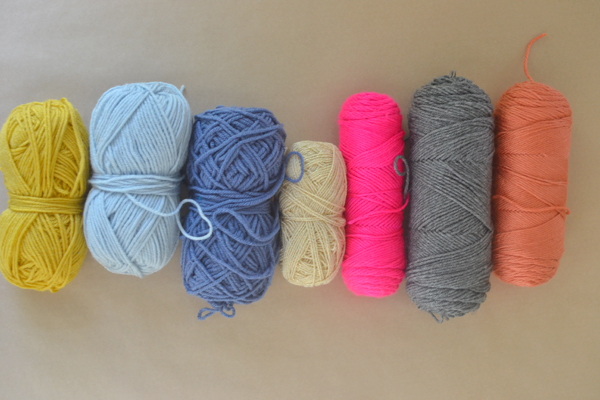
~ yarn (I chose about 8 colors but you can do anything you want!)
~ pony beads (optional – I used pearl ones)
~ pom-pom maker– smallest size (or just use your own preferred technique)
Process:
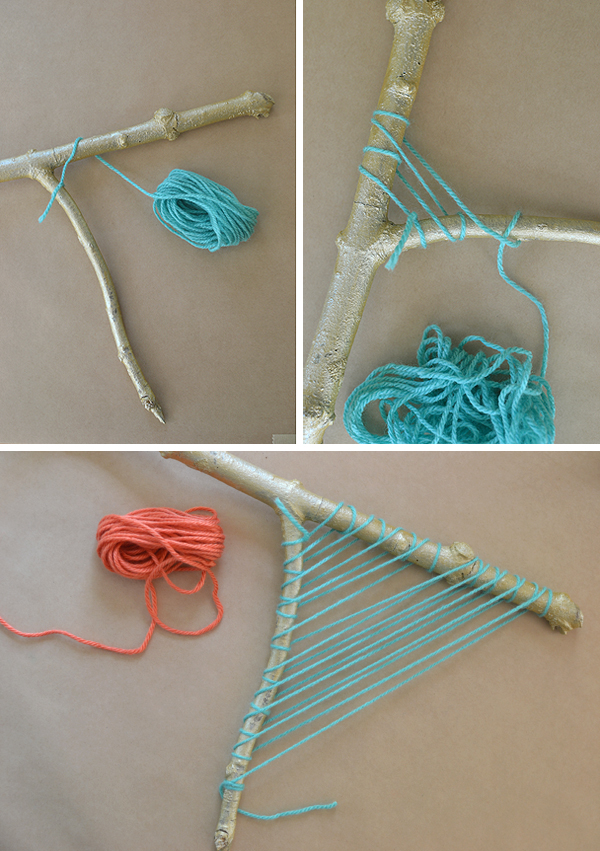
~ First, paint your branch.
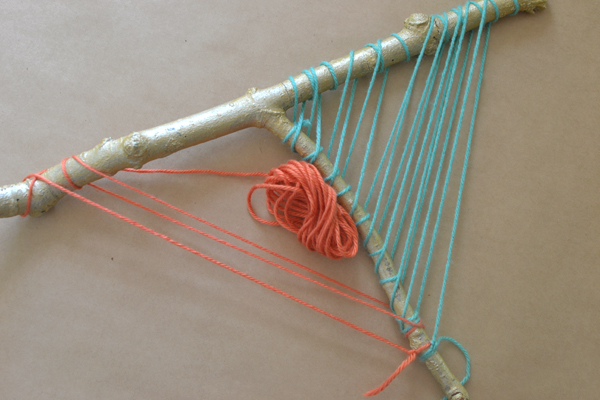
~ Next, wrap thread around to create your warp. I twisted then looped through to secure. It was still a bit loose and wobbly, but it fell into place once I starting making the weft (which is the yarn that weaves through the warp).
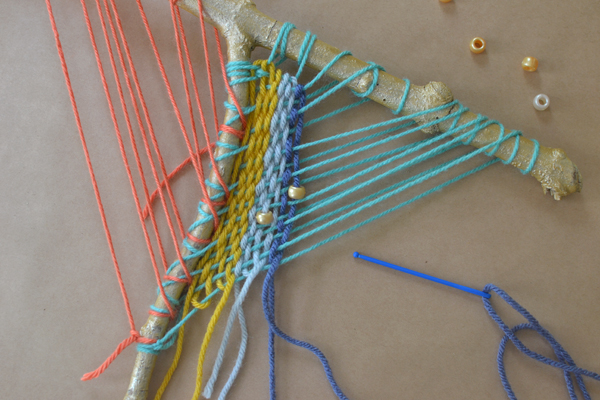
~ Then start weaving. Over and under. When you want to change colors, just cut it at the bottom and start again. I wove a few beads on one side. I thought maybe I should play up the asymmetry of the stick.
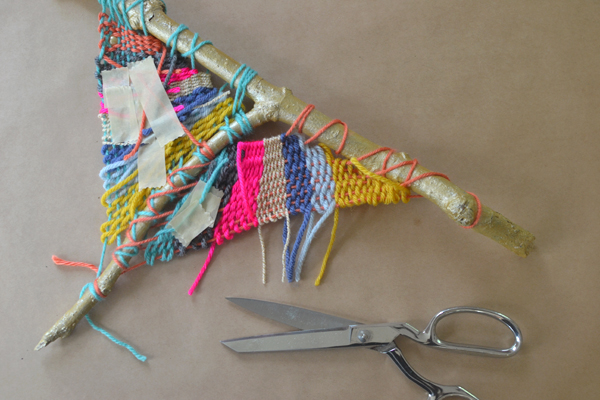
~ Tape loose threads as you go to the back. They get annoying when they are hanging out all over the place.
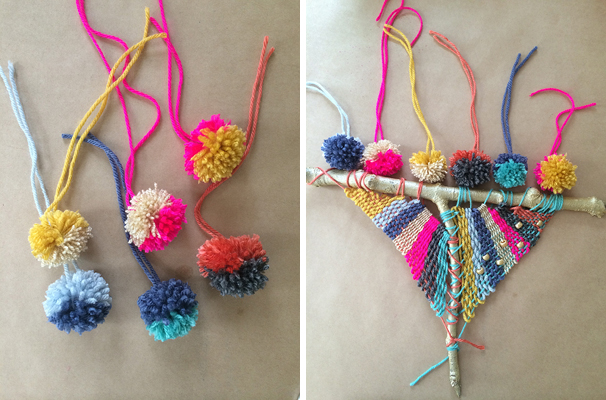
~ Make pom-poms. I did a half-half thing with mine. Make sure to leave the tail.
~ Lay them across the top of the branch to figure out the order. Now tie them to the top and trim the tails.
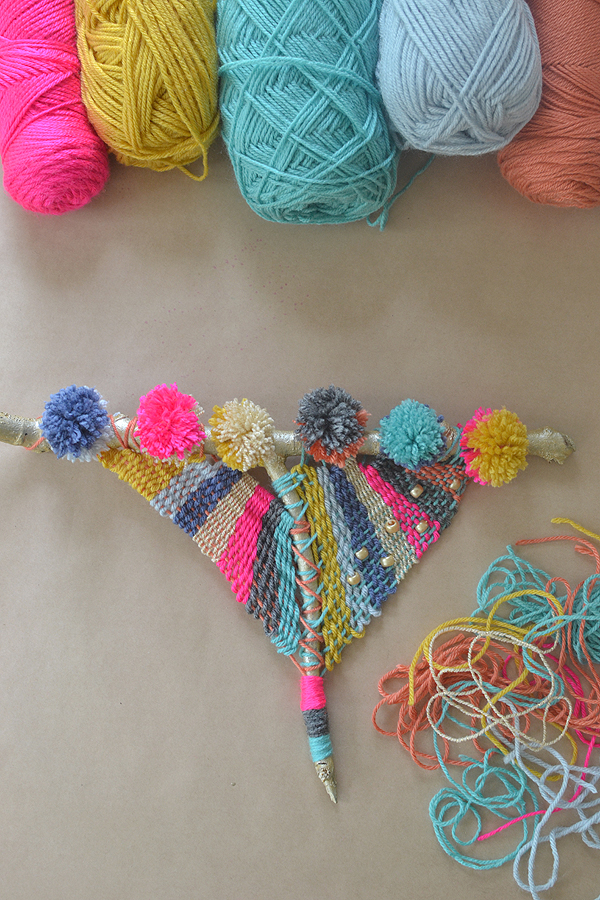
~ I wrapped some yarn around the point on the bottom and tied knots in the back.
Here is a short video which shows the process. It will help in seeing how I tied the warp, and how I dealt with the loose ends (weaving them back through).
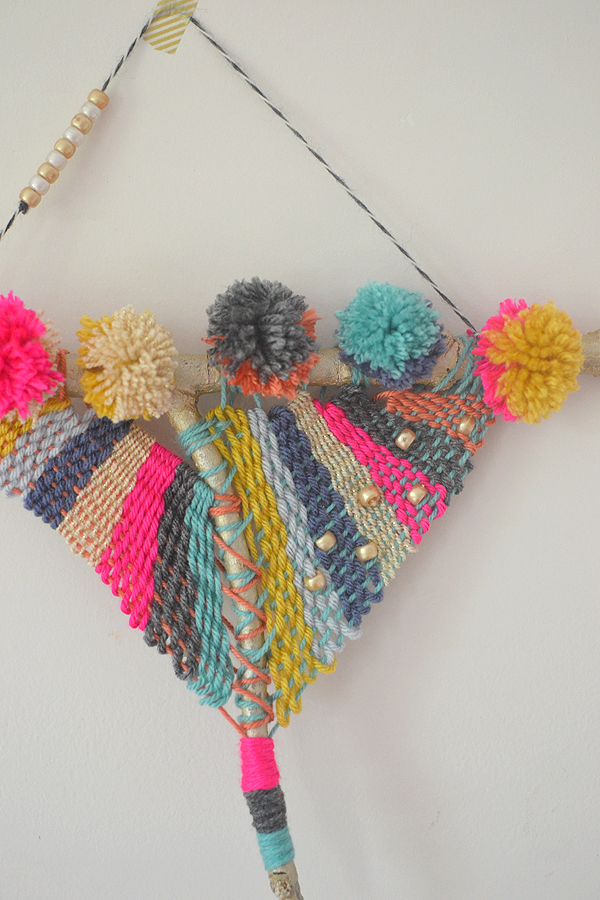
~ Lastly, I tied a piece of yarn as a hanger (and added a few more beads to complete my asymmetry)!
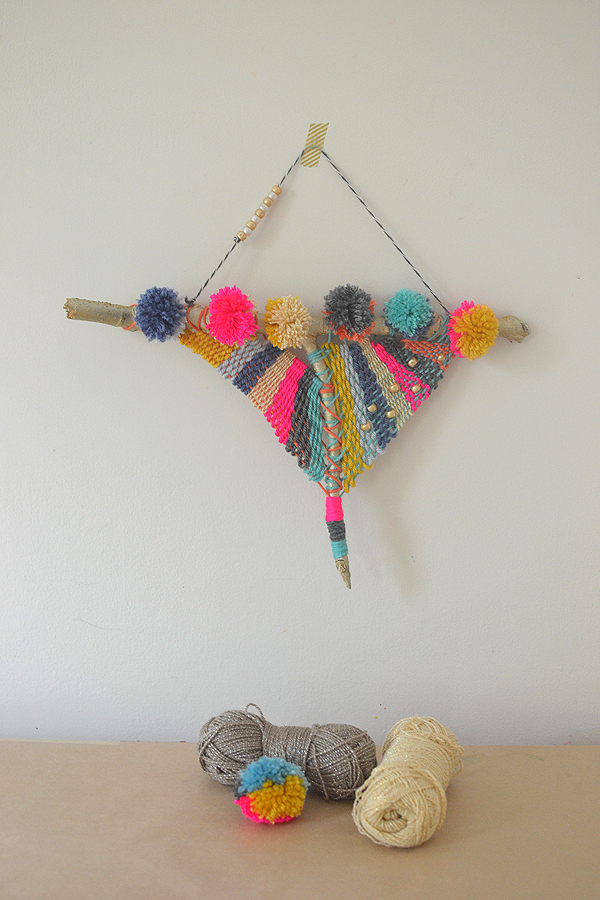
This was a deeply satisfying craft for me. I want to make 20 and open an Etsy shop! I won’t, but I want to. Follow me on Instagram to see more of my new obsession!
xo, Bar


YES to everything about this — the gold, the pompoms, and definitely the Etsy shop. It would be amazing!
thank you becky, for the words of encouragement!! so nice of you to leave a comment…you made my day 🙂 xo bar
This is so unique and colorful. I agree these would be great to sell on Etsy I am new to your blog. Really glad to have discovered it!
thank you alicia!! and welcome to my blog, so glad that you found me 🙂 xo bar
So cool! I love the colors you’ve chosen – thanks so much for sharing your process. I also like the idea of painting the twig/stick first. And the pom poms and beads!!!
thanks Leah! Glad you like it – hope you try!! xo Bar
Love this. I am addicted to weaving videos at the moment.
As an idea: You could use craft glue and stick a piece of felt on each side of the back to make the finish neater.
yes! that would be a lovely way to finish the back. thanks Melanie! xx Bar
Great Idea! I will have students glue upcycled fabric to the back for a clean finish!
Love this idea! It fits perfectly with our state standards for 6th grade! Going to try it using up-cycled clothes and yarn for the weaving to encourage sustainability in art.