Welcome to Week Two of our Art and Play Activity Guide for Learning at Home! Shannon and I were blown away by the response to Week One‘s launch of our “kids in quarantine” series. I wish I could share with you all of the incredible and heartfelt comments we received via email and on our IGs, they were extraordinary. We feel completely energized and motivated to keep this going and bring you another week of provocations and invitations that your children can do with you or on their own.
Click here for all 7 Learning at Home guides!
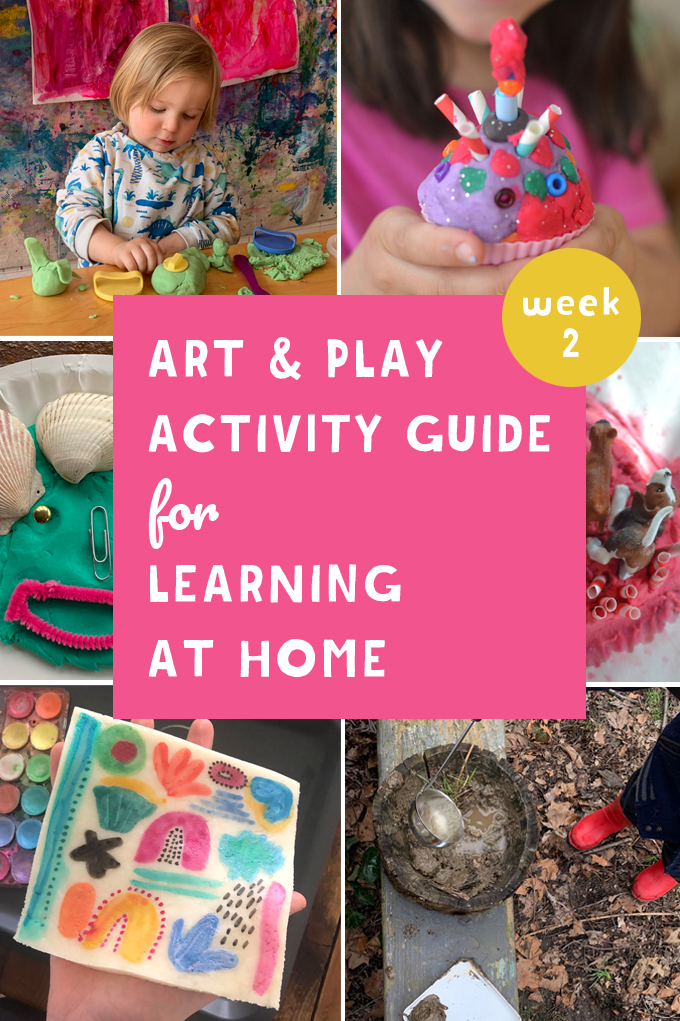
This week’s theme will be playdough with a focus on sensory experiences. We have a bunch of recipes that your kids will love and tips and tricks on how to keep your space clean. Don’t worry, we promise you that making playdough will be extremely worth it. We guarantee your kids will spend hours playing which means you will get some much needed alone time. Sounds good, right?
We got a little help from our friend Alie Edwards from Creation Space. In her studio, playdough is a staple and when I asked her for some ideas, she sent me so many photos I couldn’t stop smiling. Alie, you are a wonder!
Click here for Week 1 of our Art and Play Activity Guide
Art and Play Activity Guide Week 2: Playdough and Sensory Play
Shannon and I have decided to keep the daily themes consistent each week. Muddy Mondays will have a nature/science theme, Tinkering Tuesdays will have a math angle, Wee Writer/Reader Wednesdays will have a literacy focus, Together Thursdays will focus on community and collaboration with a social studies bent, and Free Fridays will have an extra emphasis on open-ended process art.
This week our focus is playdough and sensory play. If you’ve never made your own homemade playdough, oh boy will this be an exciting week for you and your kids! It’s super-duper easy to make and lasts forever (unless you stick leaves and twigs in it, then you’ll have to make more but that’s fine since it’s such a cinch to make). Know this, though, if you have store-bought playdough, model magic, or other clays or kinetic sand, use them if it’s easier!
We are combining art and play into one category this week because when it comes to playdough, they are one and the same. Again we will have lots of variations for younger and older kids and will provide you with a bunch of other sensory recipes that your kids can enjoy. You can also look forward to starting and ending the day with morning and afternoon rituals to keep everyone grounded. Are you ready? Let’s go.
Click here for your printable Homemade Playdough Recipe
Note: Flour is hard to find these days, shelves have been empty. We’ve found two playdough recipes that don’t use flour. This one uses cornstarch and baking soda (you can watch this recipe being made on Bar’s Instagram – it’s an IGTV movie), and this one uses cornstarch and shaving cream.

Day 1: Playdough Nature Lab / Science
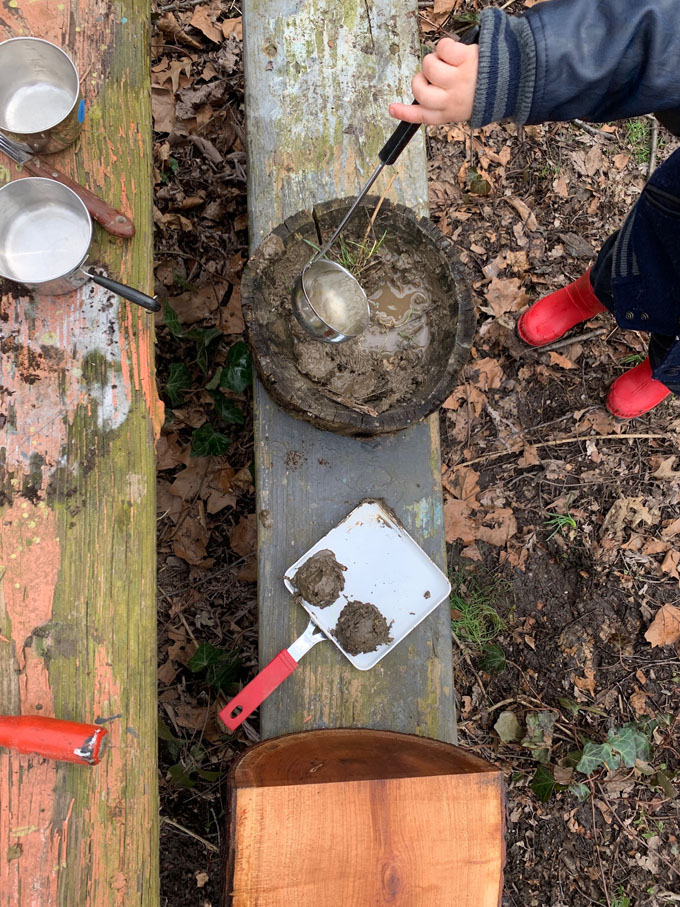
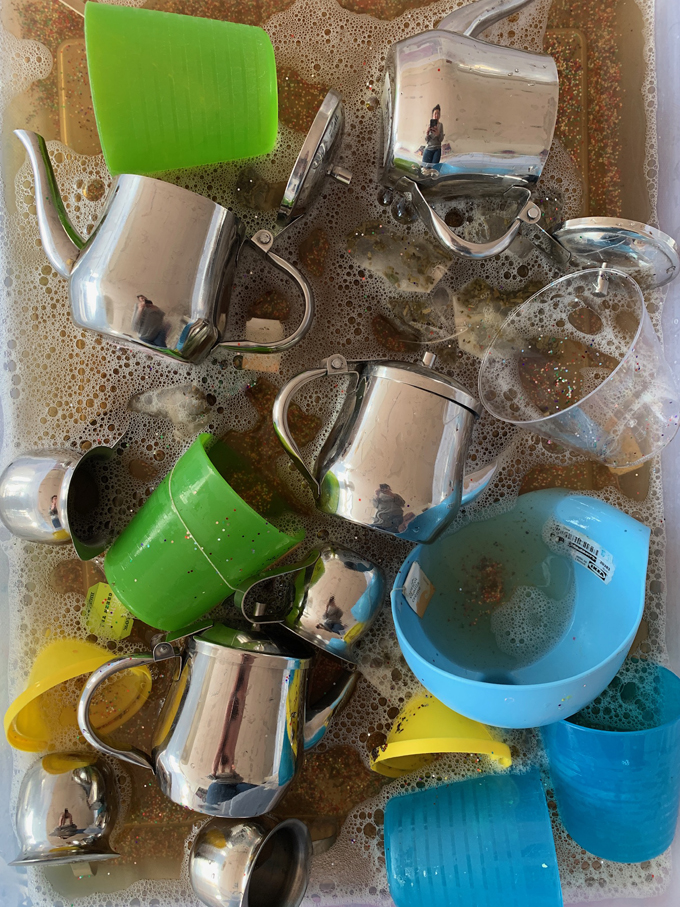
Mondays are a good day to reconnect with nature. Today on your walk, bring a basket with you, or even a pot, to collect ingredients that could be used in your Nature Lab. What kinds of potions will you stir up? What kinds of experiments will you create? As you gather natural materials, you’ll also think together about what kinds of tools you’ll need in the Nature Lab. These tools will be super simple – containers for cooking up a playdough potion, something to stir your pinecone elixir, or to grind up some grass or leaves.
Click here to print Day 1: Playdough Nature Kitchen / Science
Morning Ritual
Take some time this morning to get ingredients ready for playdough making with the kids. While they’re playing independently or grabbing breakfast, you can pull together what you need for this easy recipe. If you have a standing mixer at home, give playdough-making a try in there with this recipe using boiling water. It becomes almost a moving meditation to watch the dough form. If you don’t have a mixer, use this recipe that cooks the playdough in a pan. You can make the playdough with your child, or on your own. Once it’s cooled down a little, it feels amazing and warm and nobody will be able to resist it!
Prep
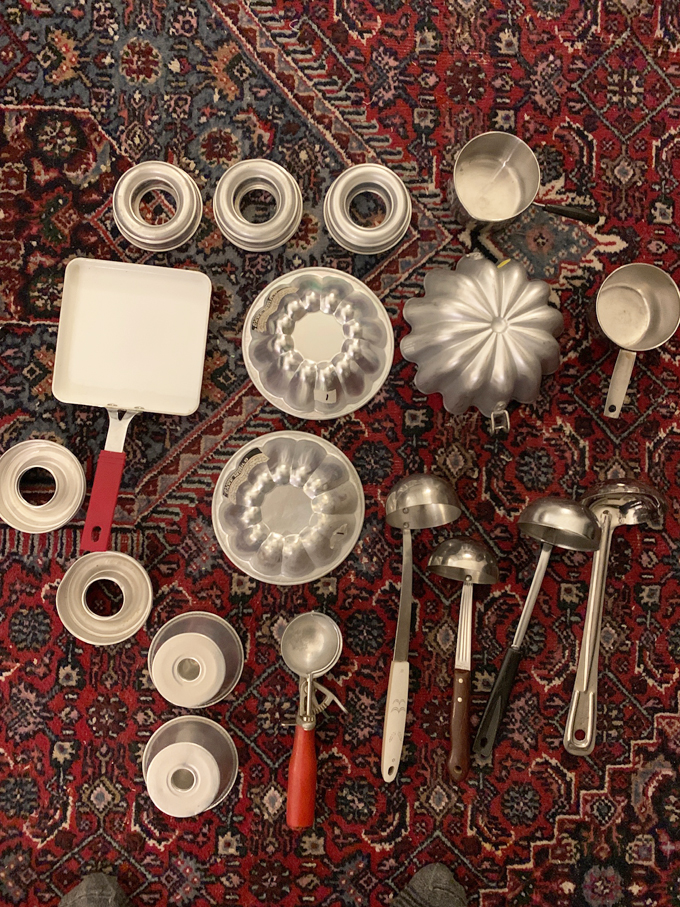
Find a spot either outside, which would be ideal, or inside where you can let the kids use water without worrying about the table or floor. Maybe put a towel underneath the table they’ll be sitting at, or they can just sit on a tarp on the floor. Collect some pots and pans, bowls, wooden spoons, butter knives, measuring spoons, anything that you are willing to part with for the day. Grab some containers that you can fill with water. If you are outside, you could fill a big bucket with water and have some smaller “scoopers” or measuring cups on hand so the kids can add water if their recipe or potion needs some. If you are inside, you can fill up a bowl and put out some cups. Or your child can go to the sink themselves and get water when they need it.
Art & Play Activity
1. Prepare some homemade playdough in natural colors.
2. Take a nature walk and collect ingredients.
3. Bring the ingredients back to your pretend kitchen and experiment with recipes.
Supplies
~ Homemade playdough (printable recipe)
~ Nature ingredients
~ Pots, pans, kitchen utensils
~ Measuring cups
~ Eyedroppers or pipettes (if you have them)
Variations
Younger kids can:
~ Make a mud kitchen! Instead of playdough, dig up some dirt and mix with water to create mud recipes.
~ For babies and toddlers who are still putting things in their mouths, just make this activity about water play.
~ This activity is very play-based, so setting up a permanent outside lab or kitchen for little ones would be so beneficial to their everyday imaginative play.
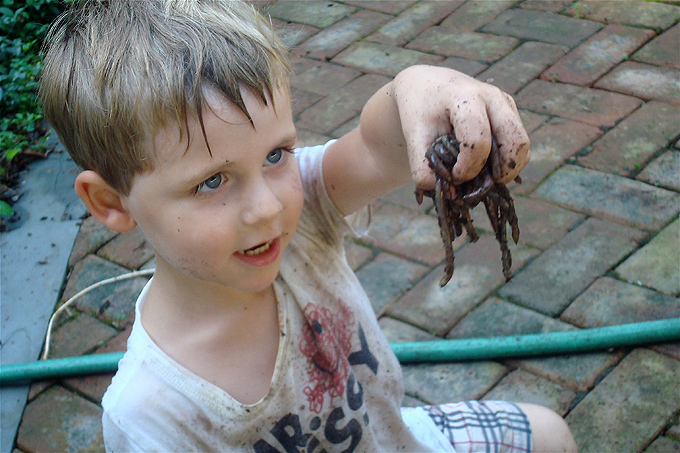
~ Search for worms in the dirt and invite them to a meal in your kitchen.
~ Add rocks or shells to your recipes. Or even recycled items like bottle caps and wine corks.
Extensions
Older kids can:
~ Write recipes and make more elaborate 4-course meals in their kitchen.
~ If they are embracing the mud, make “seed bombs” with seeds and mud to plant a veggie garden.
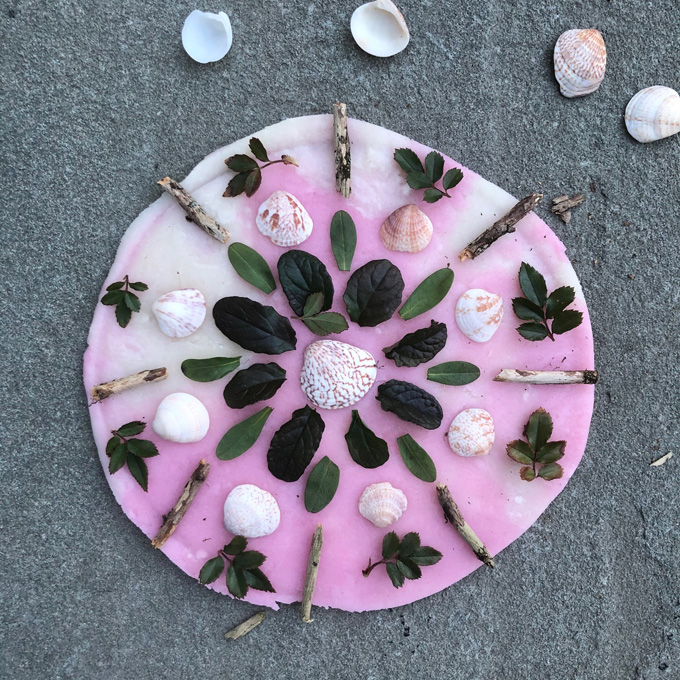
~ Make a nature mandala either in playdough or in mud.
Afternoon Ritual
So often the afternoon can feel exhausting. With schoolwork and a big playdough project out of the way, make time to just hang out and be. After everyone has had some independent time and rest, or maybe at dinner, facilitate a conversation with the whole family about the day. Try organizing it in this format that many designers use: Rose, Thorn, Bud. This is something Shannon learned from her work with Luma Institute. Roses are bright spots, things that are going well. Thorns are tricky or challenging situations or circumstances, and buds are opportunities. It goes something like this:
Rose (What is going well at home? What has been fun? What has been exciting?)
Thorn (What has been challenging or tricky? What has made you feel worried or scared?)
Bud (What else could we do to make this time at home better? What are we looking forward to?)
Watch Shannon talk about Rose, Thorn, Bud on her Instagram (it’s an IGTV movie).

Day 2: Playdough Bakery / Math
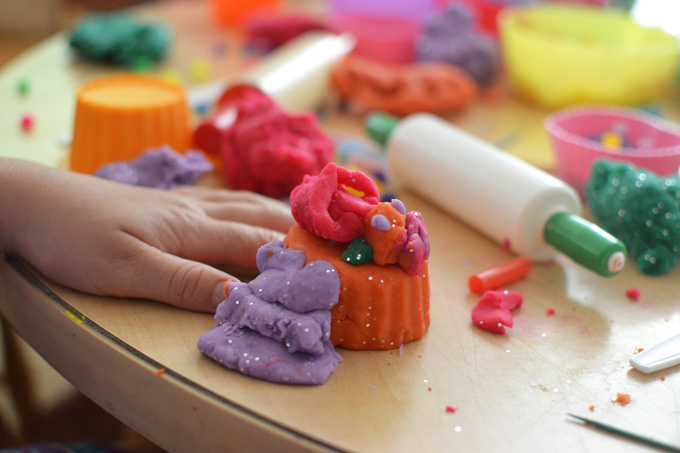
Today your children will be baking! Playdough bakery is one of the oldest and most classic creative play ideas, and it’s been around this long for a reason. Because it’s fail-proof and will capture your child’s imagination no matter age or gender. Today’s art & play invitation will touch on so many math concepts, such as size, proportion, counting, division, and more. Get ready to pretend-take a thousand yummy bites of playdough food 🙂
Click here to print Day 2: Playdough Bakery / Math
Morning Ritual
It feels safe and secure knowing that what happened the day before will happen again this morning. After all that messy kitchen play yesterday, your homemade playdough might feel a little tired. Make a new batch together, or use another sensory material if you feel like a change (plastilina, air dry clay or model magic, sculpey).
Prep
Playdough is best used on a flat surface, preferably a table, where there are no crevices. Old wooden tables don’t work so well, but you can use a tray or cutting board for each child to help set a boundary. Playdough is easy to clean up as long as it’s contained to one area, and children follow a few basic rules. In my house, the rules are 1) no playdough in the mouth, and 2) playdough stays on the table. This last rule is sometimes broken when someone wants to show me what they’ve made and they have to come and find me.
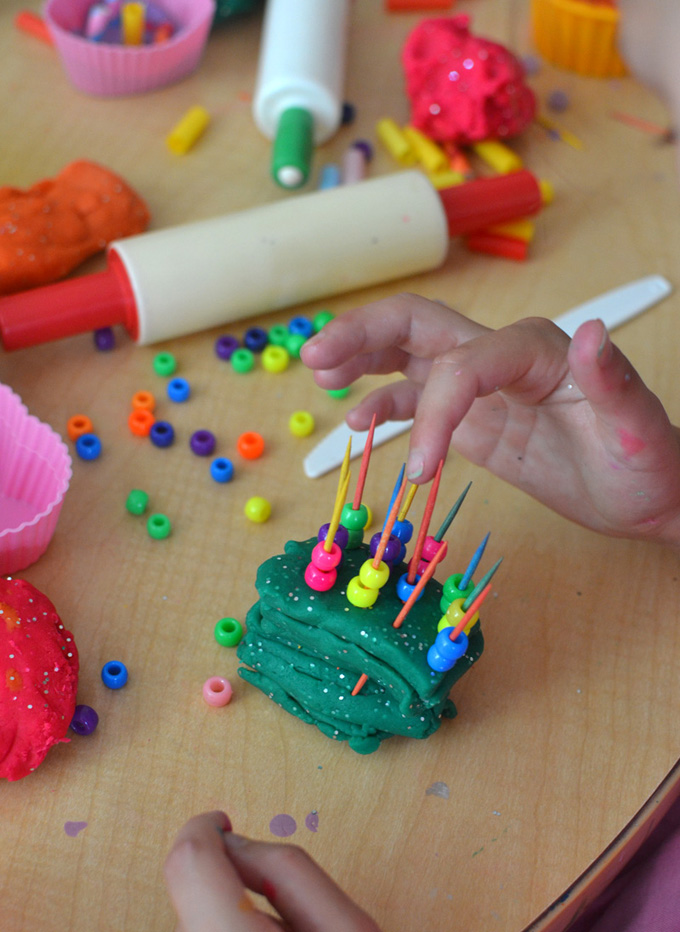
After choosing your playdough area, take out all of the “baking” materials that you have. If your table is small, you can put items in a basket or bin next to the table. On our baking table, our staples are mini rolling pins, cupcake liners, and cut up straws. You would be amazed at how few supplies you need for hours of imaginary play.
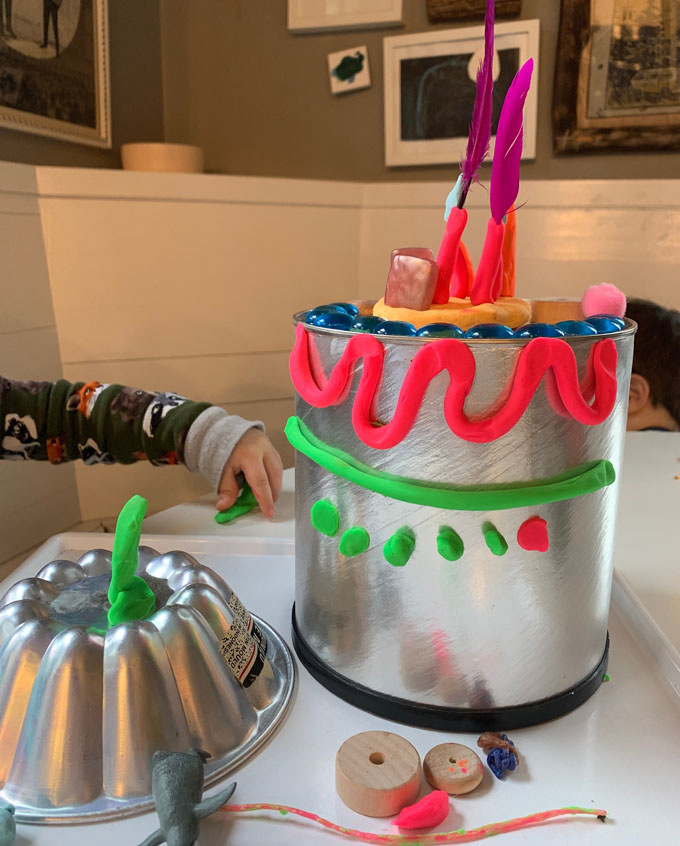
If you want to go BIG, incorporate some larger recyclables for huge cakes, like coffee cans or even real cake tins or baking pans. Kids can enjoy these as a base for creative confections with playdough and loose parts, like gems and shells.
Art & Play Activity
1. Make playdough.
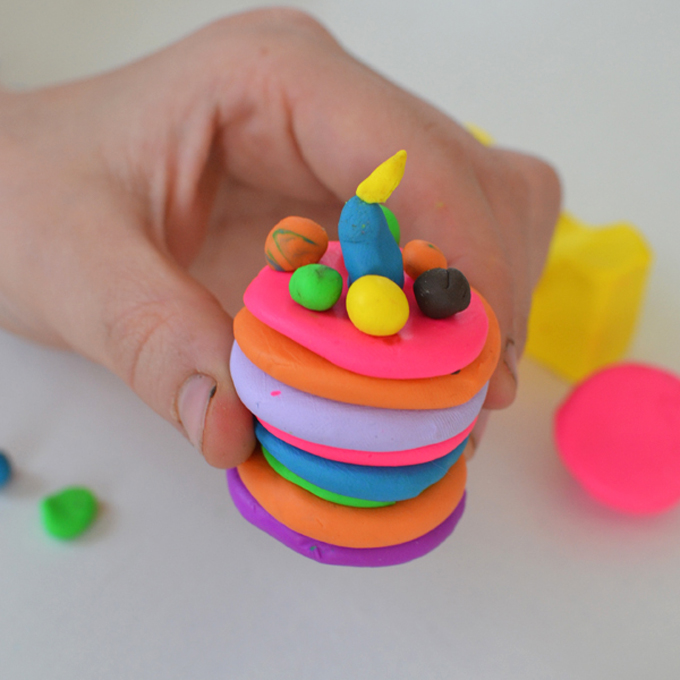
2. Create treats for a bakery.
Supplies
~ Homemade playdough (printable recipe)
~ Paper or silicone cupcake liners
~ Baking tools such as rolling pins, plastic knives, and cookie cutters
~ Loose parts such as cut-up paper straws, pom-poms, bottle tops, buttons, toothpicks, beads (keep small items away from children under the age of 3)
~ Recyclables or household items that can be a base for big cakes or other creations, such as coffee cans, pans, or a turned-over flower pot
Variations
Younger kids can:
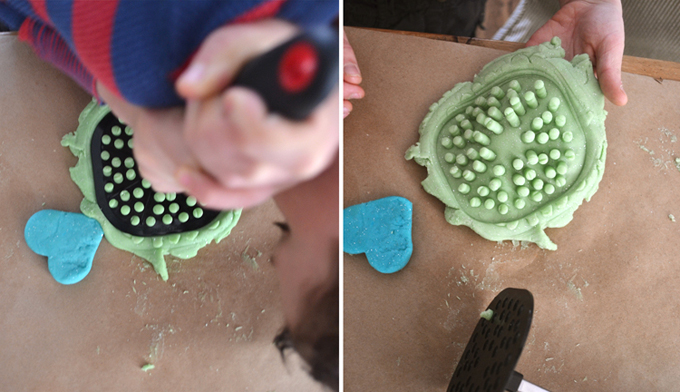
~ Practice rolling out and stamping playdough with objects. Potato mashers are really great for stamping and smushing.
~ Practice making a ball and poke stuff in the playdough, like toothpicks and beads.
~ Cut playdough with scissors or a plastic knife.
~ Practice rolling playdough into a snake and they create spirals or pretzels.
Extensions
Older kids can:
~ Make scented playdough using baking extracts or essential oils.
~ Make air dry clay and make more intricate baked goods that they can save.
~ Set up a bakery with signs and a menu.
~ Use Sculpey (oven-baked) clay to create mini-cakes and cupcakes.
~ Make letter-shaped baked treats to practice sight words or their name
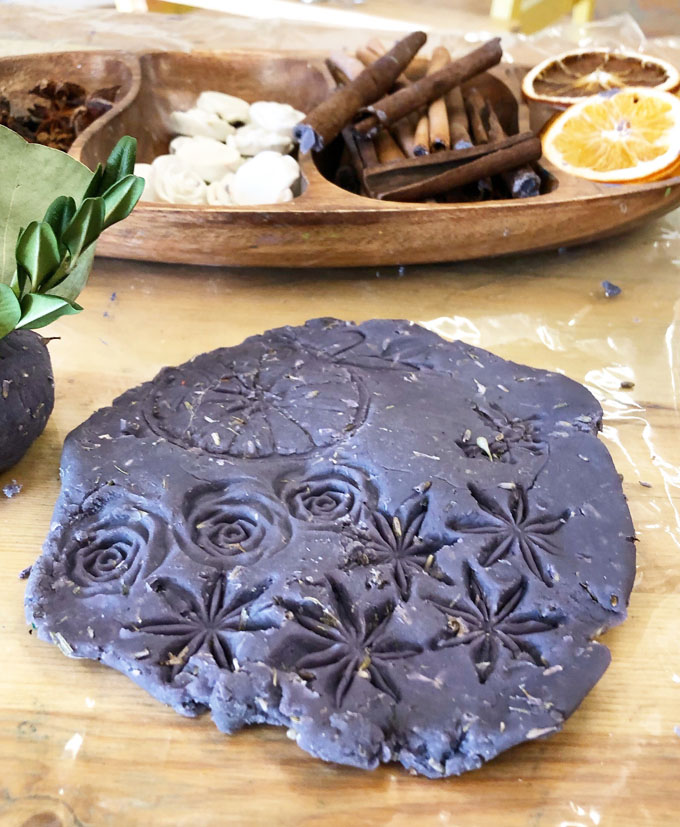
Lavender playdough with cinnamon sticks and lemon. Photo by Alie from Creation Space
Afternoon Ritual
Clean up together. Get a ziplock bag or plastic container to keep the dough fresh, and try to pick out all the loose parts before storing it. If loose parts are reusable (glass gems, stones, shells) put them in a strainer and have one child wash and dry those with a towel. Bigger kids can look through baking cookbooks to find new ideas for yummy treats. Try Rose, Thorn, Bud again today at dinner.
Rose: What was really fun? What were some ways we worked together?
Thorn: What was challenging or tricky?
Bud: What new ideas do we have for playdough playtime for the rest of this week?
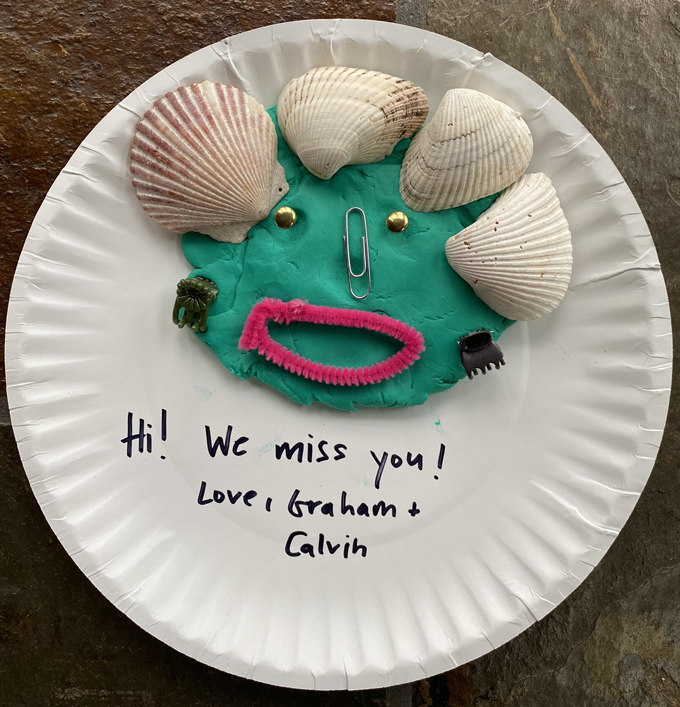
Day 3: Playdough Portraits / Literacy
Today we will make playdough faces of the people we miss and love. Friends, neighbors, grandparents, teachers, coaches, our “outside” people we normally see on a day-to-day basis feel like they have all but disappeared. You can write them a note or send them a message and let them know that you are thinking of them, you miss them, and you will see each other again soon.
Click here to print Day 3: Playdough Portraits / Literacy
Morning Ritual
This morning, draft a list together of some people you’d like to reach out to. You could even draw this list instead of writing it. Draw your family in the center of the page, then draw 5 lines out from your family to represent connections to grandparents, teachers, friends, neighbors, your local coffee shop barista, whoever is in your world. Draw those people, too, and label them with their names. You can use this for reference during playdough portraits.
Prep
If you have enough playdough leftover from other days, then you don’t have to make a new batch. Although, the ritual of making the playdough might be nice in the mornings throughout the week. Today you might even want to make a variety or skin-colored doughs (you can use food coloring, liquid watercolor, or even tempera paint to dye your playdough), although this is not necessary. Gather loose parts and put them on a tray or in bowls.
Art & Play Activity
1. Make homemade playdough.
2. Use rolling pins to flatten out playdough. Cut out a face shape.
3. Create hair and face features from other colors and other loose parts.
4. Take a picture and send the photo to your loved one along with a note.
Supplies
~ Homemade playdough (printable recipe)
~ Rolling pins, plastic knife or dull knife
~ Loose parts, such as stones, shells, beads, yarn, feathers, fake flowers (or real), googly eyes, or anything you have that the kids can add to their portrait
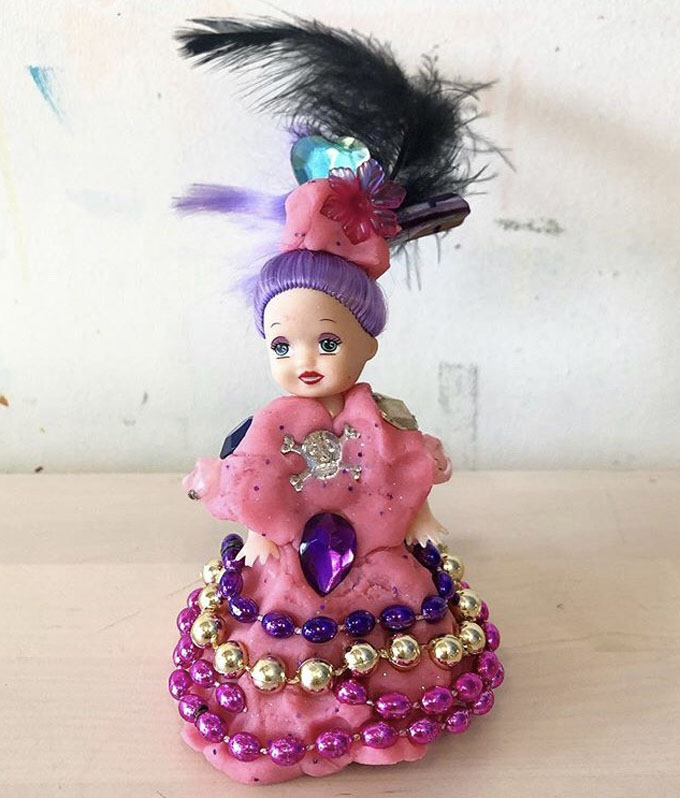
Photo by Alie from Creation Space.
Variations
Young kids can:
~ Film themselves and their portrait (with a parent’s phone) and speak a message to their loved one.
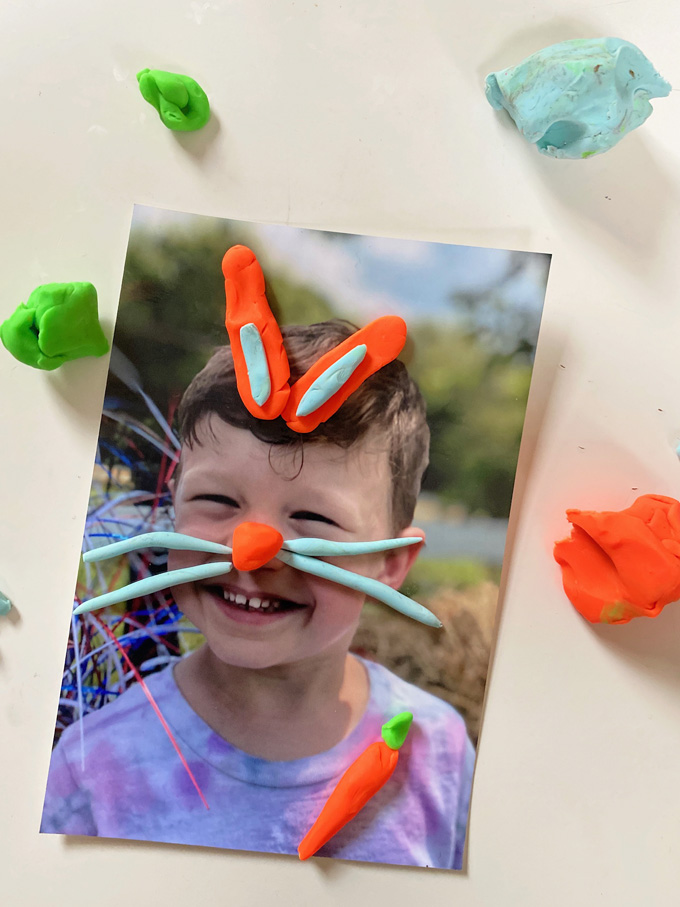
~ Print out a picture of their loved one, or themselves, and stick playdough to the face, following the face line, hair and features.
~ Make stick people. Gather “Y” shaped sticks, turn them upside down and the “Y” forms two legs. Use another twig for the arms. Much playdough around the twigs to create clothes. Use google eyes on the face. If you want a playdough-free day, use yarn to wrap your stick people.
~ Stick playdough onto plastic figurines. Little kids love just mushing the playdough onto stuff. They can tell a story as they play.

Mother and child collaborative stick person.
Extensions
Older kids can:
~ Sculpt a 3-D version of a face, with toothpicks and other tools for creating detail. Begin by rolling a sphere and pinching out features.
~ Write a note to their loved one and take a picture of it, along with a picture of their portrait, and text it to them. Or they can just write a text with the picture.
~ Draw a picture of and write a note to their loved one. They can send it in the mail.
~ Make multiple portraits of the whole family. Write about the experience of being home with your family and staying healthy and safe.
Afternoon Ritual
You can incorporate thinking about family and friends into independent playtime, too. Your child can tell a story or favorite memory with legos or blocks. You can read some special books together that remind you of family traditions or places you’ve been to. Ask a friend or family member to do Rose, Thorn, Bud with you. What’s been a bright spot in all of this for their family? What’s been challenging? What’s a way you could make that person’s time easier or better?
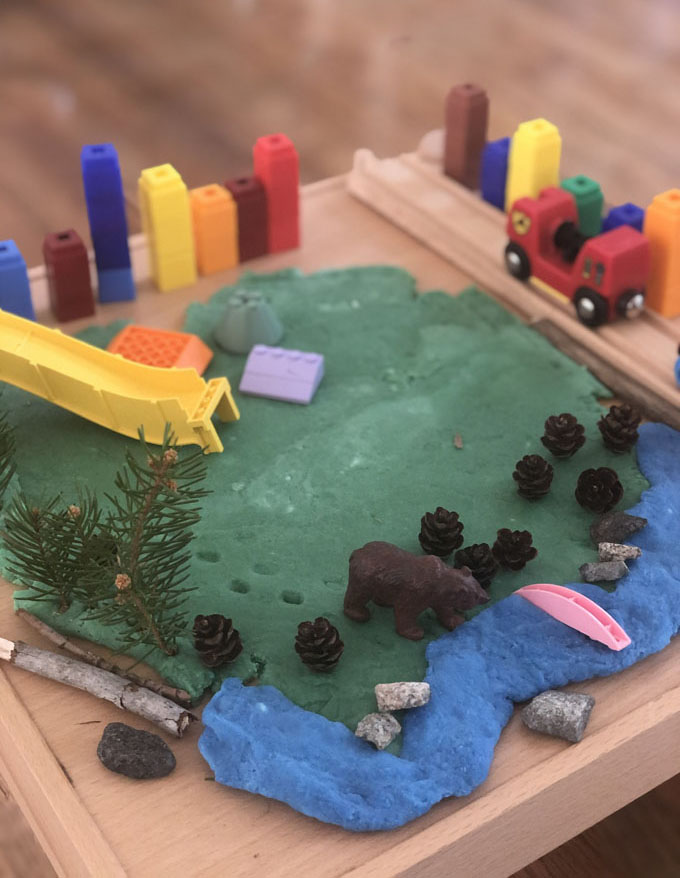
Day 4: Playdough Landscapes / Social Studies
What does the land look like in your community? Do you live in the woods? Or are there buildings all around you? Maybe you have to walk to the park, or maybe there are mountains right outside your window. Today we will be talking about the land we live on, and how everyone’s view out their window is different. Your children can use their playdough to replicate their own surroundings, or create something from their imaginations.
Click here to print Day 4: Playdough Landscapes / Social Studies
Morning Ritual
Make another batch of playdough together if you need more, or grab a few washable markers that remind you of your landscape and break some playdough into pieces and add color. What?! With markers? Our friend Jacquie at The Sweeter Side of Mommyhood came up with the coolest technique for coloring playdough that kids love!
Prep
Today you will need green, brown, and blue playdough. If you don’t want to make more that’s fine, kids don’t really care what color their playdough is! They can still make a landscape. Gather some loose parts and materials that your children might enjoy to use in their landscapes. Display them on a tray, in small baskets, or bowls.
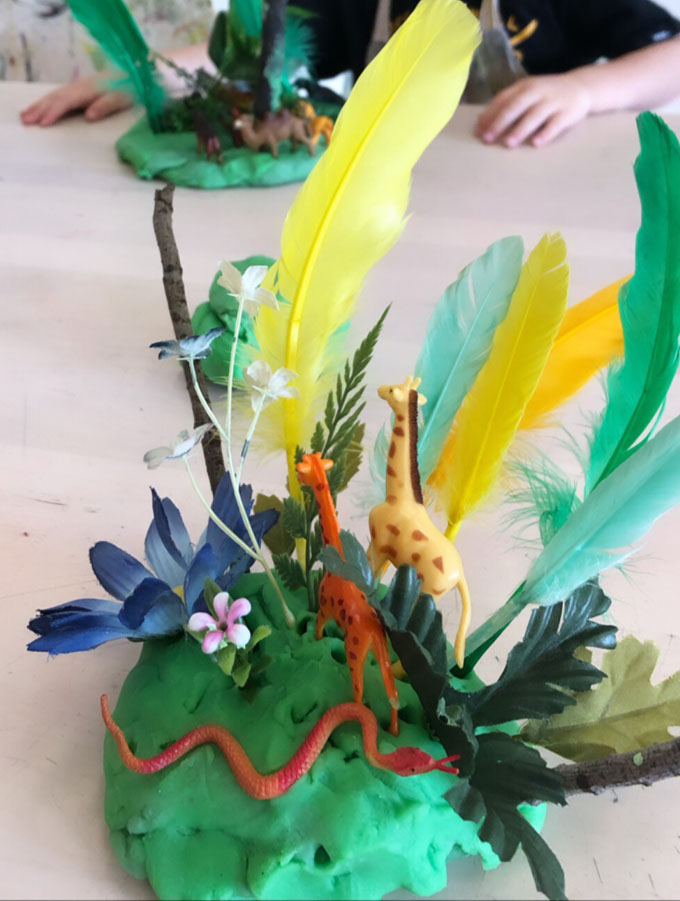
Photo by Alie from Creation Space.
Art & Play Activity
1. Make homemade playdough.
2. Look outside at your landscape, what do you see?
3. Create the outdoor world that surrounds where you live.
4. Use loose parts to embellish your landscape.
Supplies
~ Homemade playdough (printable recipe)
~ Rolling pins, plastic knife or dull knife
~ Loose parts, such as stones, shells, legos, fake flowers, leaves, pine needles, plastic animals, figurines, and small cars
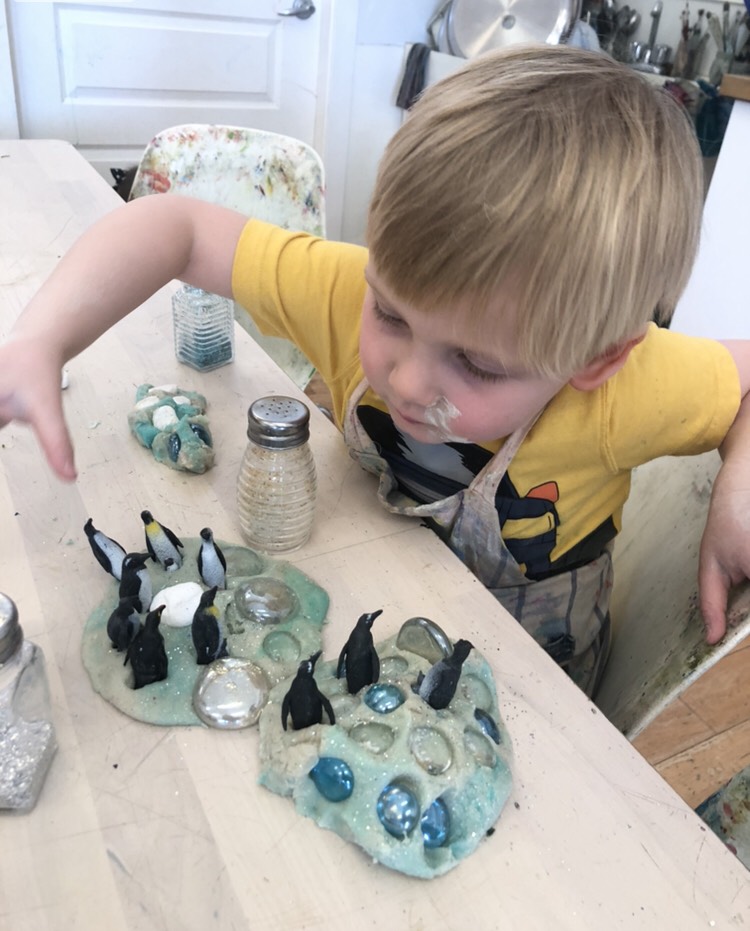
Photo by Alie from Creation Space.
Variations
Younger kids can:
~ Build a tall mountain. How tall can you build it?
~ Gather some plastic animals and make animal tracks.
~ Create a cold and icy landscape with blue playdough where polar bears and penguins might live.
~ Create a cool “topography” with textures using toothpicks, a comb, a potato masher, bubble wrap, egg cartons, or anything from around the house.
~ Mix all different color playdoughs together to create a marbled land.
~ Use the playdough in block play as a way to stick the blocks together. Don’t worry, the playdough will come off!
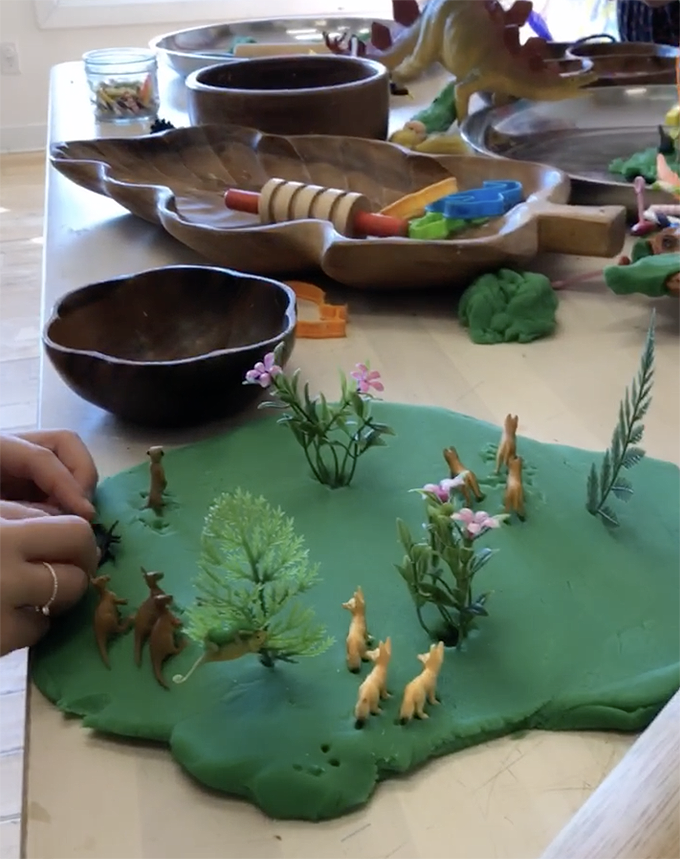
Photo by Alie from Creation Space.
Extensions
Older kids can:
~ Make a flower garden, a vegetable garden, or a fairy garden.
~ Research a national park and remake a landscape from playdough.
~ Create a diorama (a scene in a shoebox) of an animal habitat, or any outdoor or community scene that excites your child.
Afternoon Ritual
This activity can be extended easily into afternoon play, without the playdough. You could look up different landforms around the world. Then, using Magnatiles, blocks, legos or even a sheet and some cushions, your child can make a different terrain. Younger kids would enjoy playing and jumping in a “rocky” obstacle course made from couch cushions.
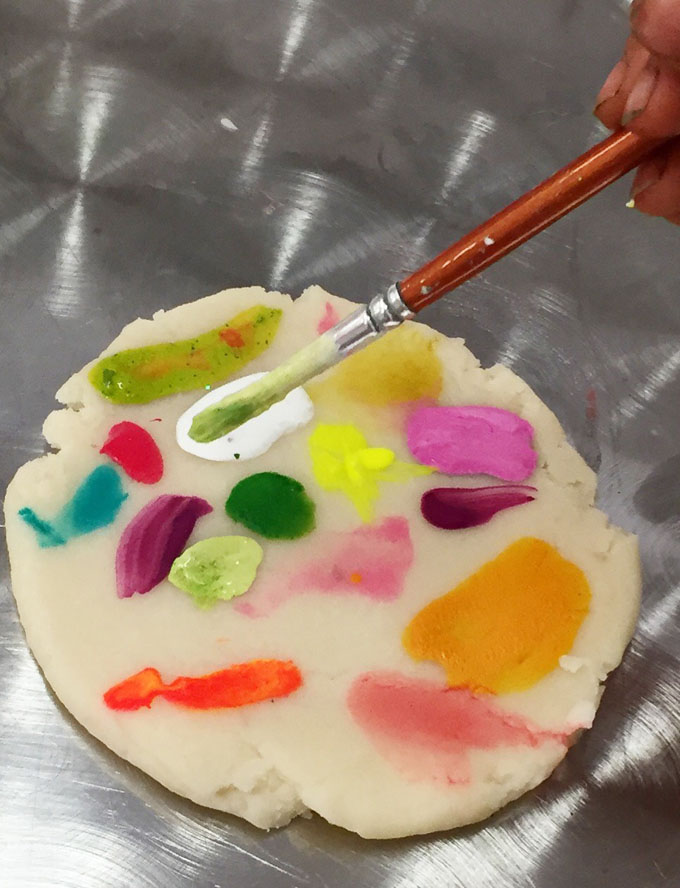
Painting playdough with tempera paints. Photo by Alie from Creation Space.
Day 5: Playdough Painting / Process Art
It’s process art day! Today we will be painting on playdough, drawing on playdough, mixing playdough colors, and just having an all-out sensory day. We will include some other easy sensory recipes that use few ingredients so you have lots to choose from. Outside play and bathtime play are two great ideas if you want less mess.
Click here to print Day 5: Playdough Painting / Process Art
Morning Ritual
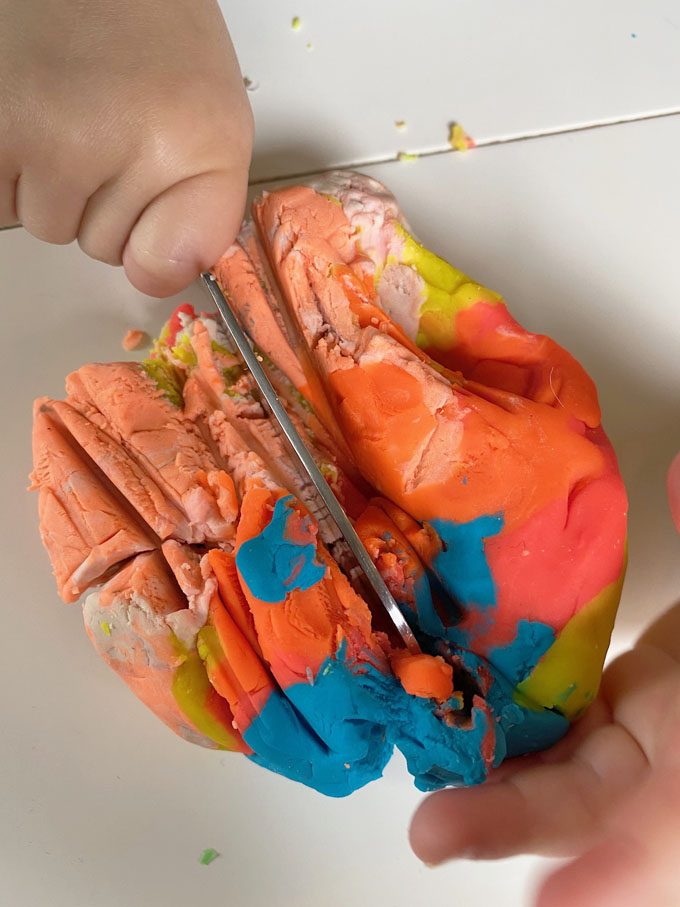
Squish up (yes, that’s right) all the playdough that you’ve made during the week. Kids absolutely love doing this. It makes a cool, marble-y effect and is much easier to store and maintain. Use your hands to really dig into the giant ball of dough. Smash it with your fists. The little ones could even stop on it with bare feet. Get that energy out!
Prep
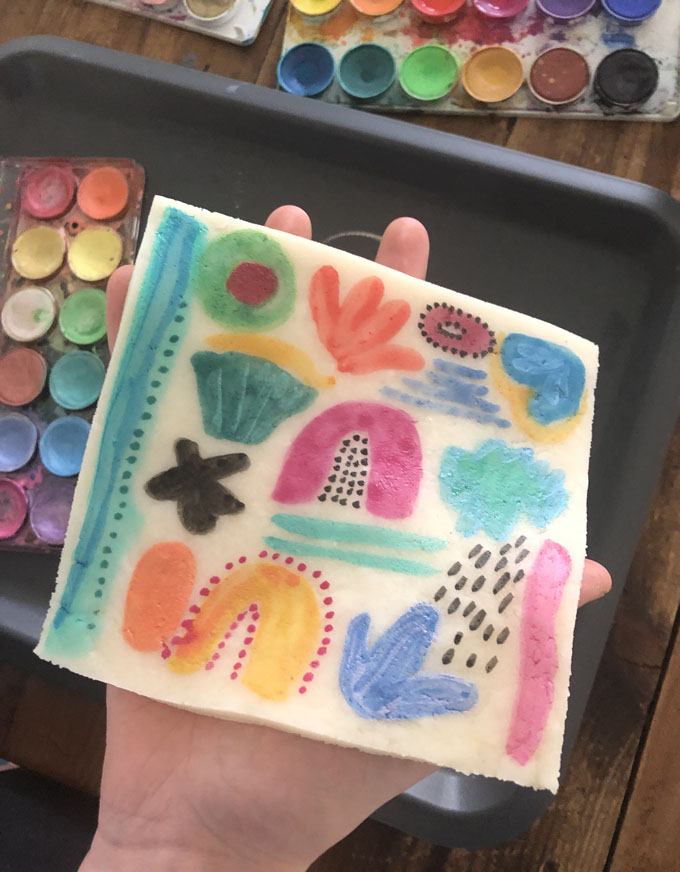
Make some white playdough. Mix some tempera paints, or set out some watercolors. Set out a glass of water and a damp sponge or paper towel for drying the brush in between colors. Today you might want to have your children work on trays, or cover the table with plastic. You can also set out a “buffet” of loose parts that your child can use with their painted playdough.
Art & Play Activity
1. Put out some white playdough, if you have any.
2. Set out some paints.
3. Roll your playdough flat, or into a ball, or into a pinch pot, or any shape you want.
4. Paint your playdough.
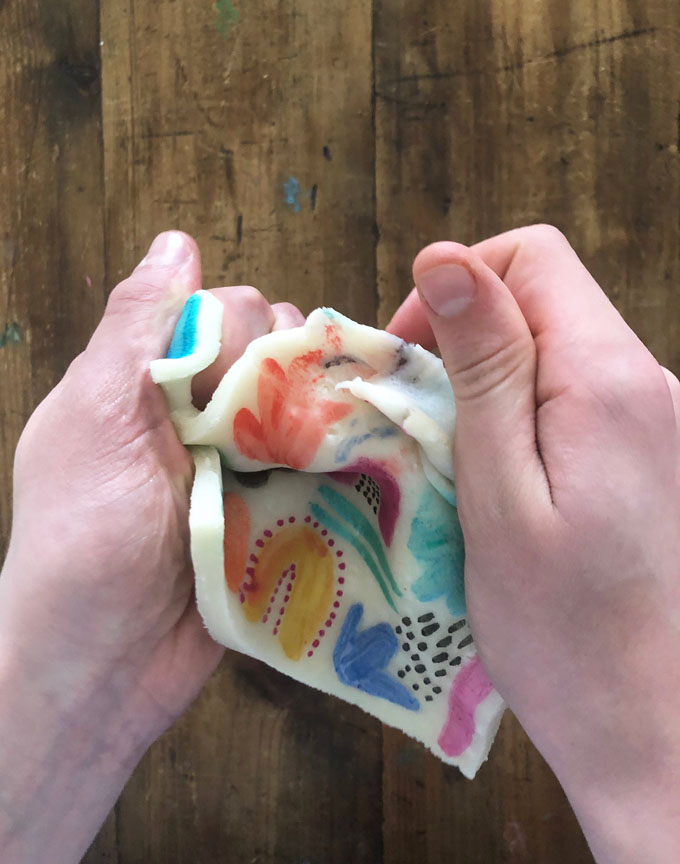
5. Mush it up and see what color it makes. Paint it again.
Supplies
~ Homemade playdough (printable recipe)
~ Rolling pins, playdough tools
~ Washable tempera paints or watercolor
~ Loose parts such as stones, shells, legos, beads, yarn, googly eyes, pom-poms, feathers, or anything your child can use to stick and smush into their painted playdough
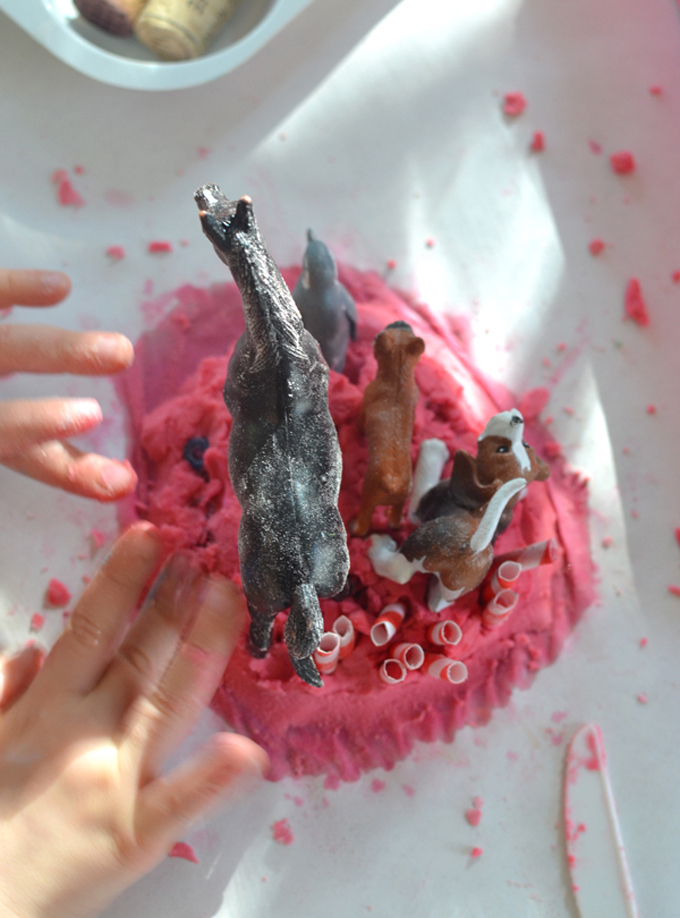
Easy dough made with 2 ingredients.
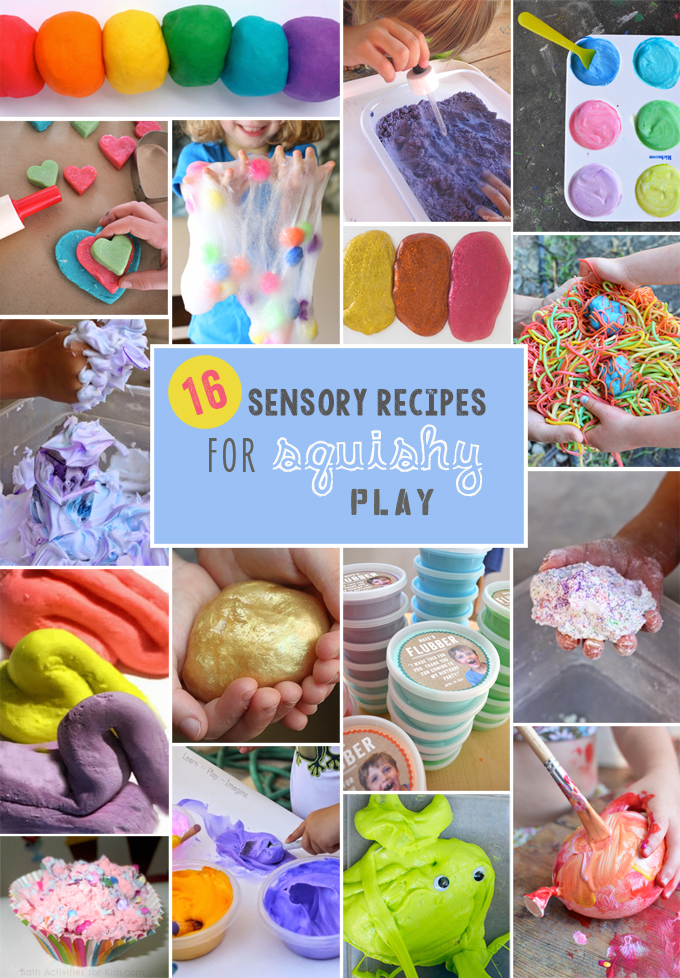
More Sensory Recipes
~ A few cups of rice in a large plastic bin or tub, add figurines or plastic animals.
~ Water and chia seeds soaked overnight, then play with dinosaurs for a swampy, gooey, sensory experience.
~ Shaving cream or water + dish soap mixed with a few drops of liquid watercolor in a plastic bin. Add animals or baby dolls for washing.
~ Bubble bath with extra bubbles or shaving cream. Color the shaving cream and the kids can paint on the tiles.
~ Easy dough, made with baking soda and water.
~ Two-ingredient easy dough, made with shaving cream.
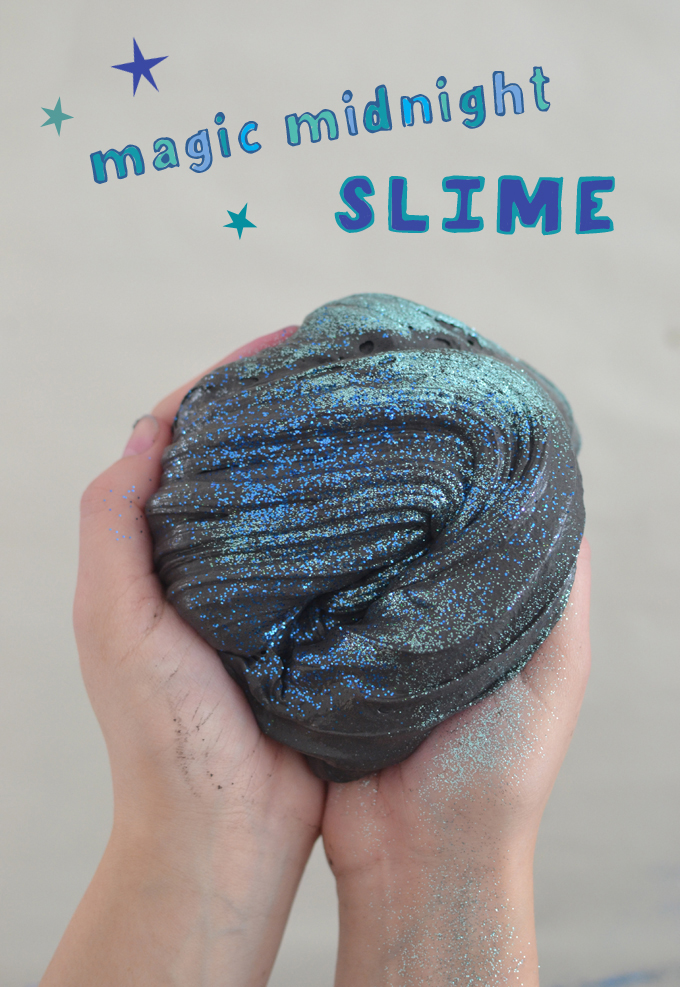
~ Older kids can make slime. I have several great recipes.
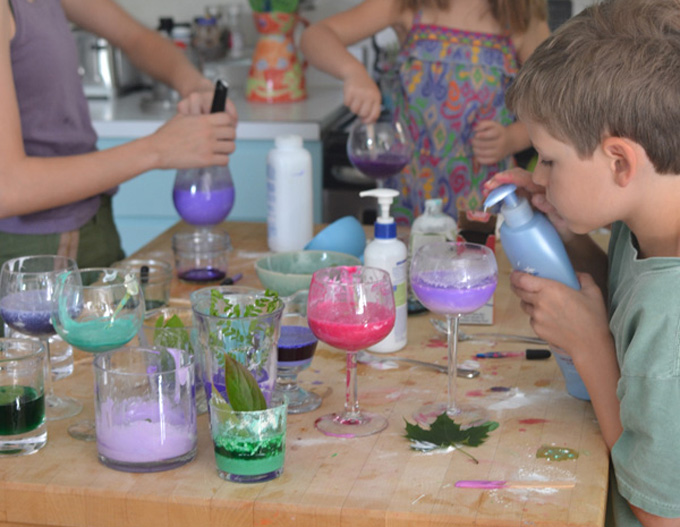
~ Magic potion party, using all the old lotions, shampoos, travel and hotel bottles.
Afternoon Ritual
Think about the week together. What was a highlight of each day? Draw or record these reflections on post-it-notes or small sheets of paper and then stick or glue them onto a bigger sheet, like a timeline. Or perhaps you can start a journal with these little notes. Though these days are long and trying now, you and your children will be able to look back and remember the simple but joyful moments you spent together.
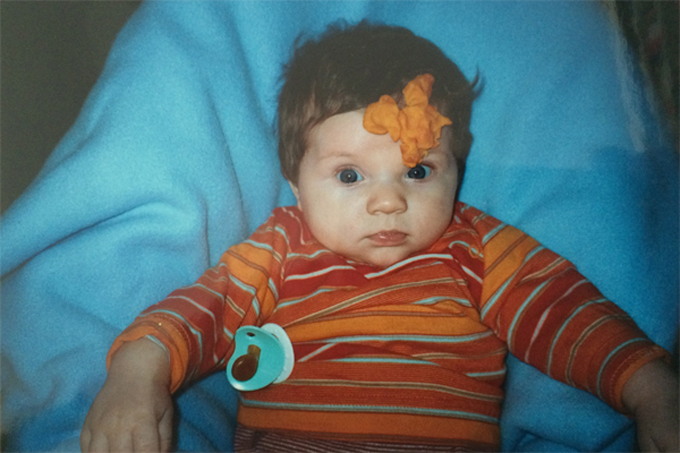
Playdough face! Bar’s middle child, 17 years ago. Older sister was so over this baby’s cuteness.
Thank you for following along! We hope you find yourself with lots of extra time to yourself this week while your children play endlessly with playdough.
Don’t forget to sign up for my newsletter so you can get our new guides sent to your inbox each Sunday morning.
Sign up here:
xo, Bar and Shannon
PS: Shannon sells amazing art kits, too!
– – – – – – – – – – – – – – – – – – – –
A little about Shannon:
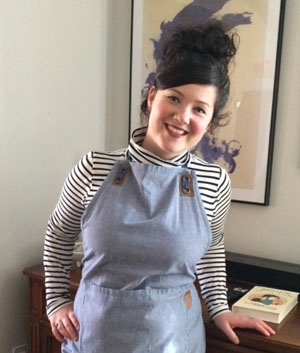
Shannon Merenstein is the founder and director of Hatch, an art and play studio in Pittsburgh. She is the author of Collage Workshop for Kids from Quarto Publishing, and a mom of two. Before that, she was an art teacher and instructional coach for years in an elementary school. Shannon also facilitates professional learning opportunities for teachers around the region to bring open-ended art-making and creative play into the school day.
Follow Shannon on IG @hatchartstudio, and find her on Facebook.
Shannon also makes the cutest “Hatch On-the-Go Art Kits”, and you can find her book on Amazon.
Read more of Shannon’s posts on Art Bar here.
– – – – – – – – – – – – – – – – – – – –



Thanks.
Fantastic ideas and wonderful photos
I love your activity guides!! Thank you very much for taking the time and caring to put them out there. Huge appreciated on our end.