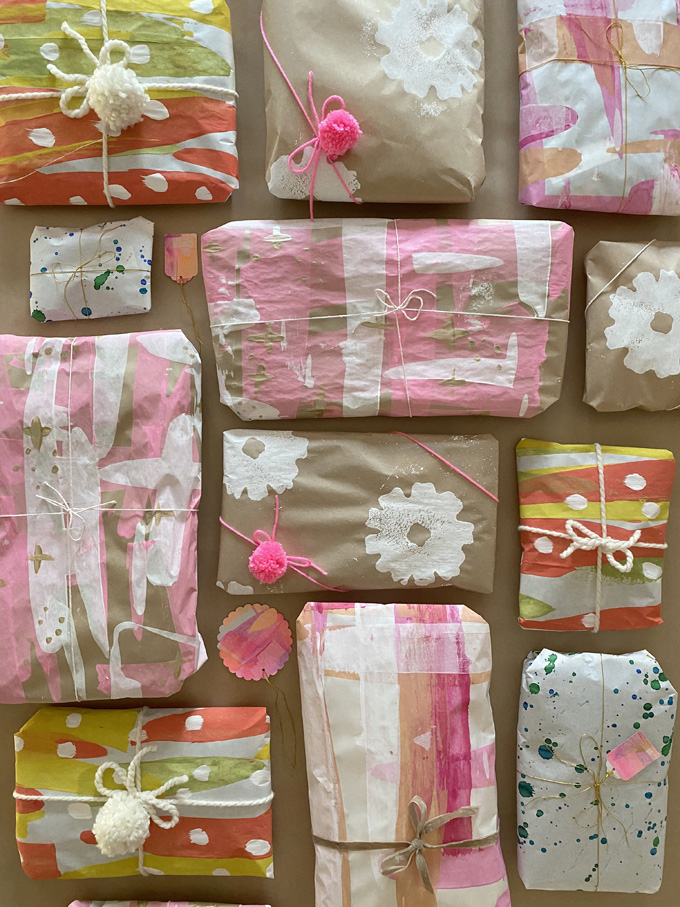
On December 1st (2 days ago) I decided I wanted to wrap all the presents I’ve collected for Christmas and get them out of my office. I usually do this on Christmas Eve, if you can believe it. It became a tradition when the kids were little to wrap presents by the fire after they went to bed. But, BUT… sometimes traditions end and new ones begin. Like.. to be done with Christmas by December 1st! Sort of. Anyway, I realized I had zero wrapping paper, so I decided to make my own!
Let me tell you all about it. Plus, I made a video that I will post at the bottom so scroll down to watch that.
[ I am a participant in affiliate programs designed to provide a means for bloggers to earn small fees at no cost to you by linking to Amazon.com and affiliated sites. ]
Supplies for DIY Wrapping Paper
~ Butcher paper, in either brown or white
~ Masking tape to tape the ends down to the table (I put a drop cloth on the table first then the paper on top)
~ Tempera paints (I used mostly my pre-mixed glass jars, but also fluorescent pink, gold, and white)
~ Old, expired gift cards
~ Liquid watercolor (I used blues and greens, and then some gold on top)
~ Craft foam and a foam roller (if you are going to make a stamp)
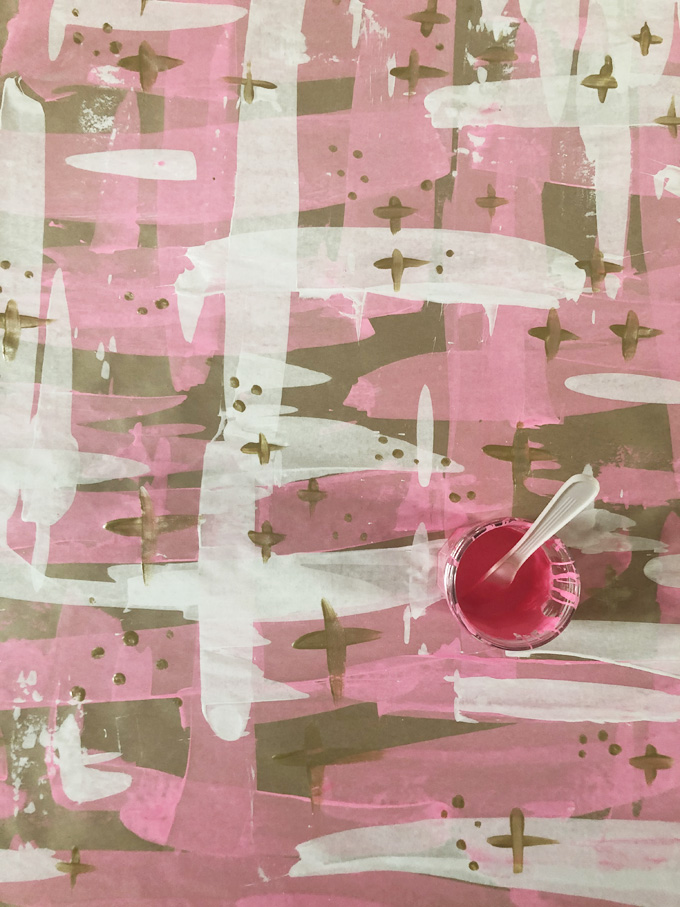
DIY Wrap / Scrape Painting with Fluorescent Pink
1. Tape your paper down to the table.
2. Mix the fluorescent pink with some white for opaqueness.
3. Using a spoon or knife, plop some dollops of paint in different places along the top of the paper. Then use your plastic card to scrape the paper down. For this one I scraped both down and across to create crosses.
4. When you get to the bottom, go back to the top and add white dollops of paint to scrape on top of the pink.
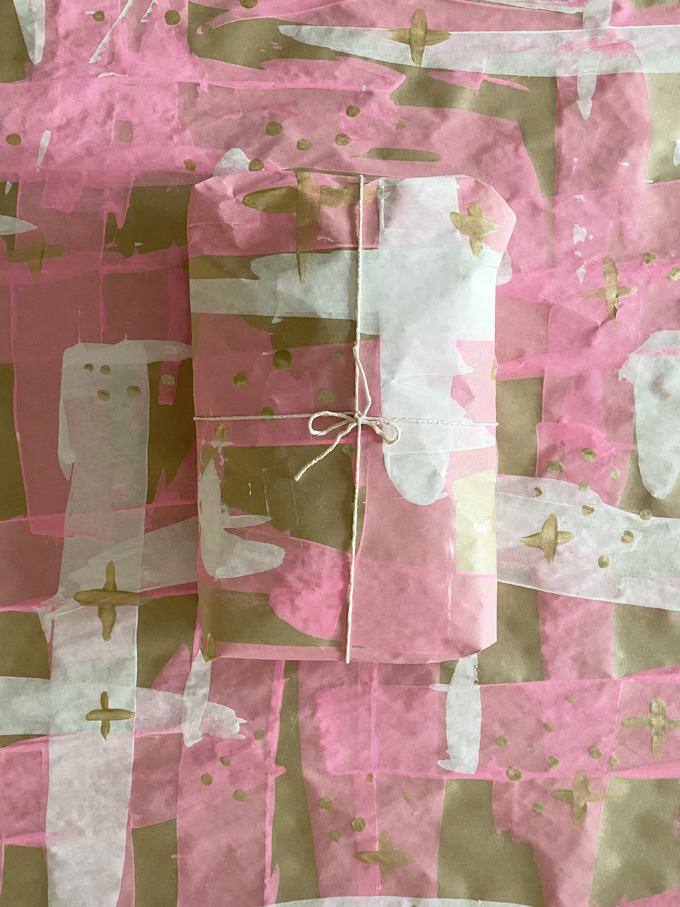
5. Again, when you get to the bottom, go back up to the top and add gold paint embellishments. All of this can happen really quickly, there is no need to dry in between. The paint dries pretty quickly and it’s ok if it’s not completely dry.
6. Dry your paper, then cut it up and wrap your gifts! I used simple twine to wrap around the gift just to keep it simple and let the paper shine.
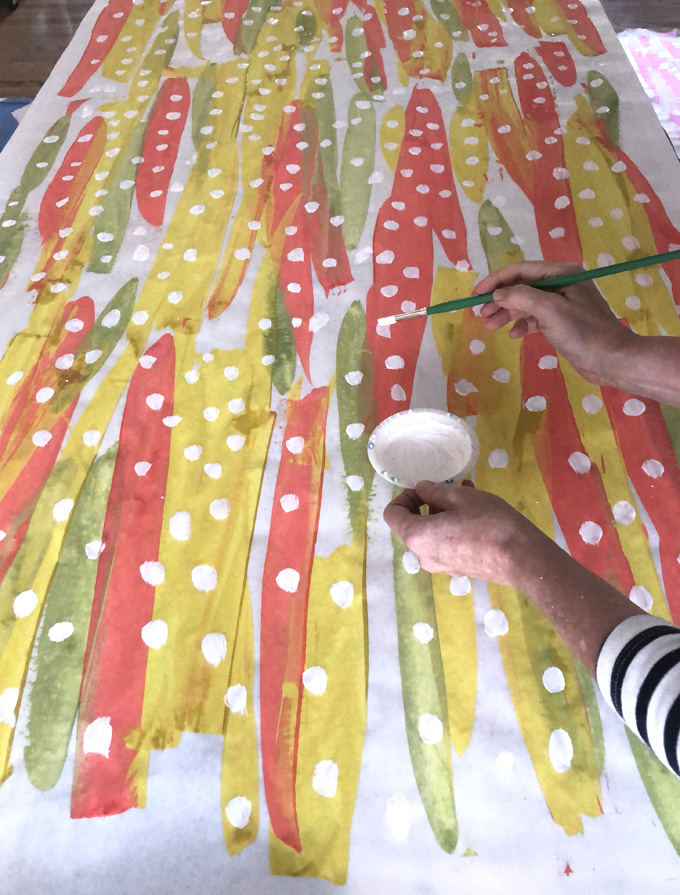
DIY Wrap / Scrape Painting with Three colors and White Dots
1. This time I used white butcher paper. Cover your table with paper and tape it down.
2. Using the same scraping technique, this time I chose three colors and moved the paint in just one direction.
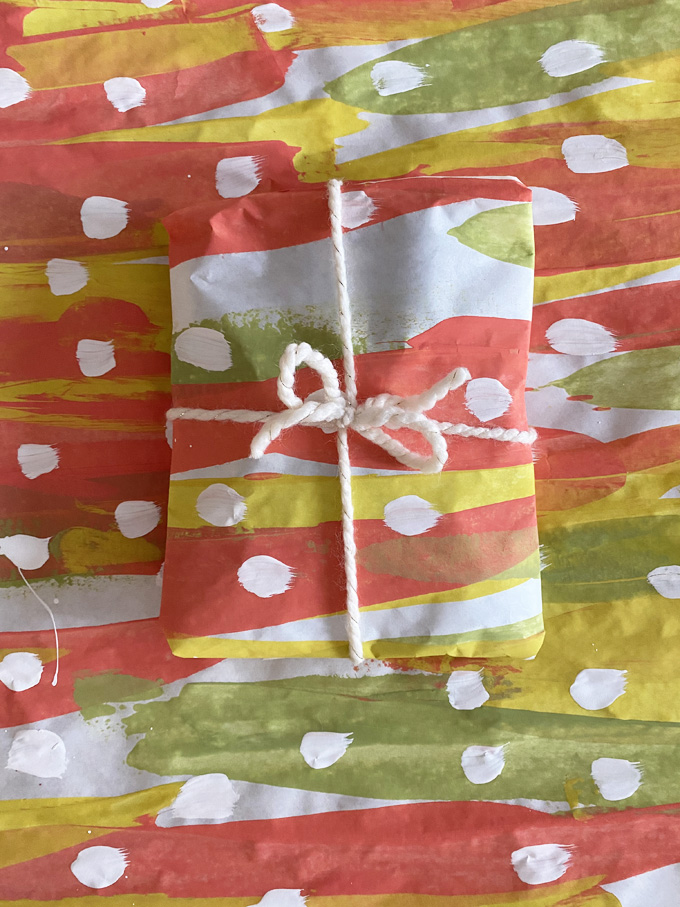
3. After you’ve covered the paper (make sure to leave some paper uncovered so when you use it as wrapping paper, the tape has something to stick to), go back and add the dots. I used white paint for the dots, but you can use black dots as a contrast or any other color.
4. Let it dry and use for wrapping paper!
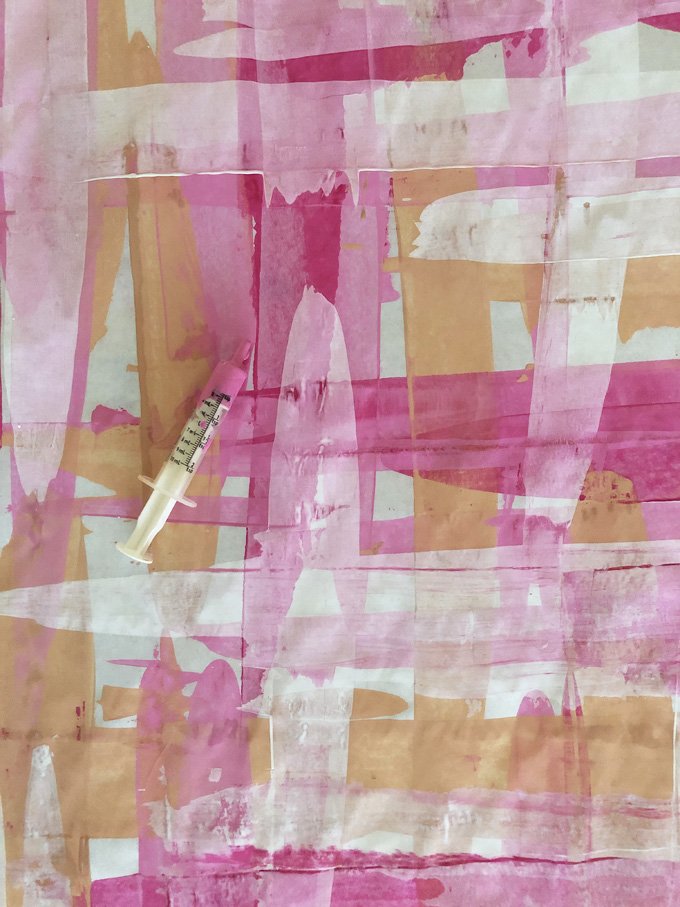
DIY Wrap / Scrape Painting Plaid
1. Cover your table with paper, I used white paper again this time.
2. And again I used three colors but this time I overlapped them in both directions to create a plaid effect.
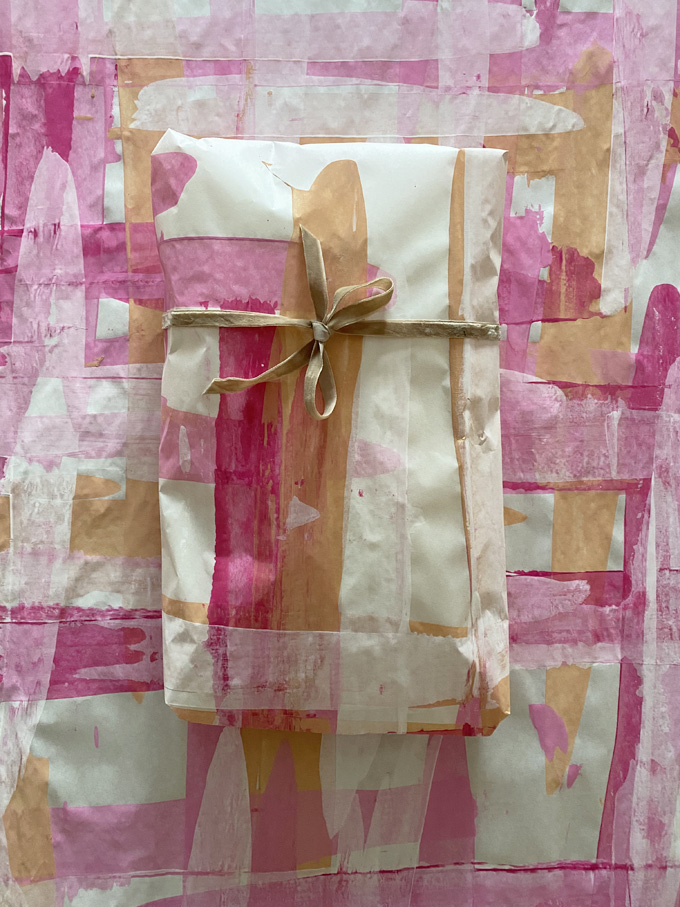
3. When dry, go over everything again with white paint to mute the colors a little bit, and let other colors pop.
4. I paired this wrap with a beige, velvet ribbon. I think this one might be my favorite.
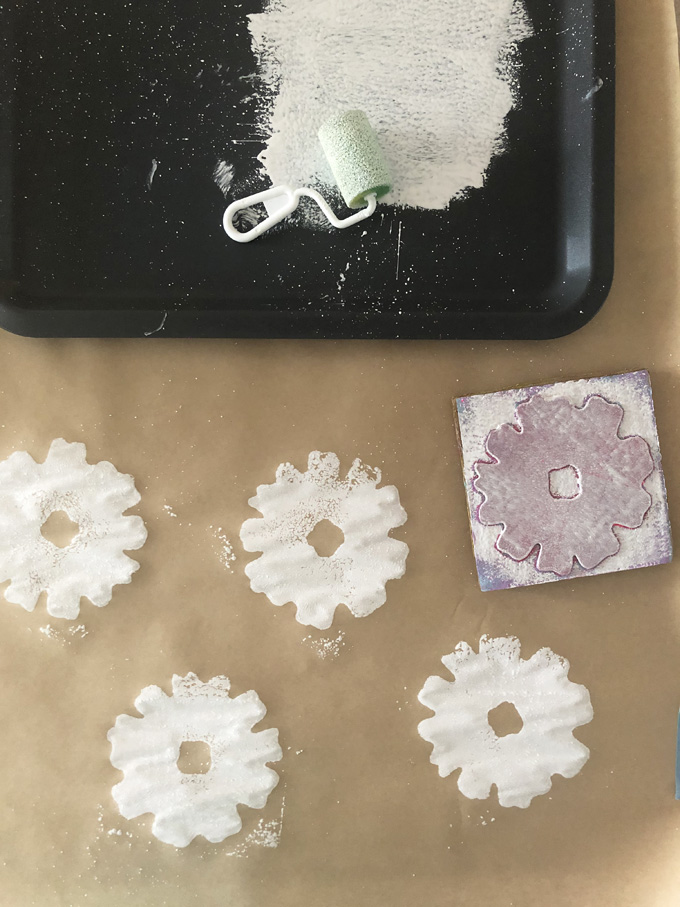
DIY Wrap / Printing with a Handmade Stamp
1. Cover your table with butcher paper, I used brown paper this time.
2. Follow these instructions to make this large stamp from craft foam.
3. Roll out some tempera paint on a tray using a foam roller. Roll the paint onto the stamp, then turn over and press down.
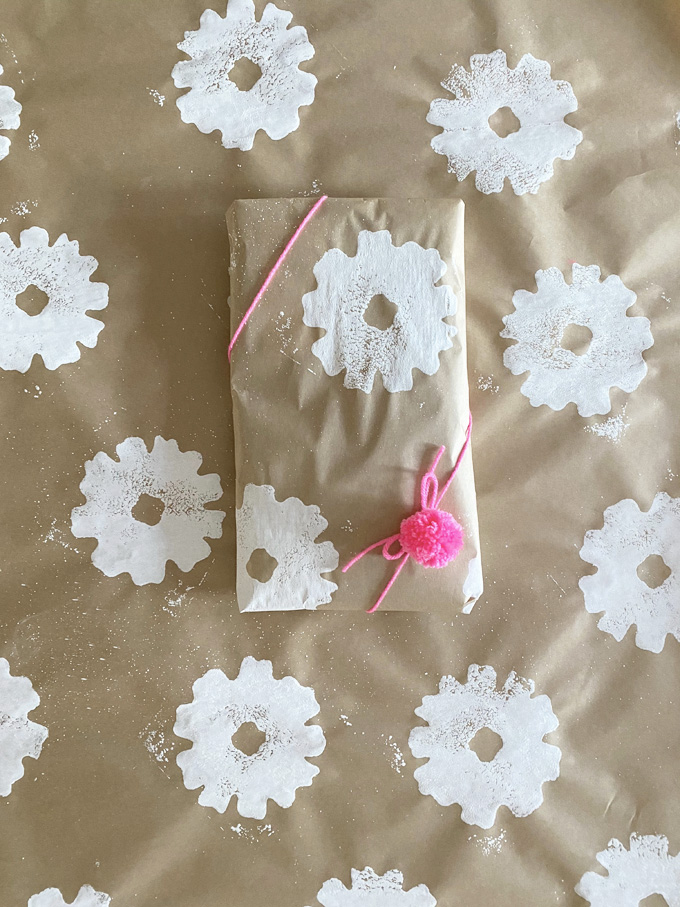
4. The beauty of hand stamping lies in the imperfections. I love that you can sometimes see the edges. and also the foam roller creates some splatter which is also so cool.
5. One of my fave combinations is brown paper with neon pink! I made a little pompom as an embellishment, but it would be just as cute with plain pink yarn.
DIY Wrap / Splatter Painting with Liquid Watercolors
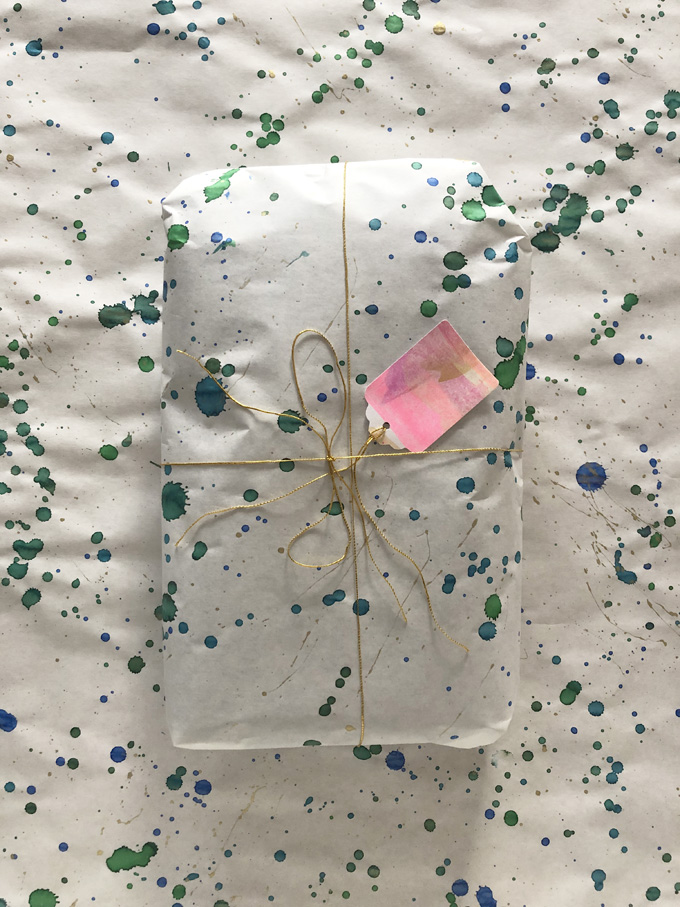
I use this technique all the time for some quick wrapping paper that dries in minutes. If you don’t have liquid watercolor, you can use regular watercolor and just make it really watery, or you can use food coloring diluted with water.
1. Cover your table with paper – or even better, do this one outside. Using a brush that can hold a lot of paint, dip it into the liquid watercolor and then splatter the paint by holding your hand close to the paper and just flicking your wrist a little. Small children can really go crazy doing this because it’s SO FUN, so make sure to set some rules early. It’s definitely possible to splatter without creating a big mess. You could also use the block technique which I describe here, and also show you on the video below.
2. When your done using the colors, go back over with some gold tempera paint or gold liquid watercolor! That extra sparkle really makes a difference!

This is wrapping paper my kids made years ago when they were little using watercolors.
Click here to see even more DIY wrapping paper ideas!
Watch the DIY Wrapping Paper Video!
Watch the video above to see the paper making in action. I shot the video in a vertical format, which you can see on my IGTV, so I apologize for the weird, sideways version here! And also the iPhone app I used to make it only had one minute music clips, so I’m sorry, also, for the looping! Sometimes I only have energy for low-tech videos.
Show me the papers you’ve made by tagging me on Instagram and I’ll do my best to share!
Happy DIYing!
xo, Bar
– – – – – – – – – – – – – – – – – – – –
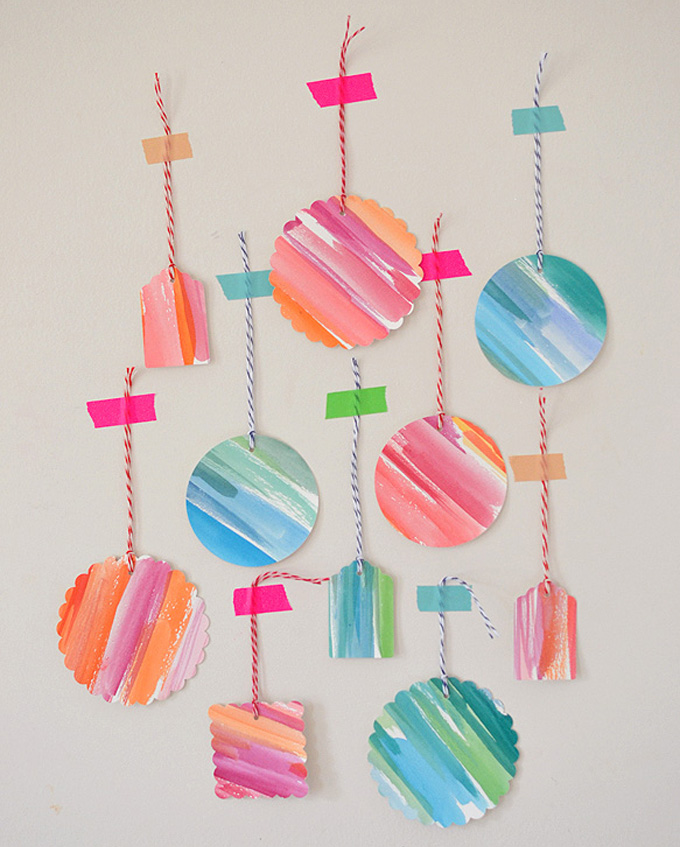
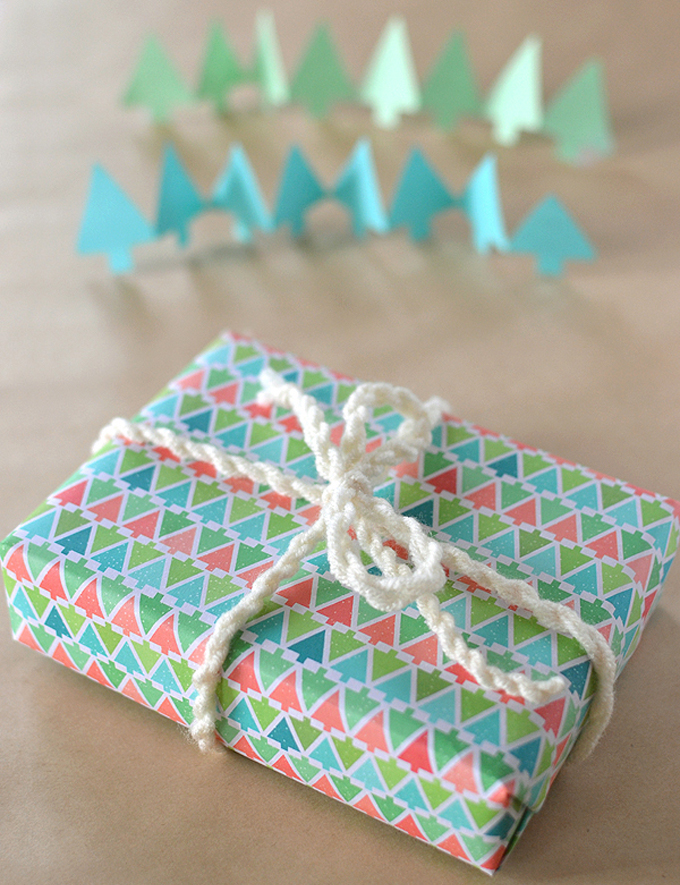


This looks like SO MUCH FUN! Unfortunately I have a bit of a wrapping paper “habit” (or maybe addiction. Let’s just say I have way more than zero wrapping paper…) About 6 years ago, I invited my mom, sisters, cousins and a niece-in-law for a day of gift-wrap making. We used some foam stamps I have on rolls of brown craft paper and made paper and gift tags. If we are able to – I will definitely be inviting them back next December to try your painted paper technique. Thanks for being the inspiring person you are!
This DIY wrapping paper idea is such a creative way to make gifts feel extra special and personal! I love how handmade wrapping can add beautiful artistic details while making gift-giving more fun and memorable. A great craft project for anyone looking for DIY wrapping paper, creative gift wrap ideas, and handmade holiday inspiration.