Todays post comes to you from Samara Caughey who runs a children’s art studio in LA called Purple Twig. I have written – and gushed – about Samara before. You can read my interview with her here. She is one of the most creative and imaginative people I know. She is a constant source of inspiration to me. And I just love this project because it is so simple yet there are some very interesting concepts being explored.
So, without further ado, here is Samara…
As an art teacher who has been teaching for over 15 years and now owning my own art studio, Purple Twig, for over 5 years, I have a group of projects stored away in my brain that I visit often. Projects and materials that span the developmental ages appeal to me most. These projects can be altered and adjusted to suit any season or any age. This watercolor dyed banner is one of those projects. I have made this with 2 year olds and with 16 year olds. Each age uses the material to their maturation.
This post contains affiliate links. Thank you for your support!
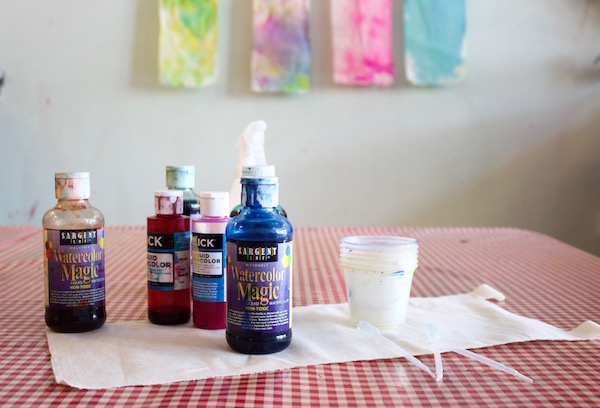
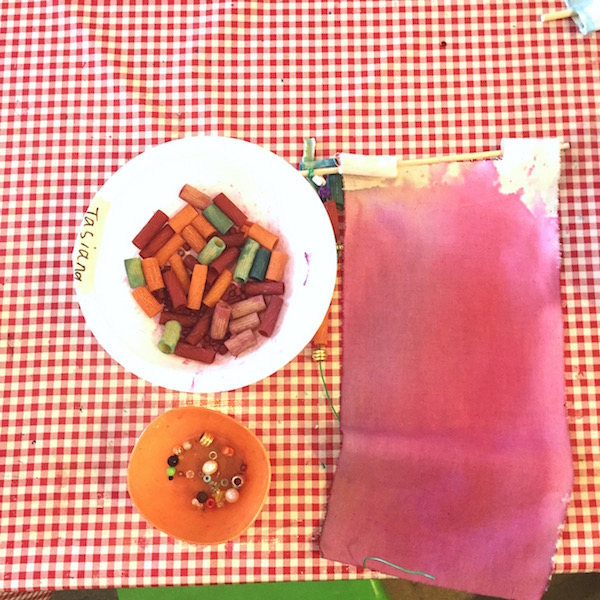
Start with these materials:
- Liquid watercolor paints- I use a variety of brands so choose what you like (above are the Sargent brand)
- Muslin fabric about 9” X 18”. I like to cut a long thin banner but you can cut it any size or shape you like.
- Pipettes
- Spray bottle
- Cups for watercolor paints
- Dowel – which you can get at any hardware store (or online here) – but you could also use a stick – for hanging the banner
- Beads or dyed pasta– (optional)
- Wire or string for beading or hanging the banner.
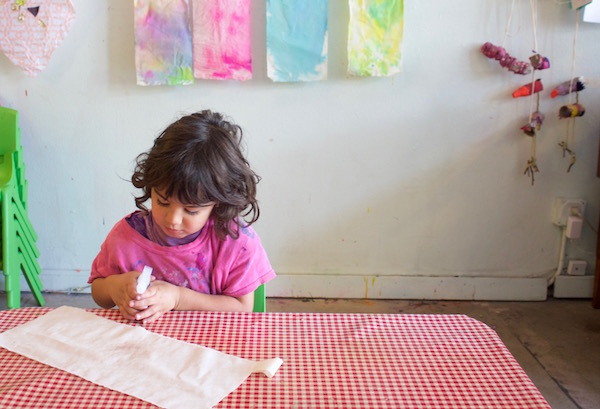
The key to this project is no brushes. The pipettes allow for the artist to focus on the color and placement but also allow for some spontaneity of the watercolor. For the younger kids, the using of a pipette is a wonderful fine motor practice and a way to discuss cause and effect. For the older kids it’s a great way to free them up from making a painting that is “perfect” and focuses on the process. It can give them a sense of freedom in not needing to create something representational.
Here is the process:
To prepare the muslin I cut a rectangle from the middle top to create two tabs on both sides of the banner which I then glued down to make two loops for the dowel to pass through.
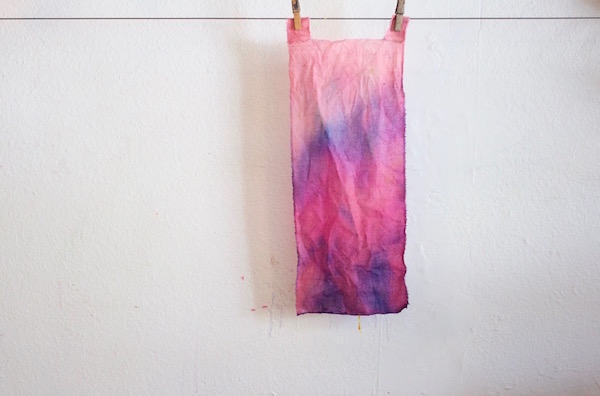
Mix water and liquid watercolor with a 1:1 ratio and put the decided color into a plastic cup. It’s good to wet the muslin first to allow the pigment to enter the fabric. The spray bottle is perfect for this.
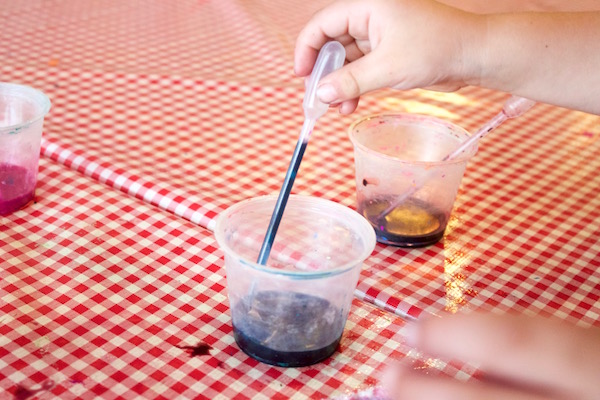
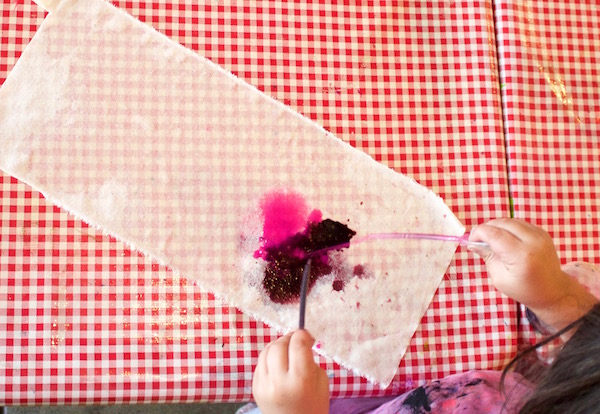
Once wet, the fabric is ready for the watercolor paint. Use a pipette and squirt it wherever you like. Then you can go back and forth between the spray bottle and the paint, change colors if you want or do two colors at a time.
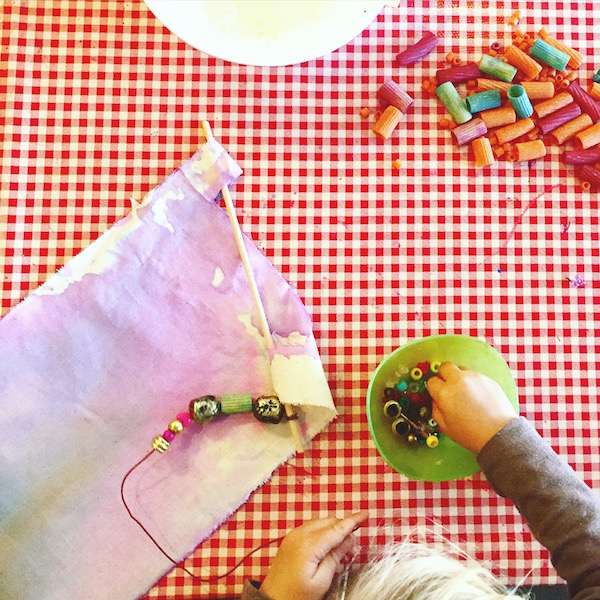
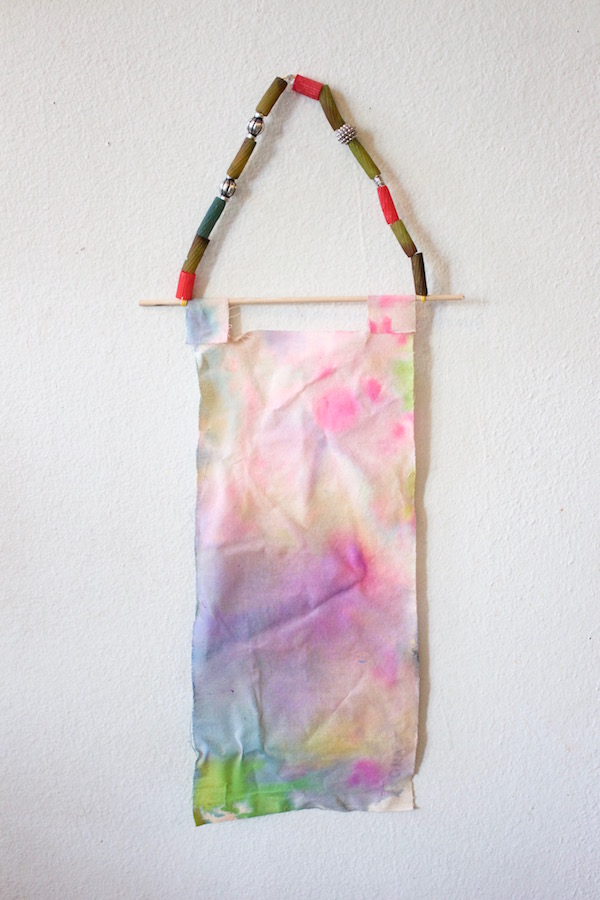
After the banner is dry you can pass the dowel through the loops. Tie the wire to one end of the dowel and bead as you like.
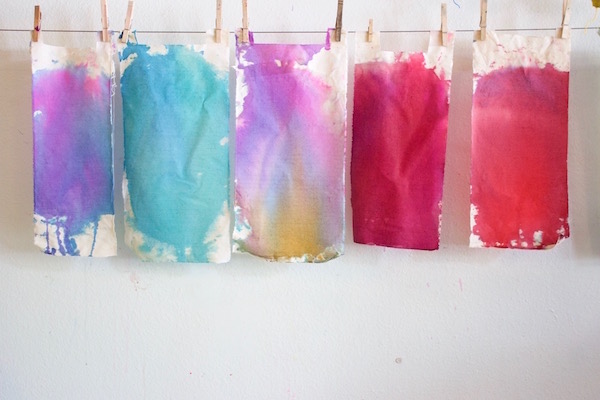
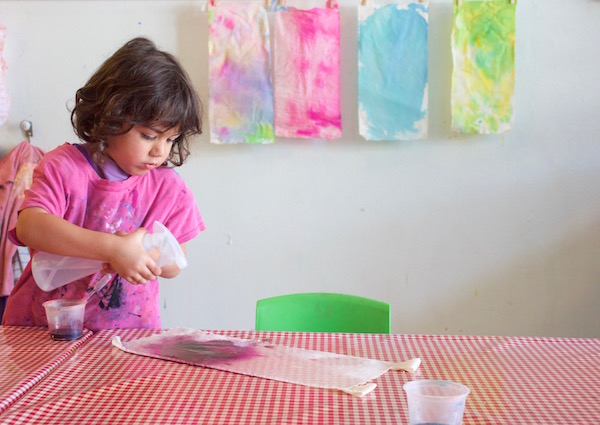
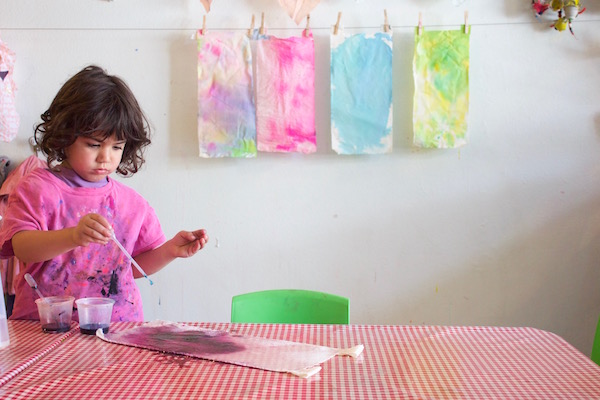
These banners are so beautiful to have hanging around. Three or four look wonderful hanging together.
//
Thank you Samara!! I can’t wait to try this in summer camp. I’m envisioning maybe some printmaking on top 🙂
You must follow Purple Twig on Instagram, her feed is just divine. And click over to her blog for even more inspiration (wait until you see her shaving cream cakes!).
Let me know if you guys give this a try!
xo, Bar
PS: Here is my Beginner Art Supply list, and my Favorite Craft Supply list, if you need help knowing what to buy to fill your kids’ art area.
PSS: Follow me on Instagram to see what I’m up to at the moment, and Facebook for tons more creative and artsy ideas.


Geez these are stunning! I am thinking of enjoying them in this way–then in fall cutting into triangle strips, throwing through sewing machine and voila Bunting!
Watercolouring is fun! I guess not only for children but for the adults too. I’d like to try it with my daughter.
this one would be so fun as a mother/daughter activity. there is no right or wrong, just color exploration! xo Bar
would this work with an old cotton shirt?
sure! I think it could totally work on any cotton. great idea!