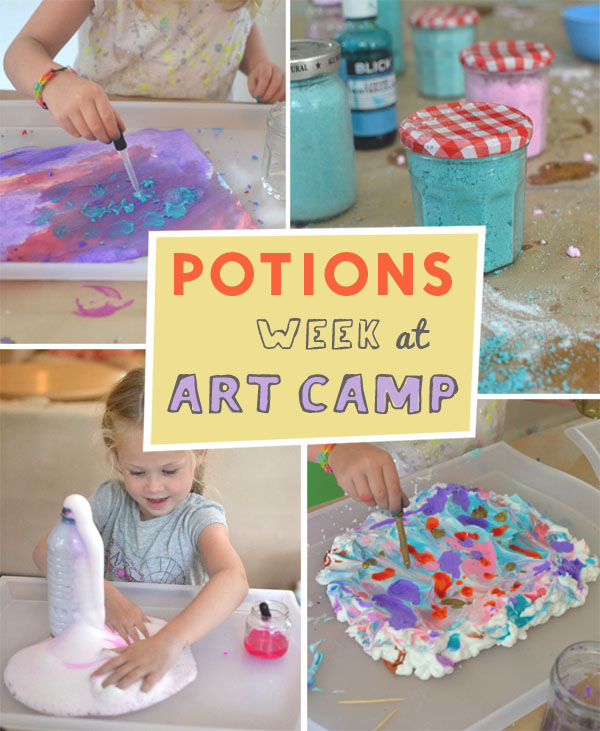
Oh my goodness, this was the most fun week of camp ever. It was truly epic! It wasn’t really as much of a “magic potions” week (like this day two summers ago which was the messiest fun ever), as it was a week about recipes and fizzing and mixing and just plain-old sensory messy fun. And some of the things we did were more along the line of learning techniques (like marbling and dying). But every day the children had their hands immersed in something.
This is also a good sneak-peak into how I structure my days at camp. I usually have two or three main projects, and then some “stations” where the kids go when they are done with their main exploration.
Our first day started like this…
BAKING SODA PAINTING
This recipe comes from Learn Play Imagine (click over for full details). It involves mixing baking soda with watercolor to make paint, and then dropping little bits of vinegar here and there and watching it fizz. They did this for an hour!!
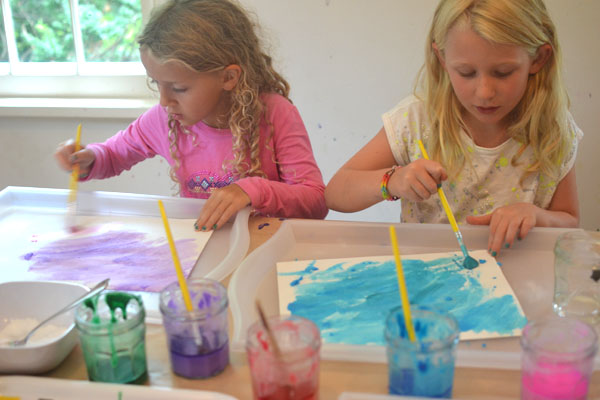
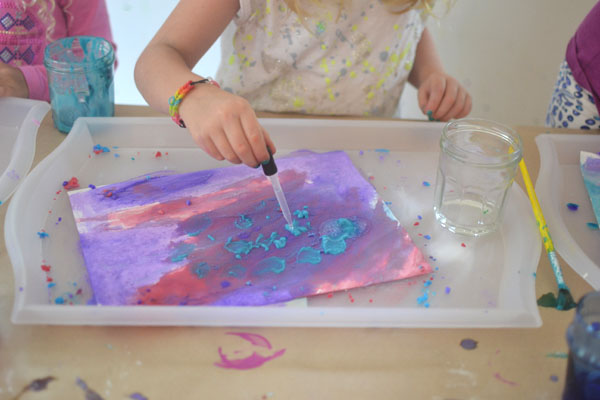
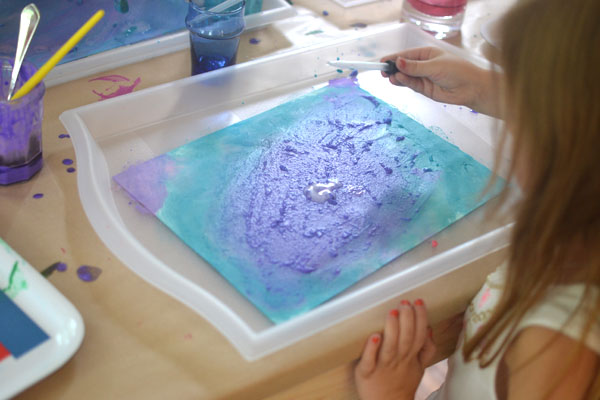
This never got old. They only ended because I told them that I ran out of paper. I find that it’s important to put out colors that mix well together. I’ve said this before, but it’s always worth mentioning.
BEADED BUBBLE WANDS
I first saw these beautiful wands over at The Artful Parent. We adapted them only slightly by using lollipop sticks instead of dowels. I just love how beautiful they are!!
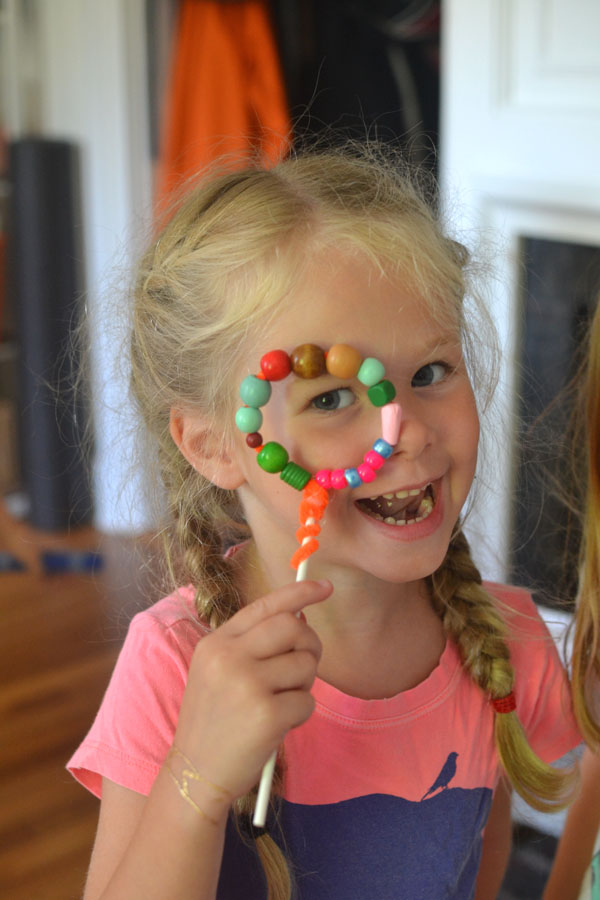
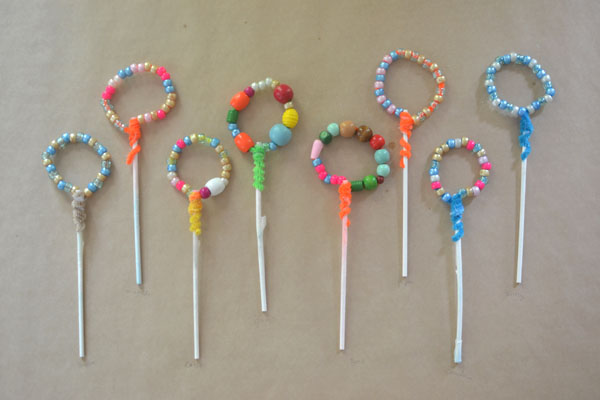
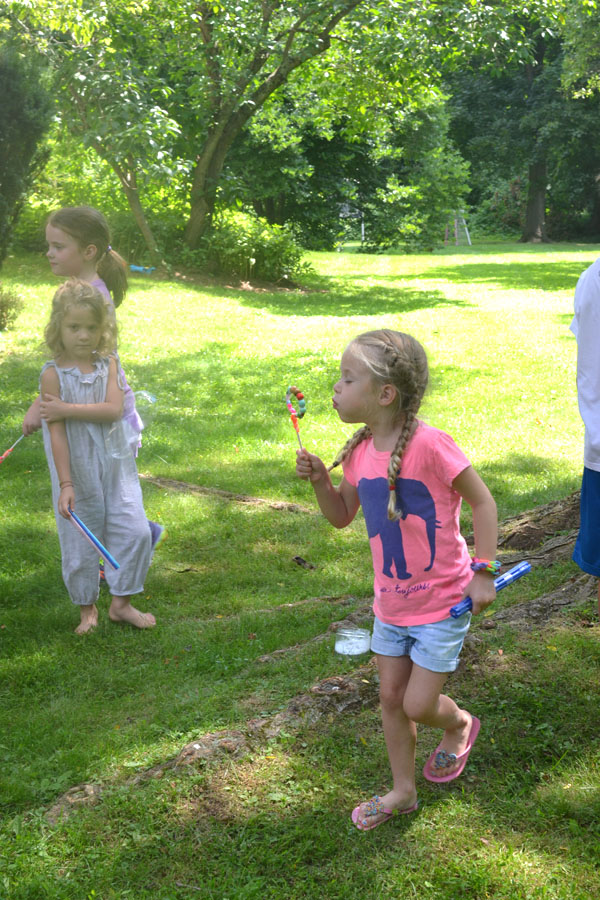
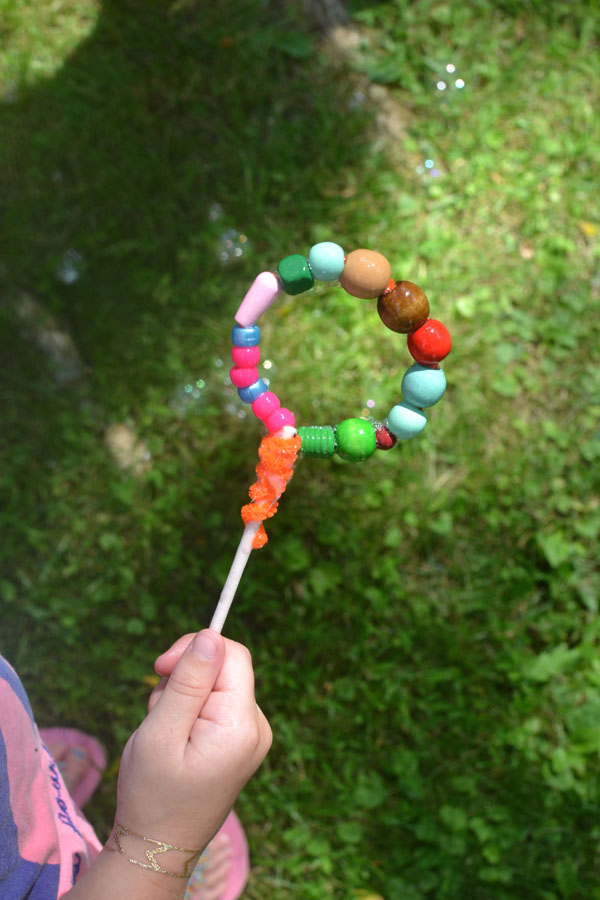
I honestly can’t remember if we used homemade bubble mix or store bought bubbles. But let me just say, I have never made a homemade mix that works as well as store bought. So just buy the cheap stuff at Target and forget making it! The kids also made blowers from straws which was equally exciting.
On day two we started out with trays of shaving cream…
SHAVING CREAM MARBLING
I wrote about this process here, so click over and you can get the supply list and see some more photos. Let’s just say it was very VERY tempting for the kids to stick their hands in the shaving cream. But I told them they couldn’t. So mean. (I did let them at the end, but if I told them that in the beginning, they would have rushed through their marbling in two minutes flat.)
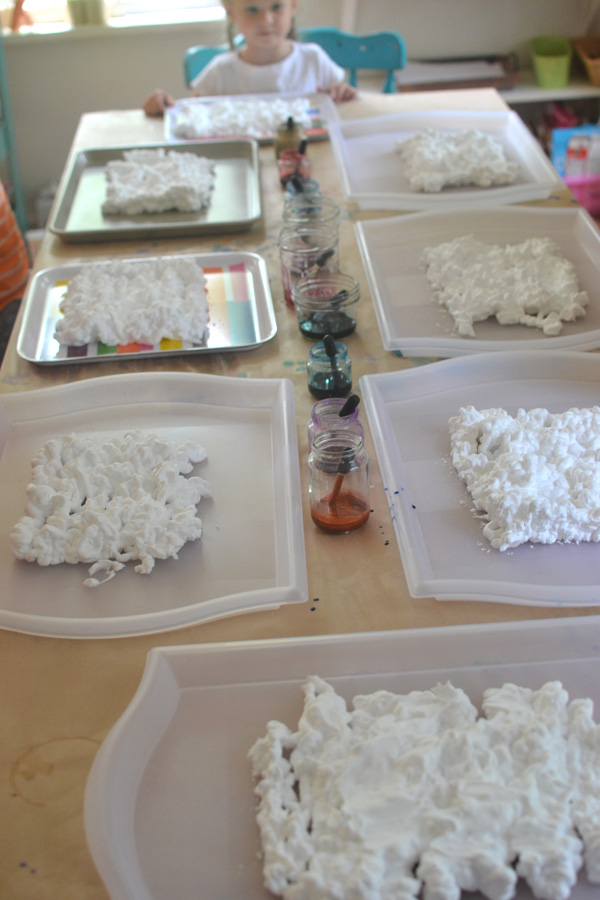
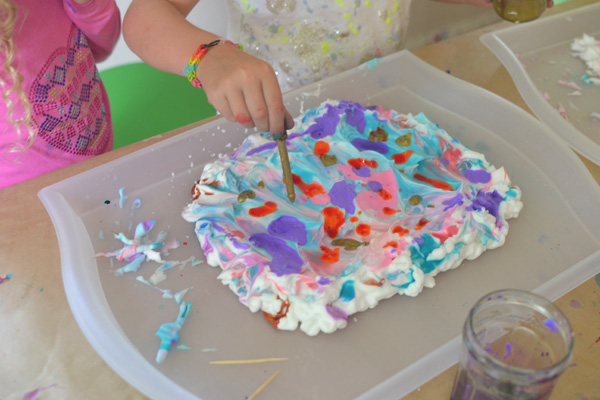
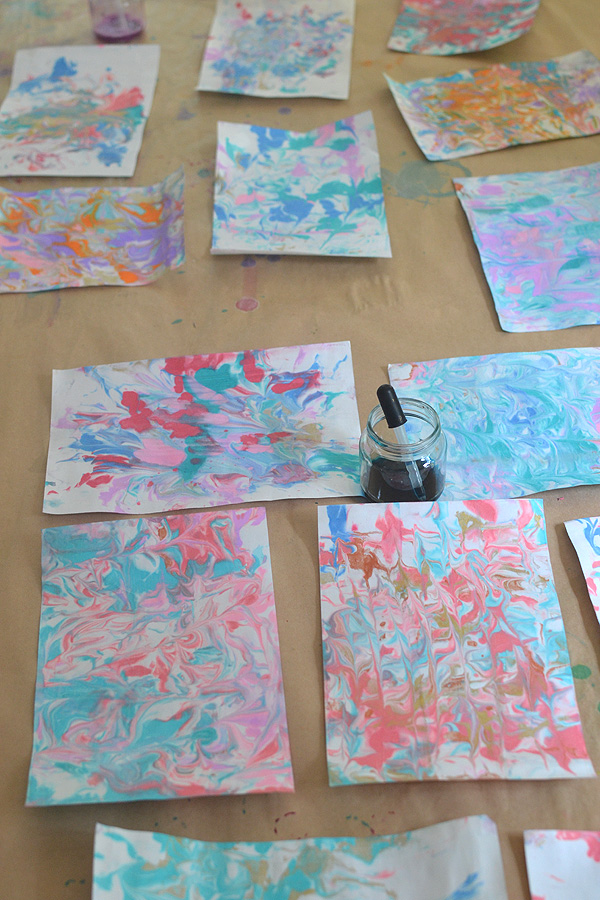
Aren’t these paper so gorgeous?
FIZZING BATH DOUGH
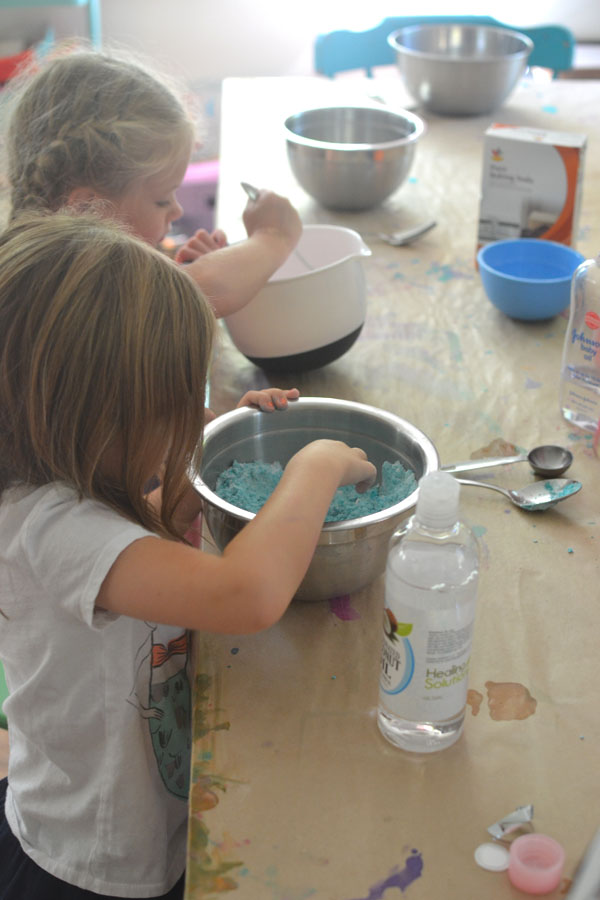
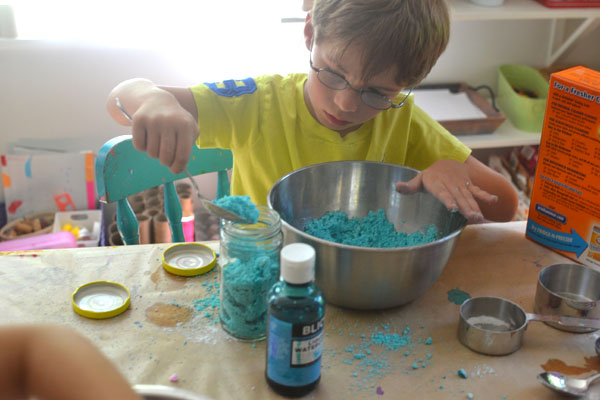
This idea came from the Tried and True blog. Go visit her post to find out where to get the supplies and how to mix it all together. This one was really, really fun. There was so much going on: pouring, squeezing, measuring, mixing, scooping, poking, squeezing, smelling. A project for all of the senses!
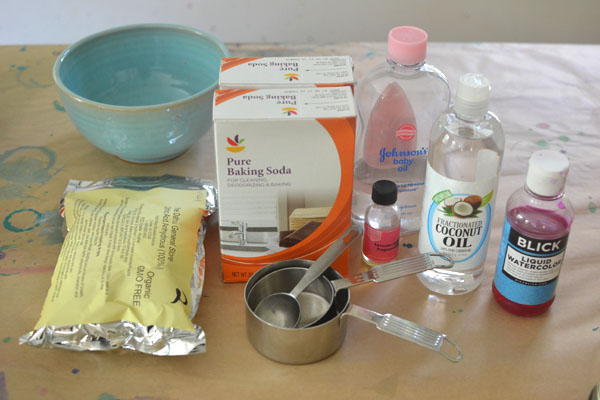
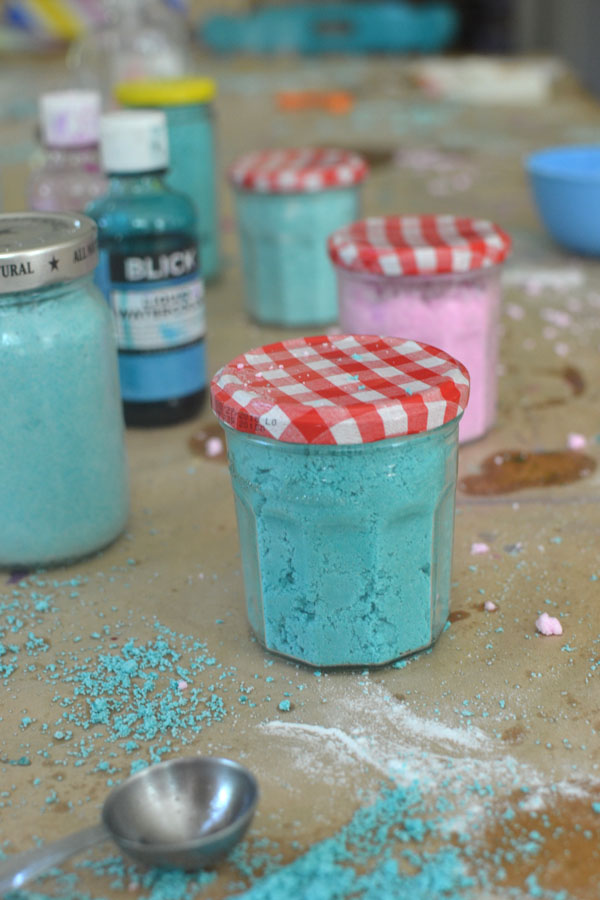
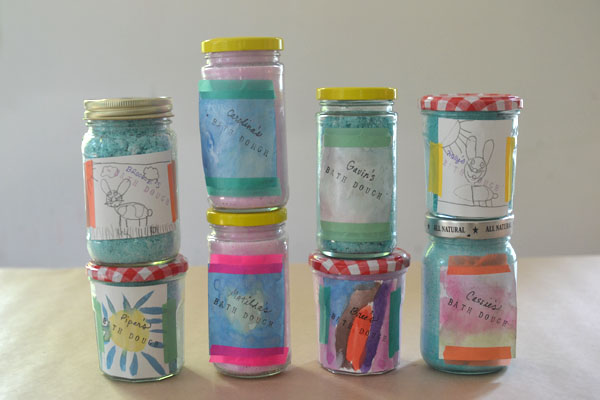
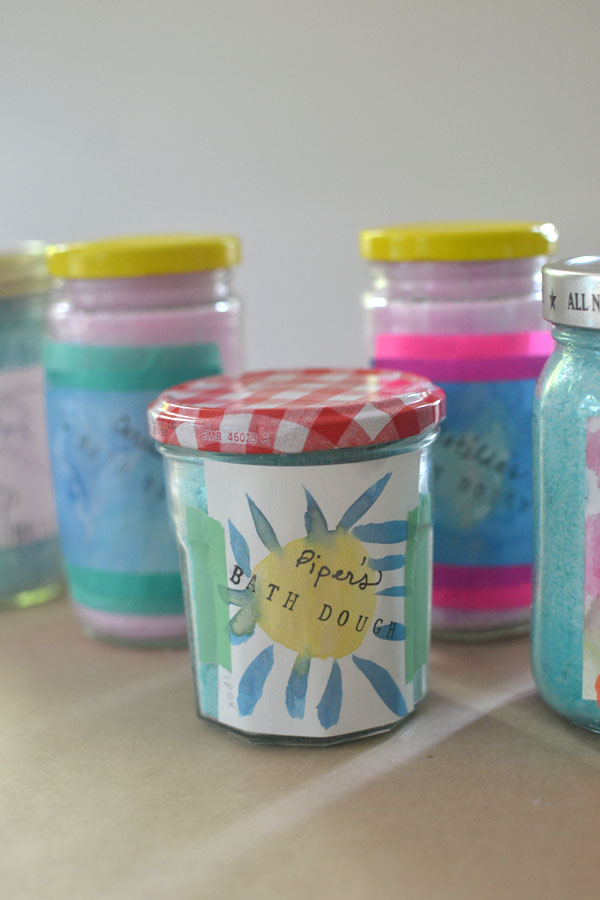
I set out little cards and watercolors on the “station” table and they all made their own labels. And then they got to take them home! This would make a great gift, too.
Day three started out with learning the techniques of Shibori…
SHIBORI TIE-DYE
I wrote about this fantastic day here. Read the post to find out all of the exciting details of how we made these amazing shirts!! This was not hard, I just really needed an extra set of hands or two to help the kids with the rubber bands. And there was definitely some down time in between batches, but that’s when the kids either helped me stir, ran around the yard and played tag, or (for the die-hard artists) went to the station and did some blow painting (keep scrolling down for that).
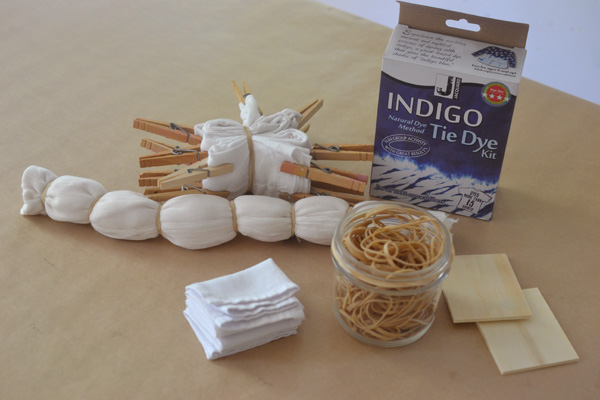
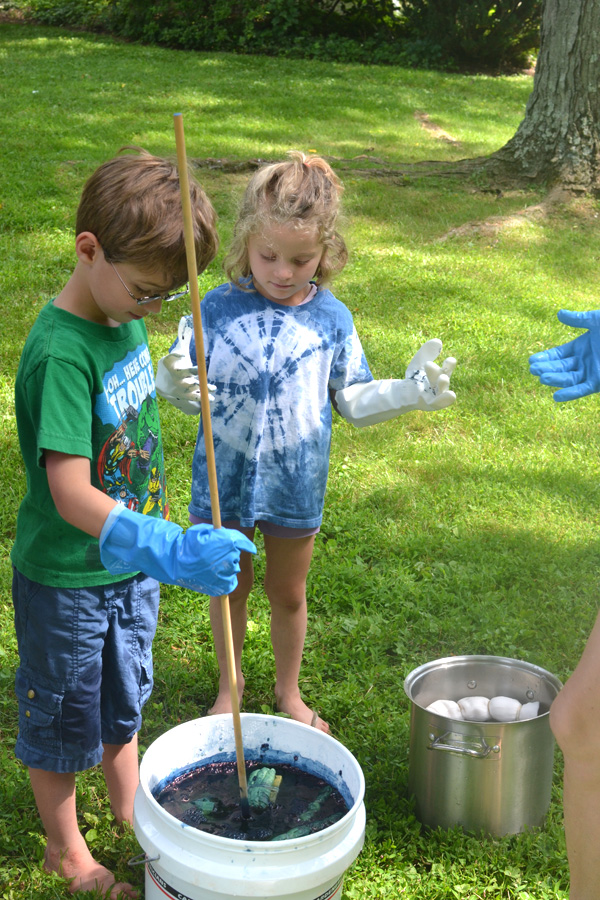
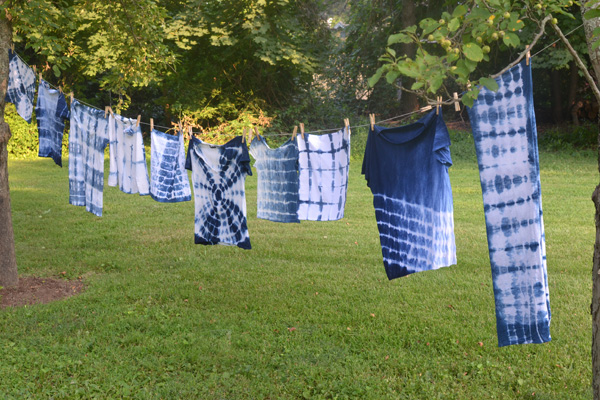
After the kids left, my 15yr old daughter and I went a little nuts dying everything white that we could find in the house. A scarf, some pillowcases, napkins. I almost tie-dyed my white jeans! But them my daughter – the voice of reason in this duo – told me to stop and just take a break already. Thank goodness for level-headed teens.
BLOW PAINTING
I have been wanting to try this for so long with my campers. I see lots of photos on Pinterest using this technique. I think it was The Imagination Tree‘s post that first caught my eye, but there are so many others. Some have made the cutest jellyfish or monsters with googly eyes and all!
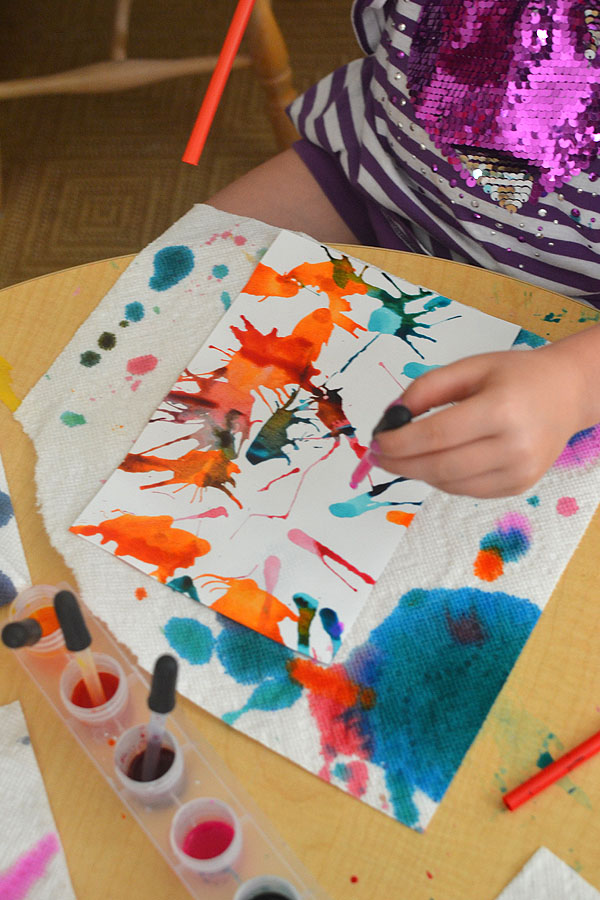
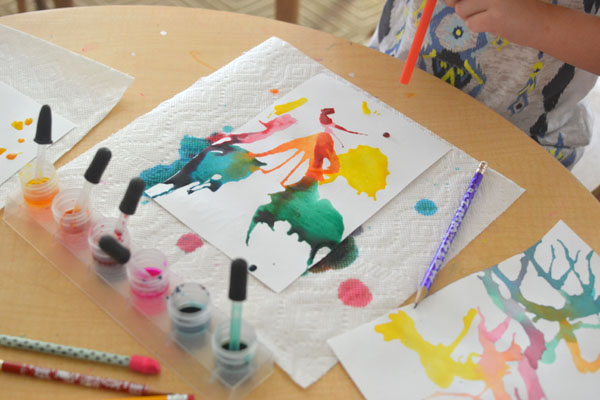
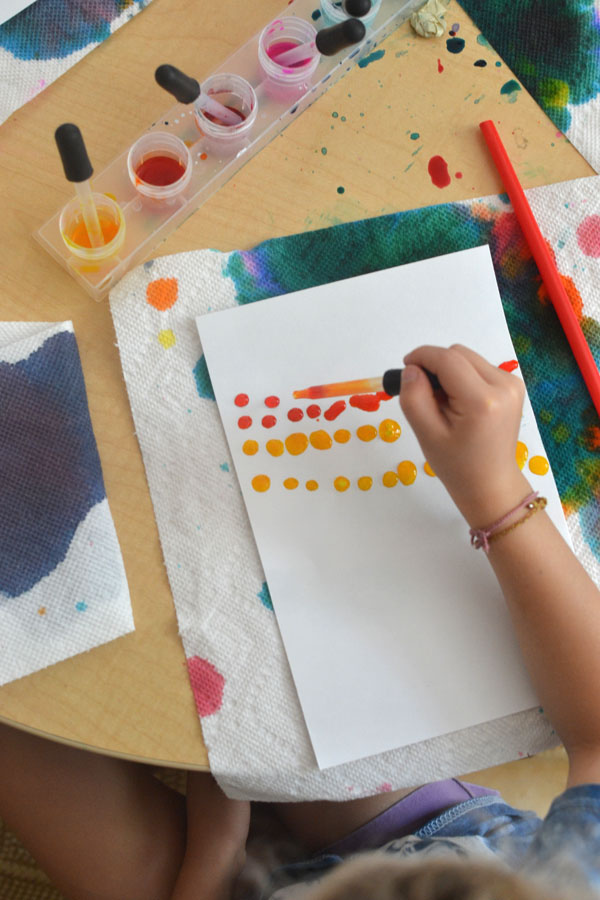
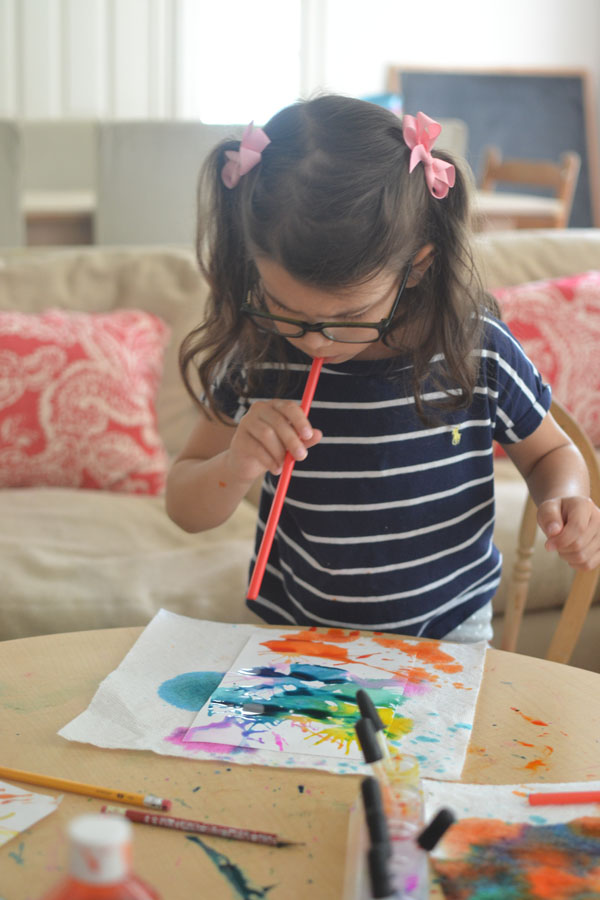
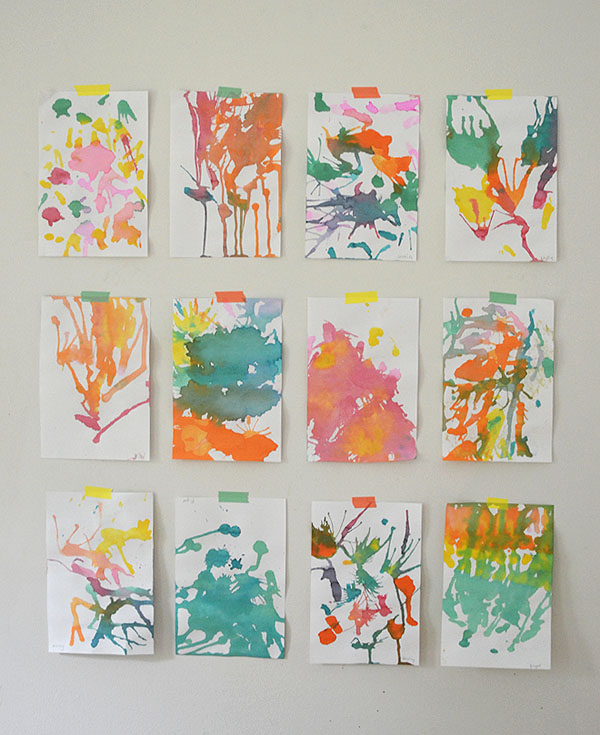
I thought these turned out so ethereal and interesting. Especially all taped up in a group like this. I wish I could have kept them all!
RAINBOW SOAP MAKING
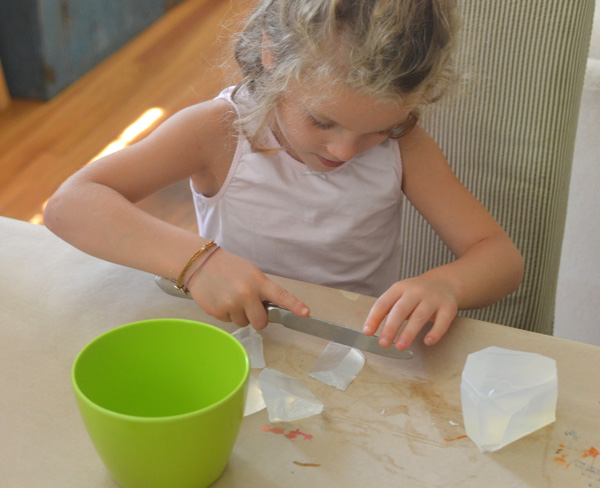
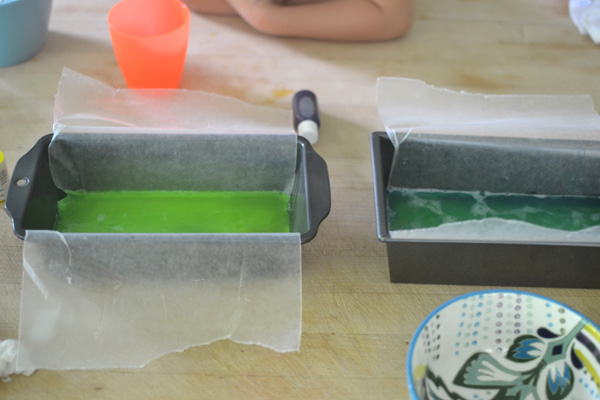
I wrote about how we made rainbow soap right here. You can find out the supply list and all of the other insights I have on this first try at soap making (and a funny OOPS that happened after all the kids left).
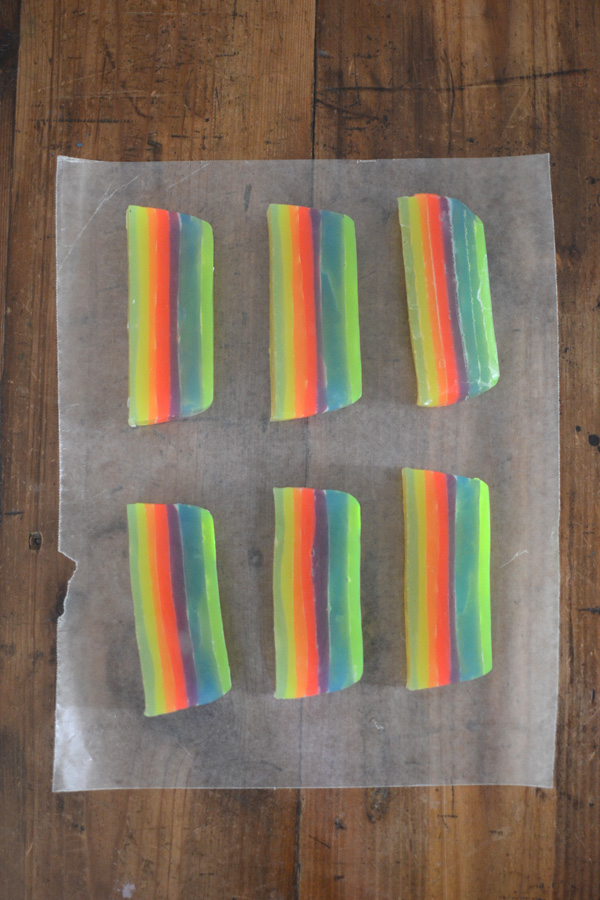
We just looooved the way these soap pieces turned out. My kids are still using them in their bathrooms!
The last day started off with a fizzy bang…
ELEPHANT’S TOOTHPASTE
Have you ever tried making this elephant’s toothpaste? We had never tried it before, and it was the coolest little experiment ever! Read about the ingredients and how to set it up from Fun at Home with Kids. (Asia also has a million other science-meets-art experiments and recipes, so definitely visit her site!)
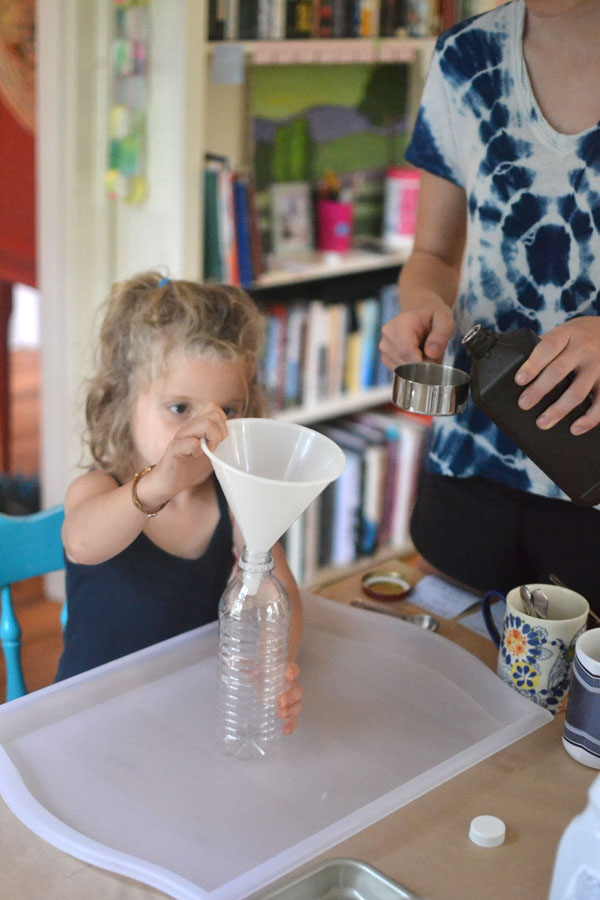
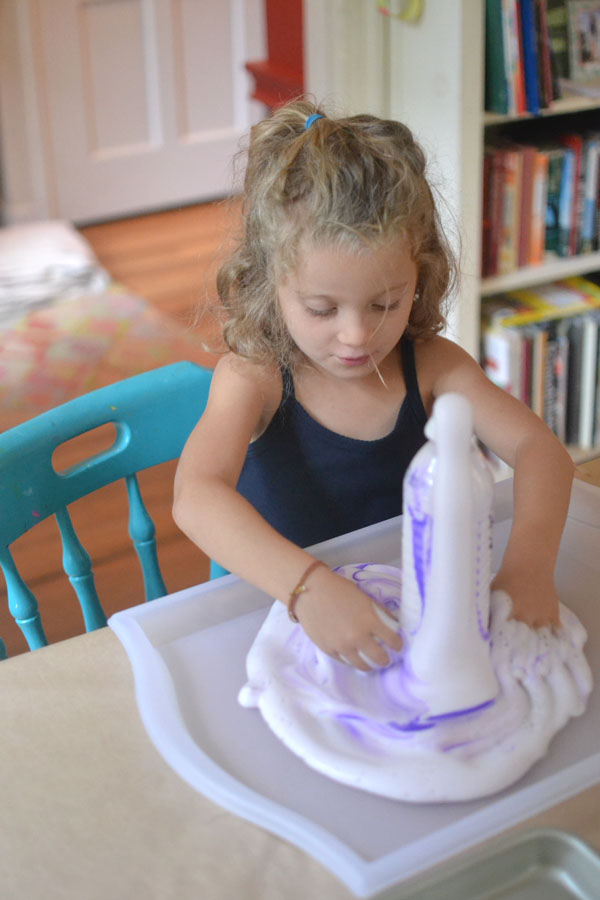
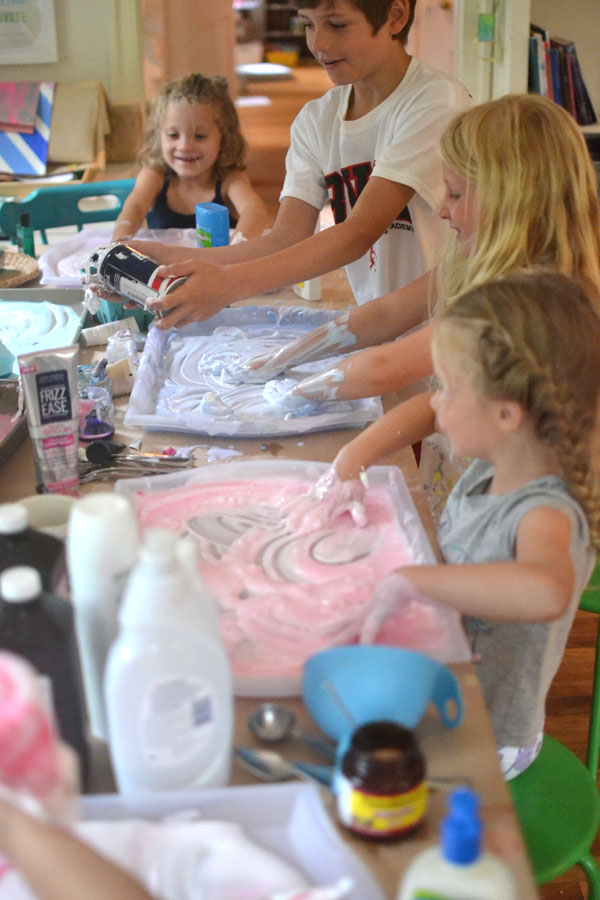
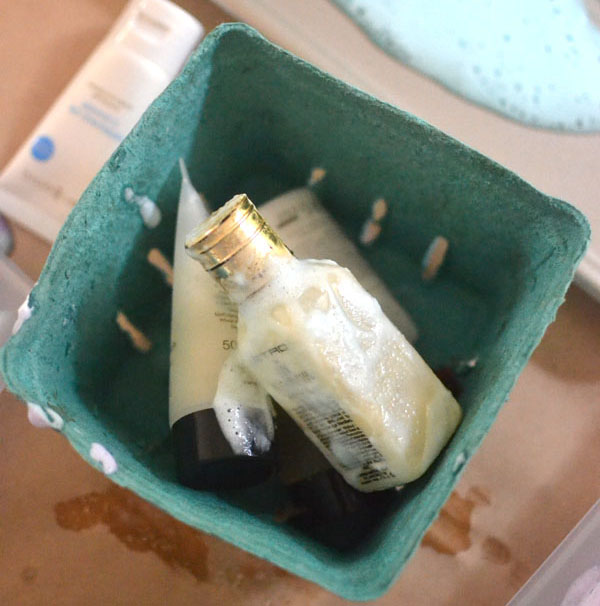
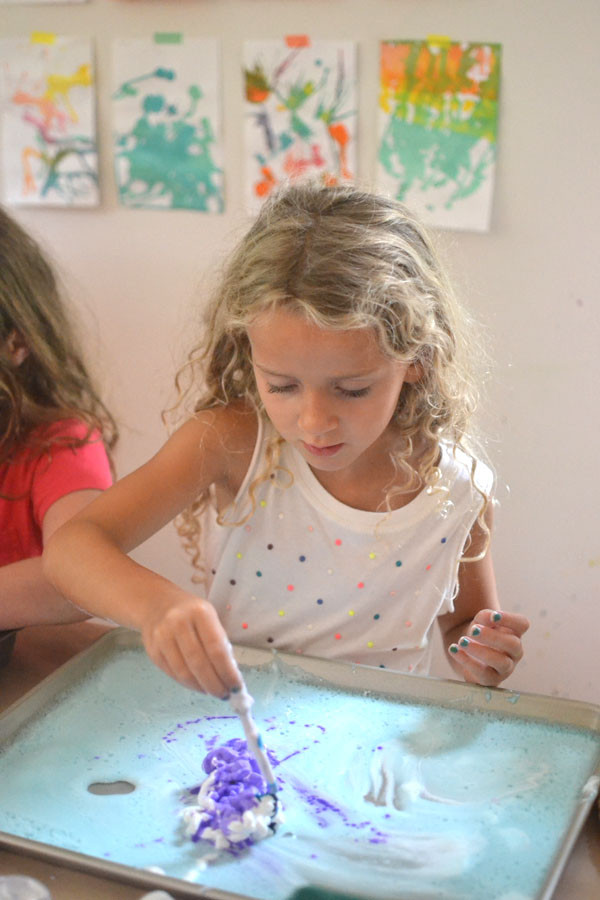
When the toothpaste stopped flowing, I brought out my collection of old lotions, shampoos, and shaving cream, and I let the kids mix and mush and squeeze until their heart’s content. Of course they loved it! And it was all contained inside a tray so the clean up was pretty simple. (I get my plastic trays from Ikea.)
FIZZY FRUIT CONCOCTIONS
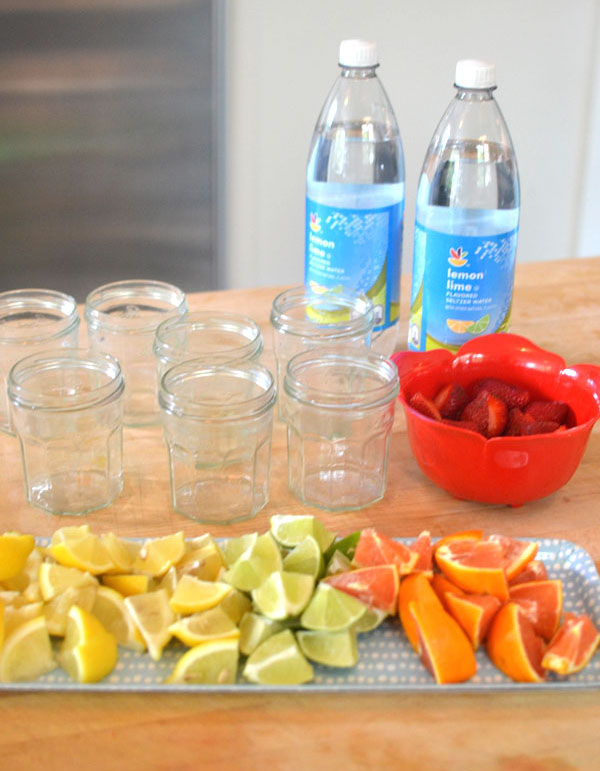
We made these on the last day at the end of the day, just for fun. I set out a fruit platter and some seltzer, and I also had a pitcher of lemonade handy. The kids just loved pouring and mixing and tasting!
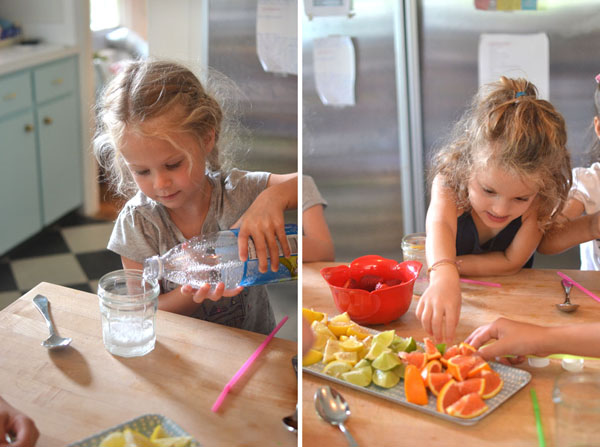
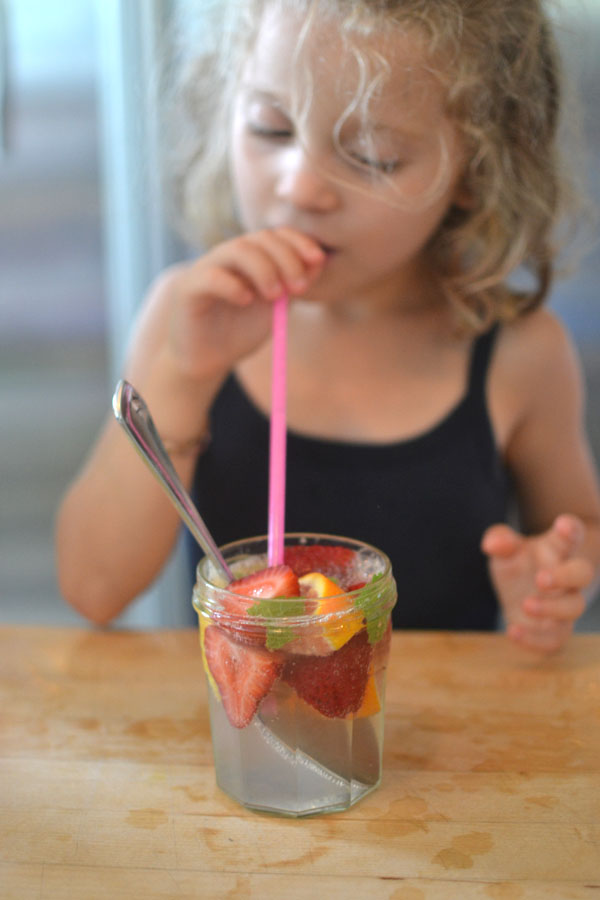
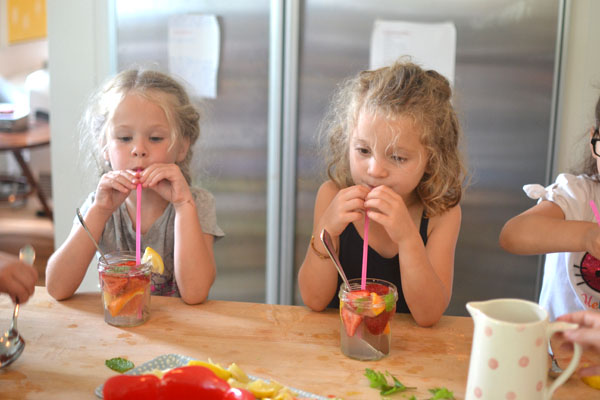
At the end, I pulled out a few lids and they could take their drinks home with them. It was a perfect ending to an amazing week of messy potions camp!!
I hope you have enjoyed this looonngg post. It sure was fun for me to relive this adventurous and lively week of art exploration!
xo, Bar
PS: Here is my Beginner Art Supply list, and my Favorite Craft Supply list, if you need help knowing what to buy to fill your kids’ art area.
PSS: Follow me on Instagram to see what I’m up to at the moment, and Facebook for tons more creative and artsy ideas.

I loved reading this post- what a great collection of ideas! And I have to say those jam jars with the check picnic-blanket type patterned lid are my absolute favourites as the label just slides off after a soak! I am always excited when something new comes up on your site. Bonnie-
You are so nice to leave a comment, Bonnie…and to read the whole long post!! It was a great week and I just wanted to share with everything some of the great recipes and ideas out there (almost none of which are mine, ha!). And yes, I love those jam jars, too. Makes me eat a lot of jam, though! Sometimes I finish the jam just to have a new jar 😉 xo Bar
Where did you get those great trays the kids are working on?
hi Kim, I got them at IKEA!!
Bar, I love your blog. I am heading into a week of camp at my school and these ideas are right on track! Thank you so much!
Ps-I would love to hear how you started doing camps and after school programs, especially in your home. Thanks!
thank you Betsey! hope the camp week was a success. you can always email me if you want to ask questions. barbara@bruccistudio.com. xo Bar
Thank you for sharing this post! I’m inspired to create my own potion-making week at a local camp this summer. (I’m teaching multi-disciplinary classes.) Do you happen to play any specific music while you’re making potions? I do enjoy classical fairy-inspired music, but I’m wondering what dance music we could also put on.
Just forwarded this to my daughter who will be home with her kiddos and their cousins this summer. So much fun! She’s always up for good ideas and this post is overflowing with them. 😀