• Skip to primary navigation
  • Skip to main content
  • Skip to primary sidebar
  • Skip to footer

ARTBAR

raising creative thinkers

  • MY BOOKS
    • Art Workshop for Children
    • Cardboard Creations
  • ART SUPPLIES
  • SHOP
    • Art Bar on Etsy
    • Art Class Poster
  • ABOUT
  • Nav Social Menu

    • Facebook
    • Instagram
    • Pinterest

Shoe Box Castles

June 23, 2014 by Barbara Rucci 5 Comments

1489 shares
  • Facebook8

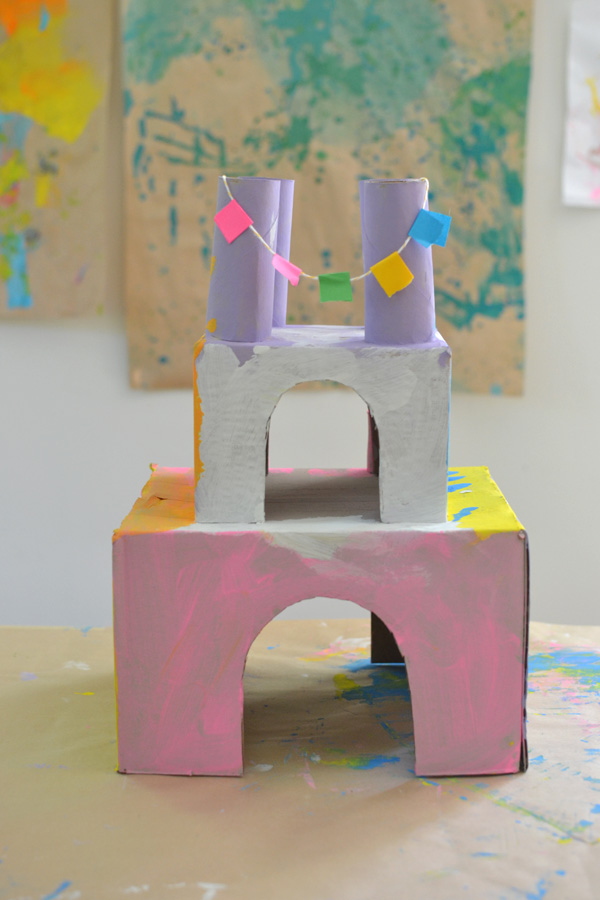
children make castles from recycled materials

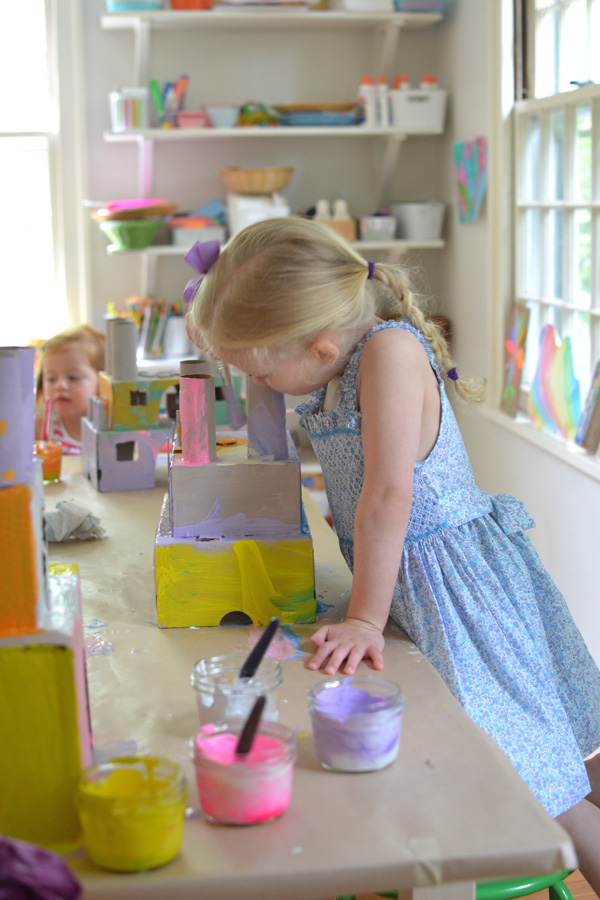
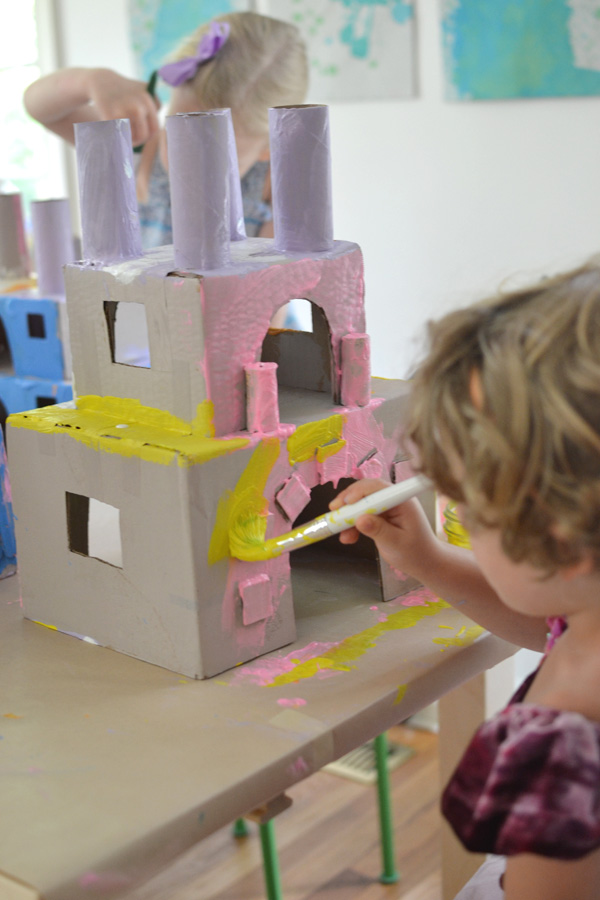
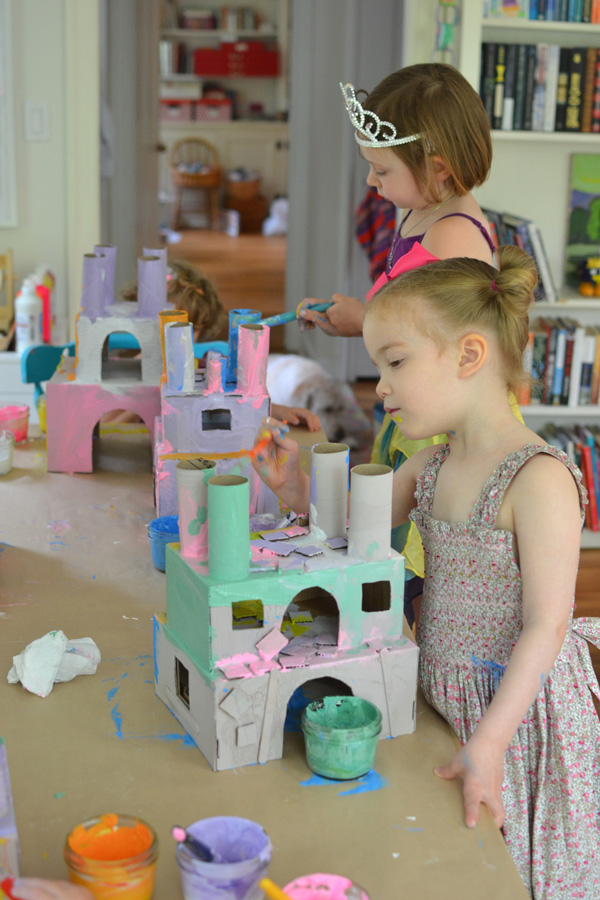
Last week in art camp the 4-yr olds made these beautiful castles. They were totally into it! We made them over a period of three days, with drying time. When they finally took them home, they were completely sturdy and ready for imaginary play!
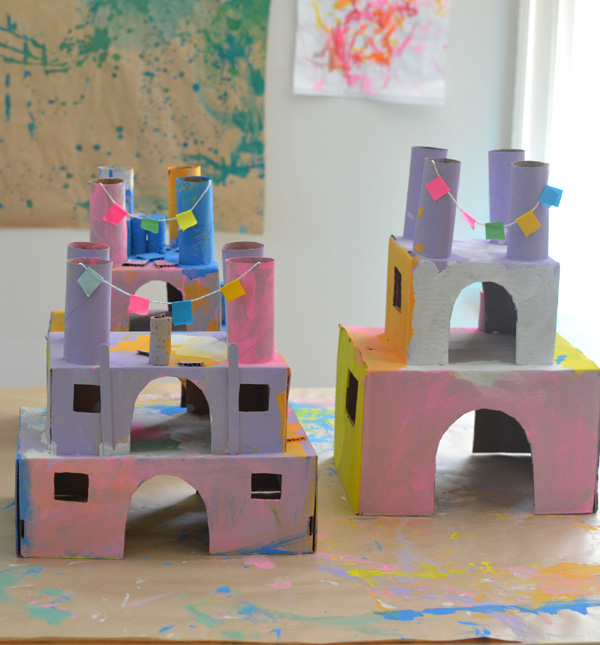
make these castles from recycled materials

This post contains affiliate links. Thank you for your support!

Here’s what you’ll need:

Two shoeboxes of different sizes (or small shipping boxes)

Scissors and exacto knife (optional, but helps cut windows)

Elmer’s glue

TP rolls, corks, popsicle sticks, other recycled materials

Tempera paints + brushes

String + colored tapes (you can get these from Amazon or Etsy)
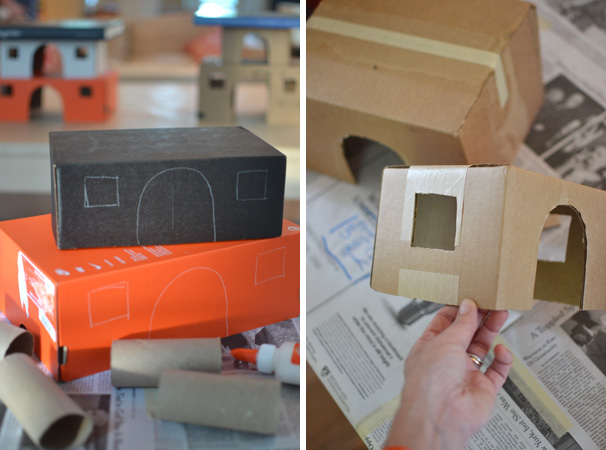
use shoeboxes to build a princess castle

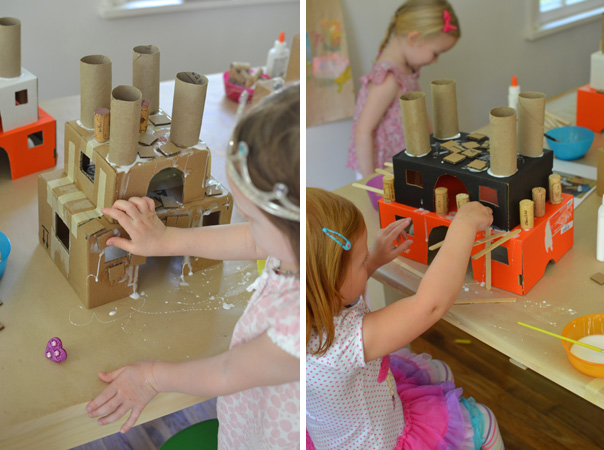
Step 1: Take the lids off the boxes and turn them upside down. Cut doors and windows. Glue the smaller box on top of the bigger box. Let dry overnight.
make princess castles from recycled materials

make princess castles from recycled materials

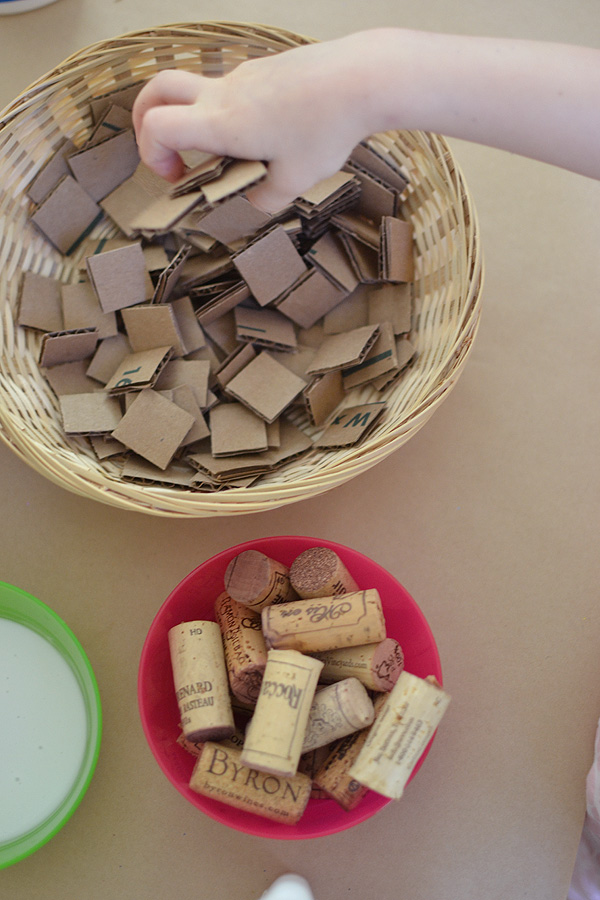
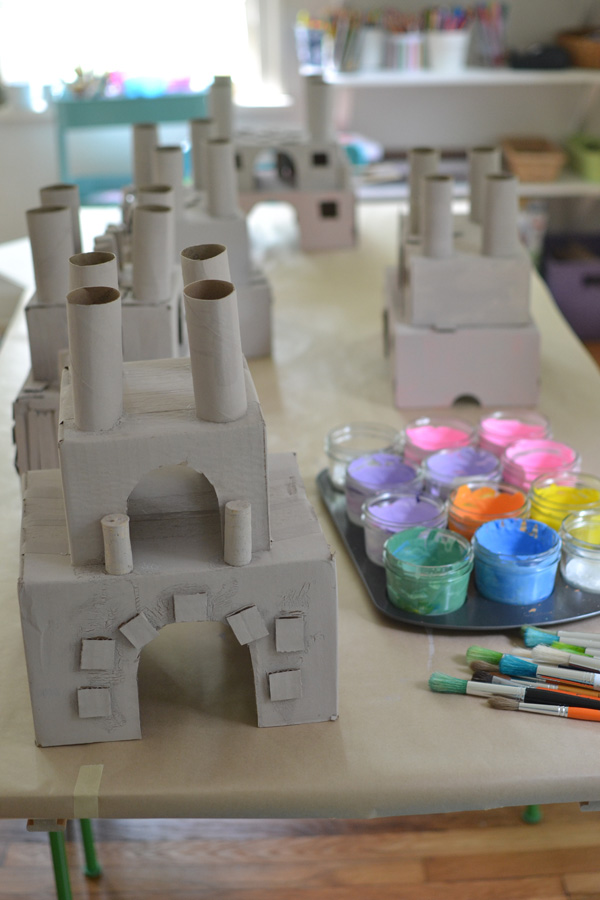
Step 2: Give them each 4 toilet paper rolls to glue on top. Put out recycled materials in baskets or bowls. I put out corks, popsicle sticks and cut little “bricks” from cardboard. You could also use bottle caps, wooden spools, or anything that is small that they can glue. Let the castles dry overnight before painting.
make princess castles from recycled materials

Step 3: (optional) When the glue is dry, or mostly dry, put a coat of white or light gray paint over the boxes. I did this because some of the shoeboxes were orange or black. But if you have cardboard boxes then you can skip this step.
make beautiful princess castles from recycled materials

make beautiful princess castles from recycled materials

make beautiful princess castles from recycled materials

make beautiful princess castles from recycled materials

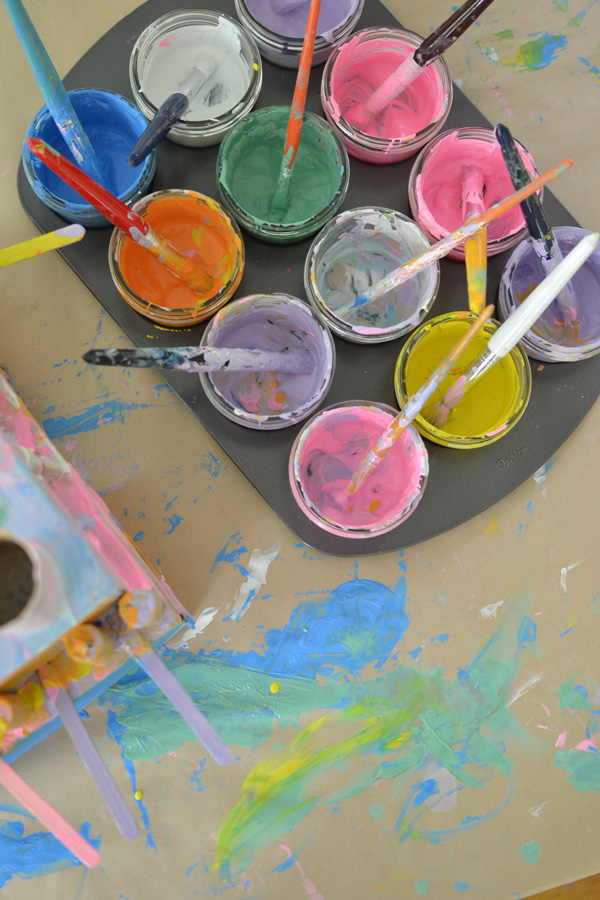
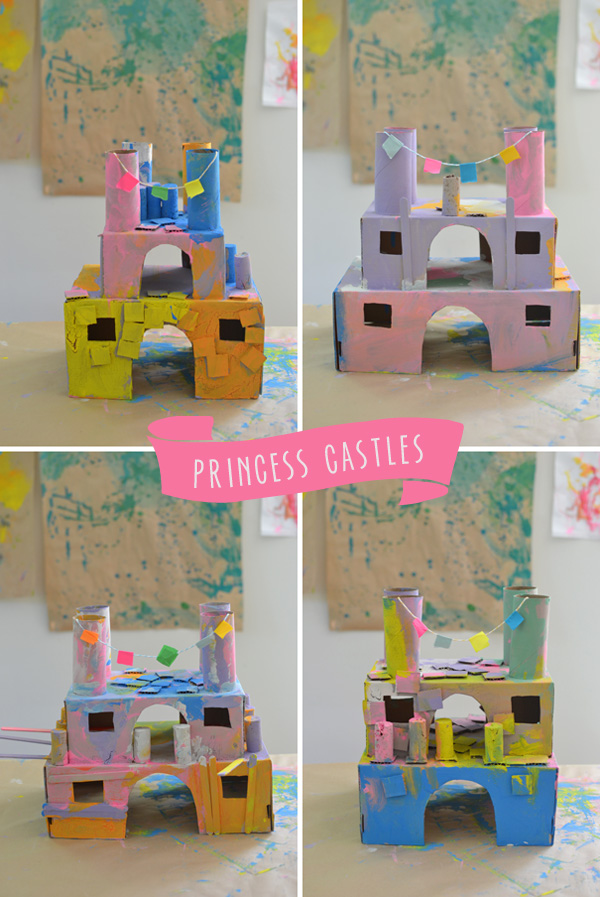
Step 4: Put out some paints! My campers love, I mean LOVE, pink and purple. So we went with some pastel-ish colors. I like mixing the colors with a little white to make them more opaque. After they’ve finished covering their castles with delicious colors, let them dry overnight.

Step 5: Make the flags. I forgot to photograph this part. But basically, just take a piece of string and fold over little pieces of tape. I stuck the ends in the tubes and used masking tape to tape them down.
make beautiful princess castles from recycled materials

Aren’t they fabulous? I am so proud of all of their hard work.

Have a great week!

xo, Bar


Filed Under: Process Art, Recycled, Open-ended Crafts for Kids, Art for Toddlers, Birthday Parties Tagged With: shoebox, art camp, princess castles

Previous Post: « Graduation Day + Summer Sign
Next Post: 9 Etsy Typography Prints »

Reader Interactions

Comments

  1. meri cherry

    June 23, 2014 at 11:44 am

    These are INSANE!!!! I just fell in love with you all over again. OH MY GOODNESS!!!

    Reply
    • Barbara Rucci

      June 27, 2014 at 11:51 am

      thank you meri cherry!! you are the nicest. it was super fun and i want to make more!! xx

      Reply
  2. Kate - The Craft Train

    July 1, 2014 at 8:27 am

    Love this gorgeous castle craft. Will share on my FB page 🙂

    Reply
  3. Federica

    March 17, 2015 at 7:36 am

    i love your creations!I am a mom too and I like making lot of recycling with my daughter and your ideas help me when I have a loss of fantasy!congrats and thank you.

    Reply
    • Barbara Rucci

      March 17, 2015 at 1:18 pm

      thank you federica! i’m glad you found me that that my blog will help to inspire you and your daughter. xo bar

      Reply

Leave a Reply Cancel reply

Your email address will not be published. Required fields are marked *

Primary Sidebar

The Creativity Project
RESOURCE FOR TEACHERS
Start Here!
Your subscription could not be saved. Please try again.
Your subscription has been successful.

Yes! I want to raise thoughtful and creative children. Send me more inspiration, please!

Follow on Instagram

Categories

Archives

Copyright and Reposting

All content on this blog is copyright and owned by Art Bar Blog unless otherise stated. I would be flattered if you wanted to use an image from one of my posts! But please, ask me first. I would also ask that if it involves DIY instructions with a list of supplies that you don't repost any of that stuff because then nobody would have a reason to click back to my original post!

Footer

  • Facebook
  • Instagram
  • Pinterest

About Me

There are two things that I'm passionate about: Children + Art. As an art teacher, author, graphic designer, and mom to 3 creative thinkers, I get to explore my passions every day! Learn more...

I am dedicated to keeping your information safe. Please review my Privacy Policy.

Recent Posts

A newly printed t-shirt lies on a table showing off the freezer paper stencil technique using bright blue ink on a muted green shirt with a Noah Kahan quote from his song Orbiter.

Copyright © 2026 · Foodie Pro & The Genesis Framework