I’m so excited to share these Paul Klee artist study paintings that my students made in art class!
When I was studying fine arts and printmaking in college, the posters on the wall of my dorm room spoke more about who I was than anything I could say. Paul Klee, Matisse, Van Gogh, Sonia Delaunay. These were the artists that I longed to be, the pioneers that used color and pattern in transformative ways. I still have a postcard of Klee’s “Flora on the Sand” here on my desk.
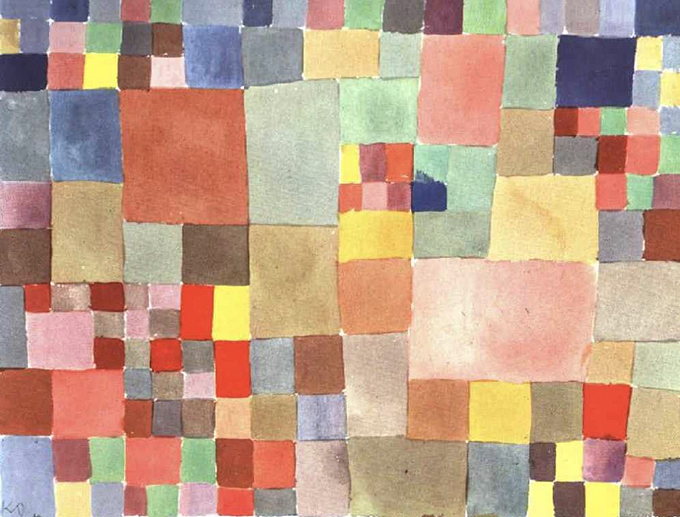
“Flora on the Sand” by Paul Klee
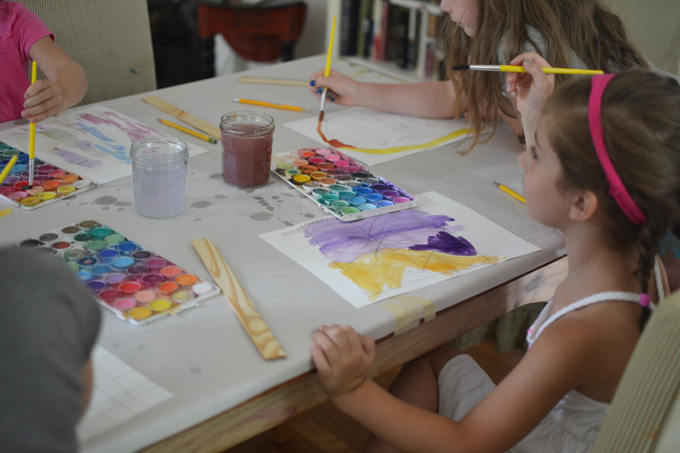
A few years ago in art class, I brought that postcard out along with some very simple supplies and tried to convey my passion for the lines and colors in this iconic painting. I’ve never written about this little art lesson because it was not a fully though-out lesson – having been a spur-of-the-moment idea with some extra time. But also, because most of the children were young and not too interested in making their paintings look like my postcard. Results varied 😉
I rediscovered these photos from four years ago just recently and now, with the wisdom of time, I’ve realized that this low-key introduction to famous artists is exactly the right fit for my blog. Simple, non-prescriptive, with just a little bit of history lesson and lots of freedom to explore. It doesn’t matter what the results are (it only matters for blogging purposes, really) because it’s just about creative expression and being exposed to all kinds of artists and art-making.
[ I am a participant in the Amazon Services LLC Associates Program, an affiliate advertising program designed to provide a means for us to earn small fees at no cost to you by linking to Amazon.com and affiliated sites. ]
Supply list for Paul Klee Artist Study:
~ Ruler or straight edge
~ Pencil
~ Brush
How to set up a Paul Klee Artist Study:
I have to be honest, this was four years ago and I really don’t remember my preamble or how I introduced Paul Klee to my art students. But this is how I would do it today..
1. Show them some Paul Klee paintings. Sometimes I print out artists’ work and hang them on the walls. Sometimes I bring my students into my office and we look at stuff on the computer. This time I had a postcard that I showed them, and I also had an art book from my college days to show them more works.
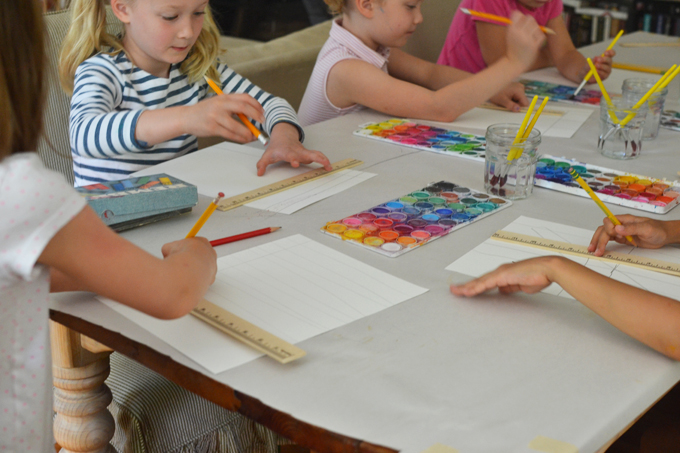
2. Give each child a piece of watercolor paper, a ruler, and a pencil. Perhaps show them how to use the ruler to make a straight line with their pencil (by butting the pencil up to the side) and also show them that they can move their ruler around to criss-cross and make squares.
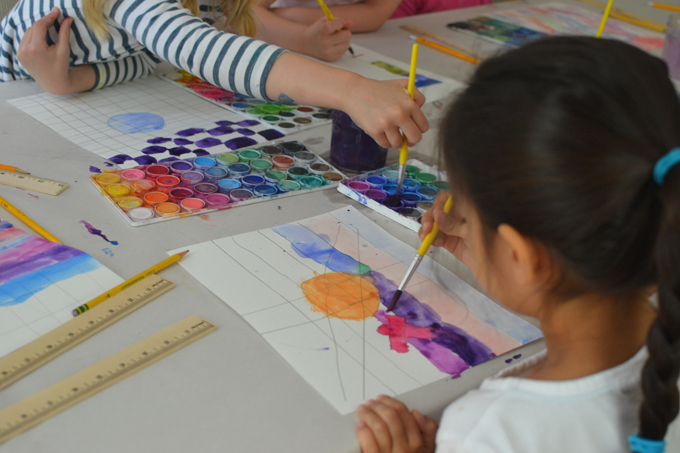
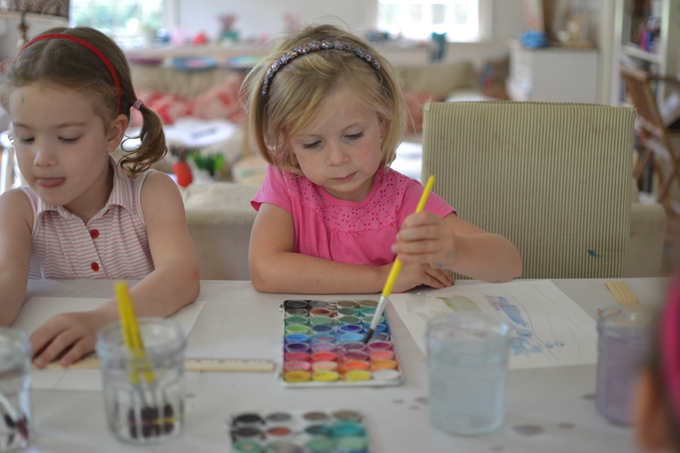
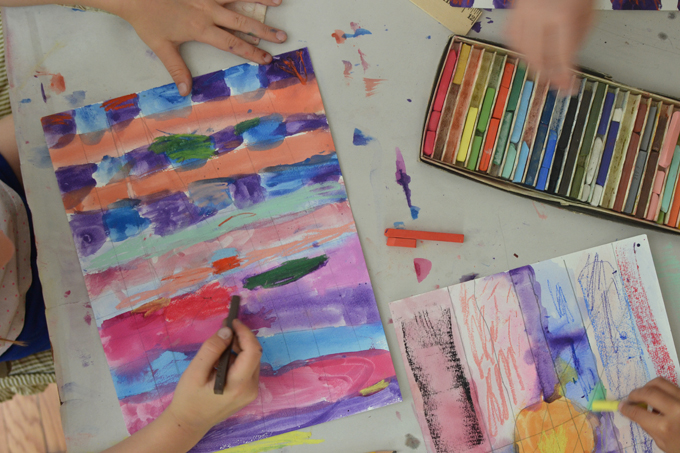
3. After they have finished making their lines, they can paint everything in. I always gently remind my students to fill their whole page with color. Sometimes they don’t want to because they are “tired” in which case I might tell them to add three more colors, or three more lines or strokes.
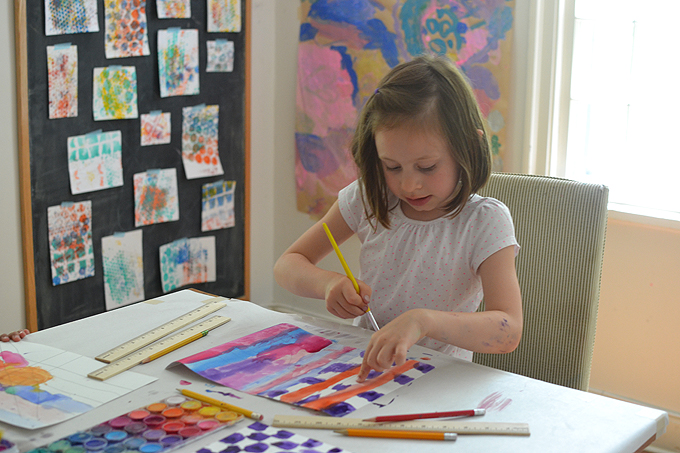
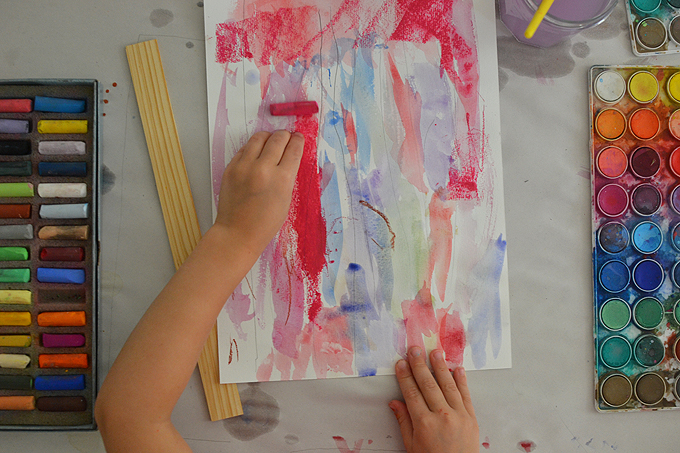
4. When they have finished painting, take out the pastels and let them add more marks and color. That’s it! They can make more if they want. The little ones loved making the pencil lines the most.
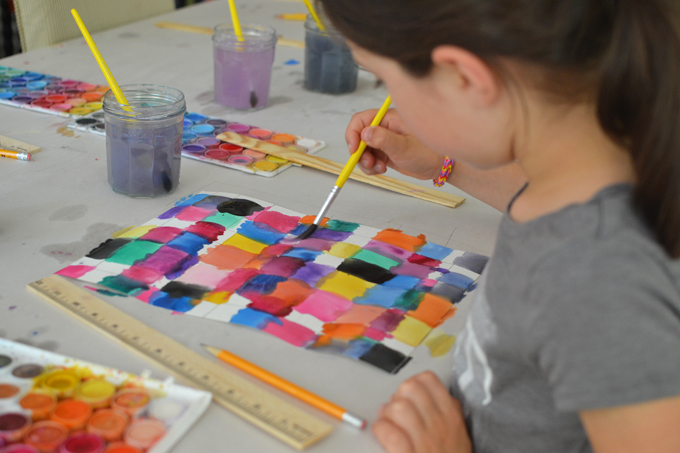
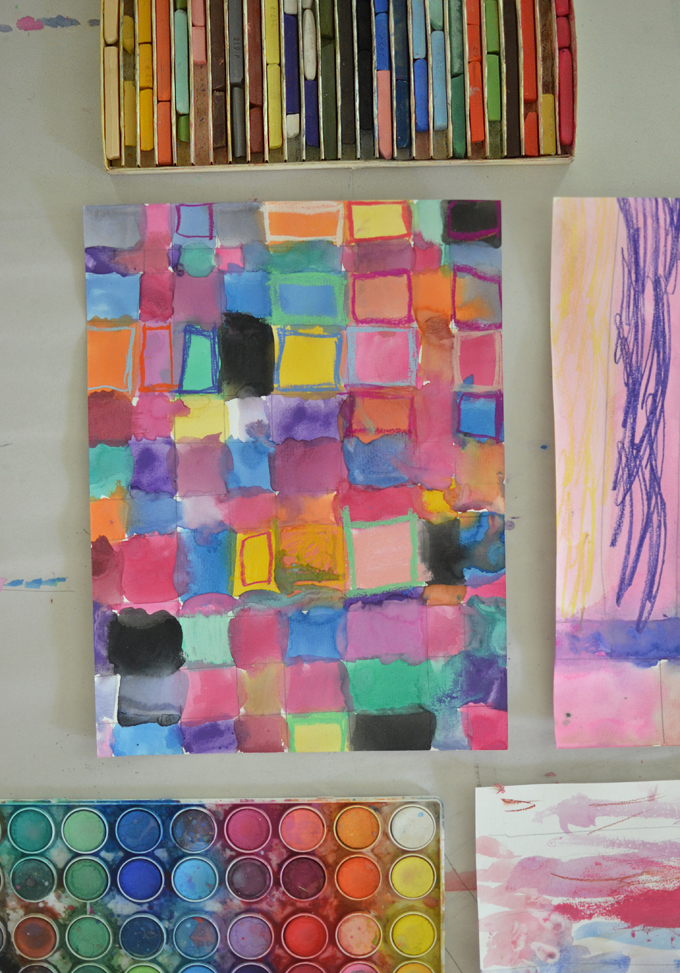
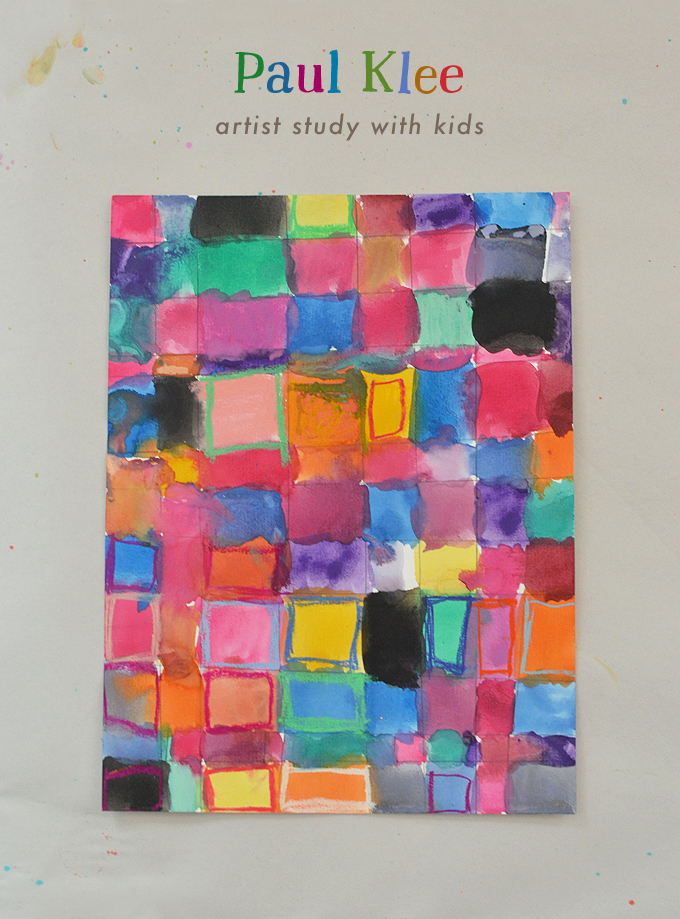
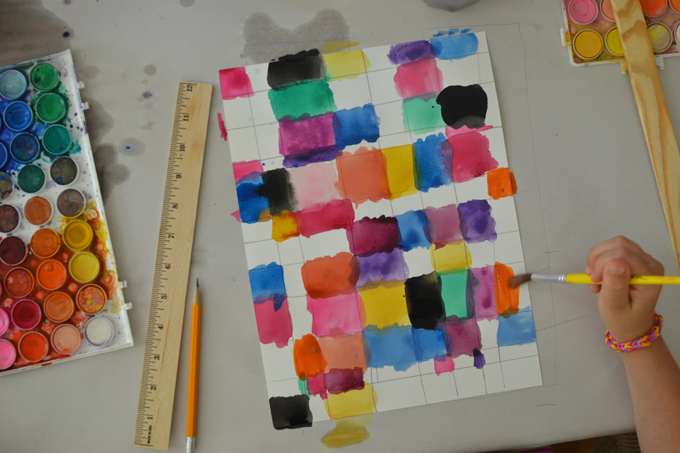
I was so proud of my oldest student. She really kept looking back at the postcard and was deep in concentration the whole time. I really love the way she used the pastels to highlight some of the squares, but not all. Such good instincts and I know she felt so proud of herself. I hope her mom framed this one!
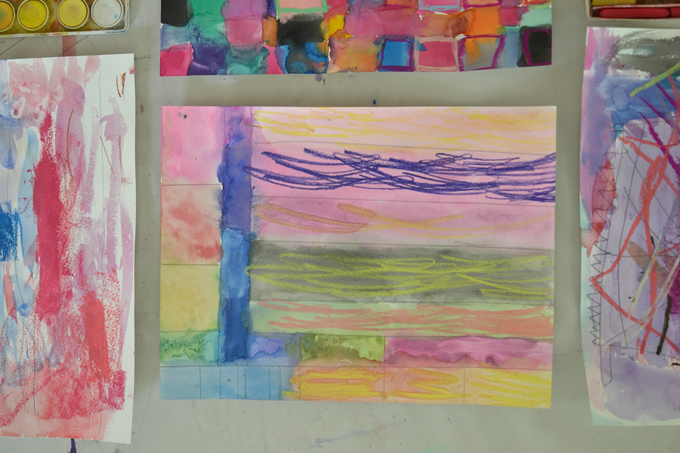

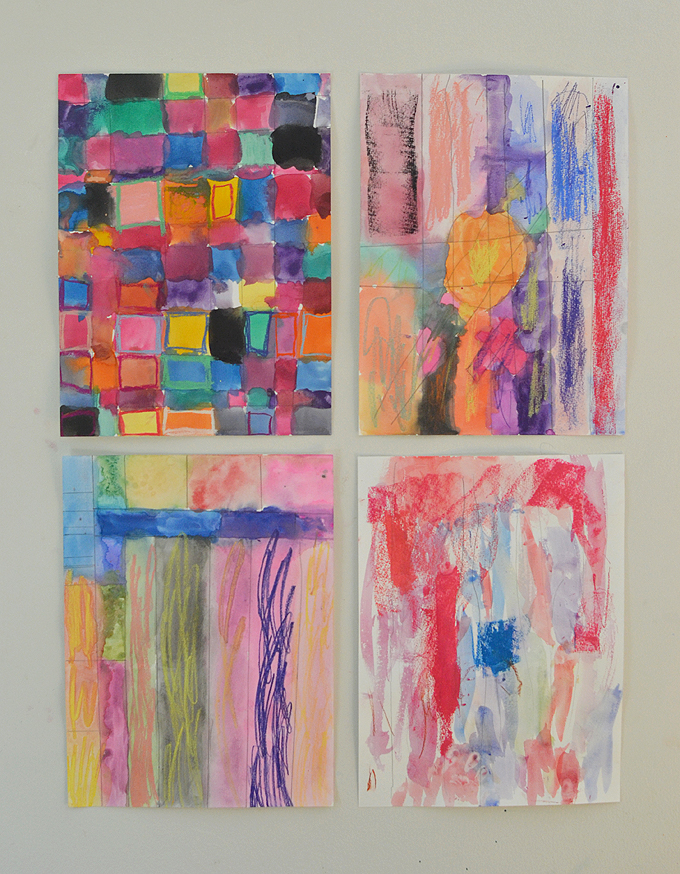
I think a true testament to having an open-ended art invitation is that everyone’s finished piece is so different. I am so proud of all my kiddos for finding their inner Paul Klee!
Now that you know how simple and un-intimidating it can be to study famous artists, I hope you feel inspired to try something like this at home!
xo, Bar
– – – – – – – – – – – – – – – – – – – –
Did you like this post? Here are more artist studies you might like:


This is such a genius project! Thank you for sharing. As always, you inspire me and my work wth children.
My daughters are 8, 5, and 3 and they all enjoyed doing a version of this project! Thank you for sharing! My oldest made hers into a multi-colored hot air balloon. 🙂
so happy to hear this!!! the hot air balloon sounds amazing!! xx Bar
I love this project!! Can I ask how long it took the kids to complete this? Thank you!
thanks Allison! this was all done in a one hour class. Some kids took the whole hour, but most were done way before that. Depends on age and attention span. Hope this helps! xx Bar
I happened to come across this and have to say, I really love the work your oldest student did! Look how she balanced the various squares of color, the black flows across the page so nicely and then your eye catches the other colors and they also are also balanced. Then I love how she put pastel marks here and there…such a great piece of art! I truly hope her parents love it also and it should be framed! Great job!! I think you have a true artist here.
This post just came on my Pinterest pins and I read your blog post and your name sounded familiar. I literally just bought your art workshop book last night!!!! I am so excited for it to arrive! I think I will try this project with my girls this weekend while I wait for my book!
Hi Brittnee, I am so glad you found me, and thank you for buying my book!! I hope it brings you lots of creative ideas and artsy fun! ~ Bar