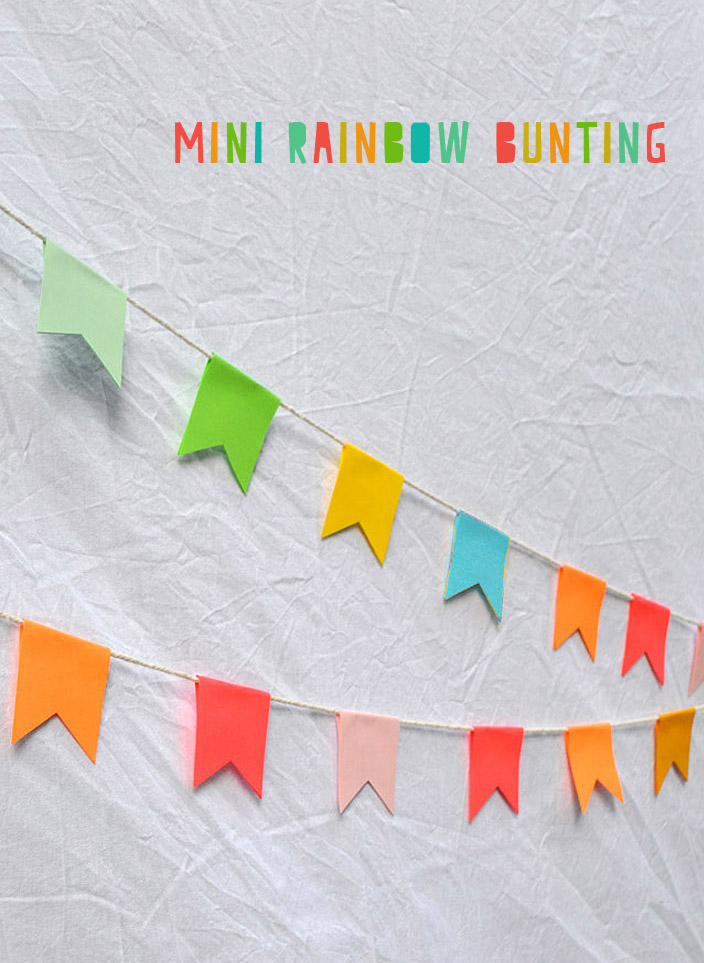
This simple garland is easy to make and can be used anywhere…anytime. I recently used mine as part of a photo backdrop at my son’s birthday party. I used safety pins to fasten it to the side of a white sheet, and despite gale force winds that day, the garland never ripped or blew away! I like this garland very much.

Here’s what you’ll need and how to get it done:
Supplies: colored paper (I get mine at Staples), twine, double sticky tape, scissors
Step 1: Cut your paper width-wise into 2″ strips. Cut your strips in half so that they are now 2″ x 4.25″.
Step 2: Lay out your string on the floor or a long table, and organize your paper strips into whatever color scheme you like. My string was between 9 – 10 feet long.
Step 3: Put a piece of double-sticky tape on your paper strip, slide it under the string, and then fold it in half.
Step 4: Cut the bottom of your flags. You can cut them the way I did it, or into little triangles (or leave them square).

Voilà. So simple and festive. You could use scrapbook paper, too, for a patterned garland. Or newspaper, recycled art, maps, or fabric strips. So many possibilities!
xo Bar
{party photography by Alix Martinez}


This is really beautiful and will be a fun activity for my Kids to do! (I broke my foot and can hardly go anywhere, so the Kids are bored out of their minds…).
I’ve seen two similar garlands — one was made of old maps, the paper strips, of course, were a bit bigger. The other one was made of left over fabric from sewing projects, but really done the same way you did yours. But I think I like your’s best, because it’s so colorful).
So long,
Corinna
thanks corinna! i really want to try the fabric strips one. maybe this winter around the holidays…so festive!
I love how simple and cute this is! The photos are adorable- Thanks for the idea- I love simple touches that add so much character 🙂
rebecca at
http://thisfineday.com