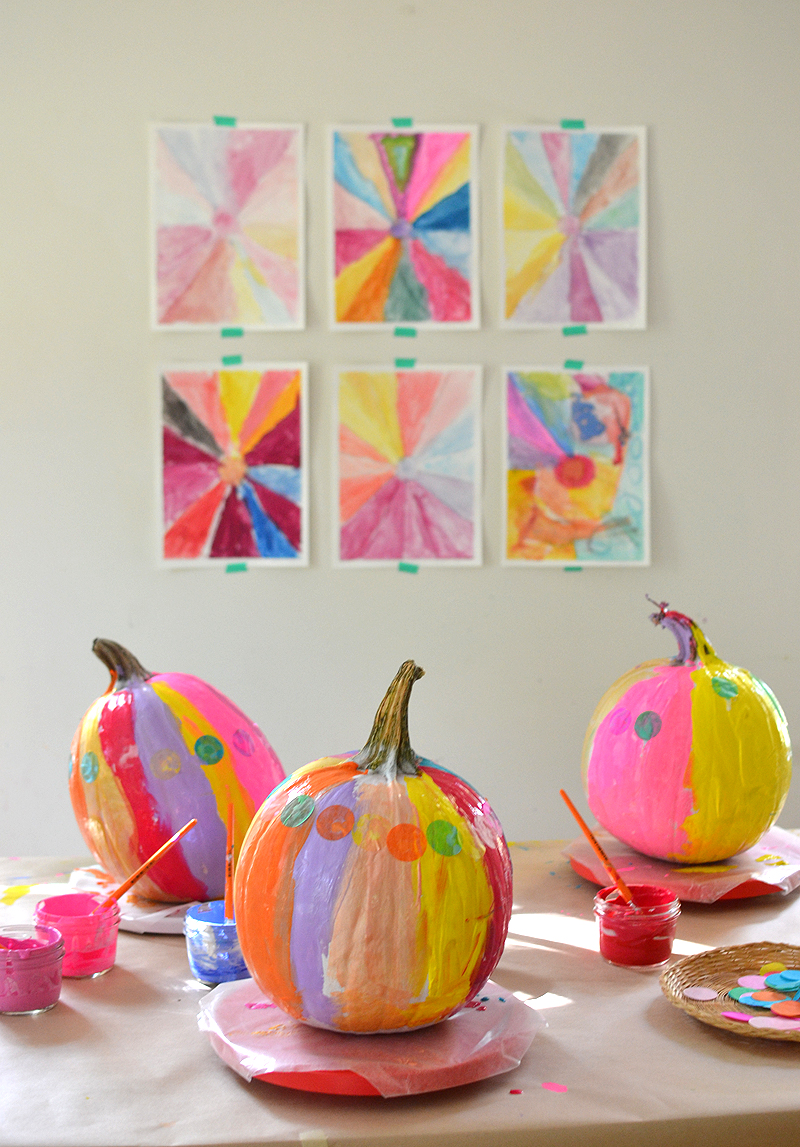
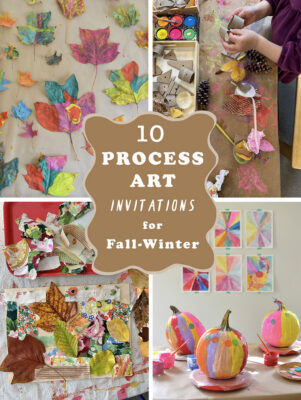
I have been waiting a year to post this!! The kids actually painted these pumpkins last year in art class, but I was too busy writing my book to edit the photos. And then all of a sudden the Holidays were here. But now…here they are! Aren’t they so gorgeous?
I used this one trick which I will tell you about in a second to get the colors really bright. And then I brought out one extra element at the end.
This post contains affiliate links. Thank you for your support!
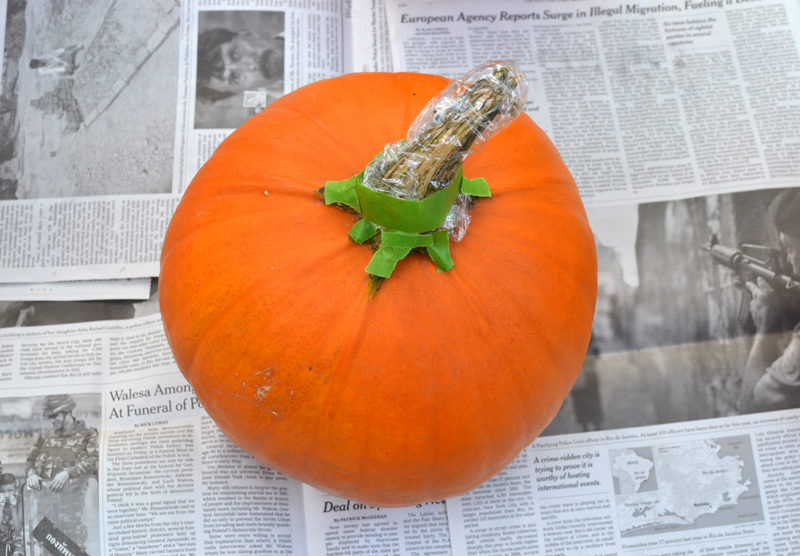
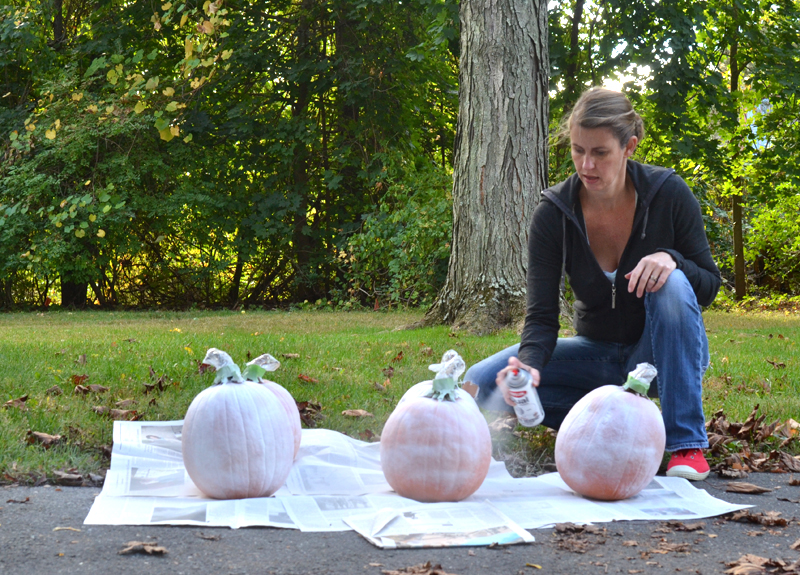
Ok, so the trick is quite obvious now. Spray paint them white! I first covered the stems as best I could, then I used this spray paint and gave them a good spray.
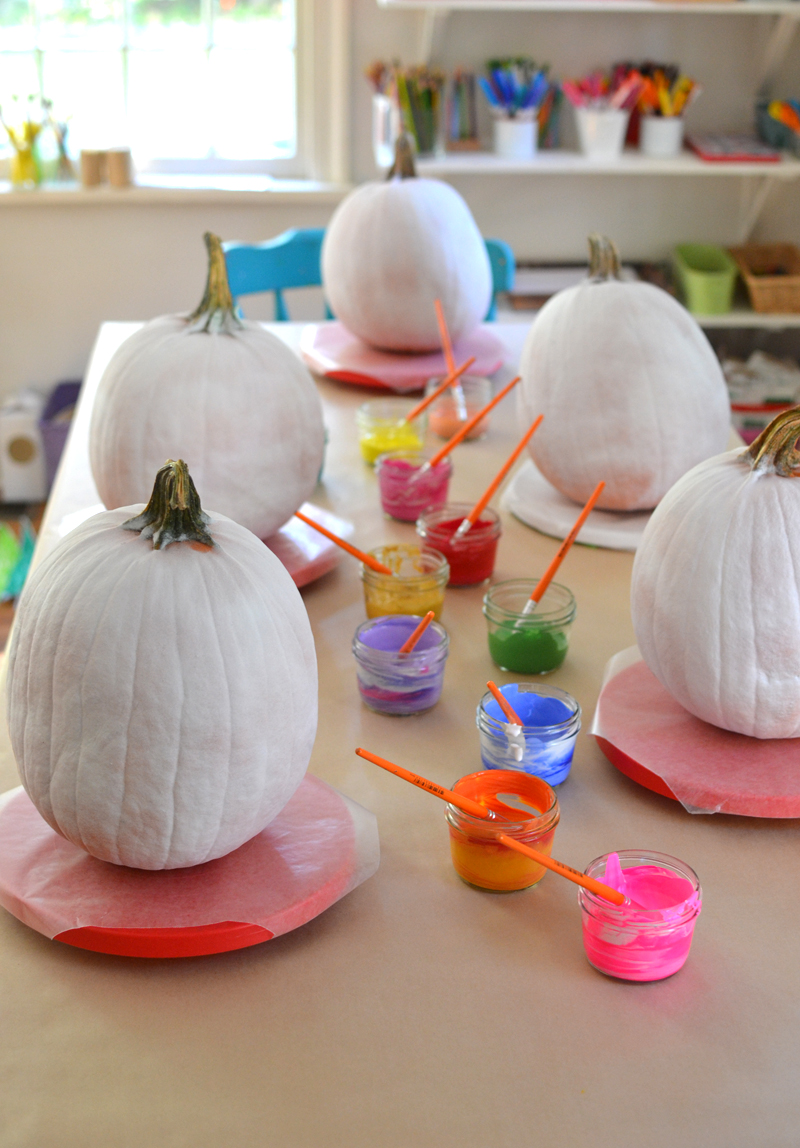
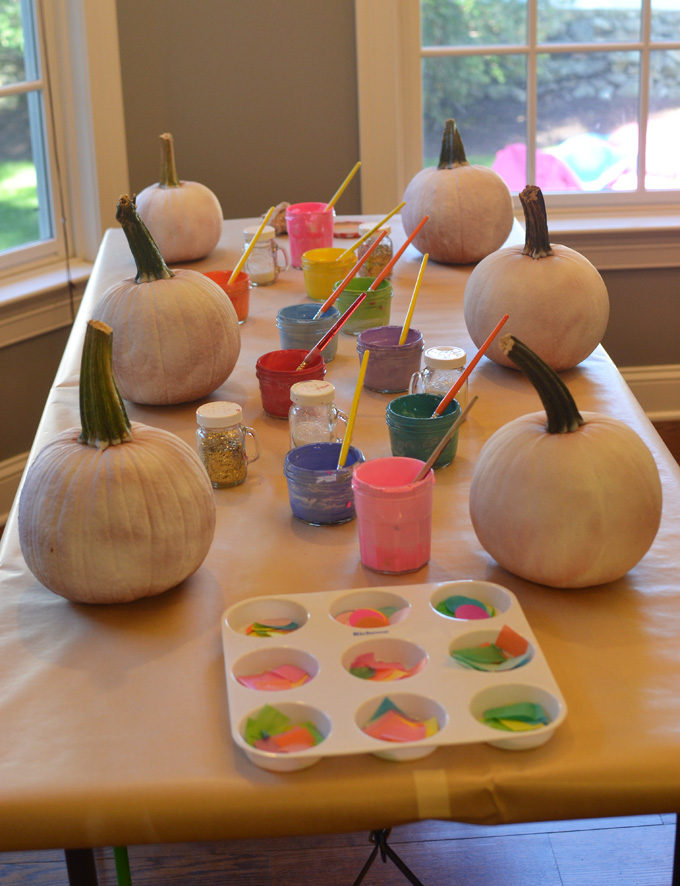
Tah-da! White pumpkins. Easy peasy. I put them on lazy-susans so the kids could paint all around a little easier without getting their hands all messy. Here is what you’ll need…
Supply List:
~ Pumpkins
~ Lazy susans (totally optional but helps so much)
~ Tempera paints (I love mixing these fluorescent colors with a little white to make them brighter and more opaque)
~ Brushes and jars for the paints
~ Round tissue paper dots
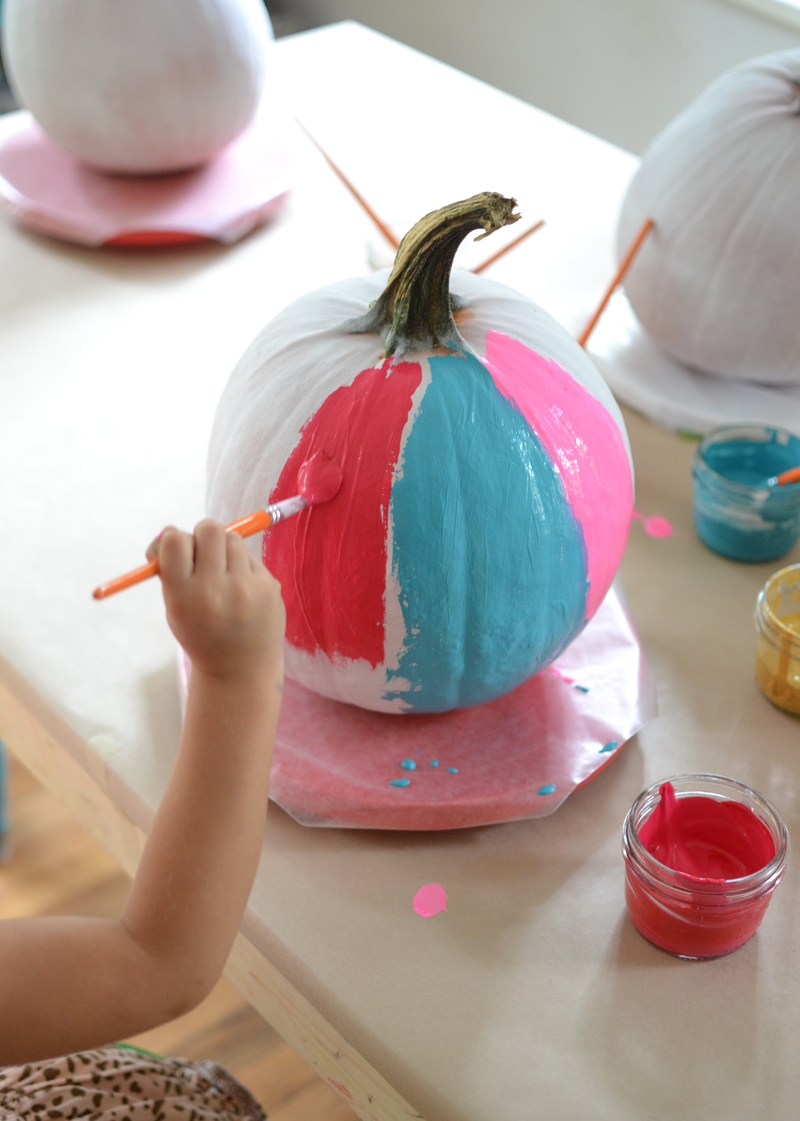
The process:
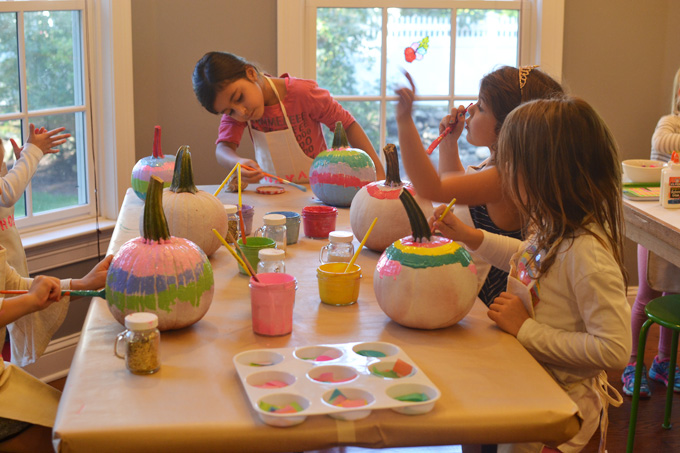
~ Well this is an easy one. Just paint! The kids all automatically painted stripes, I think just following the stripes on the pumpkins.
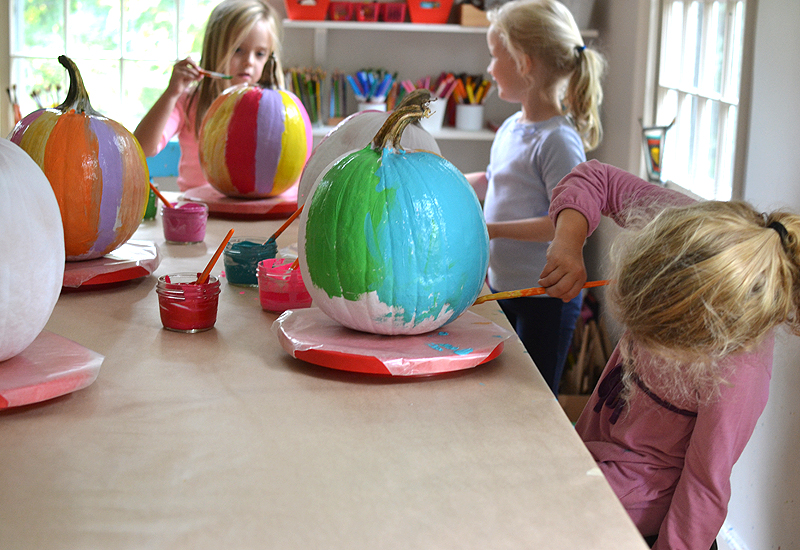
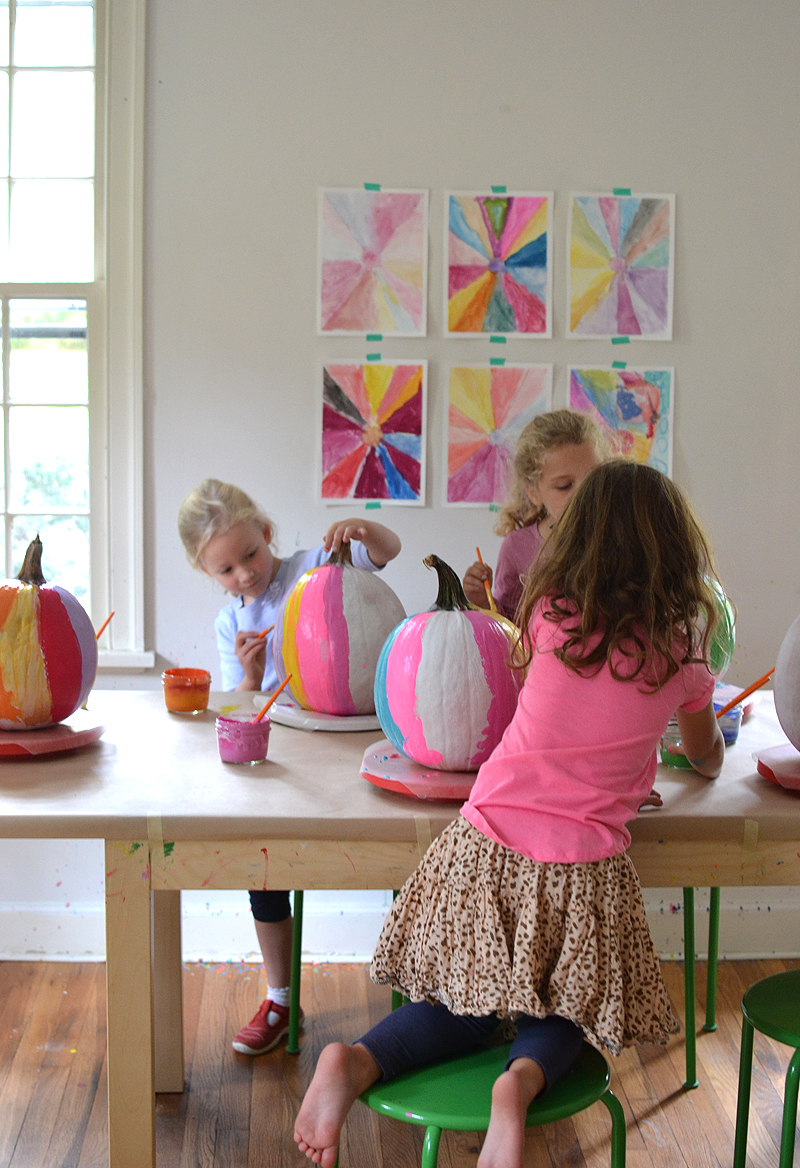
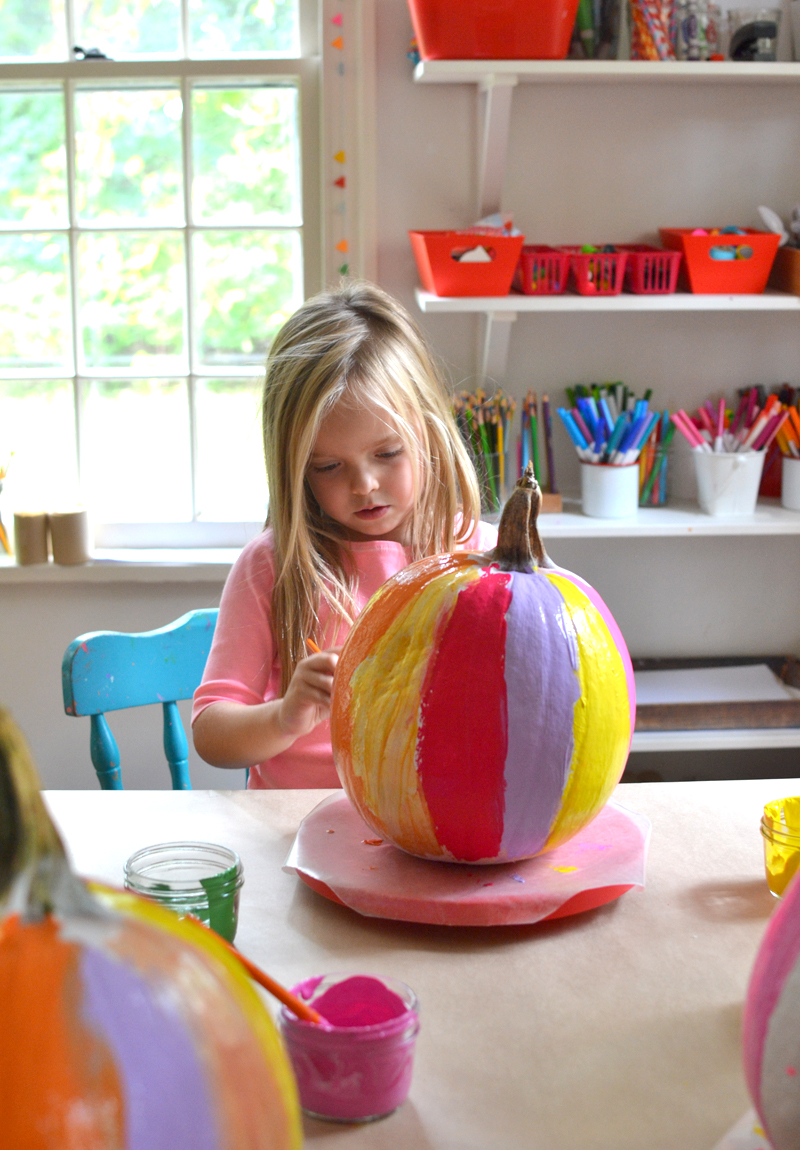
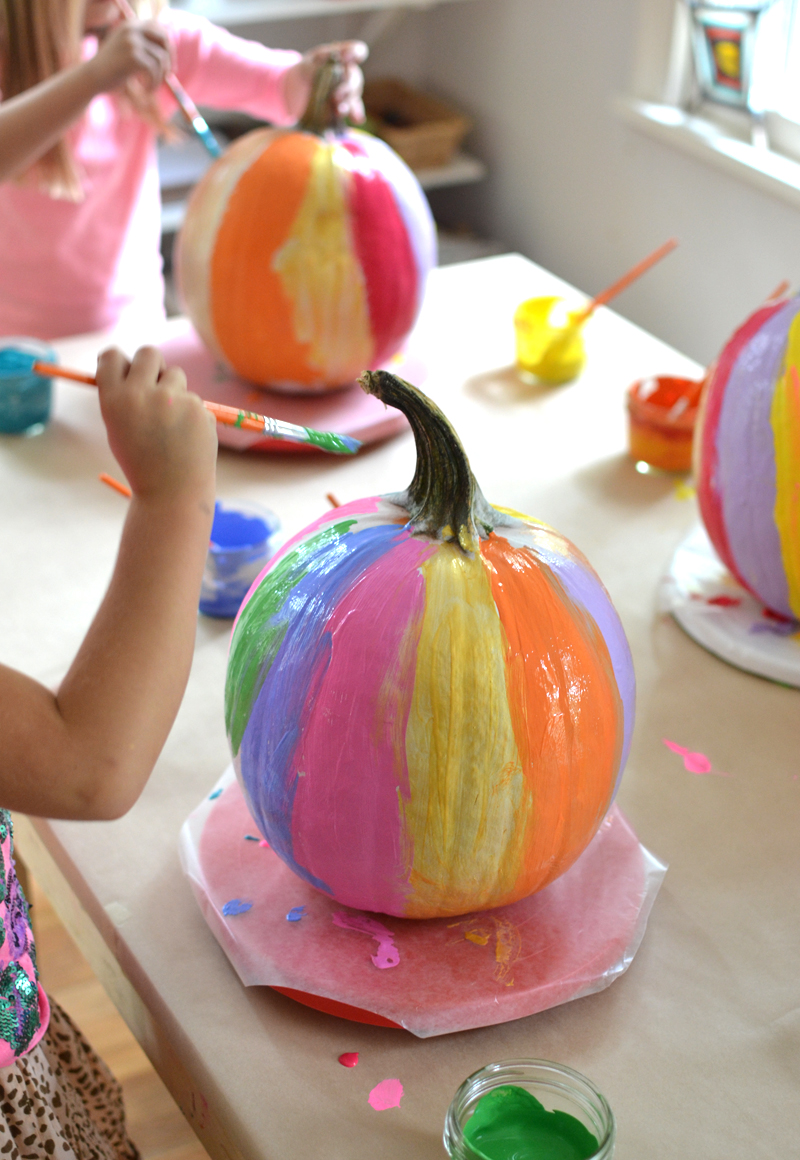
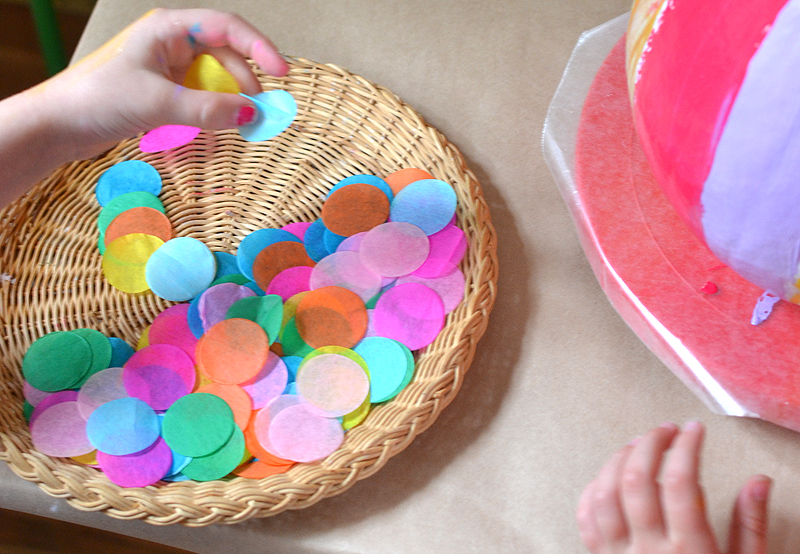
~ When they finished painting, I brought out the tissue dots and some glue. I imagined dots all over the pumpkins, but they all just did one line around the middle. This group usually doesn’t copy each other, so I think it was just the natural thing to do. I did suggest putting on more dots, but after 45 minutes of working on their pumpkins, they were done.
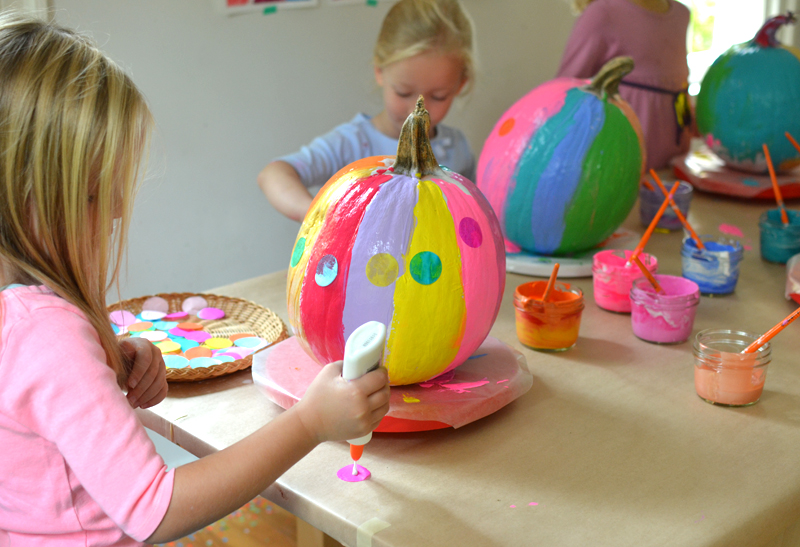
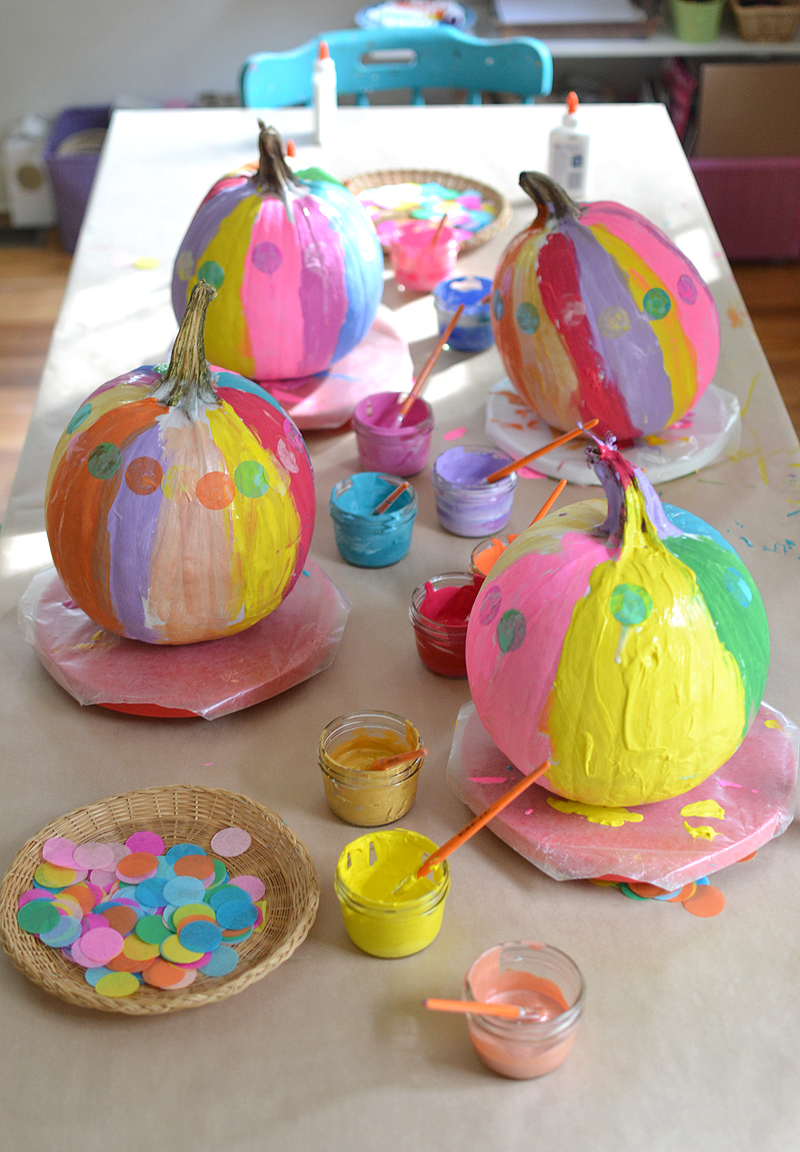
I so very badly wanted to keep them all. And in fact, I did get to keep them for a few days until they dried, but then the parents came back and picked them up. I think this year I will do it again with my own kids so we can keep them!
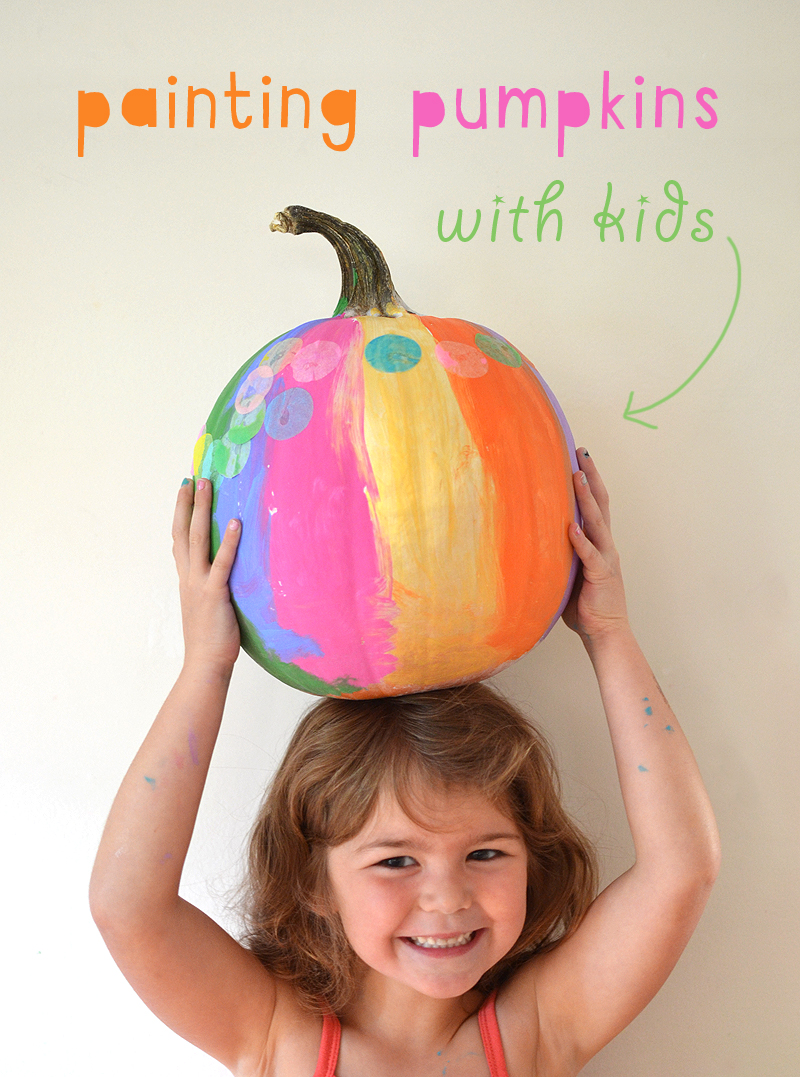
And how cute is this smiling face with the pumpkin on her head? Happy to bring her masterpiece home.
I brought smaller pumpkins to a birthday party recently and it was a huge hit! Make sure to supply cardboard for parents to carry the pumpkin home in the car, as they may still be a little wet with paint at pick-up.
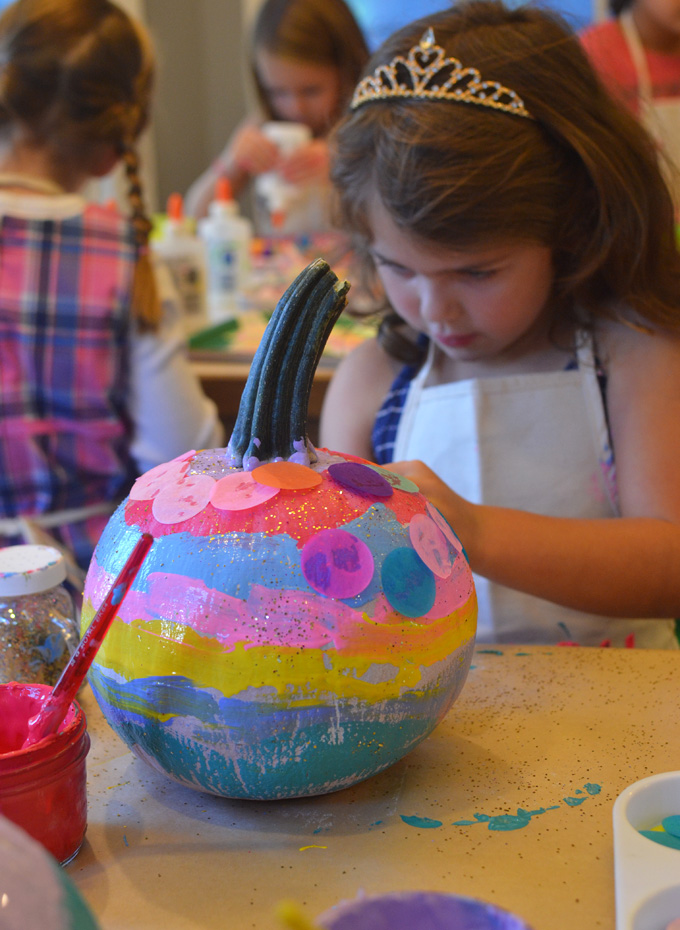
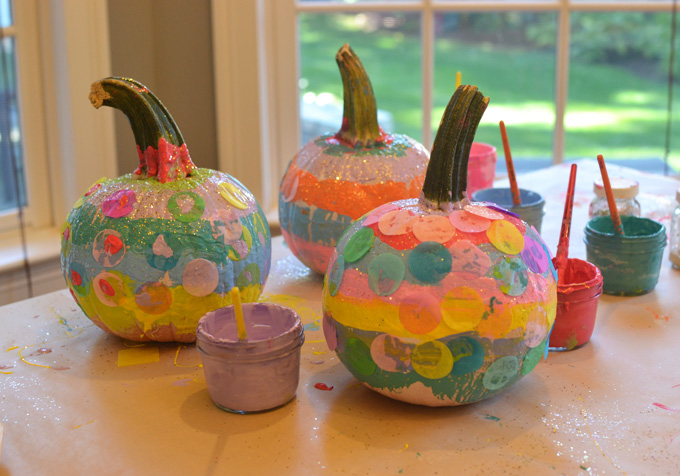
One thing I didn’t do, which I think would be a good idea in the future, is to cover them in Mod Podge after they have dried. It would give them a nice sheen. You can’t do this with the birthday party pumpkins, but you can if you have an art class and the kids can pick the pumpkins up the next day.
Happy pumpkin painting!
xo, Bar
– – – – – – – – – – – – – – – – – – – –


Beautiful!! Did the time tempera not chip since you covered them with spray paint first?
good question Betsey! you know, I don’t really know the answer to that completely. They dried at my house for a few days and then parents came to pick them up. I took photos with the kids holding them and there was no chipping. But I don’t know if they chipped at home at all. The best thing to do, I think, would to add a coat of Mod Podge. I hope you do this one, they are so fun and so much easier than carving and so colorful! xo Bar
Hi! Great project! Question: you mention tempera paint but the link takes me to acrylic? Which do you suggest? Thanks!
ahhh, good catch!! so sorry, that was the wrong link. I just fixed it. we used washable temperas, not acrylics. thanks for pointing that out D-laryn! xo bar
Hi, I realise this is an old post so not sure if you check them but just in case you do – I was wondering what kind of white paint you sprayed them with? Or does it not really matter? The pumpkins look wonderful and we can’t wait to give it a go! Many thanks, Dom.
hi Dominique! I just used white spray paint, but you can also just paint them with a coat of white tempera paint. hope this helps! xo Bar
hi! what’s the difference between temperas and acrylic?
hi Maria, tempera paints are washable so best with kids. acrylics – although water based – are permanent when dry, so hard to get off clothing. we do sometimes use acrylics in art class, but for something like painting pumpkins that can get a bit messy, temperas are best. hope this helps!
thank you for replying – that makes sense!
Where do you find the tissue paper circles? Did you cut them yourself?
hi Nancy, there is a link in the post to the tissue dots. They are from Amazon. Have fun! xx Bar
Not sure if you’re still responding to comments on this post but I’m curious how your tempura paints don’t looks see through. I’m trying to plan an activity for kids but tempura paints are so thin you can see right through it. Any tips?!
hi Stephanie, cheaper paints tend to be thin and runny, but no worries… you can make it work! what I do to make a paint more opaque is to add a little white. You can add a bunch and make the color more pastel, or you can add a little – just enough to make it not see through anymore, but still a deeper color. Also, painting the pumpkin white first really helps absorb the color. Good luck, hope this helps! xx Bar
Trying this in a few weeks! I just ordered some additional supplies like the dot tissues. I was wondering what kind of white spray paint you used? So clever how you put the glitter in salt shakers!
hi Gema! I just used whatever spray paint the hardware store had, noting in particular. Hope you have fun!! xx Bar
How do you get the leaves dry and flat and not brittle?
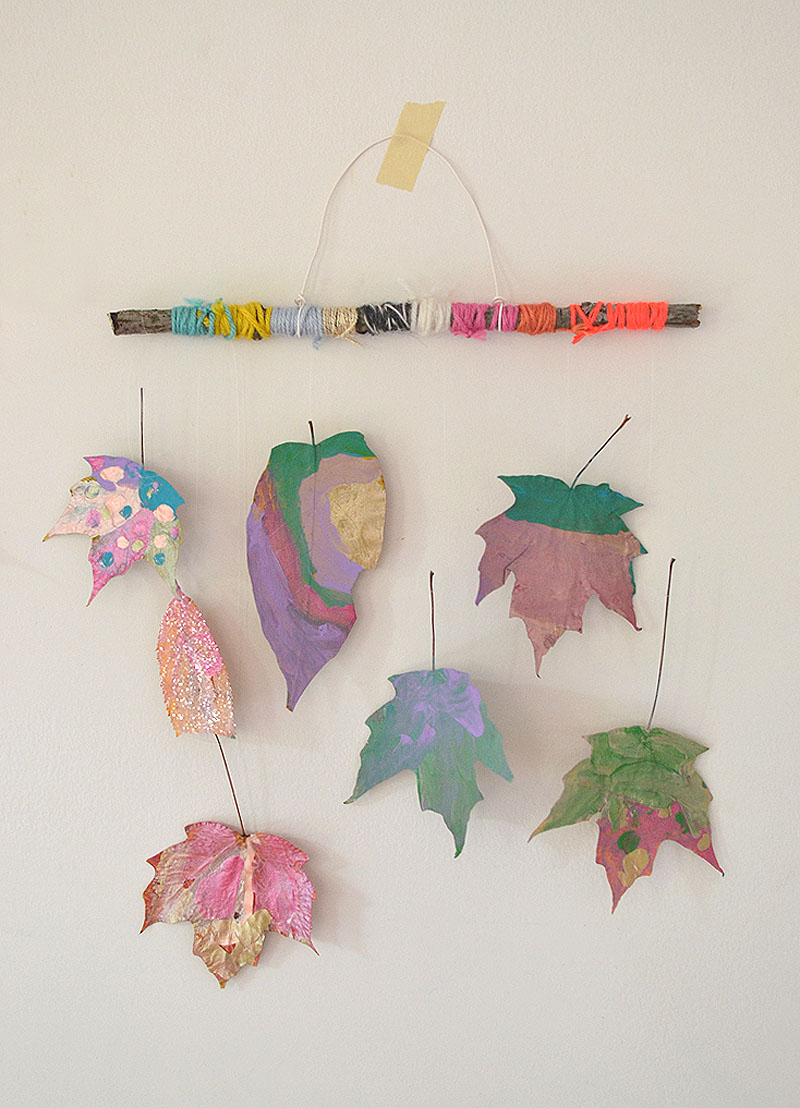
Do you mean the leaf mobile? This is the pumpkin painting post. But if you mean the painted leaf mobile, then the answer is… I pressed them in books! For like years because I forgot about them. I think you can do it for less, though (lol). Like maybe a week or two…?