• Skip to primary navigation
  • Skip to main content
  • Skip to primary sidebar
  • Skip to footer

ARTBAR

raising creative thinkers

  • MY BOOKS
    • Art Workshop for Children
    • Cardboard Creations
  • ART SUPPLIES
  • SHOP
    • Art Bar on Etsy
    • Art Class Poster
  • ABOUT
  • Nav Social Menu

    • Facebook
    • Instagram
    • Pinterest

Cardboard Ice Cream Cones

July 17, 2014 by Barbara Rucci 10 Comments

5927 shares
  • Facebook

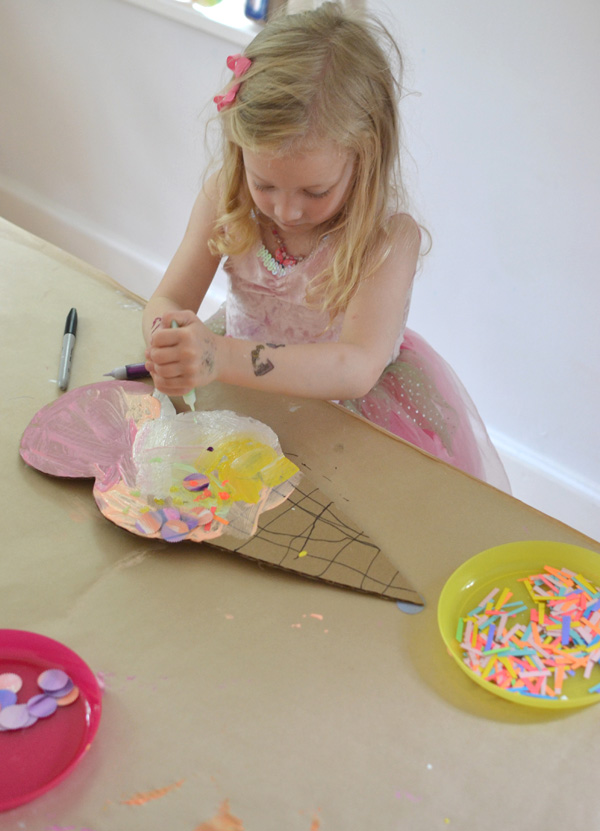
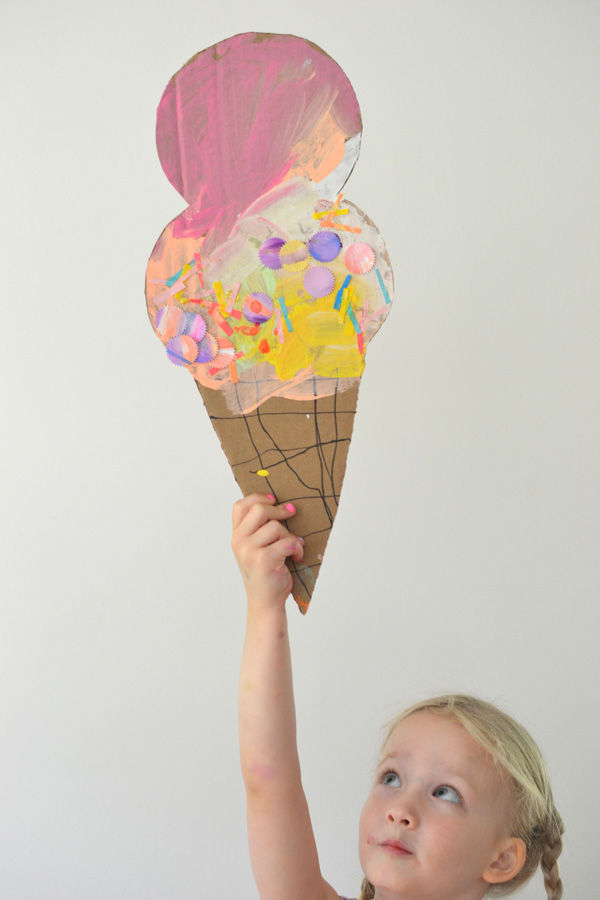
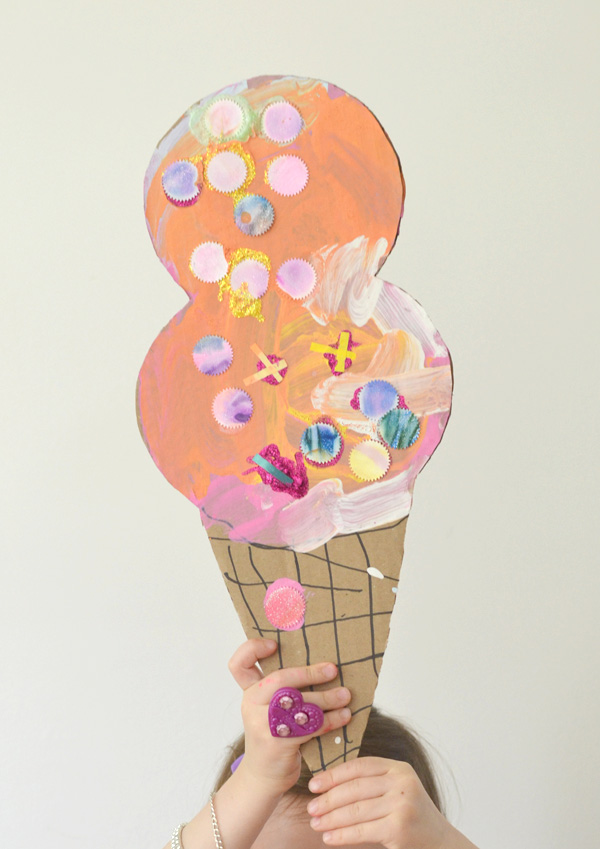
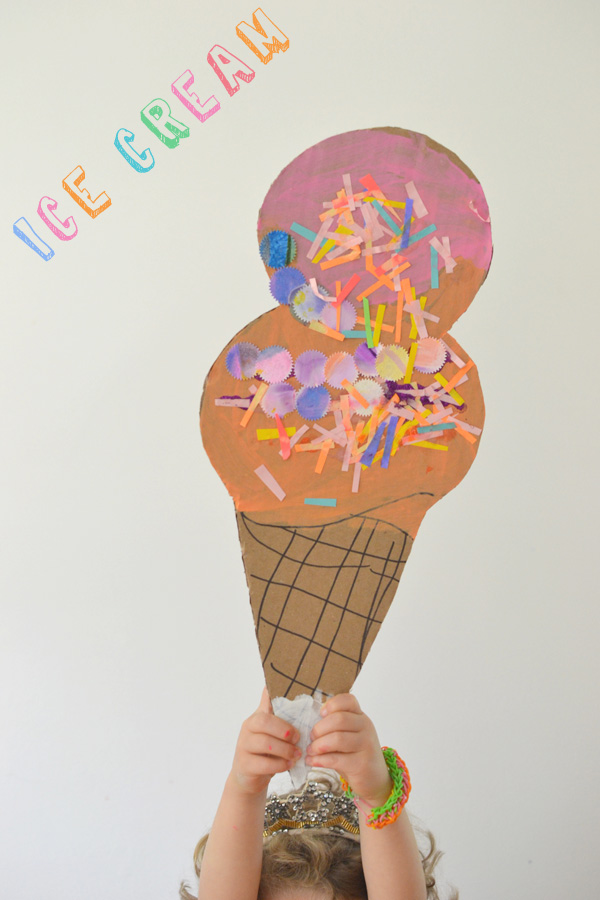
make these paint + collage cones ~ great summer art craft

This is a super fun and colorful art craft for the kids to do this summer. It takes a bit of prep, but after that the execution is very easy. And the final results are downright adorable!
make these paint + collage cones ~ great summer art craft

This post contains affiliate links. Thank you for your support!

Here’s what you’ll need:

Cardboard + scissors

Black fine tip Sharpie

Tempera paint (I used neon colors mixed with white )

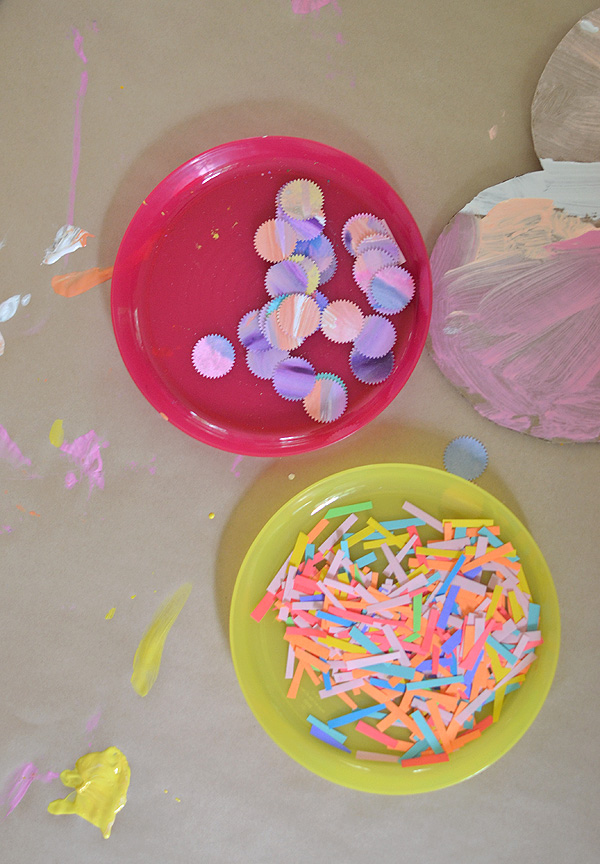
Colored paper cut into “sprinkle” pieces

Circle + shape punches (optional) to make more candy decoration

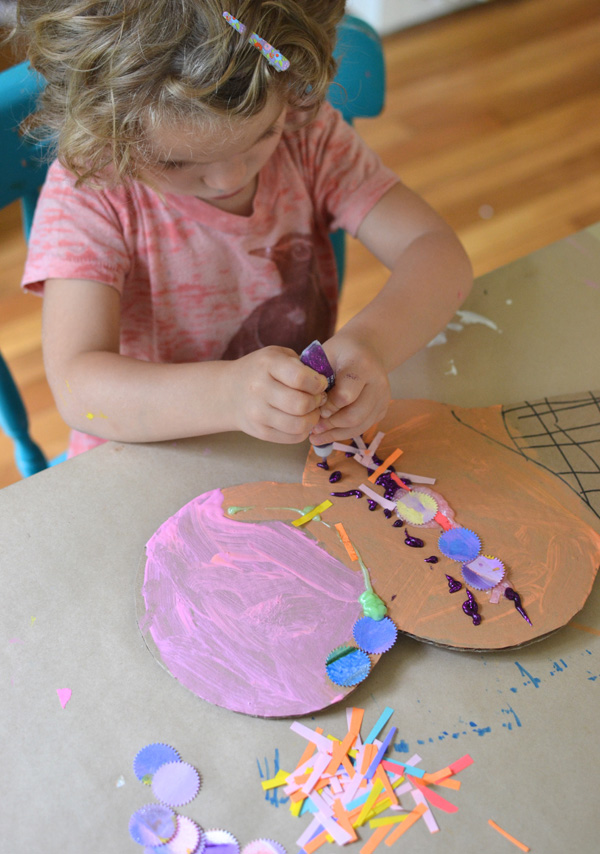
Glitter glue

make these paint + collage cones ~ great summer art craft

make these paint + collage cones ~ great summer art craft

make these paint + collage cones ~ great summer art craft

How to make your cone:

1. Cut out an ice-cream cone from your cardboard. I don’t have a template because it needs to be really big…bigger than printer paper. But drawing a cone is easy. It’s an upside down triangle and then two circles on top. You can do it! (Tip: draw your cone on the backside of the cardboard box).

2. Cut out little pieces of colored paper that will be the sprinkles. Punch out some circles or other shapes, like hearts or stars, that will be the candy. I used old art to cut the candy pieces.

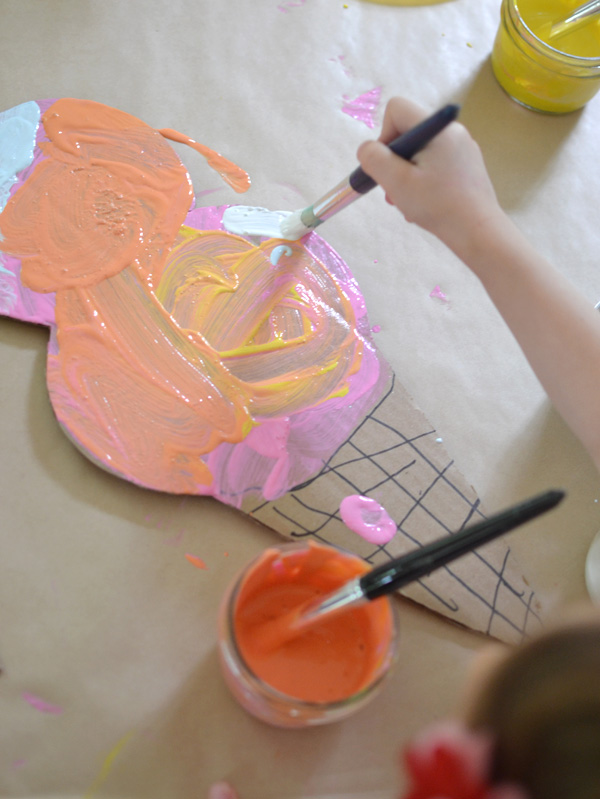
3. Mix some sherberty paint colors. And mint. Chocolate was the kids’ fave flavor, but we all decided that brown paint would be boring on brown cardboard. They actually helped me choose and name the colors which was an extra fun activity.

4. Show them on a separate piece of paper what diagonal lines look like on a cone. Then give them each a black sharpie and let them do the lines, showing them how to draw one line across the top of the cone, then diagonal lines in one direction and then the other. They love this part because it seems so grown-up to use a sharpie, and it instantly looks like a cone!

5. Now it’s time to paint. Anything goes. I even had a three-year old paint right over her cone. She wanted it pink. Then another one copied her (trends start fast with little ones). It’s all good!

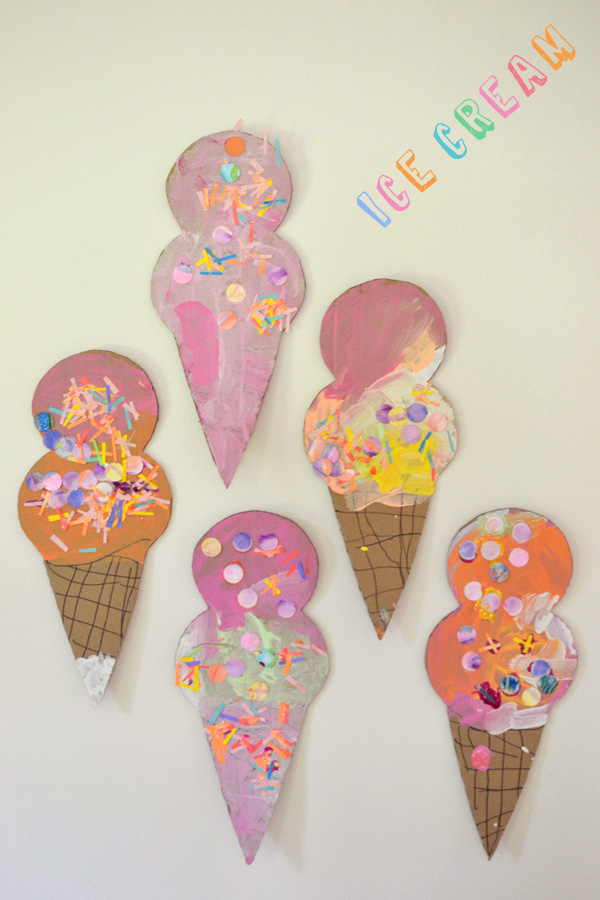
6. Next take out the glitter glue and let them glue on their sprinkles and decoration. You could even bring out pom-poms which makes the kids really happy. That’s it! Let dry overnight before they can take it home.
make these paint + collage cones ~ great summer art craft

make these paint + collage cones ~ great summer art craft

make these paint + collage cones ~ great summer art craft

This project was so successful, I cut out cardboard popsicles for the next day. I’ll share those some other time, they are really cute, too.

Have fun!

xo, Bar

{Follow me on Instagram to see what we’re working on now.}


Filed Under: Recycled, Open-ended Crafts for Kids, Birthday Parties Tagged With: cardboard, ice cream cones

Previous Post: « Make Pretty Things with Paint Chips
Next Post: Henna Hands by Kids »

Reader Interactions

Comments

  1. danielle @ this picture book life

    July 17, 2014 at 6:00 pm

    These are absolutely delightful! Wow. So summer.

    Reply
    • Barbara Rucci

      July 20, 2014 at 8:13 am

      thank you danielle! and i just oohhed and aahhed over your website. just beautiful! congrats on one year! xx bar

      Reply
  2. meri cherry

    July 18, 2014 at 1:11 am

    of the chart coolness. doing this doing this doing this.

    Reply
    • Barbara Rucci

      July 20, 2014 at 8:09 am

      thanks meri…hope you do!! xx bar

      Reply
  3. Jeanine

    July 28, 2014 at 7:46 pm

    Lol aha!! Great minds think alike! We went to work on these over the weekend! But now, you’ve raised the “Bar” LOL –& I wanna do ’em again! 😀 So Bright

    Reply
    • Barbara Rucci

      July 30, 2014 at 8:13 am

      would love to see yours jeanine!!

      Reply
  4. Yesi M

    September 6, 2014 at 11:05 pm

    Again, what and how can I hang these on a bedroom wall, thanks a bunch!!

    Reply
    • Barbara Rucci

      September 7, 2014 at 8:57 am

      hi yesi…good question! i hung our cones with rolled tape on the pack and just stuck it to the wall. but you could also punch two little holes at the top of the cone, put a string through and then tape the string to the wall. my hardware store here in connecticut sells little plastic hooks that stick to the wall, they are made by 3M. or you could hammer a small nail into the wall if you have a string on your cone. i hope this helps! xo, bar

      Reply
  5. Jyll

    August 4, 2015 at 1:26 pm

    I set up this, “sweet” project for my three year old and she had a blast making it. She said she was making it for me and asked which flavors I wanted. I told her cotton candy and rainbow sherbert. She used pom poms and beads for sprinkles as well. It came out so colorful! .Thank you for sharing such wonderful art projects to do with kids.

    Reply
    • Barbara Rucci

      August 5, 2015 at 11:46 am

      thank you Jyll! Would love to see your finished cones. are you in instagram? if so, just tag me @artbarblog. xo, Bar

      Reply

Leave a Reply Cancel reply

Your email address will not be published. Required fields are marked *

Primary Sidebar

The Creativity Project
RESOURCE FOR TEACHERS
Start Here!
Your subscription could not be saved. Please try again.
Your subscription has been successful.

Yes! I want to raise thoughtful and creative children. Send me more inspiration, please!

Follow on Instagram

Categories

Archives

Copyright and Reposting

All content on this blog is copyright and owned by Art Bar Blog unless otherise stated. I would be flattered if you wanted to use an image from one of my posts! But please, ask me first. I would also ask that if it involves DIY instructions with a list of supplies that you don't repost any of that stuff because then nobody would have a reason to click back to my original post!

Footer

  • Facebook
  • Instagram
  • Pinterest

About Me

There are two things that I'm passionate about: Children + Art. As an art teacher, author, graphic designer, and mom to 3 creative thinkers, I get to explore my passions every day! Learn more...

I am dedicated to keeping your information safe. Please review my Privacy Policy.

Recent Posts

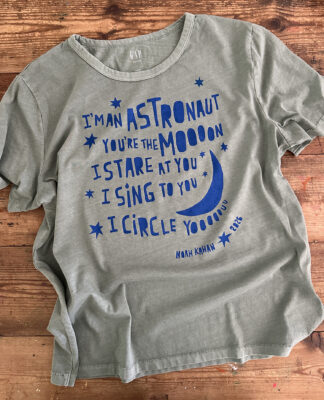
A newly printed t-shirt lies on a table showing off the freezer paper stencil technique using bright blue ink on a muted green shirt with a Noah Kahan quote from his song Orbiter.

Copyright © 2026 · Foodie Pro & The Genesis Framework