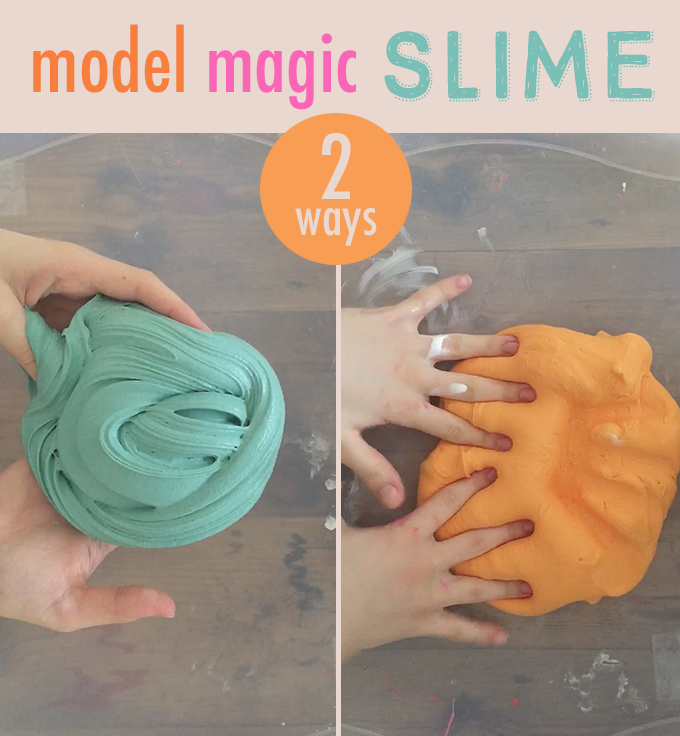
My resident slime expert, Ava, has come up with a new Model Magic slime! Actually, she uses both Model Magic and the new Japanese equivalent (which is a bit softer with deeper colors), Daiso Clay. I will give you step-by-step instructions for both, and then compare the two at the end.
Are you ready to make some really awesome slime?
[ I am a participant in the Amazon Services LLC Associates Program, an affiliate advertising program designed to provide a means for us to earn small fees at no cost to you by linking to Amazon.com and affiliated sites. ]
Supplies for Model Magic and Daiso Clay Slime
~ Elmer’s glue (if you make a lot of slime, buy the gallon!)
~ Shaving cream (white foamy kind, Amazon doesn’t sell it for cheap – better to get some at the pharmacy)
~ Lotion (hand or body, it doesn’t matter)
~ Color (we used liquid watercolors)
~ Model Magic or Japanese Daiso Clay
Model Magic Slime
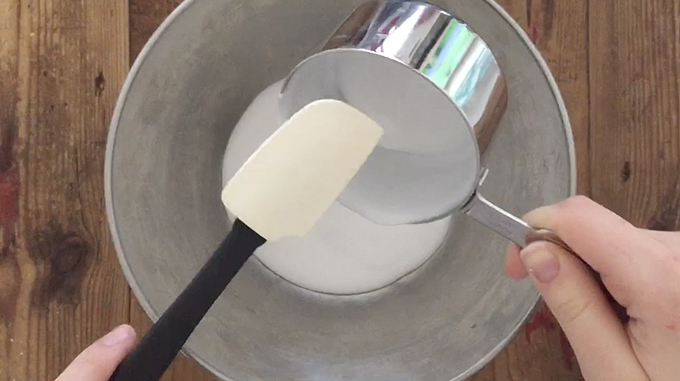
Step 1: Pour 1 cup of glue into a bowl.
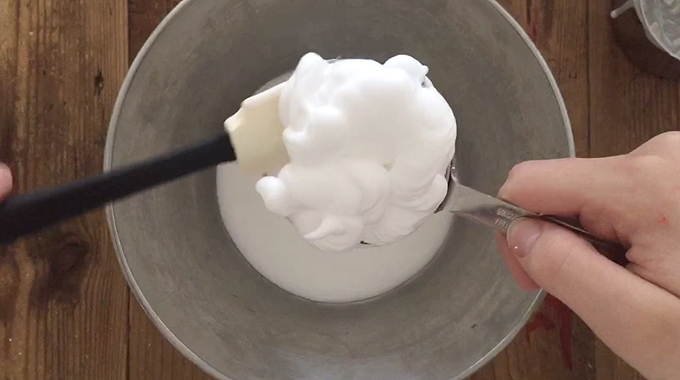
Step 2: Add 1/2 cup shaving cream.
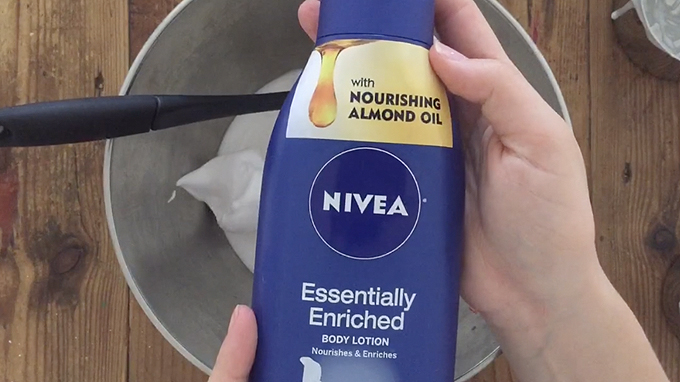
Step 3: Add abut 20 squirts or about 3 tablespoons lotion. Stir until all the ingredients are mixed together.
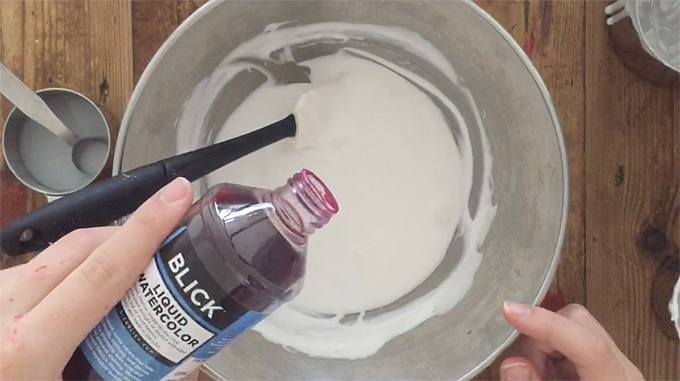
Step 4: Add your color. We always use liquid watercolor, this time we used Blick fuchsia. Stir until all of the color has mixed, making sure to scrape the sides.
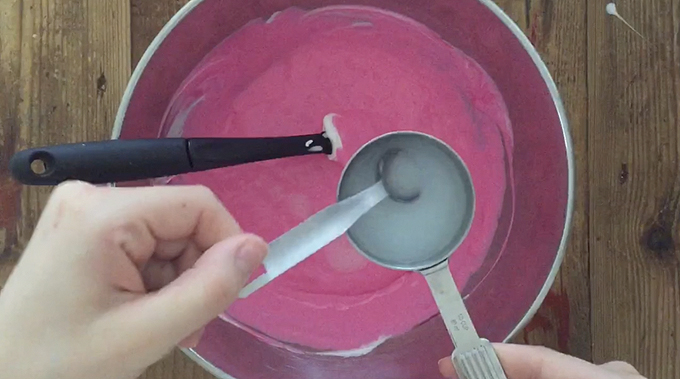
Step 5: Start adding the liquid starch (the activator) 2 teaspoons at a time. Stir very well after each addition.
The key to good slime is adding the “activator” slowly and stirring very well.
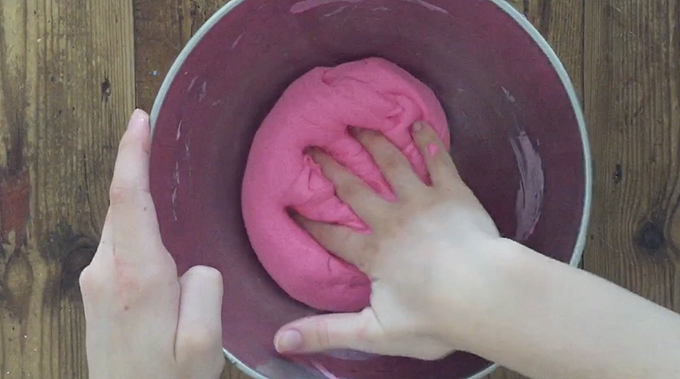
Step 6: Add a total of about 12-16 teaspoons of the liquid starch. When it finally comes together and forms a ball, you can stick your hands in and see how it feels. If it’s still really sticky, add some more liquid starch. When you think it’s ready, take it out of the bowl and place it on the table or on a tray.
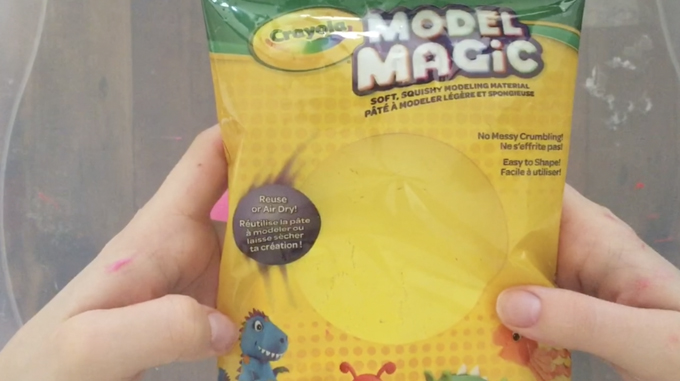
Step 7: Open your Model Magic.
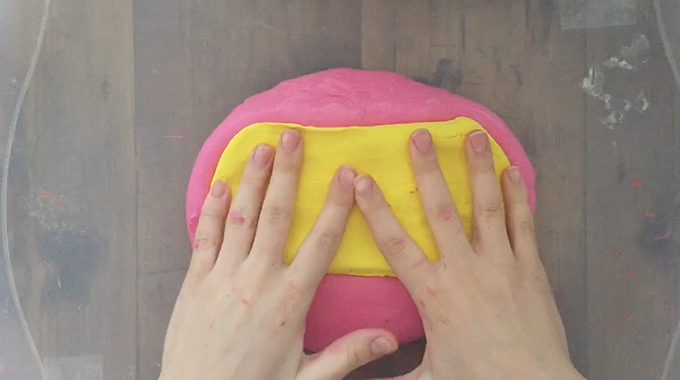
Step 8: Put your Model Magic on top of the slime and start to combine the two.
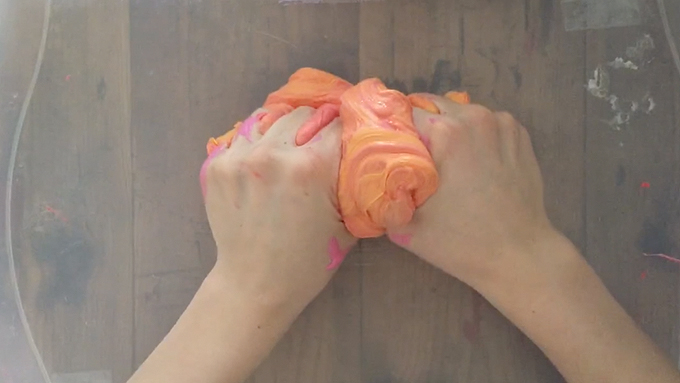
Step 9: At first it will feel lumpy. The slime is very soft and gooey, and the Model Magic is usually pretty hard right out of the pack. This step is good for working hand muscles 🙂
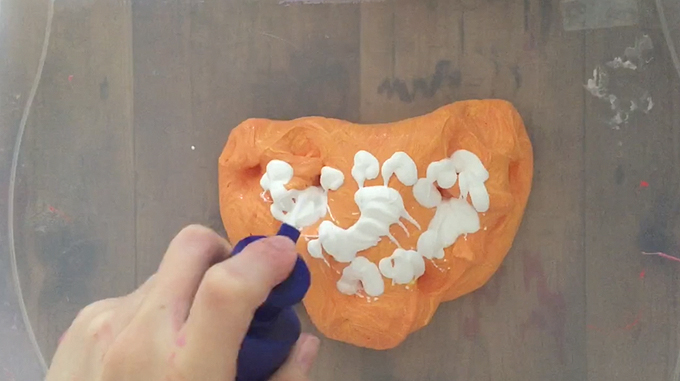
Step 10: Ava felt like the slime needed a little more lotion. Slime making is not an exact science, as I have learned from watching Ava literally make hundreds of slimes. Sometimes she adds more activator, sometimes more shaving cream, and sometimes more lotion. She felt that it needed to be a bit softer. She added about 15 squirts, and then another 10.
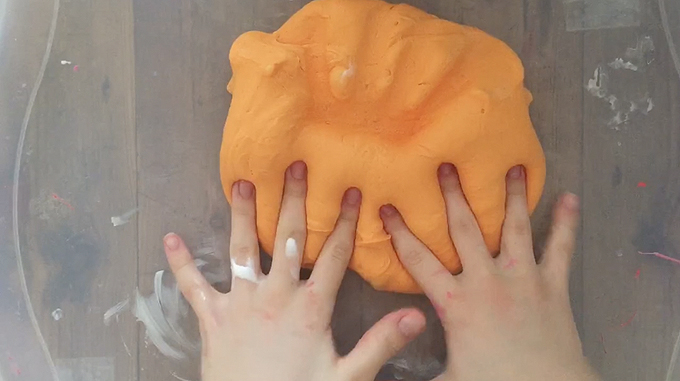
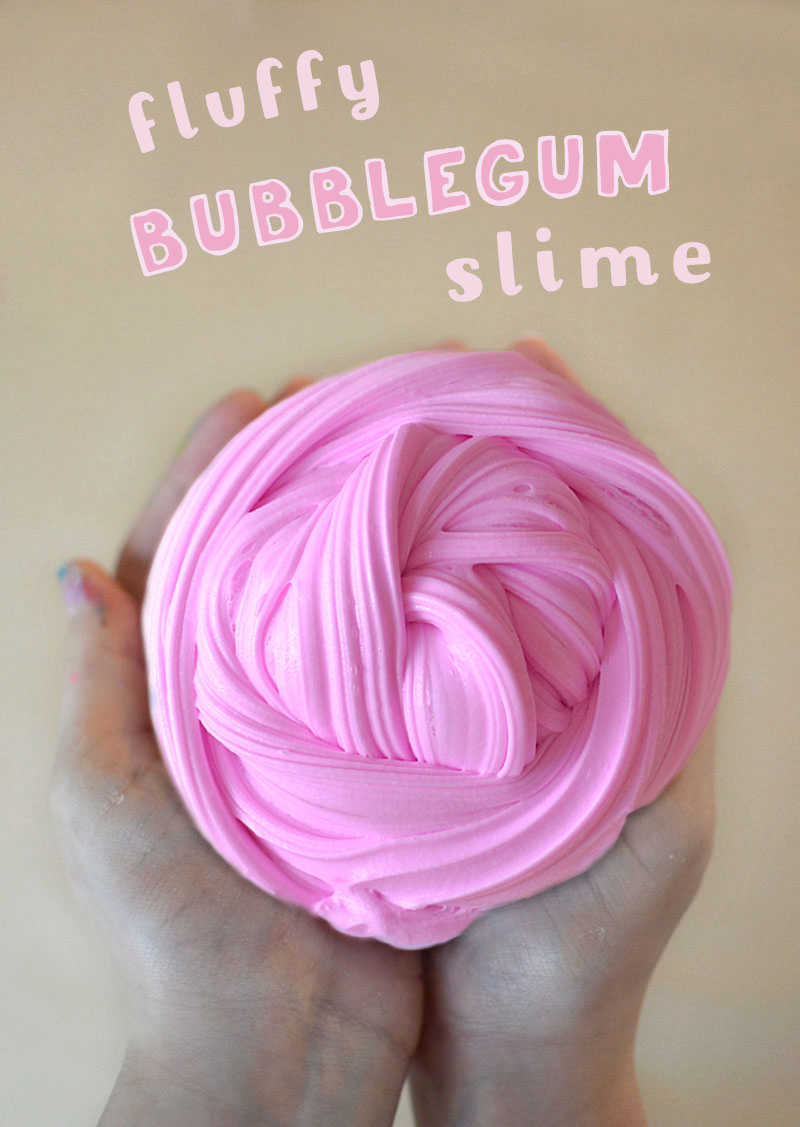
Finally, the Model Magic slime is ready! We loved the way the pink and yellow made orange. This would be a really fun sensory-sciency project for preschoolers to learn about primary and secondary colors.
Watch the video of Ava making her awesome orange Model Magic slime.
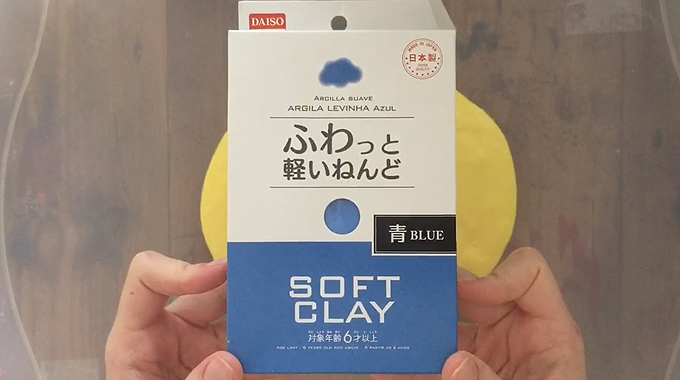
Japanese Daiso Clay Mermaid Slime
Steps 1 – 6 are the same as above, except we used Blick yellow liquid watercolor (I link to Colorations above in the supply list because it’s cheaper and you can buy it on Amazon).
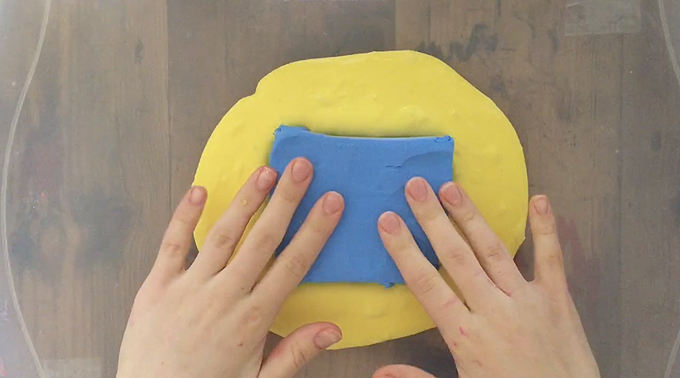
Step 7: Open the Daiso Clay.
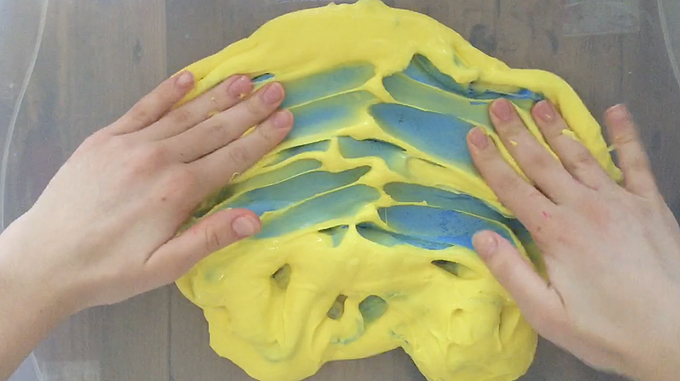
Step 8: Combine the Daiso and slime. Ava loves to wrap the clay up in the slime, and then dig her fingers in to reveal the new color. But you can do it any way that you want.
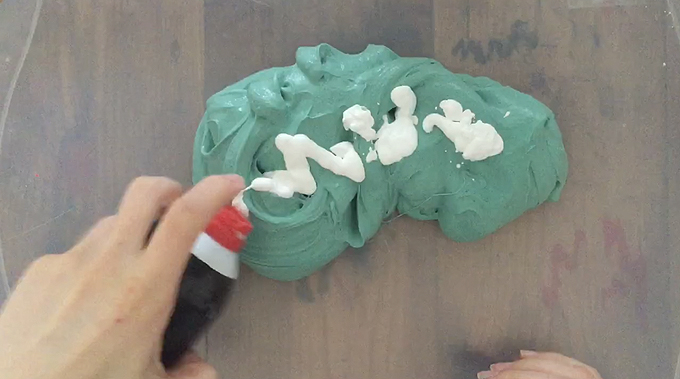
Step 9: Ava felt the the slime was a little to shiny (she likes to go for a “butter” slime which is more matte), so she added a few squirts of shaving cream.
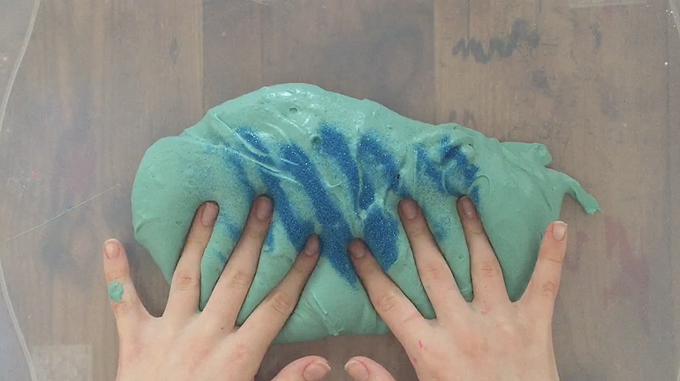
Step 10: Adding glitter is optional. We found out that you have to add a LOT of glitter to even see it after it’s been mixed. But adding the glitter is really fun visually, and Ava loves glitter. So we added some. (For the Magic Midnight Slime below, we added a ton of glitter and it did sparkle!)
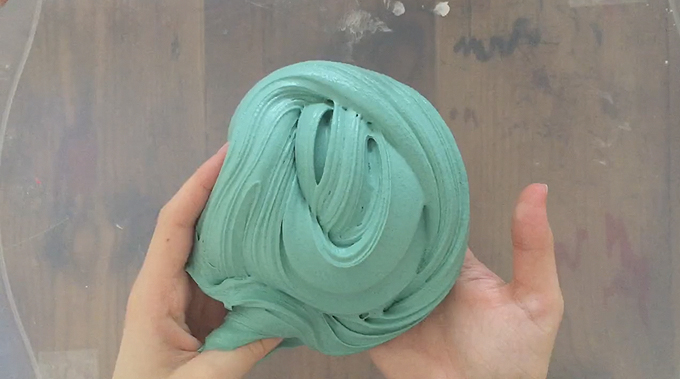
Again, we used two primary colors to make a secondary color. Actually, this is really a tertiary color since it came out more aqua than green!
Watch the video of Ava making this magnificent mermaid slime.
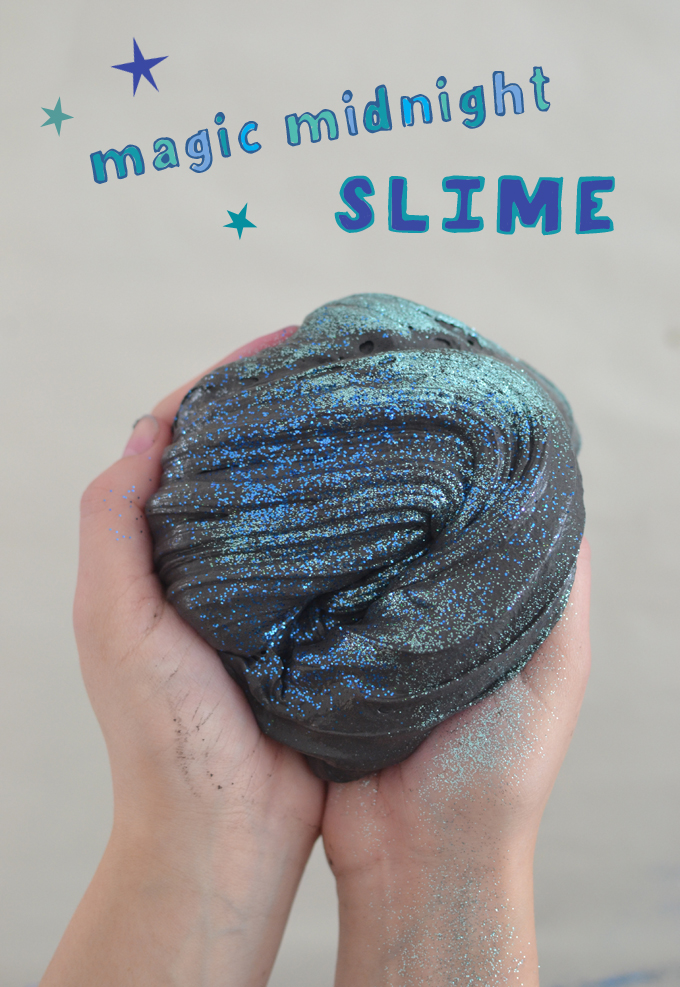
Magic Midnight Slime (with Diaso Clay)
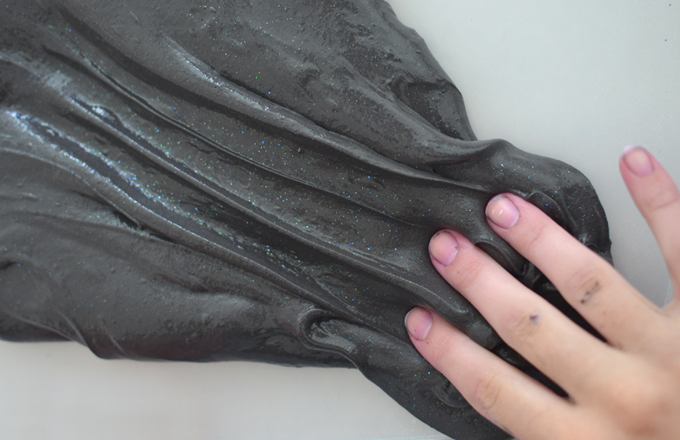
This was actually our first try with Daiso Clay, and Ava chose black. We added tons of glitter, and it turned out amazing!!
Directions are the same as the Mermaid slime.
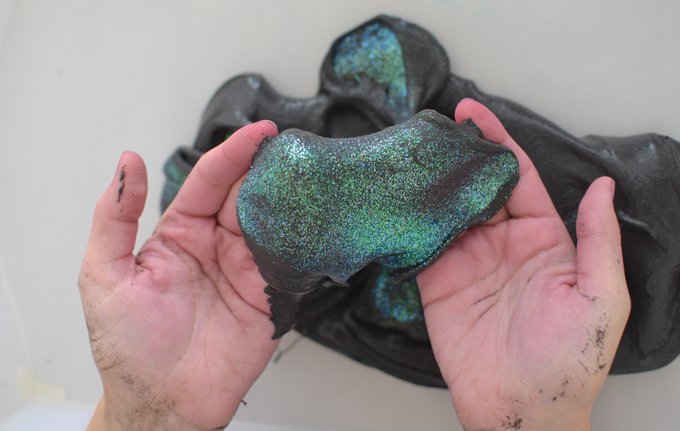
The one issue Ava had was that the black Daiso is so saturated that the blue slime she mixed with it didn’t really come through. Also, the black Daiso did rub off on her hands. If your child is really into making this black slime, then I would suggest trying it with Model Magic instead of Daiso.
Here is another video for you which shows Ava making this Magic Midnight slime above.
A comparison between Model Magic and Daiso Clay slimes
The Model Magic slime…
~ is harder to mix together – you may want to soften up the Model Magic first by squeezing it and playing with it
~ is thicker, you can leave very cool hand impressions that stay for more than a second, you can cut it with a plastic knife
~ is puffier, it’s very satisfying to squeeze
~ is not as stretchy, which can be good or bad depending on what you like
~ it’s easy to buy model magic in the store
The Daiso Clay slime…
~ is easier to mix together because the Daiso Clay is softer than Model Magic
~ when mixed together feels more like a traditional slime, just puffier
~ is still stretchy like a traditional slime
~ can rub off on your hands if you use the black Daiso
~ Daiso Clay takes about 10 days to ship from Japan
The verdict…
It’s really a preference, one is not better than the other. Ava likes the Daiso slime a little better because it’s stretchier, but she admits loving the thick quality of the Model Magic slime where she can mold it into shapes and push it down to make hand impressions.
Try them and let me know what you think!
xo, Bar
– – – – – – – – – – – – – – – – – – – –
Did you like this post? Here are some more sensory recipes:



My kids love slime and we’ve never tried a slime with liquid starch. Gonna nite the bullet and order some starch from Amazon and then head to Daiso – because we have one just a few minutes from our house 🙂 Thanks so much for sharing!
oh wow, I didn’t know that Daiso was a store!! Do you live in Japan? how cool you can just go to their shop! good luck with the slime!! xo Bar
Daiso is a store–there is one in Southern California–I go there often
Hello! How long does this last? Was going to make it for a friends kiddo if it stays good for at
least a couple of weeks?
It lasts weeks and weeks, even months. My daughter plays with hers for months before throwing it away. Good luck and have fun! xx Bar
Does it dry hard or squishy?
Hi Alecia, it dries squishy! Just store it in a container or baggie. ~ Bar