• Skip to primary navigation
  • Skip to main content
  • Skip to primary sidebar
  • Skip to footer

ARTBAR

raising creative thinkers

  • MY BOOKS
    • Art Workshop for Children
    • Cardboard Creations
  • ART SUPPLIES
  • SHOP
    • Art Bar on Etsy
    • Art Class Poster
  • ABOUT
  • Nav Social Menu

    • Facebook
    • Instagram
    • Pinterest

Kid Made Polymer Clay Necklaces

December 17, 2015 by Barbara Rucci 6 Comments

882 shares
  • Facebook1

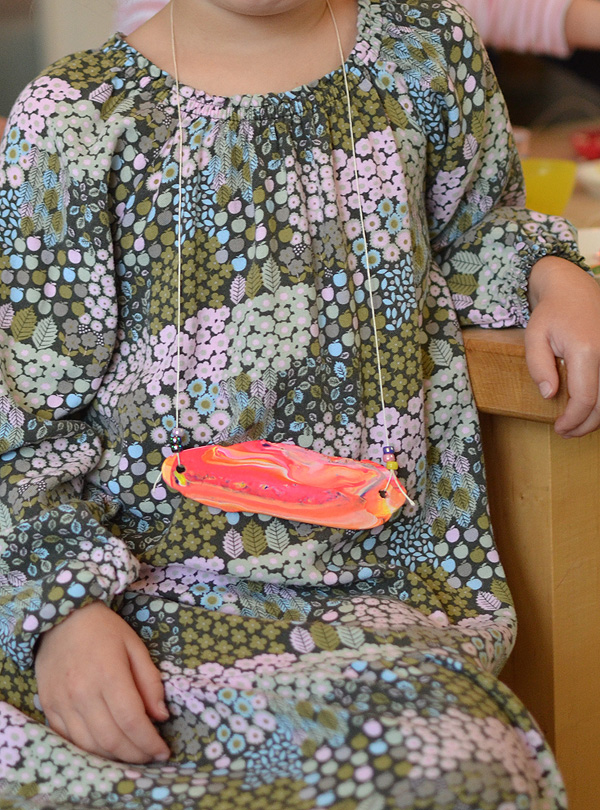
Kids use their hands to squeeze together bits of polymer clay and then use a flattening machine to make these unusual and colorful necklaces.

Have you or your kids ever used polymer clay? I walked by it at the craft store for years. I figured it was just another expensive craft material that would sit around and not be used.

Oh, I could not have been more wrong!

I was introduced to the world of polymer clay by my friend and blogging buddy, Meri Cherry. She is the absolute queen of clay! Her blog is full of spectacular clay-filled posts, like seven-layer cakes, alien army, bowls, and hearts.

On this day in art class, the kids were so excited because I took out the flattener! This one piece of equipment is the coolest thing I own. It’s like a pasta maker where you put in the ingredients, turn the handle, and out comes a new form. Totally awesome!

Kids use their hands to squeeze together bits of polymer clay and then use a flattening machine to make these unusual and colorful necklaces.

This post contains affiliate links. Thank you for your support!

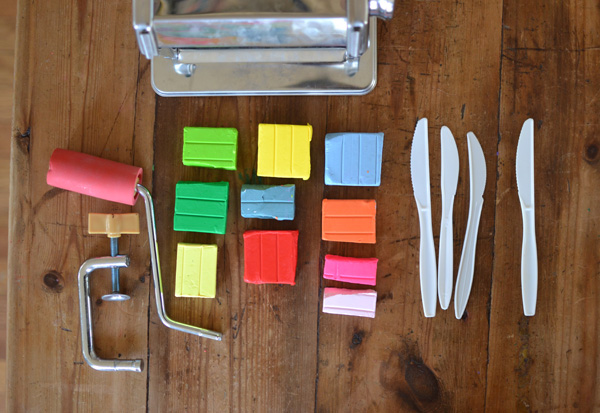
Supplies needed:

~ Polymer clay (we used sculpey, but here is a good run down of the different types out there. Sculpey is easy to work with, but gets brittle after baking, so in the future I think I will try Premo)

~ Plastic knives

~ Flattening machine

~ String

~ beads

Kids use their hands to squeeze together bits of polymer clay and then use a flattening machine to make these unusual and colorful necklaces.

Process:

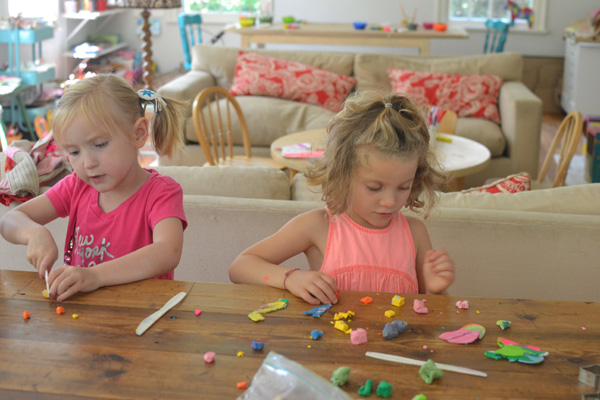
1) The kids start by slicing off little bits of clay with their plastic knives. Then they squeeze and blend the bits together. This takes some work, as the clay is a bit hard to begin with, but then softens with the heat of their hands.
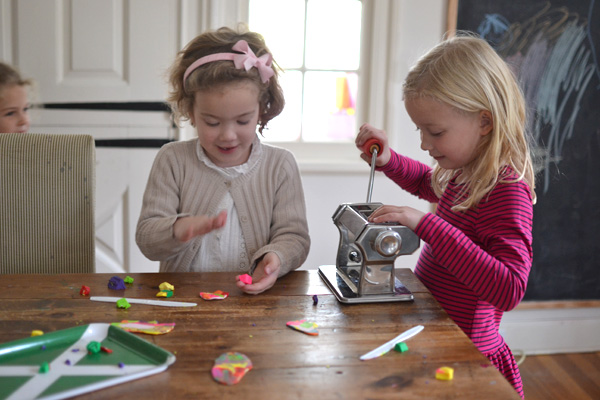
Kids use their hands to squeeze together bits of polymer clay and then use a flattening machine to make these unusual and colorful necklaces.

2) When they have a nice size of blended bits, they need to flatten it out a little before putting it in the flattener.
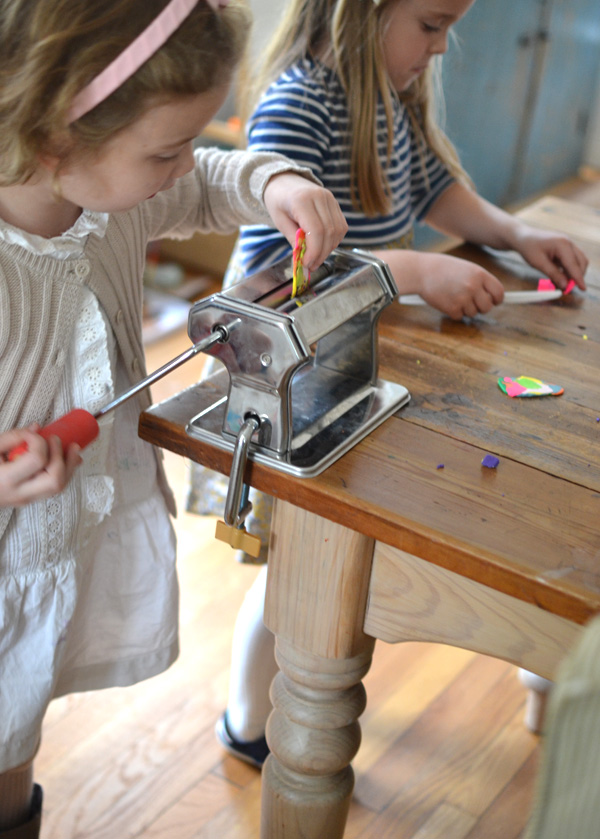
Kids use their hands to squeeze together bits of polymer clay and then use a flattening machine to make these unusual and colorful necklaces.

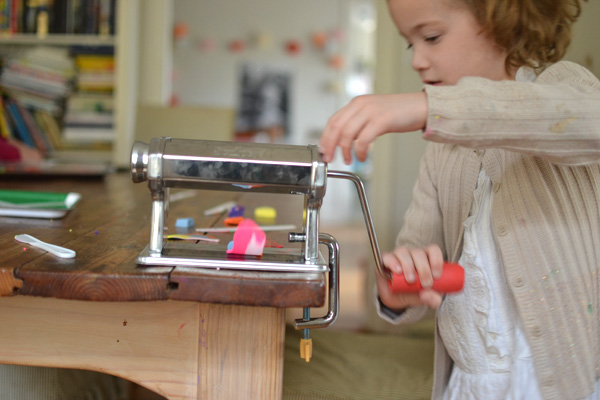
3) Now they can feed it into the flattener and turn the handle. This is the best part!
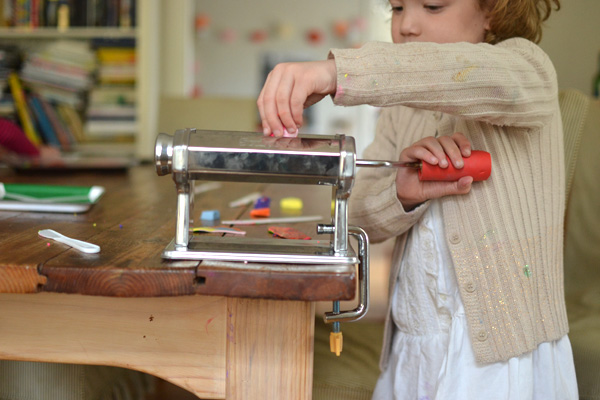
Kids use their hands to squeeze together bits of polymer clay and then use a flattening machine to make these unusual and colorful necklaces.

Kids use their hands to squeeze together bits of polymer clay and then use a flattening machine to make these unusual and colorful necklaces.

4) Out comes their flattened piece! By now the different colors are looking a little marbled. The kids can take this flattened piece and squeeze it up, then flatten it again. The more they squeeze and flatten, the more the colors start to blend. So, for example, if you are a 9yr old boy (my son), you will squeeze and flatten until your clay is now one color, a sort of greenish.

For this experience, I encouraged the kids to stop at some point so that their “beads” were colorful. But normally I would just let them experiment to their heart’s content!
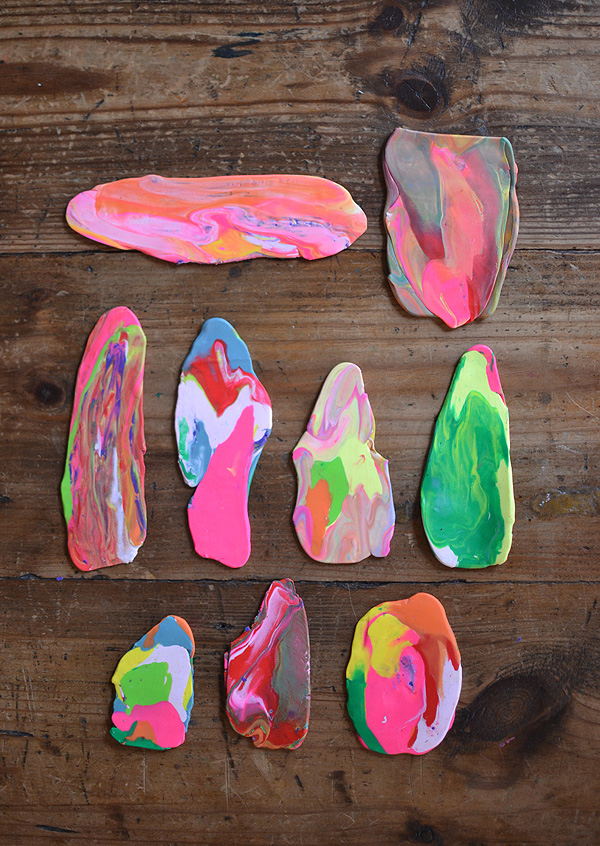
Kids use their hands to squeeze together bits of polymer clay and then use a flattening machine to make these unusual and colorful necklaces.

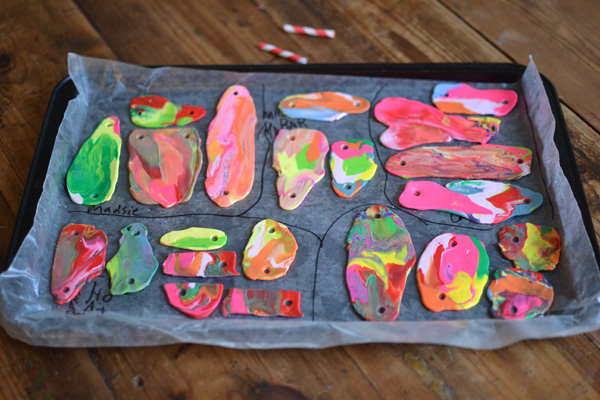
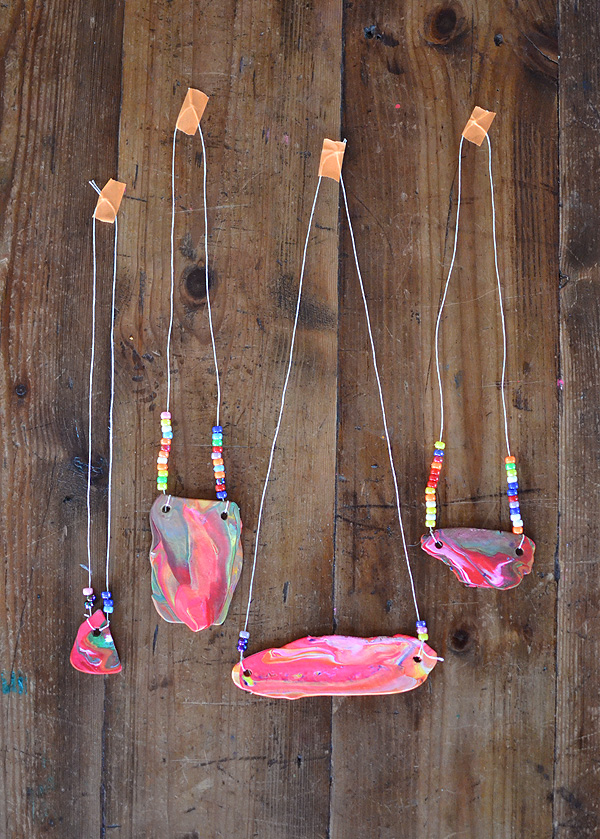
How cool are these? I love the marbling effect that happens.
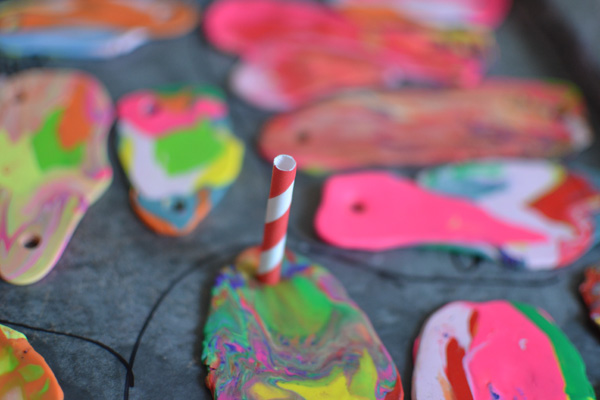
Kids use their hands to squeeze together bits of polymer clay and then use a flattening machine to make these unusual and colorful necklaces.

Kids use their hands to squeeze together bits of polymer clay and then use a flattening machine to make these unusual and colorful necklaces.

5) Next, I stamped two holes in each flattened “bead” with a straw piece. I layed them out on wax paper and separated each child’s pieces with a black sharpie so that I didn’t mix them up.

I poked around online to see how long to bake them for. Everyone had a slightly different formula, depending on thickness and quality of clay. I decided to bake at 250F for 30 minutes.
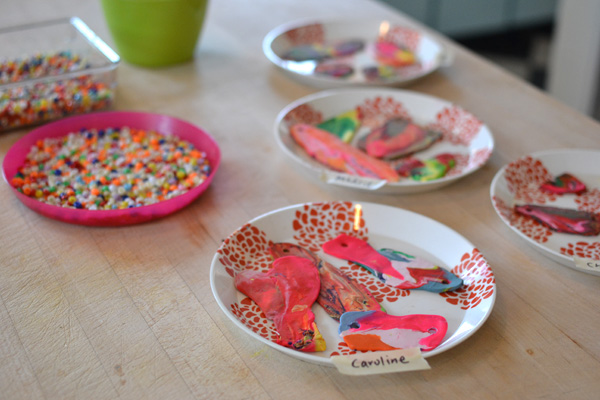
Kids use their hands to squeeze together bits of polymer clay and then use a flattening machine to make these unusual and colorful necklaces.

6) At the next class, I put out their clay pieces, some small pony beads, and some string. I tied one string through each hole. Nothing fancy.
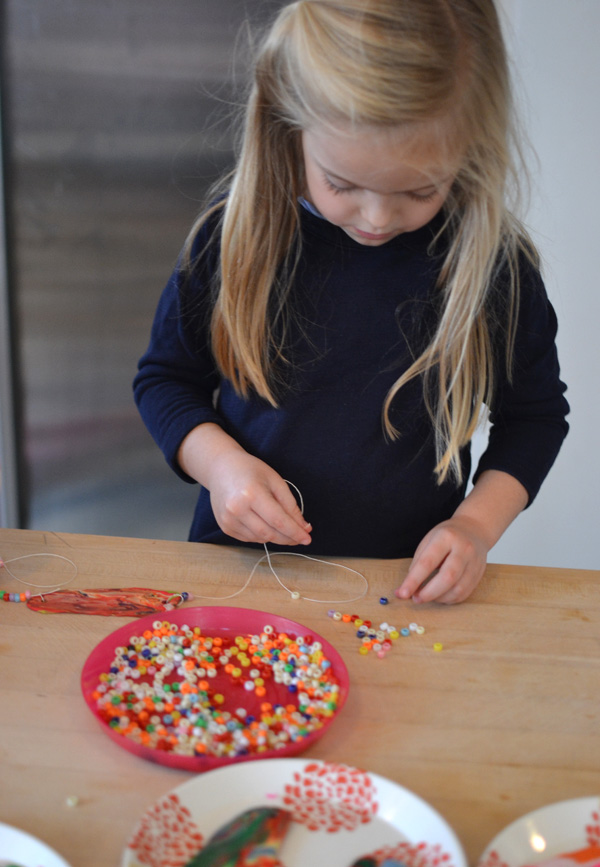
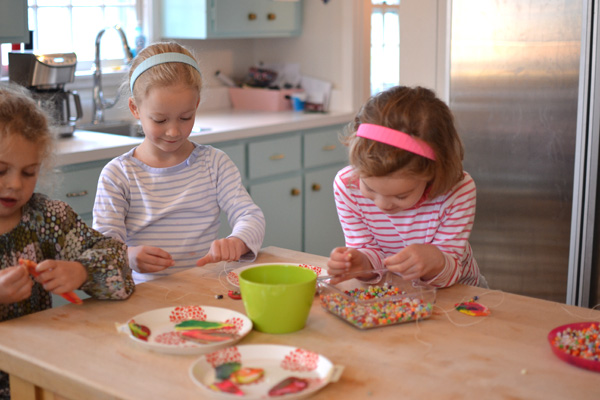
Kids use their hands to squeeze together bits of polymer clay and then use a flattening machine to make these unusual and colorful necklaces.

Kids use their hands to squeeze together bits of polymer clay and then use a flattening machine to make these unusual and colorful necklaces.

Kids use their hands to squeeze together bits of polymer clay and then use a flattening machine to make these unusual and colorful necklaces.

We packaged up their necklaces in little glassine bags. Hopefully they will give them as gifts, but you never know what happens when they get home!

xo, Bar


Filed Under: Open-ended Crafts for Kids, Teen Crafts Tagged With: necklaces, polymer clay

Previous Post: « Recycled Wrap from Kraft Paper
Next Post: My Best Posts of 2015 »

Reader Interactions

Comments

  1. Tatiana

    December 18, 2015 at 5:28 am

    Bello! Grazie per l’idea.

    Reply
    • Barbara Rucci

      December 27, 2015 at 9:27 am

      grazie Tatiana!! xo bar

      Reply
  2. Jeanine

    April 2, 2016 at 6:42 pm

    Geez these are beauties! & the kids look like they’re having so much fun! Got all accept the clamp! I definitely have got to get my hands on one of those

    Reply
    • Barbara Rucci

      April 17, 2016 at 3:47 pm

      you should invest in one, you won’t regret it Jeanine!! xo Bar

      Reply
  3. Laura Warry

    November 4, 2017 at 9:39 am

    These are just spectacular Bar! How much clay would you say you’d need to run the workshop with 10 kids? 👏🏼😍

    Reply
    • Barbara Rucci

      November 5, 2017 at 1:13 pm

      hi Laura, great question! it’s been a while since we did this, but the kids do go through the clay pretty quickly. Although you can encourage them to keep re-using bits. I would say for 10 kids get 20 blocks. If you really want to be generous, get 30! hope this helps! XO bar

      Reply

Leave a Reply Cancel reply

Your email address will not be published. Required fields are marked *

Primary Sidebar

The Creativity Project
RESOURCE FOR TEACHERS
Start Here!
Your subscription could not be saved. Please try again.
Your subscription has been successful.

Yes! I want to raise thoughtful and creative children. Send me more inspiration, please!

Follow on Instagram

Categories

Archives

Copyright and Reposting

All content on this blog is copyright and owned by Art Bar Blog unless otherise stated. I would be flattered if you wanted to use an image from one of my posts! But please, ask me first. I would also ask that if it involves DIY instructions with a list of supplies that you don't repost any of that stuff because then nobody would have a reason to click back to my original post!

Footer

  • Facebook
  • Instagram
  • Pinterest

About Me

There are two things that I'm passionate about: Children + Art. As an art teacher, author, graphic designer, and mom to 3 creative thinkers, I get to explore my passions every day! Learn more...

I am dedicated to keeping your information safe. Please review my Privacy Policy.

Recent Posts

A newly printed t-shirt lies on a table showing off the freezer paper stencil technique using bright blue ink on a muted green shirt with a Noah Kahan quote from his song Orbiter.

Copyright © 2026 · Foodie Pro & The Genesis Framework