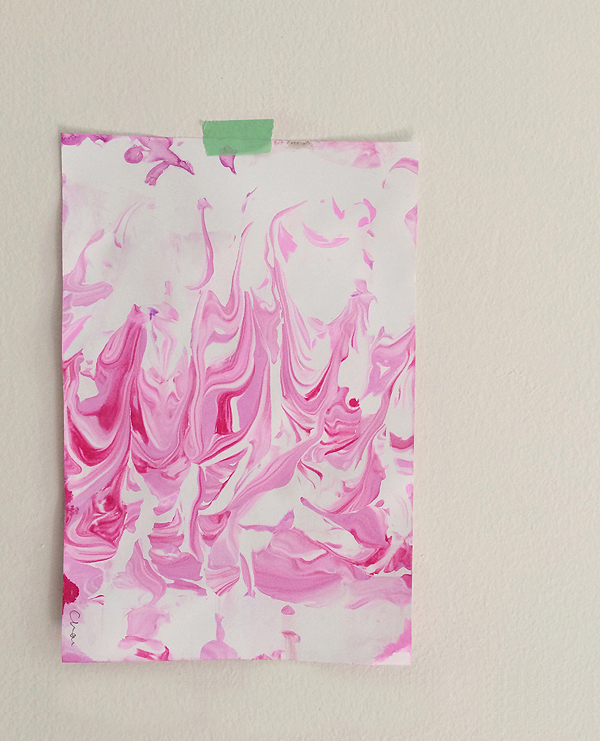
Have you ever tried marbling paper with shaving cream? We’ve done it in art camp many, many times. Yes, it’s messy. But it’s also magical. The kids usually make and make until all the shaving cream is used up. This last time we went through six cans! I think they look like those beautiful Italian marbled papers. The best part is that they smell so good!!
Tip: If you are doing this process with more than 3 kids, it’s best to get a helper.
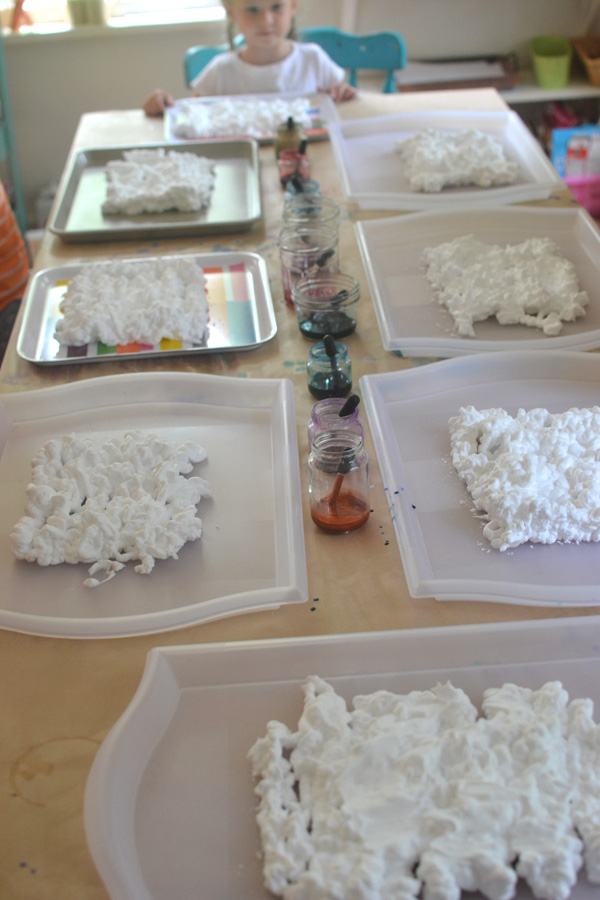
This post contains affiliate links. Thank you for your support.
Here’s what you’ll need:
~ Shaving cream (cheapest kind you can get, just make sure it’s white and not the gel!)
~ Tray, platter, or baking dish
~ Liquid watercolor
~ Small jars, like baby food jars, or small bowls
~ Toothpicks, pencils, sticks, or a fork (something to swirl paint around)
~ Paper (we used sulphite paper
~ Spatula (I like using a metal one)
The process:
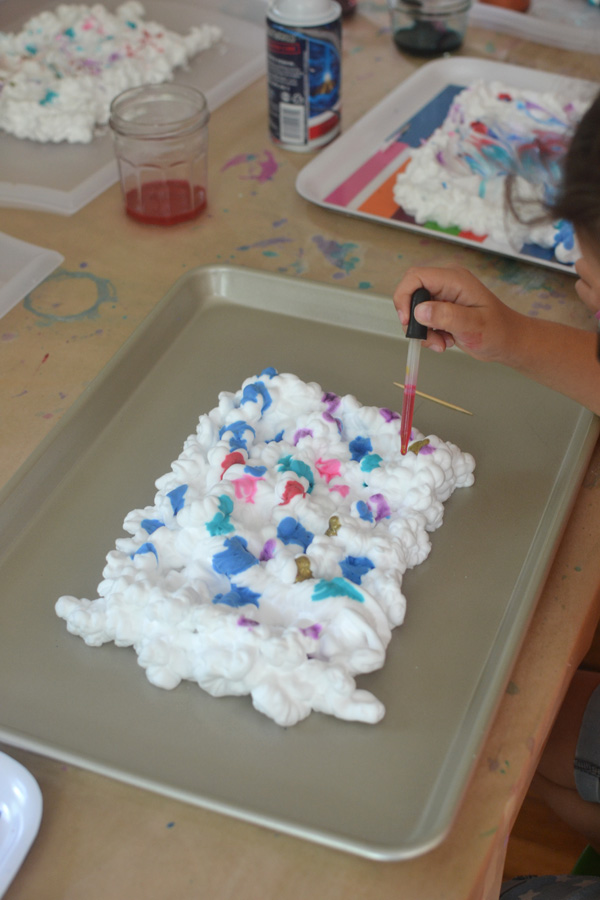
~ Start by spraying some shaving cream on the tray. Kids love this part!
~ Next, squeeze drops of liquid watercolor all over the shaving cream. I always try and keep the colors in the same color family. Blues/greens, or red/pinks, etc. This way the colors would blend together and make brown!
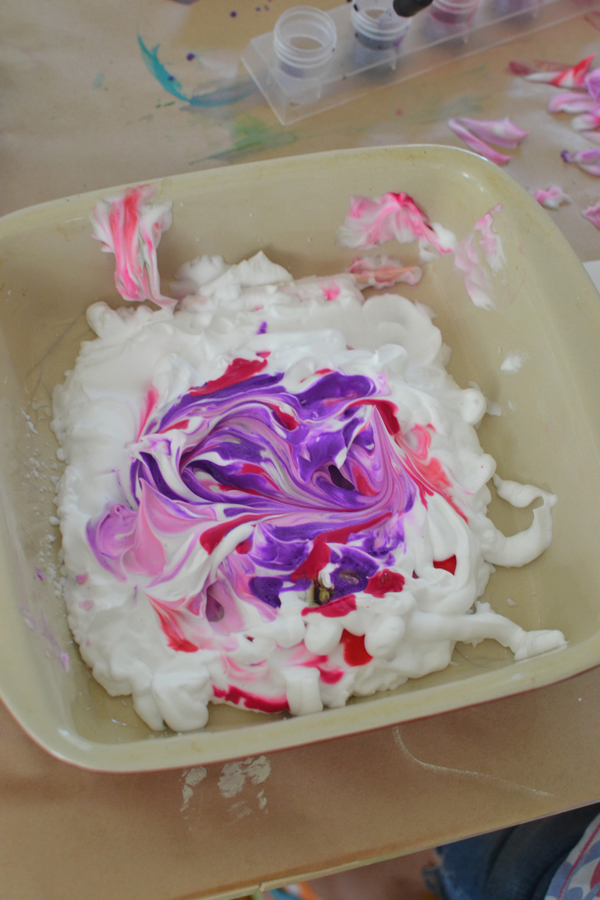
~ Now use a pencil or a fork and drag the ink across one way and then the other. Avoid having the kid swirl the paint in circles (which is their first instinct) because the marbleizing affect comes from the across motion. Just once one way, and then once the other way.
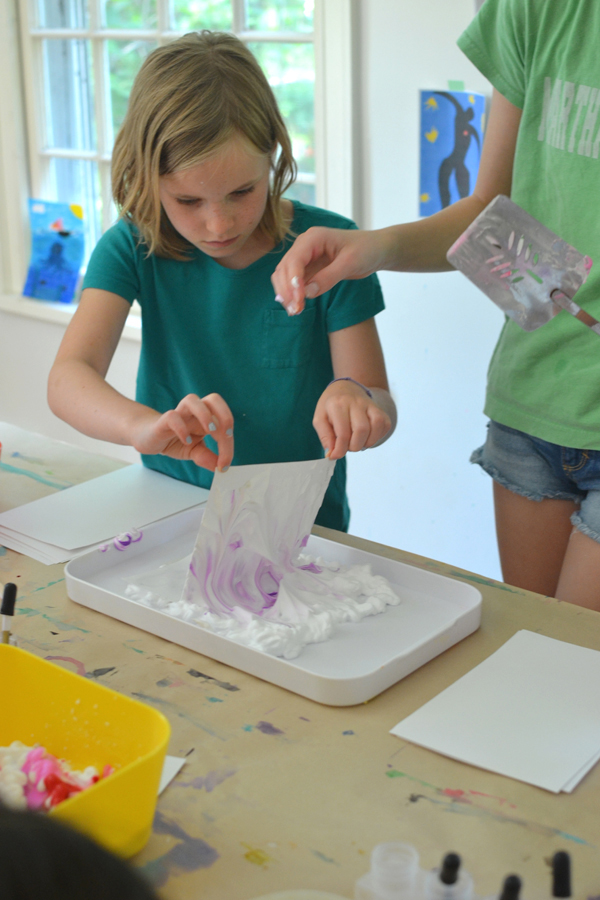
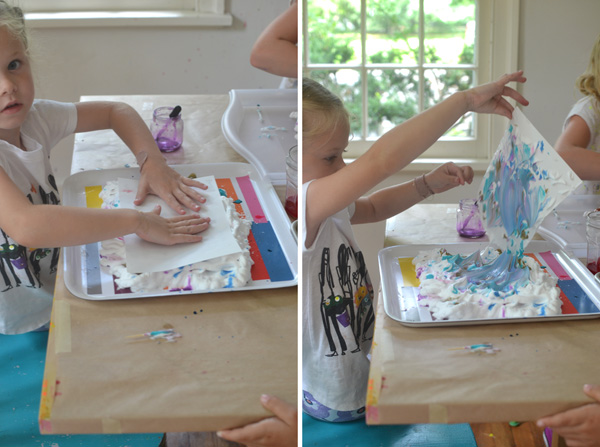
~ Now gently lay a piece of paper on top of your swirly color. Press carefully, so you can make sure all sides of the paper are touching the ink, but not so hard that the shaving cream oozes out the sides.
~ Lift off the paper. It will be hard to see the pattern because of the shaving cream. This is where the spatula comes in (and the helper). I find that the best system is to lay the paper down on a cookie sheet, scrape the shaving cream off with the spatula, then dump the excess into a bowl. You definitely need some room to work on the floor, or an extra table.
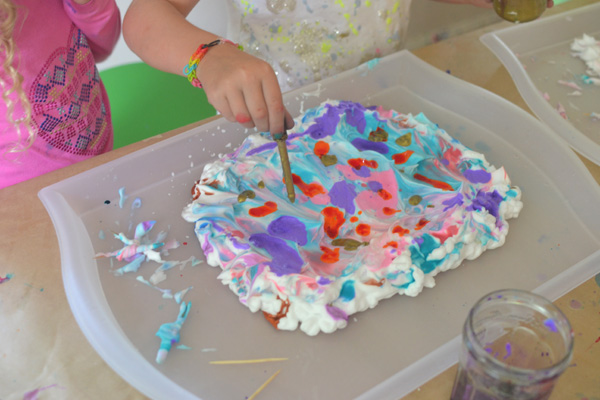
~ After one print is pulled off, the kids can add more ink, swirl again, and print again. When the shaving cream gets really mucky then just spray a new layer on top, and go again!
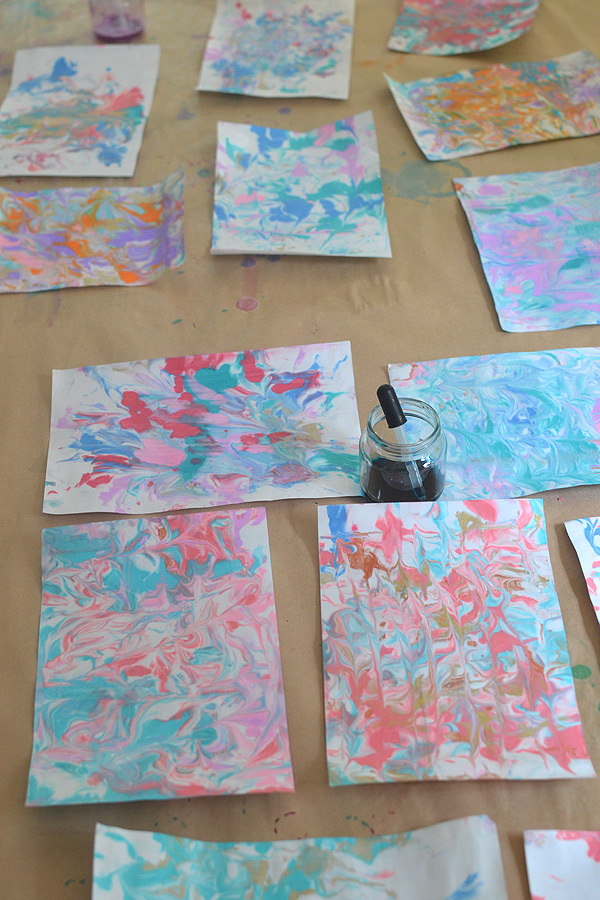
We had marbled paper lining the floor, it was hard to find a place to walk! The kids got better and better at it the more they tried.
This technique of marbling paper with shaving cream is very popular. Everyone makes it their own, though. The Artful Parent uses slighty different tools, In Lieu of Preschool uses tempera paint, Meaningful Mama uses food coloring, and Honestly, WTF makes beautiful stationery with their marbled paper! I think our twist is doing it with a group (8 kids) and working out a good system.
Definitely give this a try! The very best part is at the end, when the kids finally get to stick their hands in the shaving cream and swirl all the color together and squish it between their fingers. A complete sensory experience.
xo, Bar


That’s a whole lotta shaving cream to clean up!!! Your prints are lovely, and this reminds me to try this again. Our first try was sort of a disaster!
Yes, but the good part is that everything is already soaped up! Plus I had my art camp helper and she was on dish duty 😉 Definitely try it again, it really works best when you just use 3 colors in the same family. And then I always add some gold to give it that fancy look! xo bar
We did this a few months ago and loved it. Though I still have the stack of papers sitting in my craft room. You should do a post on what to do with the finished paper! 🙂 An old credit card/gift card works great for scraping off the shaving cream.
hi becky! thanks for leaving a comment. yes, i have a stack of the marbled papers, too. I’ve been using them for stationery! i’m going to try and make them into envelopes and see of that works. thanks for the credit card tip! xo bar
This looks so fun and pretty!
I’ve done this with groups (8-10) before as well. Always a favorite! I had a Cool Color Tray and Warm Color Tray so we could avoid a muddy brown result. I’m curious about where the gold came into play? Did you use gold tempera or acrylic or paint markers after everything dried? I love that they dry so fast, you could probably use metallic paint markers 1/2 hour after the prints are made.
Thanks for sharing!
hi Linsay, I’m so glad you asked! The gold is actually gold liquid watercolor from Blick. So we added it to the shaving cream. Cool, right? xx Bar