I recently went to a blog party and realized a few days before the event that I had nothing to hand out to anyone. I have business cards for my other companies, but nothing for my new blog! I stayed up late one night (as usual) and came up with something acceptable. Not perfect, but good…
Archives for August 2012
Favorite Back-to-school Books

Tomorrow, my son will be starting first grade in a new school. He says he’s nervous. I told him, so am I. He was surprised I said this and asked me why? I said that I always feel butterflies on the first day back to school. But that it was more of a nervous excitement….
Washi Tape Clothespins
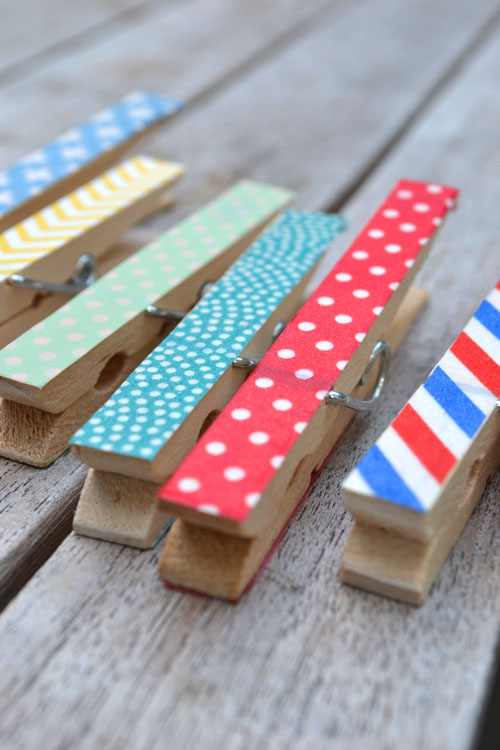
Over here at out house, we are always hanging art on a line. I keep a jar of clothespins at arm’s reach. This week we were preparing for a neighborhood art show, so I decided to make the clothespins a little fancier. This is very simple! Buy clothespins like these that art flat at the…
NYC Blogger Social
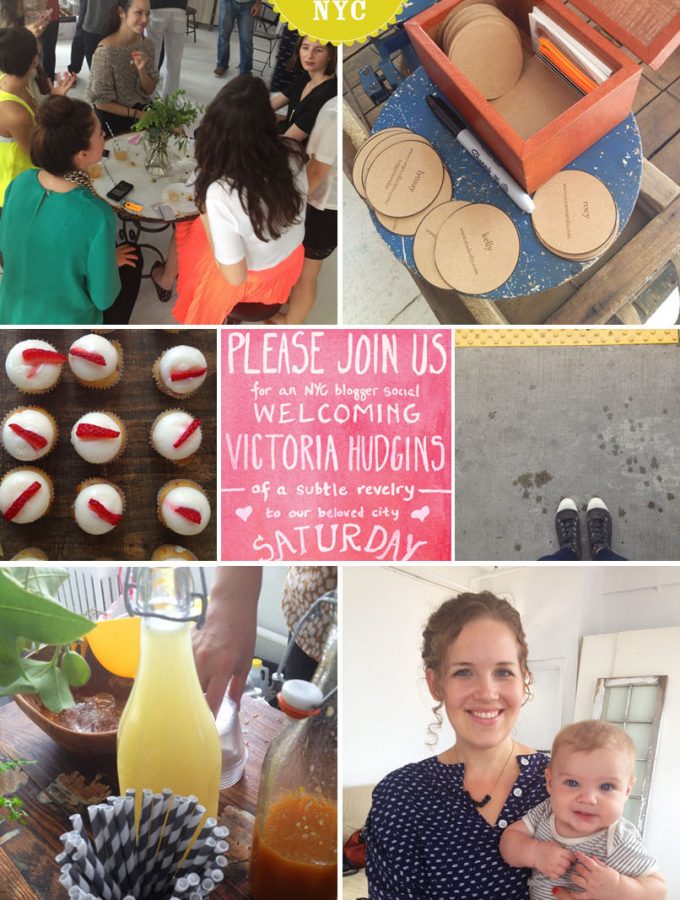
I attended my first blogger’s social last weekend! It was hosted by the lovely Rebecca of A Daily Something, and designer/stylist Michelle Edgemont, at the breezy M. Wild Studio. There was food, drinks, door prizes, goody bags…and lots of creative, talented people to meet. I talked with the guest of honor, lifestyle blogger Victoria Hudgins…
Handmade Baby Shower Invitation
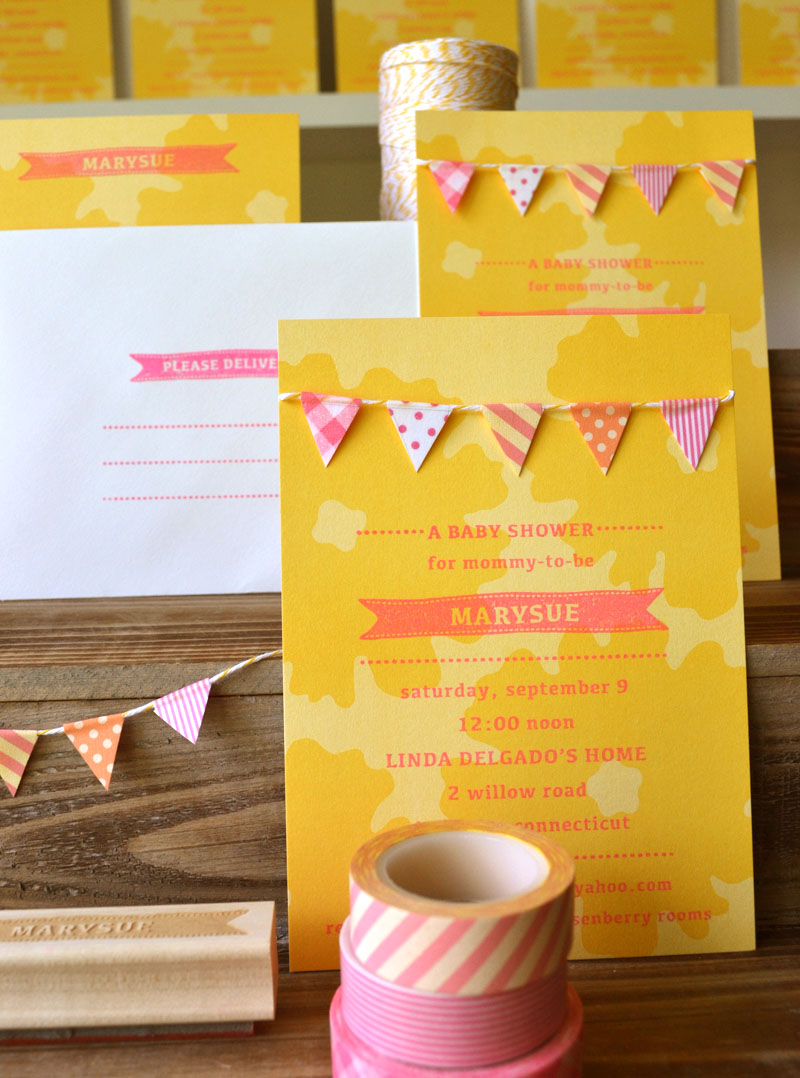
This week I’d been given the distinct honor of creating a baby shower invitation for my SIL, the esteemed Marysue Rucci of Simon & Schuster. Lucky me! After hours of late night thinking and scouring, I finally decided on a theme: Shabby Chic. I have had an obsession lately with rubber stamping, flag bunting, and…
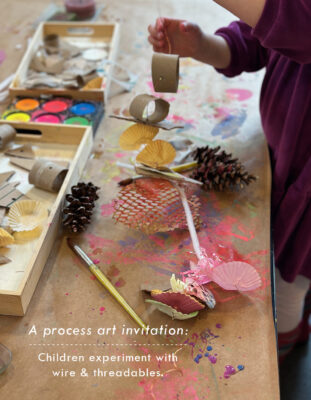
Triple Berry Muffins / Dairy Free
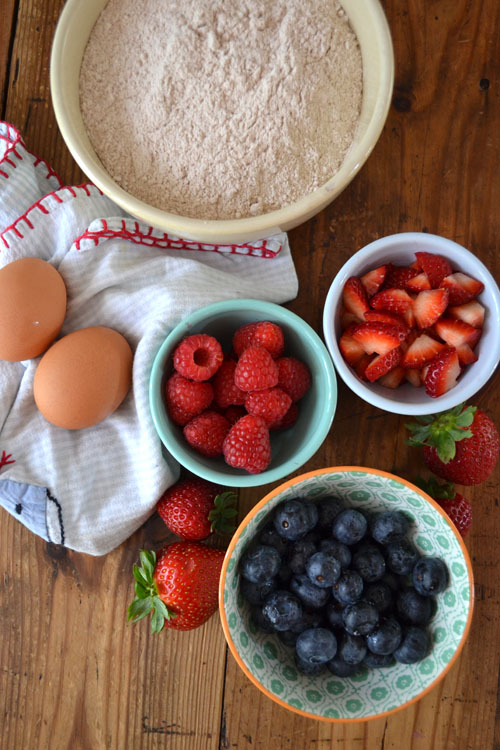
The idea behind this post was to get back to baking with my kids (after 2 months away, in someone else’s kitchen). I read a wonderful passage, in a book written by Katrina Kenison which inspired me to dig out my recipes and play! Katrina writes… The media tells us that cooking is drudgery. What better…