• Skip to primary navigation
  • Skip to main content
  • Skip to primary sidebar
  • Skip to footer

ARTBAR

raising creative thinkers

  • MY BOOKS
    • Art Workshop for Children
    • Cardboard Creations
  • ART SUPPLIES
  • SHOP
    • Art Bar on Etsy
    • Art Class Poster
  • ABOUT
  • Nav Social Menu

    • Facebook
    • Instagram
    • Pinterest

Pretty Little Bunting // Paint + Stamping

June 17, 2014 by Barbara Rucci 1 Comment

18 shares
  • Facebook

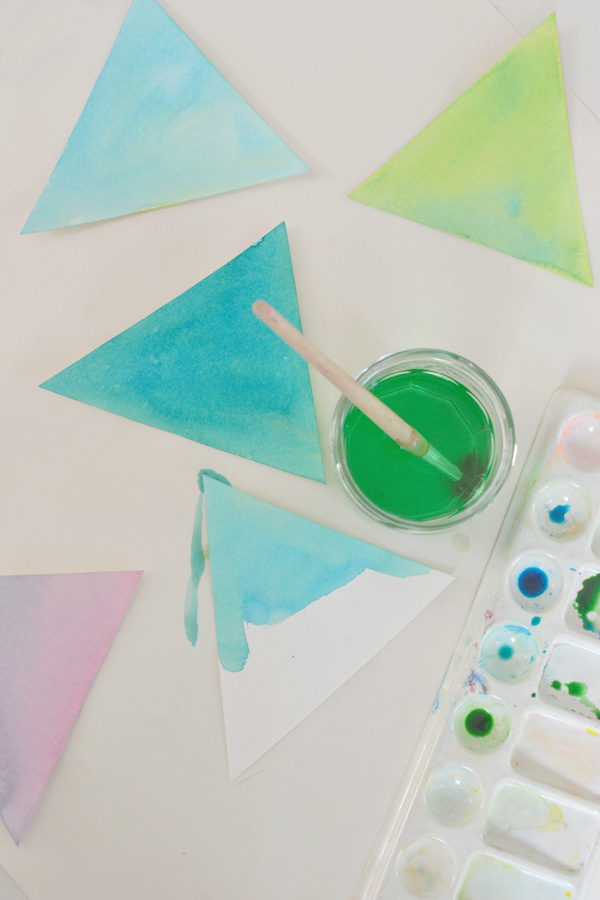
 garland made with watercolors + rubber stamps

Since I’ve opened up my home to art classes and art camp for little kids, I’ve had supplies out night and day. It’s been so tempting to just sit down and make something for myself. So I did…and I really think you can make this, too!

A few supplies are needed: (affiliate links)

Watercolor paper

Watercolor paints (liquid is what I used, but you can use regular with great results) + brushes

Rubber stamps + ColorBox ink (I got my shape stamps from Paper Source)

Baker’s Twine (Etsy is a good source but Amazon has it, too)

Hole punch (1/8″)

Triangle template

garland made with watercolors + rubber stamps

Step 1: Trace and cut out your triangles (anywhere from 6-9).

Step 2: Choose your paint colors. I kept mine in the blue family so the garland was a bit more monochromatic. But anything will work!
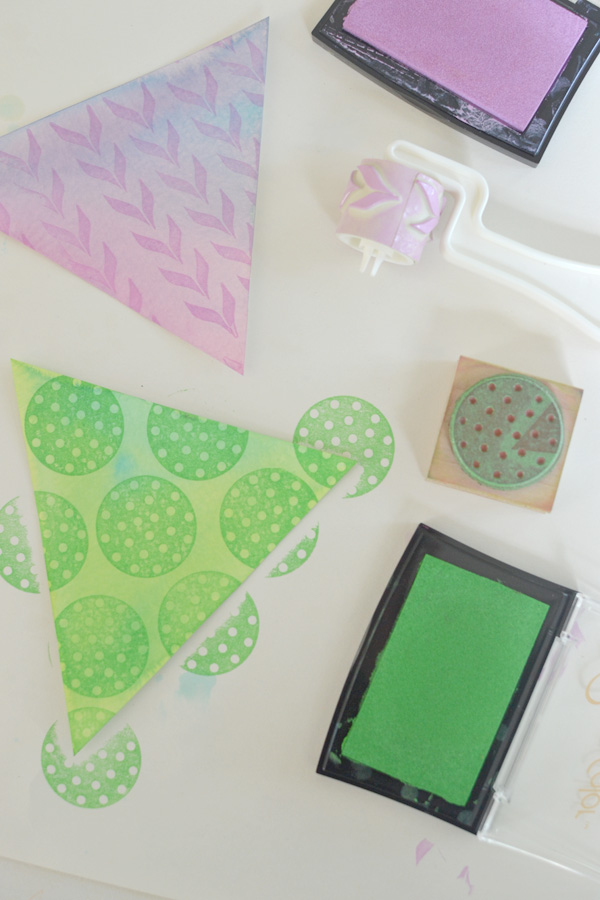
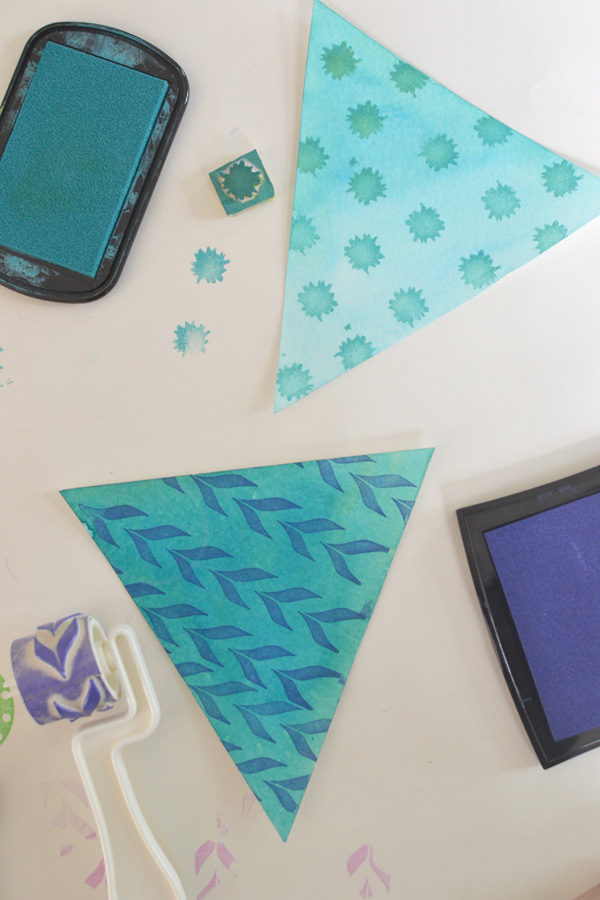
garland made with watercolors + rubber stamps

garland made with watercolors + rubber stamps

Step 3: After the triangles are completely dry, go ahead and stamp them. I actually painted all of the colors on a separate test sheet so that I could test what colors to use for my stamps. I highly recommend doing this extra step.
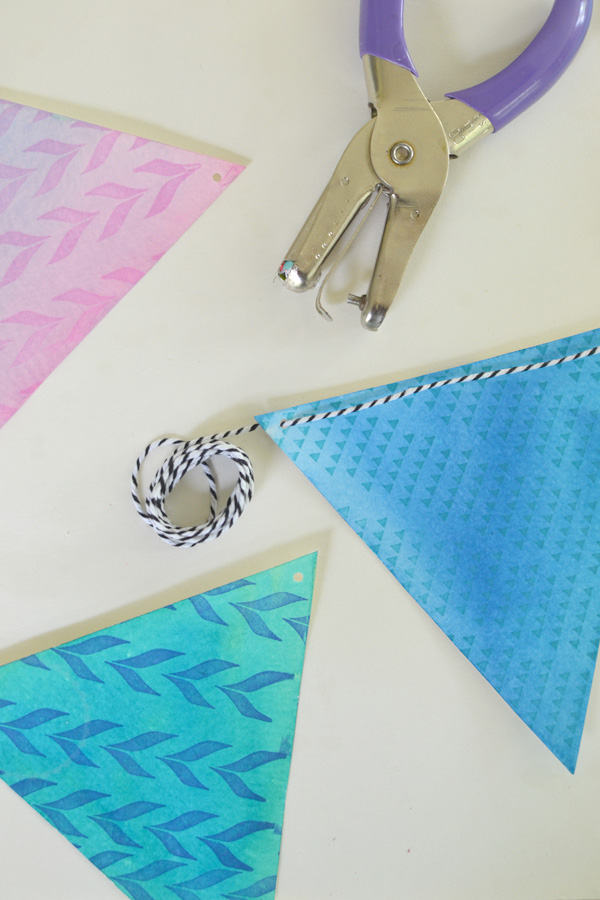
garland made with watercolors + rubber stamps

Step 4: Punch holes at the corners and string your twine through. You can have the twine showing across the top, or weave it the other way so it’s at the back.
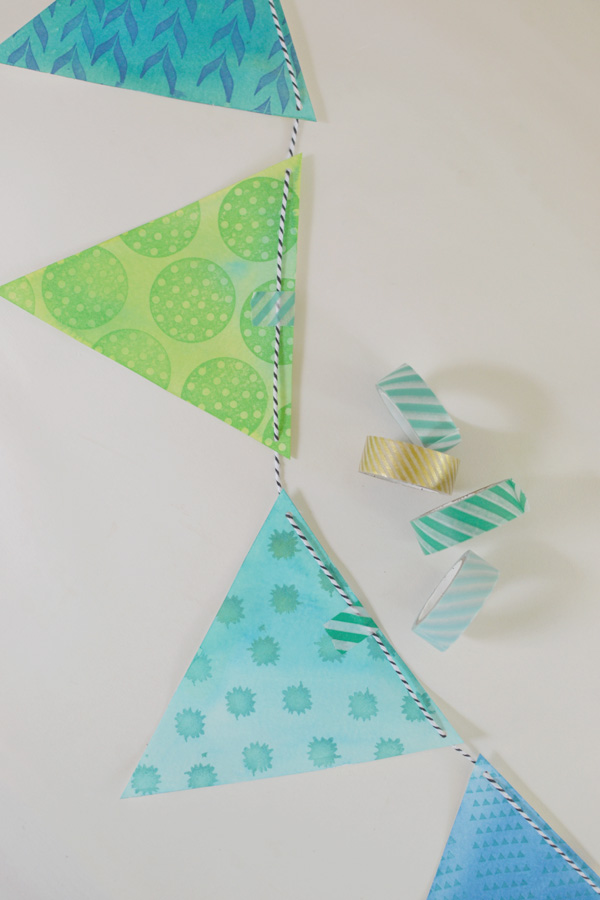
garland made with watercolors + rubber stamps

Step 5: I put a little bit of washi tape at the top of each triangle because I actually ended up sending this in the mail. But this step is optional. I like the added pattern, though!
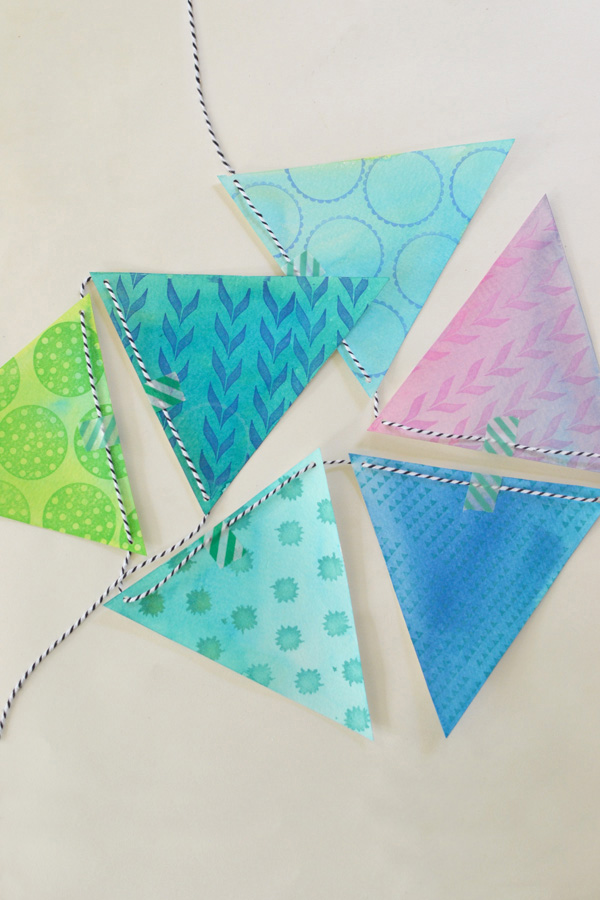
garland made with watercolors + rubber stamps

And there you have it! The skinny on how to make a pretty little garland. I hope you make one, too!

xo, Bar


Filed Under: Teen Crafts, DIY Tagged With: rubber stamping, watercolor garland

Previous Post: « Make Art Mail
Next Post: Graduation Day + Summer Sign »

Reader Interactions

Comments

  1. meri cherry

    June 17, 2014 at 9:54 am

    I love this technique! This is great!!! And the simple way you put it together. Very helpful actually. Thank you!

    Reply

Leave a Reply Cancel reply

Your email address will not be published. Required fields are marked *

Primary Sidebar

The Creativity Project
RESOURCE FOR TEACHERS
Start Here!
Your subscription could not be saved. Please try again.
Your subscription has been successful.

Yes! I want to raise thoughtful and creative children. Send me more inspiration, please!

Follow on Instagram

Categories

Archives

Copyright and Reposting

All content on this blog is copyright and owned by Art Bar Blog unless otherise stated. I would be flattered if you wanted to use an image from one of my posts! But please, ask me first. I would also ask that if it involves DIY instructions with a list of supplies that you don't repost any of that stuff because then nobody would have a reason to click back to my original post!

Footer

  • Facebook
  • Instagram
  • Pinterest

About Me

There are two things that I'm passionate about: Children + Art. As an art teacher, author, graphic designer, and mom to 3 creative thinkers, I get to explore my passions every day! Learn more...

I am dedicated to keeping your information safe. Please review my Privacy Policy.

Recent Posts

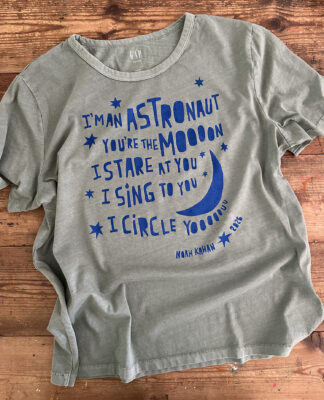
A newly printed t-shirt lies on a table showing off the freezer paper stencil technique using bright blue ink on a muted green shirt with a Noah Kahan quote from his song Orbiter.

Copyright © 2026 · Foodie Pro & The Genesis Framework