• Skip to primary navigation
  • Skip to main content
  • Skip to primary sidebar
  • Skip to footer

ARTBAR

raising creative thinkers

  • MY BOOKS
    • Art Workshop for Children
    • Cardboard Creations
  • ART SUPPLIES
  • SHOP
    • Art Bar on Etsy
    • Art Class Poster
  • ABOUT
  • Nav Social Menu

    • Facebook
    • Instagram
    • Pinterest

Cupcake Liner Wreaths

May 22, 2018 by Barbara Rucci 1 Comment

3791 shares
  • Facebook6

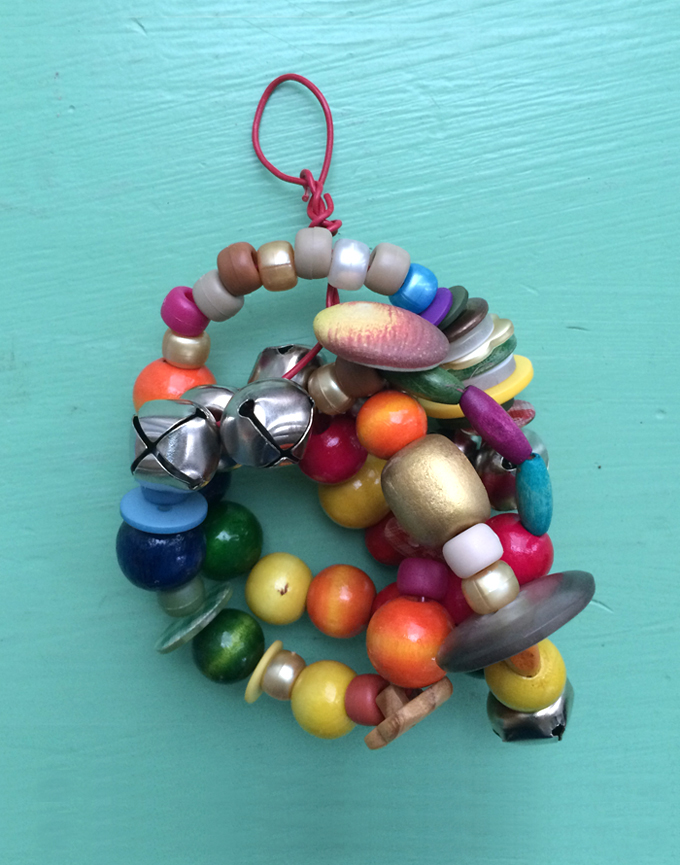
There is not a sweeter art activity than these cupcake liner wreaths for Spring. Great for honing skills such as beading and pom-pom making (fine motor), sorting and patterning (mathematics), and design. These can also just as easily become crowns (see below) or mobiles. Fact is, cupcake liners are one of my fave materials ever!

Kids make wreaths and crowns from cupcake liners, beads, and wire.

I also love using wire in my art classes. Kids love to bend it and make sculptures, it easily wraps around twigs and other objects, and it can also be made into a handle for cardboard or canvas paintings. I like getting the copper color, but it comes in many shades (see supply list below).

Kids make wreaths and crowns from cupcake liners, beads, and wire.

[ I am a participant in the Amazon Services LLC Associates Program, an affiliate advertising program designed to provide a means for us to earn small fees at no cost to you by linking to Amazon.com and affiliated sites. ]

Supplies for Cupcake Liner Wreaths:

~ Craft wire

~ Cupcake liners (I also buy the mini ones)

~ Hole punch

~ Pony beads

~ Wooden beads

~ Buttons

~ Straws (IKEA has good ones, or Amazon)

~ Felt pieces, paper scraps, any small bit you can punch a hole in

~ Yarn (optional for pom-poms)

~ Pom-pom makers or make your own with cardboard

Kids make wreaths and crowns from cupcake liners, beads, and wire.

How to Make Cupcake Liner Wreaths:

1. First prepare the cupcake liners by cutting a hole in the middle. Or let the kids do it if they are old enough to use the hole punch. I find the best way to do this is to fold the liner in half and then punch half a hole in the middle. Don’t fold the liner with a crease, just gently fold it to find the middle. And by “punch half a hole” – well, you can figure that out when you try it!

2. Pre-cut some wire pieces and twist a bead at the end as a stopper.

3. Set out the beads and other materials in bowls, plates, or jars.

Kids make wreaths and crowns from cupcake liners, beads, and wire.

4. Let the kid bead. Encourage them to use all the supplies on the table.

Kids make wreaths and crowns from cupcake liners, beads, and wire.

Kids make wreaths and crowns from cupcake liners, beads, and wire.

5. When they are finished beading, tie the two end together!

6. If they want they can make a pom-pom. I cut these simple cardboard makers that were quick and easy for the kids to use. We also love using the plastic pom-pom makers, but they take more time.

Kids make wreaths and crowns from cupcake liners, beads, and wire.

Kids make wreaths and crowns from cupcake liners, beads, and wire.

The kids immediately put them on their head as a crown! Why not?

Kids make wreaths and crowns from cupcake liners, beads, and wire.

Kids make wreaths and crowns from cupcake liners, beads, and wire.

Kids make wreaths and crowns from cupcake liners, beads, and wire.

Hope you enjoy this craft, it’s really fun for every age. Tag me on Insta if you make them!

xo Bar

– – – – – – – – – – – – – – – – – – – –

Did you like this post? Here are more art ideas with cupcake liners and craft wire:

Kids learn the art of assemblage when make these pinecone and pasta pieces.

Pasta & Pinecone Assemblage

Kids make mobiles from wire, cupcake liners, beads, and pinecones.

Wintery Mobiles

Kids make ornaments from wire and beads.

Wire & Bead Ornament

Filed Under: Open-ended Crafts for Kids Tagged With: wire, crowns, wreath, cupcake liner, beading, beads

Previous Post: « Mother’s Day Portraits: “Queen Mom”
Next Post: Poppy Art with Coffee Filters »

Reader Interactions

Comments

  1. Amphasis

    May 26, 2018 at 9:01 pm

    This is lovely, I can spend some time doing this with my daughter this summer holidays.

    Reply

Leave a Reply Cancel reply

Your email address will not be published. Required fields are marked *

Primary Sidebar

The Creativity Project
RESOURCE FOR TEACHERS
Start Here!
Your subscription could not be saved. Please try again.
Your subscription has been successful.

Yes! I want to raise thoughtful and creative children. Send me more inspiration, please!

Follow on Instagram

Categories

Archives

Copyright and Reposting

All content on this blog is copyright and owned by Art Bar Blog unless otherise stated. I would be flattered if you wanted to use an image from one of my posts! But please, ask me first. I would also ask that if it involves DIY instructions with a list of supplies that you don't repost any of that stuff because then nobody would have a reason to click back to my original post!

Footer

  • Facebook
  • Instagram
  • Pinterest

About Me

There are two things that I'm passionate about: Children + Art. As an art teacher, author, graphic designer, and mom to 3 creative thinkers, I get to explore my passions every day! Learn more...

I am dedicated to keeping your information safe. Please review my Privacy Policy.

Recent Posts

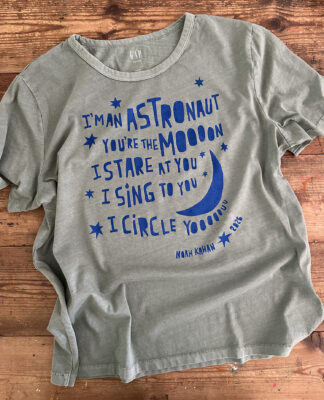
A newly printed t-shirt lies on a table showing off the freezer paper stencil technique using bright blue ink on a muted green shirt with a Noah Kahan quote from his song Orbiter.

Copyright © 2026 · Foodie Pro & The Genesis Framework