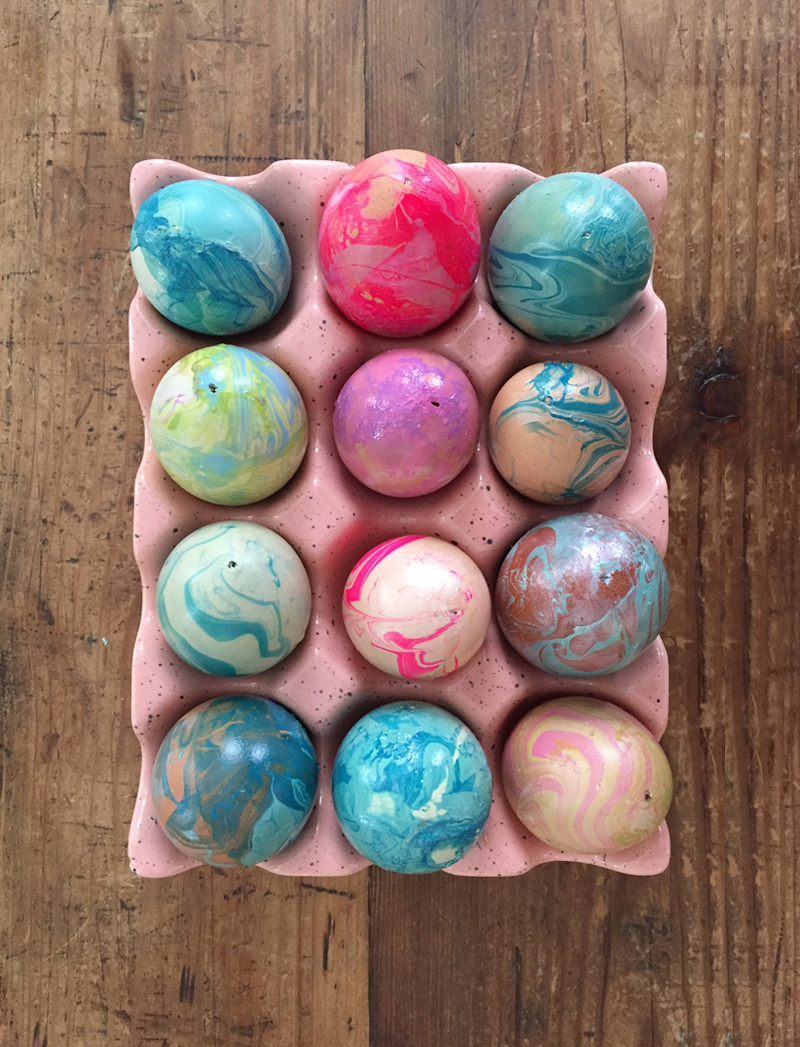
Have you ever hollowed out an egg? Otherwise known as blowing out an egg – but I can’t say that without making a weird face, so I’m sticking with hollow. I have a vague memory of doing this as a child. I remember the “blow really hard” part because it’s such an unusual thing to do as a child. But the part I remember the most is when the yolk comes oozing out. It’s kind of gross and cool at the same time. If you do this with kids, prepare for lots of squeeling and giggles!
I want to start with the video first, because I am super proud that I made this! I have a love/hate with video. I love editing and putting it together (the creative part), but I loathe set-up and filming. It’s tedious, and I have to do it when one of my teen daughters is home because I need their beautiful, young hands. We made this last week during blizzard Stella. My 17-yr old had no excuse, she was trapped at home. 🙂 She was a good sport about it, though, and was actually quite impressed with everything that she created. Watch it on YouTube!
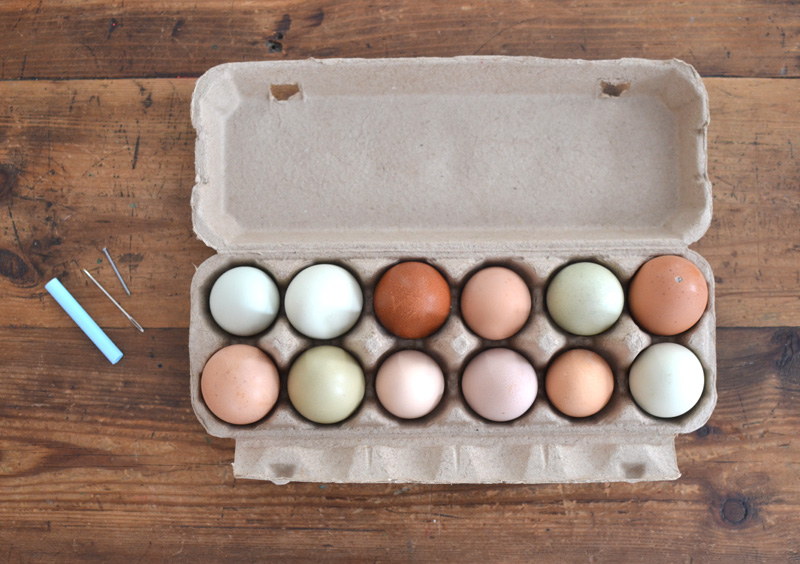
Supplies
~ Eggs
~ Bowl
~ Sewing needle or pin (I used a large sewing needle)
~ Piece of straw (we used larger milkshake straws)
~ Container with water
~ Plastic wrapped plate (for drying) or wax paper
~ Ceramic egg tray (I love this white one, this is totally optional but a sweet way to display your eggs)
Step-by-step directions
1. Wash your eggs.
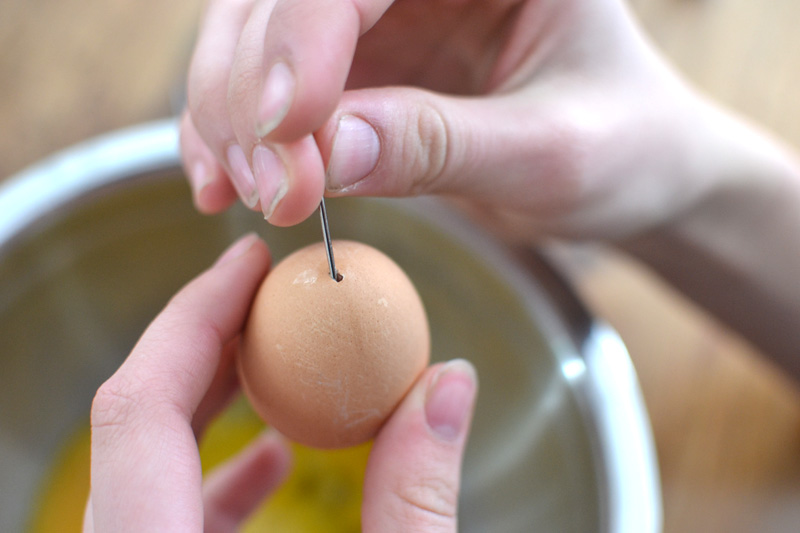
2. Working over the bowl, gently twist and push the needle into the top of the egg until you break through.
3. Once you break through, use the needle (or the small nail) to make the hole a little bit bigger. The top hole will be the smaller hole, it will be the one that you blow into.
4. Use the needle to break up the yolk inside. This is important and you might have to do this several times before getting the yolk out.
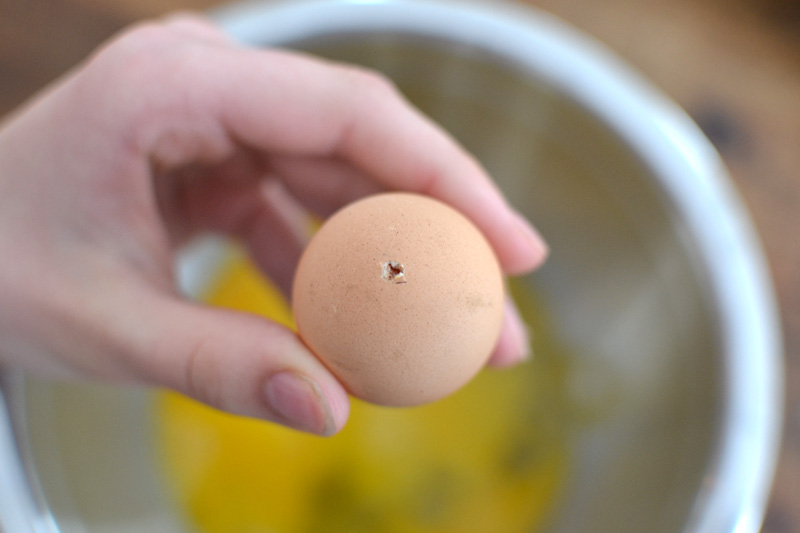
5. Make another hole at the bottom. This one will be slightly bigger, it will be the one where the yolk comes out. (Bigger hole shown above.)
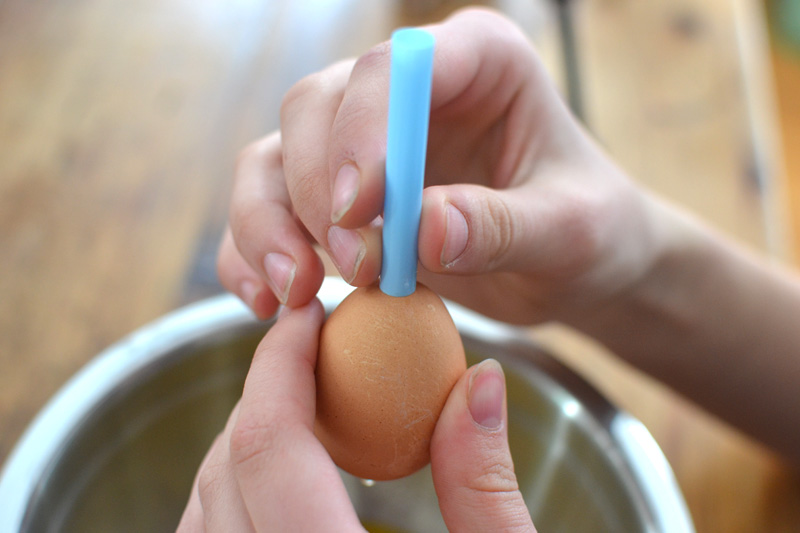
6. Place the straw (or your mouth – which is why you want a clean egg – using your mouth is sometimes easier) over the smaller hole, and blow really hard.
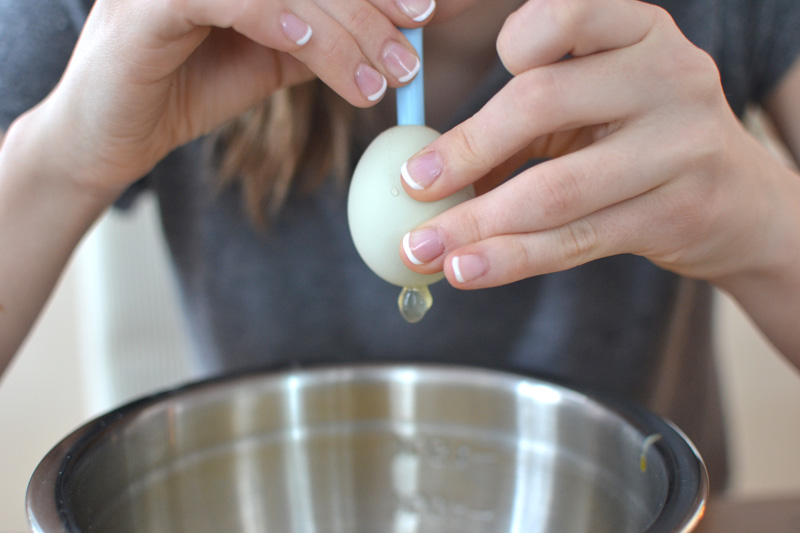
7. The egg white will come out first. Keep blowing.
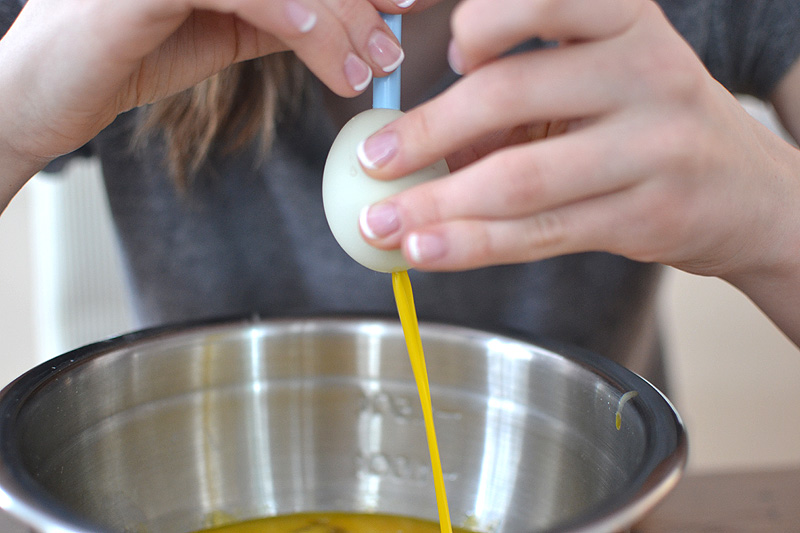
8. If you find that the yolk is stuck, either get the needle back in there and break it up some more, or make the bottom hole a tiny bit bigger. Or you could do both of these things.
9. Keep blowing out all the yolk until only air comes out. You might feel light-headed at this point, that is all part of the fun!
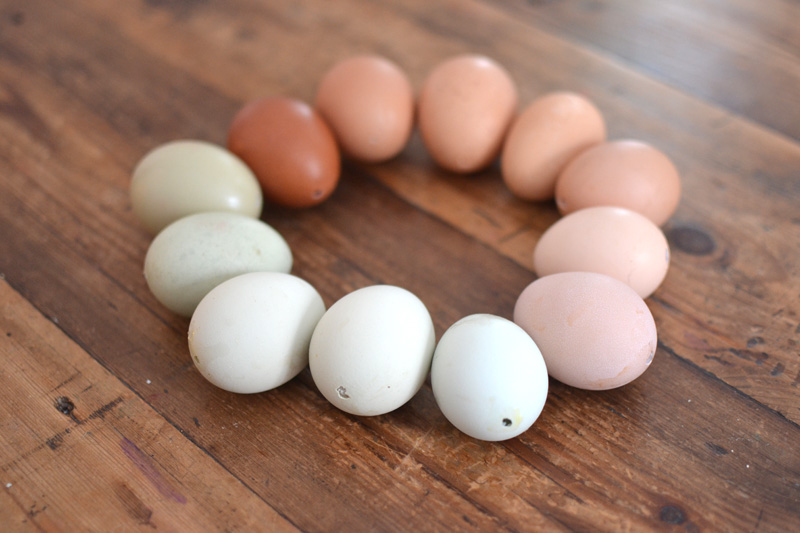
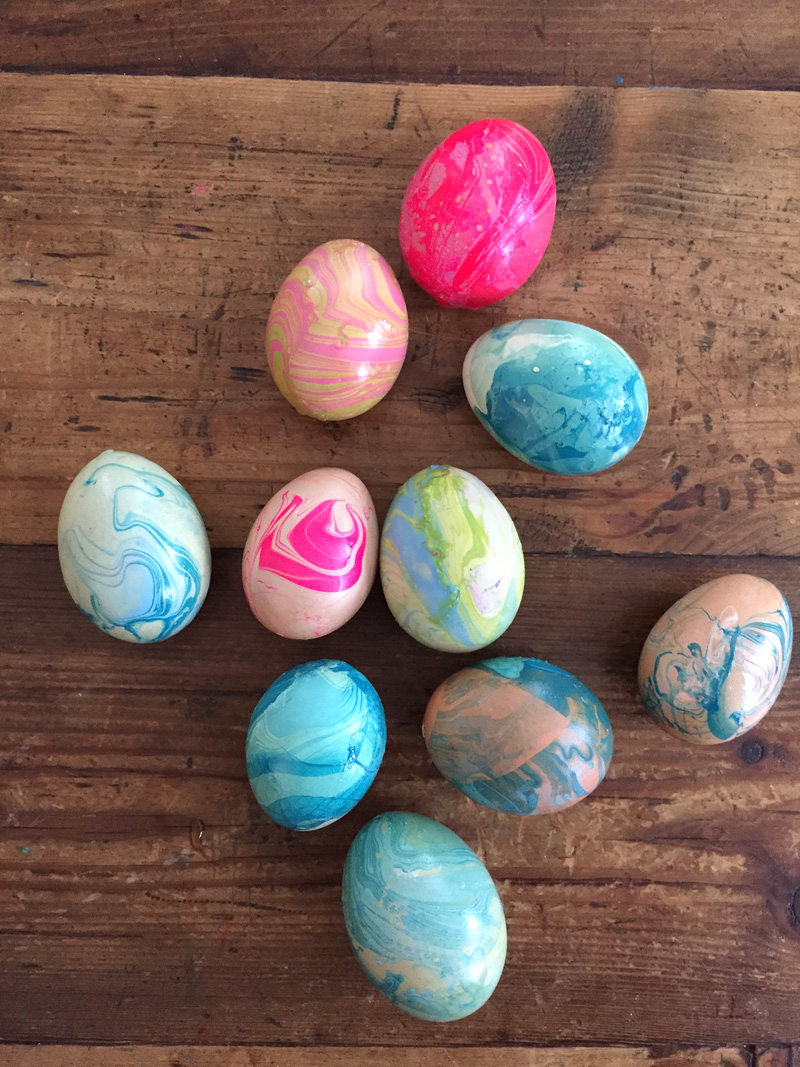
10. Wash the eggs and you are all done! Now you can decorate them in a hundred different ways. We decided to try nail polish marbleizing, which we thought looked easy but was actually hard!
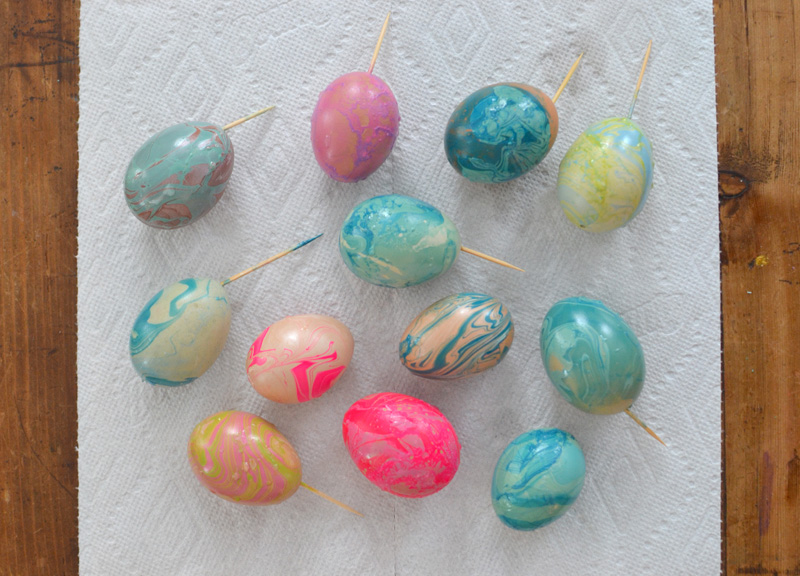
Marbleizing eggs with nail polish
I did not get many photos of the marbleizing process because my daughter and I were just learning as we went, and our hands were kind of covered in polish. I can explain the process and give you some tips, though. Now that we are “pros”. (You can also see a little bit of the process on the video.)
1. Fill a tupperware with water.
2. Open the tops of the nail polish so you can move quickly. Moving quickly is the key to everything.
3. Gently pour one color in the water, then another on top, and so on. I would say that three or four different pours is enough, or else it will start drying and then you’re in trouble.
4. If you’ve hollowed out your eggs, use a toothpick in the smaller hole to hold the egg. We tried at first to roll the egg over the nail polish, but this didn’t work so well because the egg doesn’t roll. We learned that dipping the egg works much better. When the egg first touches the polish, one side gets covered. After you submerge the egg all the way in the water, bring it back up and pick up polish to cover the other side of the egg. It actually works really well this way.
5. Rest the egg gently on a plastic covered plate or tray, or on a piece of wax paper. They dry pretty quickly.
6. You can use the same water the whole time, just use a toothpick to clean up the old polish. Since it dries quickly, it’s like a blanket on the surface and really easy to take off.
If you’re wondering what I did with all the egg yolks, I made a quiche! Funny story actually. During the whole process of hollowing out eggs, I dropped the small nail into the bowl. And I forgot to fish it out. I cooked the quiche and served it for dinner without remembering about the nail. My husband was enjoying his second slice when he gave me this weird look and pulled something out of his mouth. Oh my Lord, it was the nail. Woopsie daisies (she said sheepishly as she pretended nails in quiches were totally normal and fine.)
Leave comments if you try this! Would love to know how it goes for you.
xo, Bar
PS: Since this is 2017 and not 1976 (when I was growing up), they have invented a few gadgets to clean out eggs. This metal one-hole egg blower has good reviews on Amazon, and this plastic egg blower got mixed reviews. If you are blowing out a ton of eggs, these tools might become your best friends!


Hollowed out, decorated eggs can be saved from year to year. My dad made an “egg tree with dowels for the grandkids and they hung their best decorated eggs on it. We saved the tree and surviving eggs ( they’re fragile) to use again.
Great idea! We have succeeded, the children were delighted! Thank you so much for sharing! 🙂
Julia Mells | https://bestbabykit.com