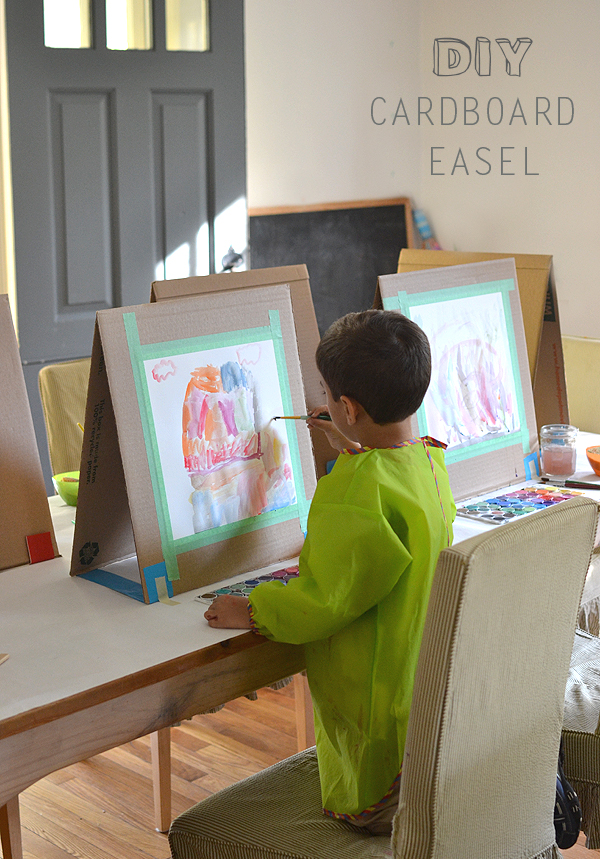
There are many ways to make a quick easel. I might have learned quite a few tricks if I had actually researched before I made this project. But I’m much more of a spontaneous planner, and I woke up on the morning of art class with an idea that my students should experience painting on a proper easel. I quickly went to the attic, where we still have mounds of brown boxes from our move last year, and I grabbed a few and brought them downstairs. The following is my solution to the DIY easel!
This post contains affiliate links. Thank you for your support!
Supplies:
~ Large cardboard boxes (mine were 18″ x 18″ x 16″)
How to:
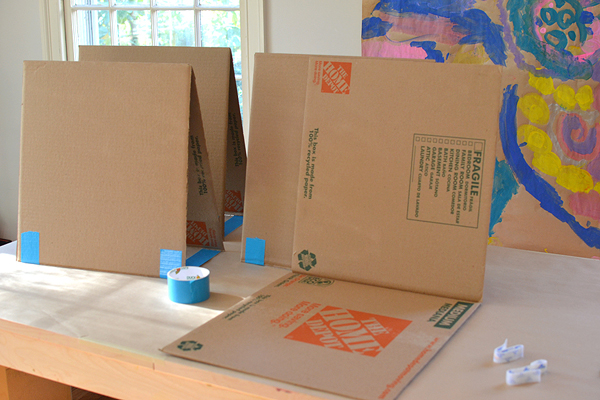
1. Start by cutting down your box. Cut off the top and bottom flaps of your box (save for possible painting project in the future). Now cut down two of the four sides. You should now have two hinged pieces.
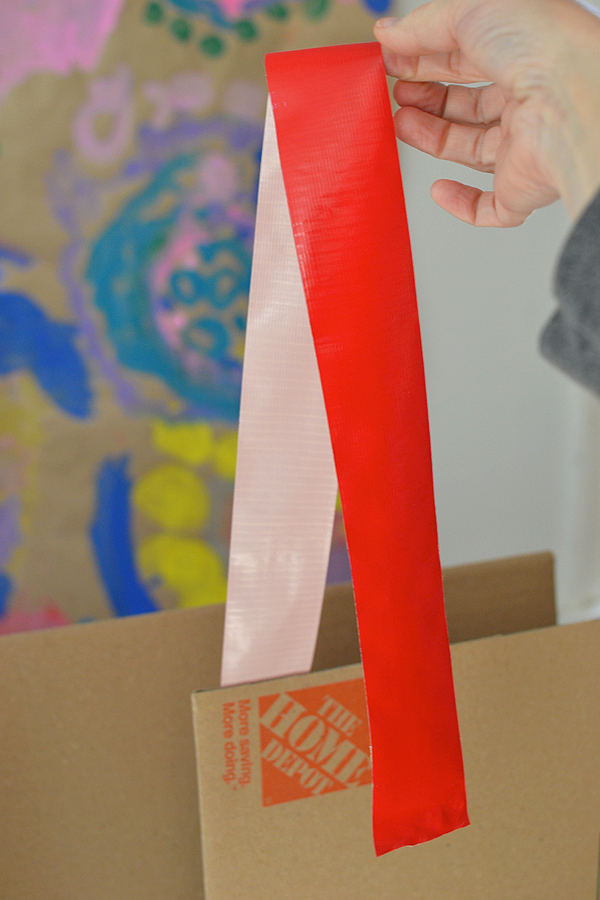
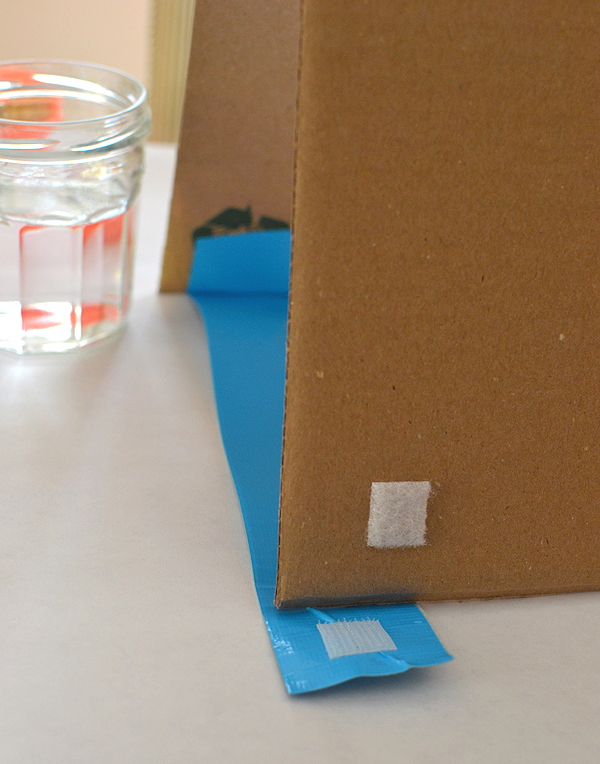
2. Cut a long piece of duct tape (about 26″). Tape the end to the bottom of the cardboard, then fold the tape over in half, taping it back on the other side of the cardboard.
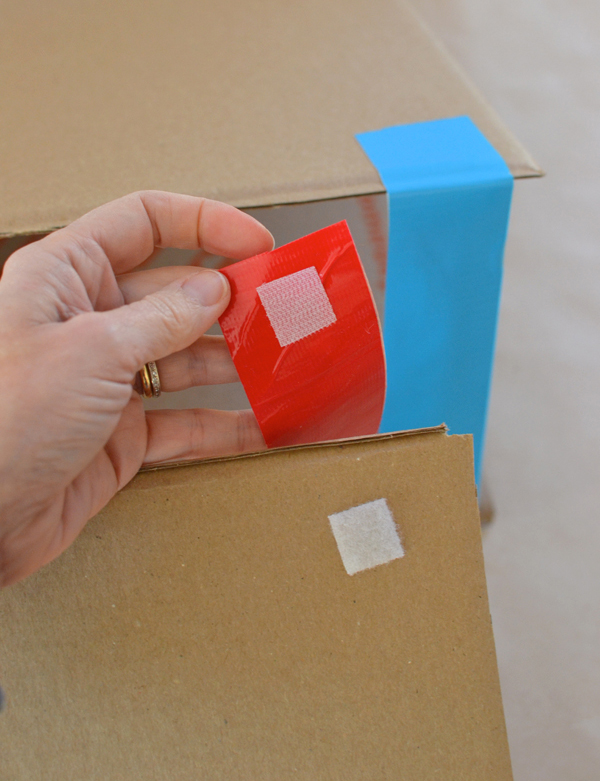
3. Cut a piece of sticky velcro and attach one to the duct tape and one to the cardboard. Done!
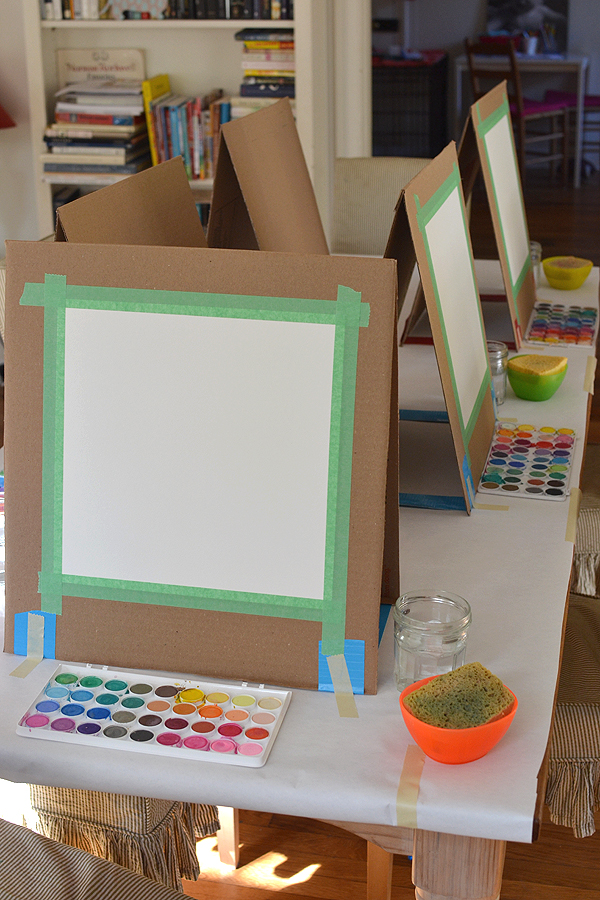
I did add a piece of masking tape to stick the easels to the table as they are so light-weight that I didn’t want them moving while the kids painted. You could also just prop something up to the back.
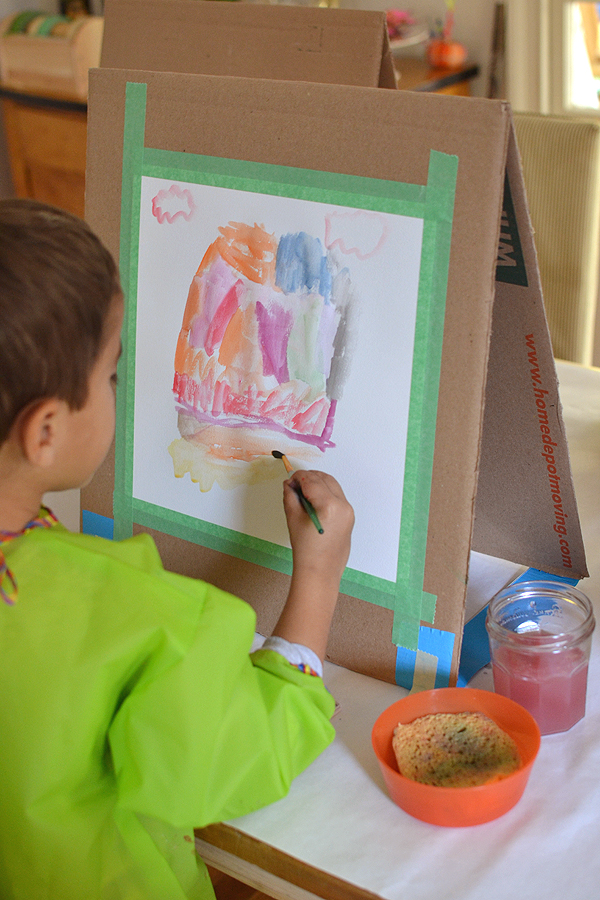
On this day I taped a piece of paper to their easels, but you could also add some bulldog clips
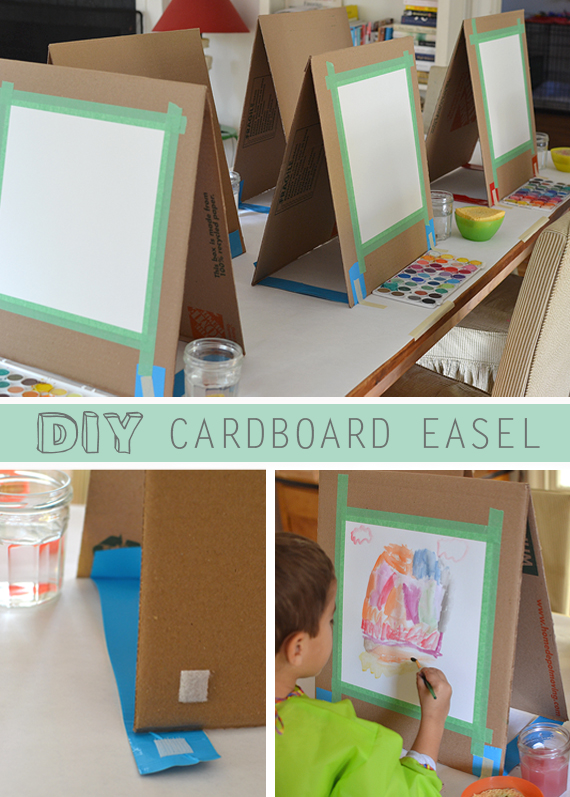
The best part about these easels are that they are so easy to fold up and store! Let me know if you try to make these and if you think of any clever, new tricks.
xo, Bar


These are great, I love anything that uses up cardboard. Will definitely be giving these a go 🙂
Wow! I didn’t even read the whole thing about the cardboard easel yet, but the second I even saw the title, I was thinking about what an amazing and creative person you must be! I can’t wait to finish reading!
thank you grace, you are too kind. i hope you try to make these, they are super easy. thanks for leaving a comment! xo bar
These are great, Bar. I love that they fold away compactly when you’re done with them. LOVE!
thank you Rachelle! i love seeing your comment…made my day 🙂 xoxo
Thank you SO much! This past week, my kids and I were talking about wanting to do some painting at home this summer, but the fact that we lacked easels. This is the absolute perfect solution! I have an attic full of boxes begging to be repurposed:). I can’t wait to get started on our next art adventure!! Happy Creating ~
oh i’m so glad you found this post, kelly! thanks for leaving a comment and i hope you are able to make these and use them all summer. let me know how it goes! xo bar
Great idea. Just came home from hispital we lost for the second time our baby. And don t want my four years hold child to see a depress-sad mom tomorrow I will have his friend over so they can get art crazy in the patio with this proj. Thanks for the idea
Ciao
i’m so very sorry for your loss, morgana 🙁 xo bar
I love the watercolor trays! Where did you find them?
hi jen! they are Loew Cornell watercolors from Amazon. we use them all the time. xo bar
Was looking for something else – but isn’t it wonderful how we stumble across things? I did something similar to display educational information about snakes for my demonstrations – but your ideas gave me ways to improve on what I did (I didn’t use the tape to hold the pieces) But thinking you could use colorful tacks to hold the paper – that way i doesn’t matter the size of the paper….but not sure if that iwould be wise with young children
hi cheryl! thanks for stopping by and leaving a comment, so glad you found me! yes, tacks would be another great idea. and another reader suggested clothespins or binder clips. there are many ways to make this work! thanks for your suggestion! xo bar
I covered both sides with clear contact paper to make them easy to sponge off.
brilliant Kelli!!!!
Maravilloso y gracias por compartirlo podré disfrutar con mis hijos..mi más sinceras felicitaciones
Great idea! I’m doing a painting party for my daughter’s 13th birthday. They are painting acrylic painting, setting up a whole “class” in the garage. This is perfect as I’m looking for something cheap because I have to have about 10 – 15 of them. Thanks!
oh wow, these would be perfect for your party! i hope you have a bunch of boxes saved. of maybe a store in town has some they want to get rid of. I love that the easels can fold up flat, too. good luck with the party Dale! xo Bar
this is brilliant!!! Totally making these for my students!
I am French Were buy DIY Cardboard Easel for present to Noel ?and the price,for Rémi my little boy
Thank you for answer
Andree Jeanne
I’m a 2’s teacher, and I used pizza boxes, works perfect!!????
great idea Kerry!
Hi! Any suggestions on how to alter this to hold an actual canvas? Looking to do a paint night for a lot of ladies and want a cheap or very low cost table top easel option…
Hmmm… you could use these, but you would have to put a weight behind them so they don’t slide back. then you could lean the canvas up against the cardboard. try with one and see how it goes!
Thanks so much for this idea. I’m also planning a ladies paint and sip party. I plan to cut and glue the extra pieces of cardboard together to make a thick bar that I can hot glue or duct tape near the bottom of the easel to make a ledge for the canvas.
Great idea. I wanted to let you know that I am featuring this in an art party roundup if you don’t mind.
great! thanks so much Alyssa! xo Bar
Thank you for sharing this project. With summer here, I need special things like this for my grandchildren. I just completed one for my granddaughter who is 4 and now I’m working on one for my 2 year old grandson. So, So easy and fun to do. I further decorated the easel with colorful duck tape, which my granddaughter choose and helped me apply. Thank you again.
This post may not be recent, but it’s definitely still relevant! I’m disabled and finding a work-around for the supplies I desire but can’t afford is a real blessing! Thank you!
I love this. I am thinking that I can turn this into a felt board easel as well. Definitely going to give it a try!!!!
ooh, I love that idea Jackie!
Clever idea, thanks! I want to transform my student’s large sketchbooks into an A frame easel like the ones you’ve made for doing self portraits by opening them up and turning the sketchbook on its side. The tape and Velcro just might work…
Sketchbook plus a decent size mirror taped onto one side of the page will be heavier I’m guessing. We’ll see. Thanks again!
let me know if it worked, Karl!
This would be a great project to do with my Pre Schoolers thanks for the idea 👏🏻
What a super idea. There is always a lineup at the easel. Now we can have more children using various mediums – paint crayons markers etc. And I am a huge fan of recycling.!!
How many easels can be made from one box? Two?
hi Jamecia, yes.. two!
I am late to the party,but this is still a great idea! My 5 yr old has finally slowed down enough (he didn’t walk, he ran you get the idea) that he is now interested in drawing, and maybe painting. This cardboard easel will be great, and easy to put away!
This is simple and very creative. Thanks for this
Can I share this on my Village newsletter please in the Scottish Borders. I have been teaching preschoolers and children, teenagers privately for over twenty years now.
Thank you so much for sharing this. I have made cardboard easels but without velcro.
Cheers
Lynda
hi Lynda, of course! Please just make sure to link back to the original post. Thank you!! xx Bar
Hi, Great idea…going to try them in my class. What are the sponges for ?
The damp sponges are for drying your brush off in between colors.
Thank you so much for this idea! We are starting painting in my art class and I was just looking at the prices of easels and wondering where I was going to store 34 of them! This will save so much space!
I wondered how these easels work when they are folded up. Wouldn’t the tape (that holds the A frame shape) get stuck to itself or the cardboard when they are folded up and stored? I envision a lot of unsticking of the tape which could be annoying. Please explain how you avoid this. Thanks, Fiona
hi Fiona, there is no sticky side of the tape exposed. The tape is doubled over. I hope this helps! ~ Bar