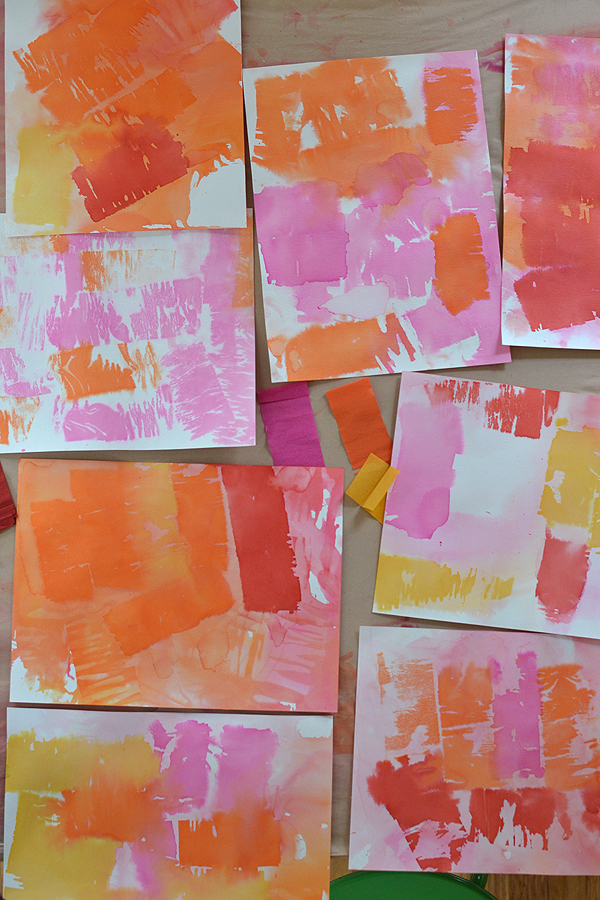
For many years, I have lugged around a box of leftover crepe paper from that time I made a hundred flowers for a Spanish Fiesta at my daughter’s preschool. She is 16 now. The box has moved to three different houses, and probably 30 different spots. Did you know crepe paper is heavy? So many times I’ve thought that I should really just get rid of it. Donate it somewhere. I am usually the one people donate stuff too, though, so that wouldn’t make any sense. Sometimes I use a bit here and there. Once I made some flowers for a Georgia O’Keeffe project we were doing in art class. But mostly, it just sits in a box.
Then I saw some Pinterest photos of this “bleeding art” thing. Can you believe I couldn’t find the box? Well, not so hard to believe if you know me. Ironic might be my fourth middle name (after forgetful and procrastinate). I finally found it, and off we went.
Read on for our bleeding crepe paper experience…
This post contains affiliate links. Thank you for your support!
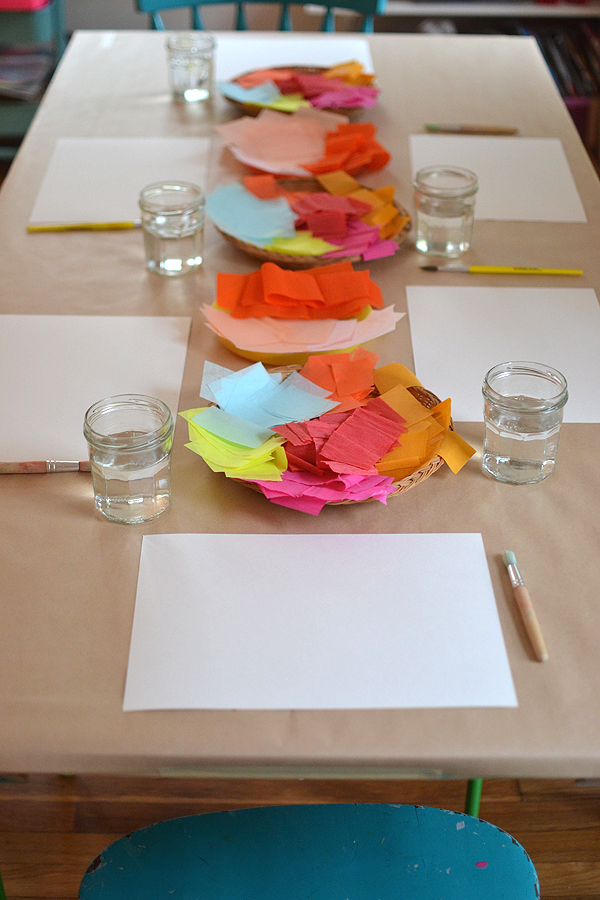
Supplies:
~ Crepe paper streamers
~ Water, either in glasses with brushes, or in a spray bottle
~ Watercolor paper
Process:
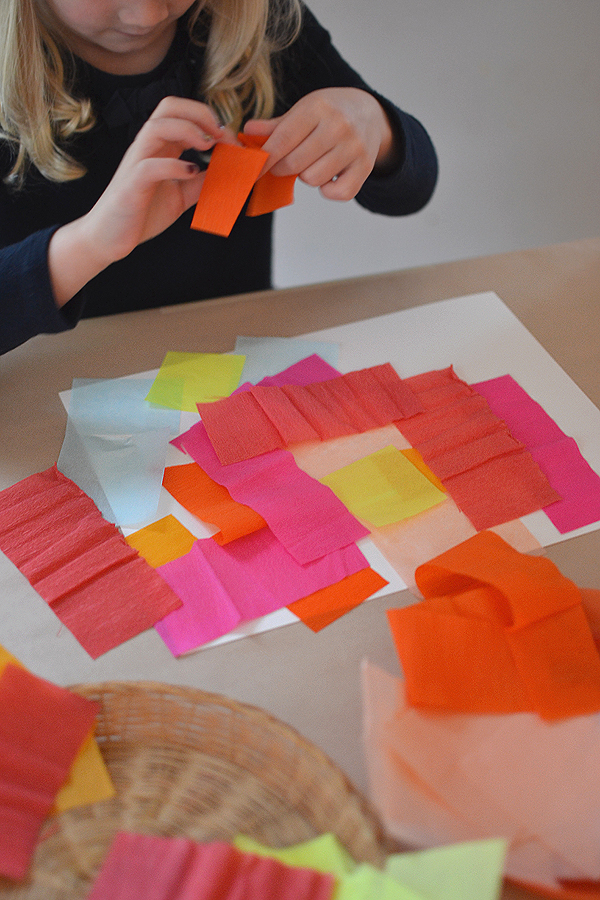
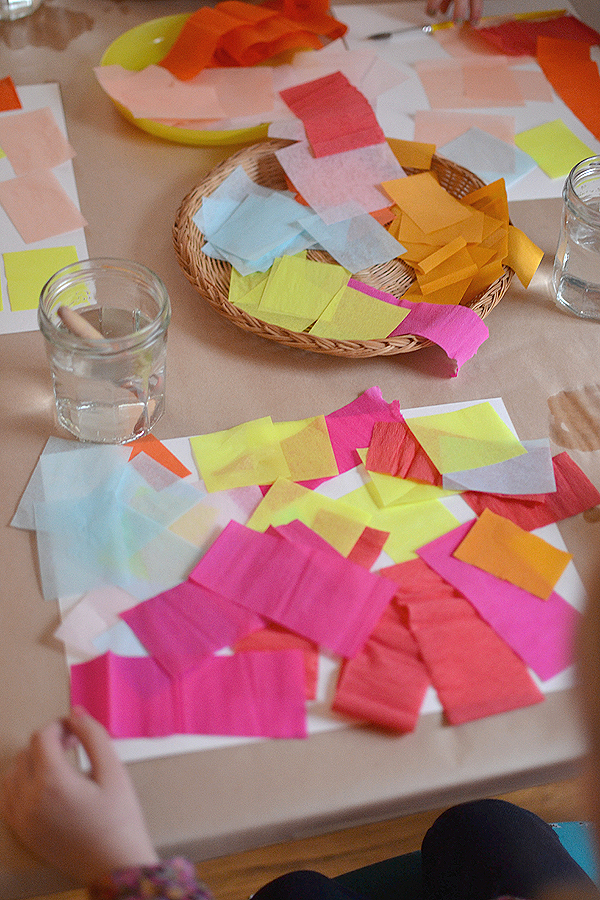
~ Cut up the tissue and crepe paper if you have little kids (or if your crepe paper is in big sheets like mine was). If you are using streamers, it would be fun for the older kids (5 and up) to cut up their own bits.
~ Let the kids cover their paper with the colored pieces.
~ Then they can either spray or use brushes to saturate their paper with water. Kids love spraying, they could do it all day. But the bottle can be a little hard to use for smaller hands. I would say age 5 and younger would be better off using water and brushes.
~ Once the paper is fully wet, wait a few minutes. This is the hard part. Some websites say to let the paper dry fully, but we honestly waited like 2 minutes. Maybe 5 minutes. We are all impatient artists.
~ Peel off the wet crepe paper and see the image left behind. Repeat if it’s too light, or just repeat to layer color.
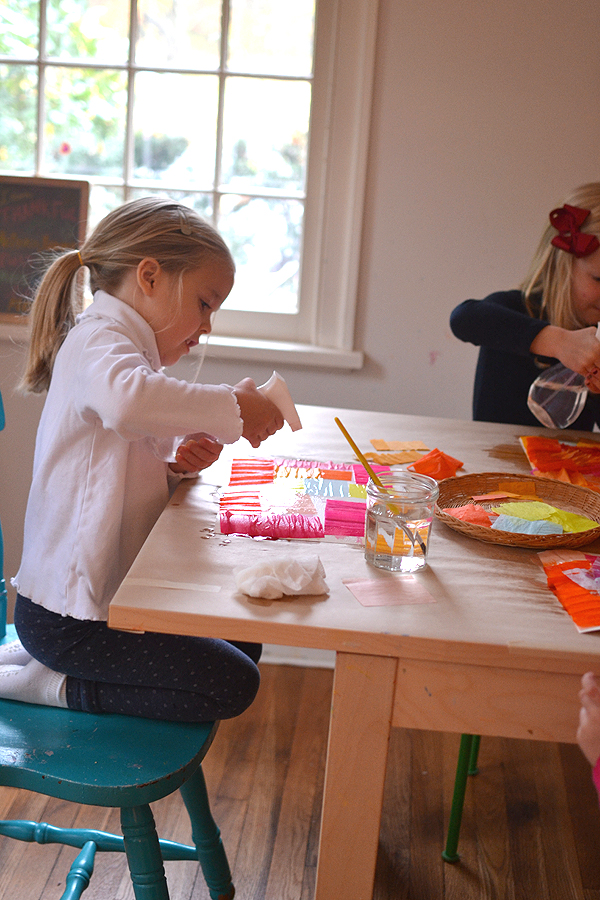
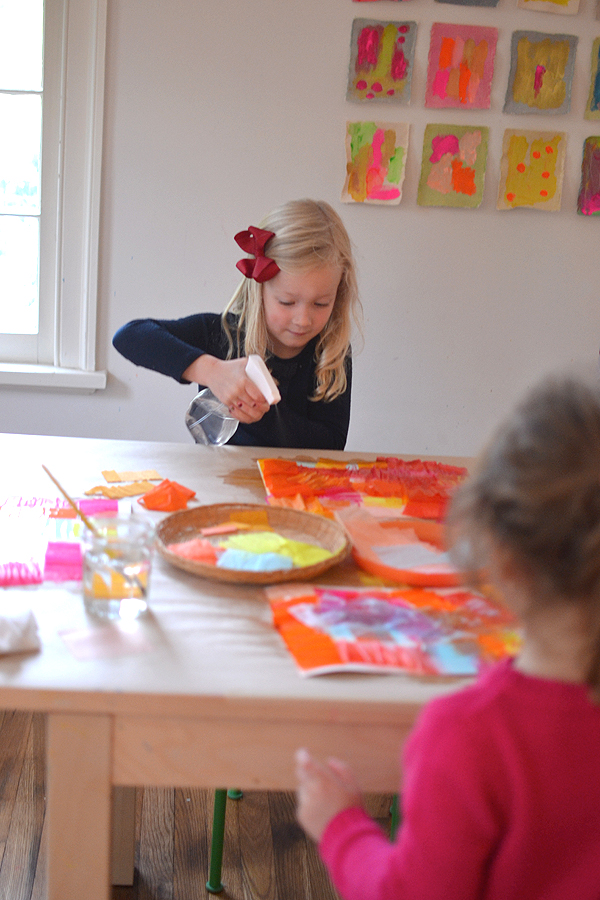
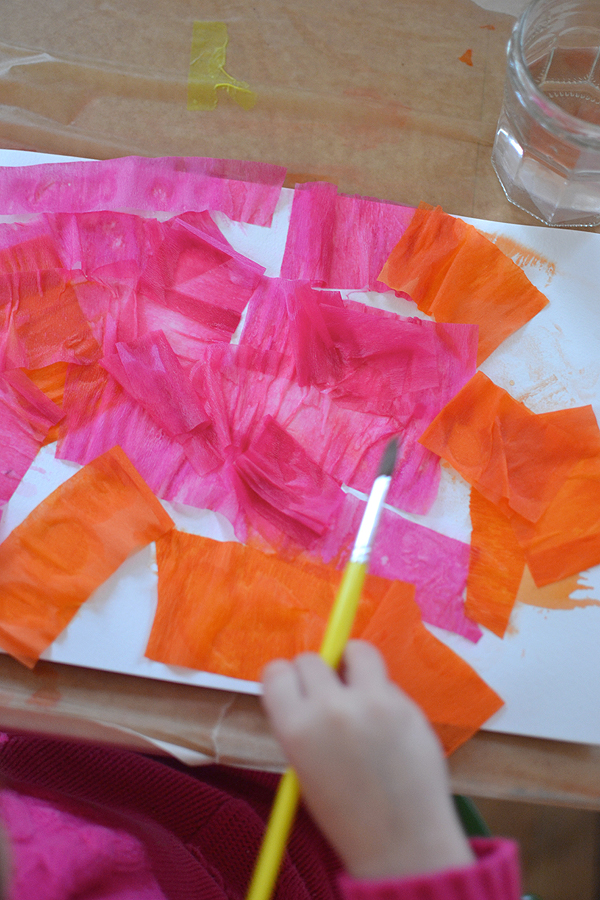
We learned something from this experience: Light tissue paper doesn’t bleed! Our first try was sort of a bust. But once we understood how this works, the kids tried again and got better and better results. And the layering looked cool.
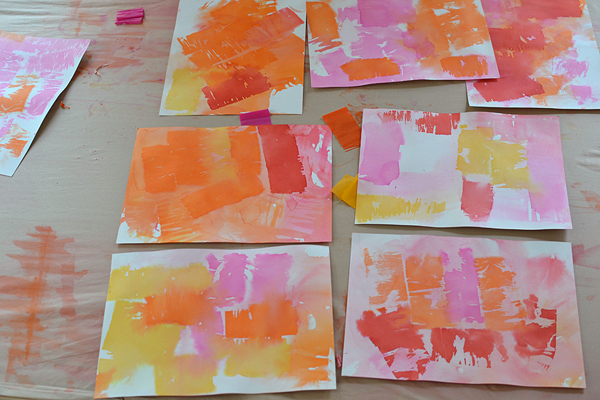
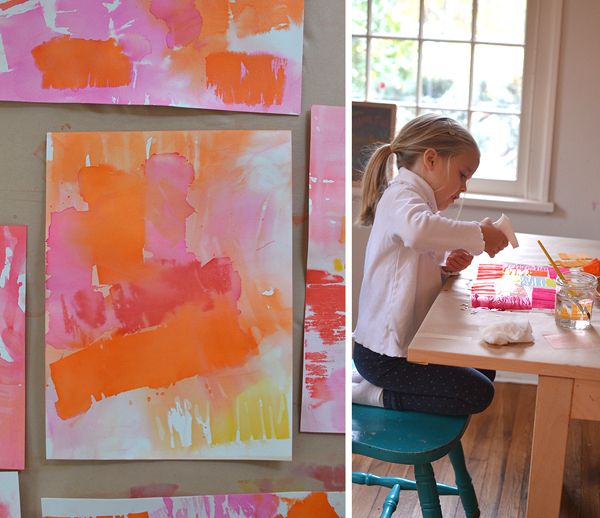
I really wanted to do something with these prints, but the kids were too excited to bring them home. I have a few left over that my own kids did, and my mind is at work thinking of ideas. I might make something Valentine’s-y. Follow me on Instagram to see what I come up with ♡
Happy Tuesday!
xo, Bar

I like how this concept is directed yet, allows the child to experiment. I could image layering shapes and colors to create new patterns. Cute Idea!
thank you, Danielle. yes, it is a simple invitation which is child-led with just a simple directive. I love how you put that, and i also love how you see possibilities! thanks for leaving a comment! xo Bar
I know you don’t use pastel papers, but does one type bleed more than the other? Do you have a preference between crepe and tissue papers?
hi, thanks for asking! i don’t think there is really any difference in the colors between crepe and tissue, but the crepe adds some cool texture. and the best colors for bleeding are: red, pink, orange, purple, blue, green, yellow (a deeper yellow, not a light yellow), and turquoise. good luck and have fun! xo Bar
Many tissue papers these days are “non-run” so this project wouldnt work with them. They’re often not even labelled as such.
oh! I’ve never heard of that, Erin. Good to point that out, though, and maybe the best reason to just use crepe paper! Thanks for letting me know. xo, Bar
Thanks for sharing this nice project. I hope I can try it with my little granddaughter already in the following days.
Kind greetings from the EU (A)
This looks good fun.Will have to try it with my preschool kids (3 & 4 yr olds).Shouts winter sunset pictures at me with hand or stick print trees in black or brown over the crepe colours. I’d remind people to have a bin for the wet paper handy. Wet crepe paper bleeds on everything including hands and clothes!!
I always used to do this activity with my class. However in recent years I can’t find crepe paper or tissue paper that bleeds without having to mail order it. Even the cheap dollar store varieties don’t bleed anymore.
I think this is great – am having a go with my
Year 1 tomorrow!
Kmart 24 sheets of water colour paper only $3 and 4 rolls of crepe paper $1.50 a packet- add water- bargain!!! Thank you
Students love this activity! We printed on top of this paper! Fun!
For me, this was a good reminder to always do a test first before doing it with the kids. I prepped all the materials but apparently had some “no-run” paper (I had no idea there was a difference). It didn’t work. oh well! Will have to try to source the right material and try again cause the results are beautiful!
oh no! that did happen to me, too. well, some of the paper worked and some didn’t. I’m so sorry! I hope you try again! xx Bar
do you have to use card stock? i’m trying on regular paper and nothing happens..
Hi Justine, no you don’t have to use cardstock, but you do need to make sure that the crepe paper bleeds. It needs to be like the cheap kind you buy at a party store, not more expensive kind. And the darker and more saturated colors, not pastels.