• Skip to primary navigation
  • Skip to main content
  • Skip to primary sidebar
  • Skip to footer

ARTBAR

raising creative thinkers

  • MY BOOKS
    • Art Workshop for Children
    • Cardboard Creations
  • ART SUPPLIES
  • SHOP
    • Art Bar on Etsy
    • Art Class Poster
  • ABOUT
  • Nav Social Menu

    • Facebook
    • Instagram
    • Pinterest

Garland // Merry + Bright

December 14, 2012 by Barbara Rucci 4 Comments

9 shares
  • Facebook

DIY holiday garland

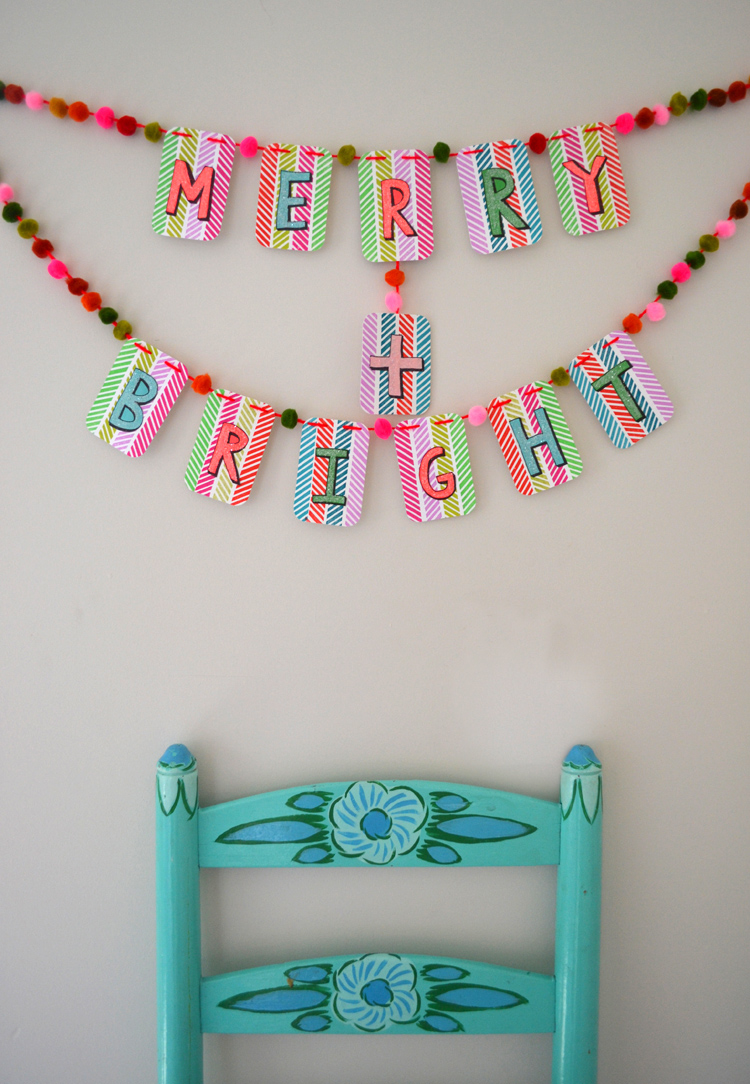
I had some leftover gift tags from my project the other day that were calling my name. So yesterday, on my 15th wedding anniversary (mentioned to remind myself that I married a very kind man who lets me leave projects out on the dining room table for weeks. Alright, sometimes he does ask about the crap on the table, but still…), I decided to make this cheery little banner. It makes me happy.

Do you want to give it a try? Here’s how to make one, or a variation:

Supplies:

Patterned cards, about 2″ x 3″

Colored paper (for the letters)
Black fine tip Sharpie

Elmer’s glue

White glitter

Pom-poms

Scissors

Hole punch

Red yarn

Sewing needle

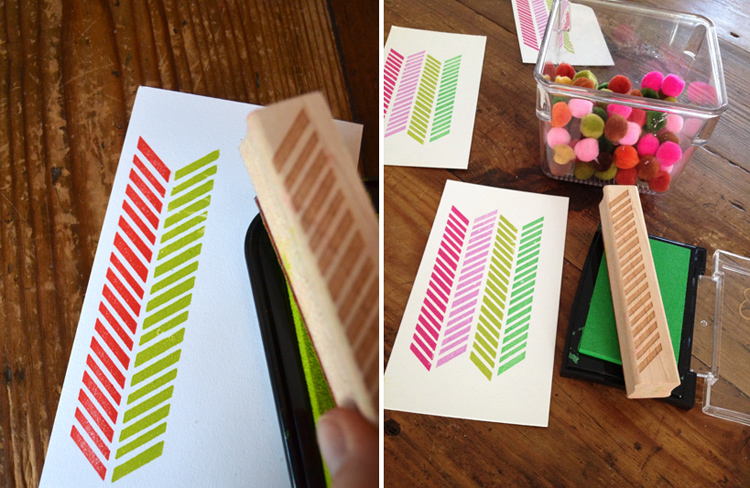
Start by making the little cards. I rubber stamped mine, but you can also use recycled holiday cards. Cut them to size and round the corners if you’d like to (but you don’t have to).
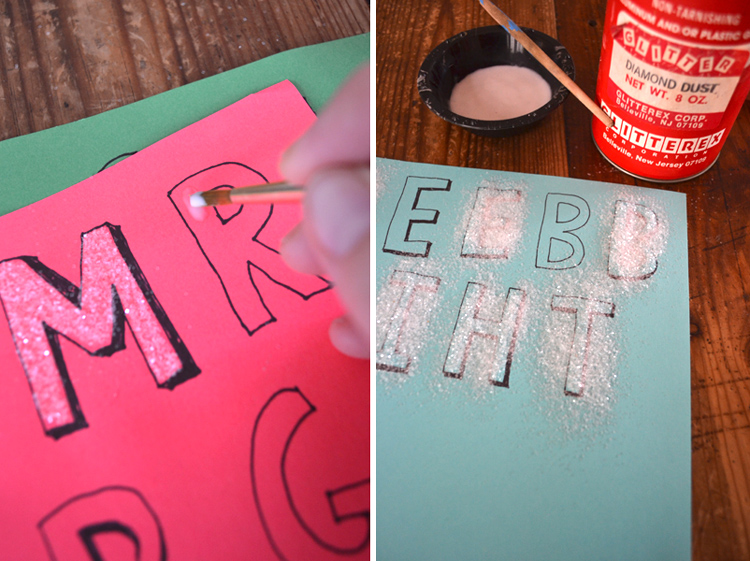
Meanwhile, draw your block letters. Here is a great tutorial on creating block shadow letters. They are really fun (and addicting) to make. Use a brush to apply the glue carefully, then sprinkle on some glitter.
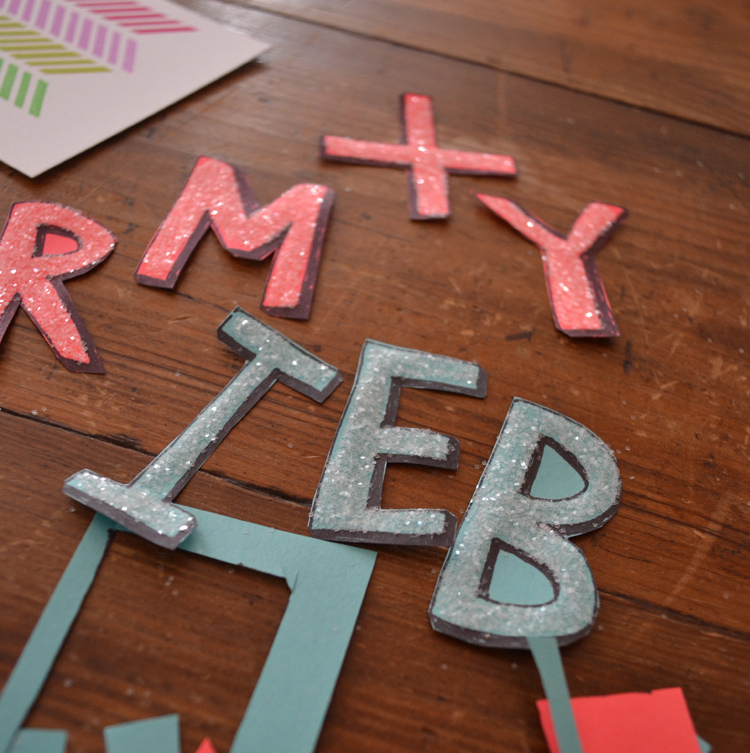
After the glue & glitter is dry (preferable overnight), you can cut out the letters. I actually made these letters a while back for something else which was handy! Then glue the letters onto the cards.
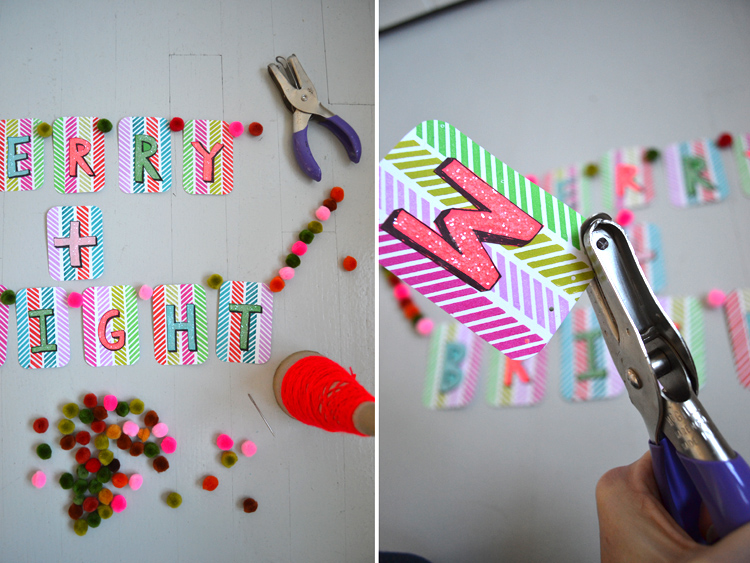
Lay out your design and place the pom-poms where you want them. Use the hole punch to create 4 little holes. This will give you a more stitched look.
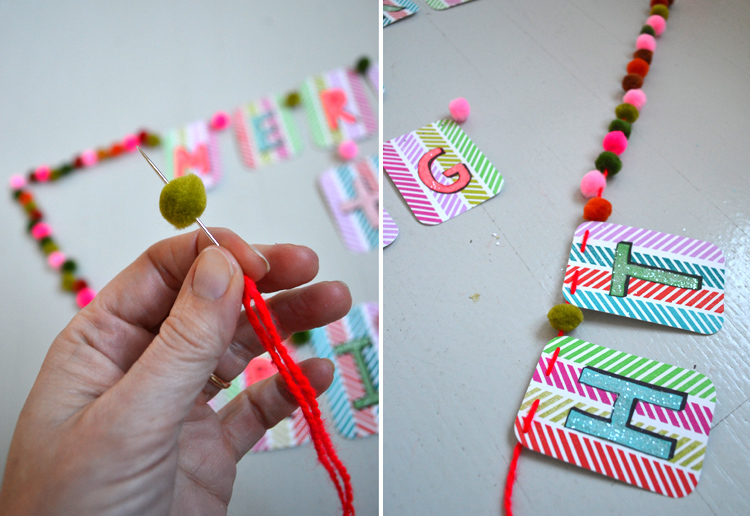
Thread the pom-poms and cards. I threaded two separate rows: One for the MERRY and one for the BRIGHT. Then I tied them together. I taped the “+” under the “R”.
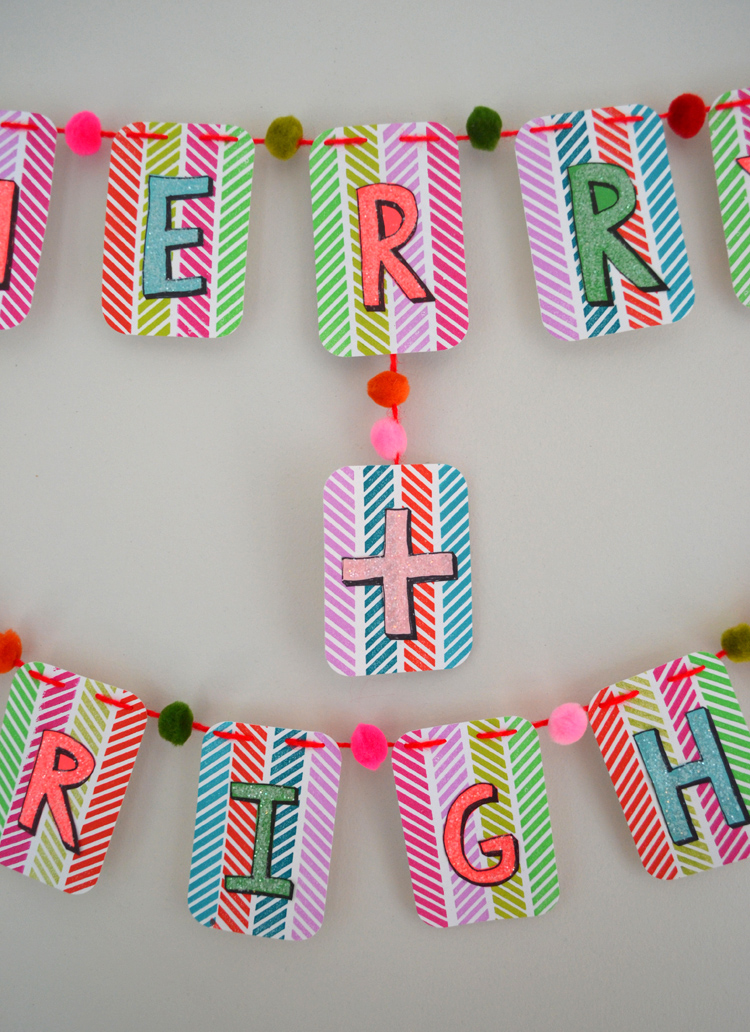
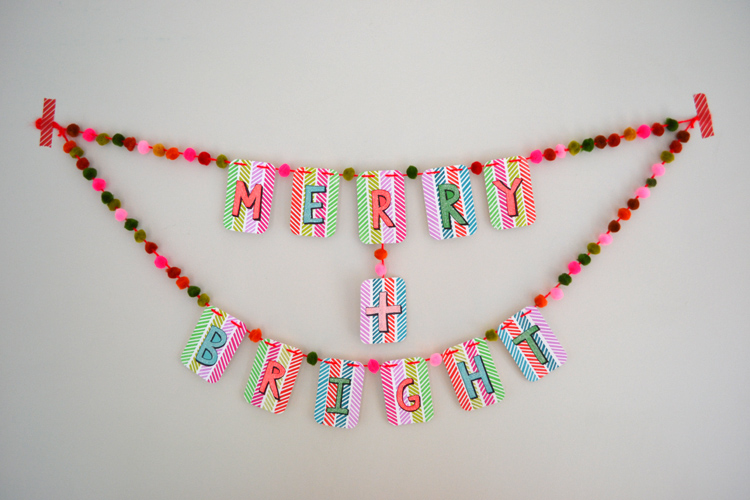
This project requires a little patience, especially if you haven’t done shadow letters before. But it’s worth it so I hope you give it a go!

Have a happy weekend. ♡

xo, Bar


Filed Under: DIY Tagged With: Holiday garland, rubber stamping, garland

Previous Post: « Etsy Artists // Paintings
Next Post: Snowflakes, Hearts + Hands »

Reader Interactions

Comments

  1. Jess

    January 6, 2013 at 3:26 pm

    Wow, love the garland in particular how it looks like a huge smile. Well Done!

    Reply
    • Barbara Rucci

      January 20, 2013 at 8:09 am

      Oh my gosh, I didn’t even see that…thank you for noticing!

      Reply
  2. Becky

    December 11, 2014 at 8:43 am

    I know this is a two-year-old, but I’m wondering where you got the rubber stamp in these photos. I am a tiny bit obsessed with it!

    Reply
    • Barbara Rucci

      December 19, 2014 at 6:43 am

      hi becky! ok, so i made those rubber stamps. you can design your own stamps and then send away for them. i used a website called rubberstamps.net. sorry! but maybe this will inspire you to create your own! thanks for stopping by!! xo bar

      Reply

Leave a Reply Cancel reply

Your email address will not be published. Required fields are marked *

Primary Sidebar

The Creativity Project
RESOURCE FOR TEACHERS
Start Here!
Your subscription could not be saved. Please try again.
Your subscription has been successful.

Yes! I want to raise thoughtful and creative children. Send me more inspiration, please!

Follow on Instagram

Categories

Archives

Copyright and Reposting

All content on this blog is copyright and owned by Art Bar Blog unless otherise stated. I would be flattered if you wanted to use an image from one of my posts! But please, ask me first. I would also ask that if it involves DIY instructions with a list of supplies that you don't repost any of that stuff because then nobody would have a reason to click back to my original post!

Footer

  • Facebook
  • Instagram
  • Pinterest

About Me

There are two things that I'm passionate about: Children + Art. As an art teacher, author, graphic designer, and mom to 3 creative thinkers, I get to explore my passions every day! Learn more...

I am dedicated to keeping your information safe. Please review my Privacy Policy.

Recent Posts

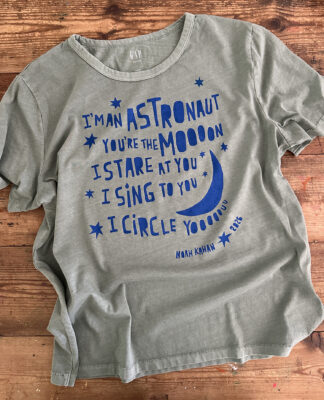
A newly printed t-shirt lies on a table showing off the freezer paper stencil technique using bright blue ink on a muted green shirt with a Noah Kahan quote from his song Orbiter.

Copyright © 2026 · Foodie Pro & The Genesis Framework